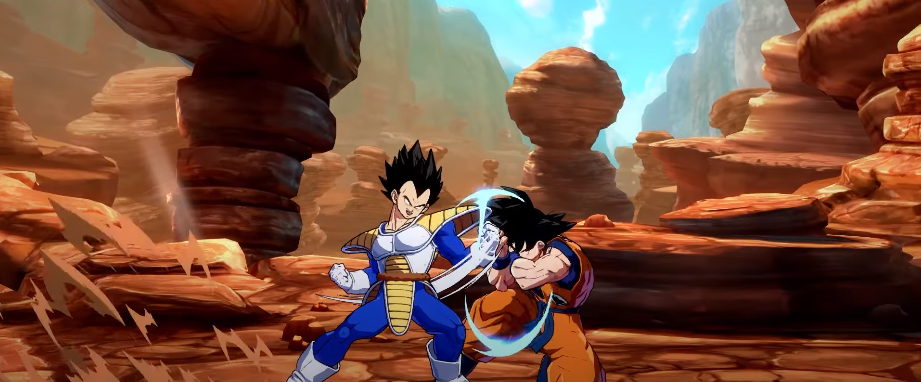
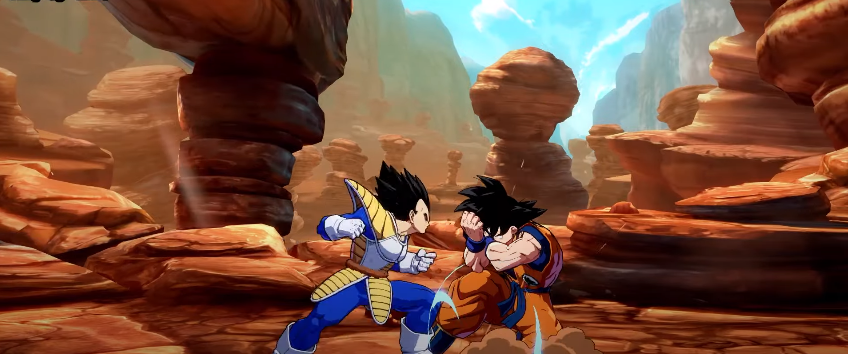
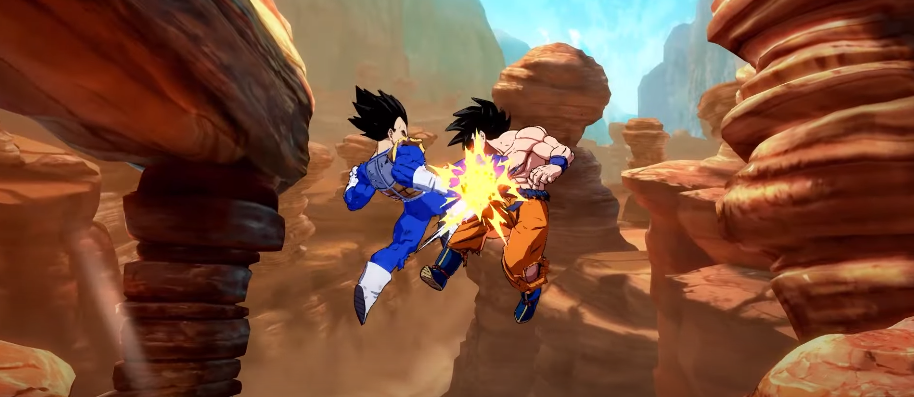
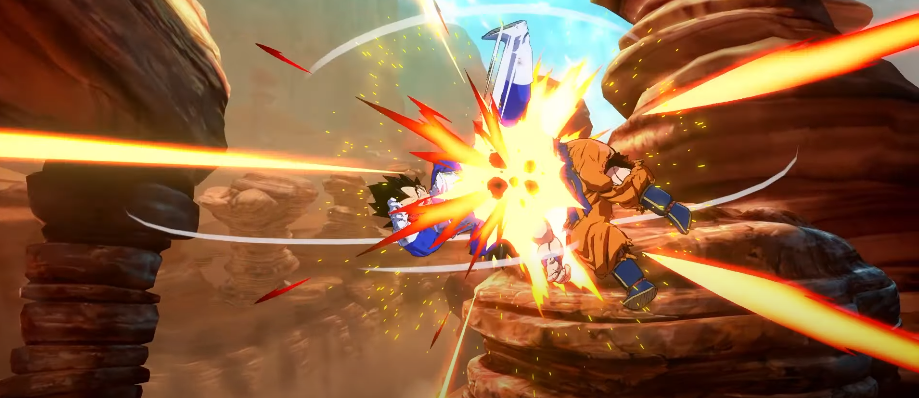
This guide will provide you with all the BnB combos and basics of Base Vegeta in Dragon Ball Fighterz Season 3.5.
Vegeta’s 5L is quite small but a good stagger. His 21 hits are low, 5LLL; however, is anti-air and also safe. 5M is fast and has a decent range while staying safe.

His 2M is solid but barely unsafe on the block. Characters without a six-frame jab (Vegito, UI Goku, etc.) cannot punish it. SH is surprisingly large and can be safe if it hits late but remains unsafe when used point-blank. 2H is pretty standard; you can make it safe on the block with 1236L.

5S chains up to 8 times and is super fast, making them beat out everyone else’s projectiles. jS is probably his best button. Super spammable, its angle covers almost the entire ground while Vegeta keeps his momentum. Holding 8 (UP) during jS will throw the Ki Blasts down more, but it is rarely used. 2S and 1S throw Ki Blasts at an arc, with 25 landings far and close. The aerial versions are identical.

His jL is small, and jH is average, jM is a decent air-to-air but isn’t amazing at cross-ups.
12H recovers incredibly fast, to the point where you can stall out more air time and use it for the mix.
Super Dash Kick (236X, Air OK)

It is better known as Rocket Kick. A series of lariats with various uses.
The Light version goes roughly 3/4 of the screen, and it is safe on the block. It recovers mid-air, setting up mixups if covered with assists, and on a hit, it’s an unscaled starter. You can TOD off of this. The Medium version goes full screen and will side switch to block; it is close enough. Usually, you’ll be too far away to be punished on the block, but near the corner, you can be punishable. It can’t steal the corner, either.

The Heavy version teleports behind the enemy even in the corner and attacks. To combo, you will need to Vanish and use an assist or be near a corner, though.
Super Dash Kick (236x, Air OK), the grounded version isn’t considered aerial, so it cannot be anti-aired, but when used mid-air, it’s a free 2H punishment for the enemy.

The aerial version has some slight vertical tracking, while the grounded one doesn’t. Super Dash Kick (236x, Air OK), this version is completely safe on block, but on whiff, it has extra recovery. Jumping into Super dash is an easy way to punish it, but you should reflect at a close range.
Deadly Knee Drop (214X, Air OK)

Overheads that track anywhere on the screen, giving a sliding knockdown, all versions are safe on block. Usually, you bounce backward, but you can hold 6 (forward) to bounce towards or over the enemy instead.
The Light version is your main sliding knockdown tool. You can’t extend using assists, but you can still use your Supers.
The Medium version gives a slight ground bounce for assist extensions but is slower, so it won’t be combo usually.
Energy Cutter (236S)

It throws a beam property pizza, piercing Ki Blasts.
Energy Cutter (236S), on the block, it’s safe and recovers in the air. You can aim Energy Cutter (236S) up or down using 8 and 2, covering different screen parts. It allows for high/low mixups with assists.
214S is a swift command grab that cannot grab crouching enemies; it is no use for Saiyans who can’t move (214S). It is because it can grab enemies off the ground (OTG) on a knockdown.
Nappa Evaporator inator (214S)

Doing this buffs his minimum Super damage and improves the Level 3 Mixup.
A Assist

236S on demand is a decent projectile assist with low blockstun (18f), but it covers a great angle and is easy to use in combos.
B Assist

It is a slower-than-average lariat-type assist that goes half-screen with more blockstun than A (25f). The knockback usually requires you to dash jump to extend off it mid-screen.
C Assist

It tracks on the ground, and it is an anti-air and has a very long hitstun, but low blockstun (29) for a C Assist.
Basic Safe Gapless Blockstring
2L5LL > 2M5M > 5H > 236L
236M Usage

You can use 236M instead and cover it with an assist-to-side switch mid-block string and go for a simple high/low or DR.
2L5LL > 2M5M > 5H > 236M > A1 > 66 2L5LL >…
Staggers
21.5L, SLL, and 5M make for great pressure reset points. If the enemy acts too late, they risk getting hit.
2L5L > 66 5L > ILL > 2M5M > 5LL > 2M5M > 5H > 236L 5S
At any point in your string you can also add a 5S as a potential reset point. Stagger into 5M is riskier but results in big bol damage on hit.
2L5LL > 2M5M 5S > 66 5LL > 2M5M > 555H > 236L
5S Staggers
With a slight delay on SH afterward, you can create a frame trap to discourage mashing. You can also 5H first and 5S afterward since 236L will still frame trap into a TOD starter if delayed slightly.
2L5LL > 2M5M > 5H5S > 66 5LL > 2M5M > 5H5S > (dl) 236L > Sparking > …
You can bait reflect, As usual, anything after a Ki Blast is reflectable. Of course, you can bait reflect, but luckily 5H > 236L is also anti-reflect.
2L5LL > 2M5M > 55 > 66 2M5M > …
236L Rock Paper Scissors (RPS)

Your pressure isn’t over after 236L. On block; you can try to steal your turn back
205LL > 2M5M > 5H > 236L > js > 66 5LL > …
The best thing the enemy can do to beat this is to dash up and jab you out of it. In turn, you can beat this by back dashing into an angled-down is.

2L5LL > 2M5M > 5H > 236L > S > …
Both of these options are beaten by Super dash. To beat Superdash, you can air dash into jL(dl)M. It works mid-screen too.

2L5LL > 2M5M > 5H > 236L > js >.
It creates a situation where the enemy has to commit to one option or block forever. Every option has an answer, creating an RPS.
Disk Rock Paper Scissors

236S gives another RPS situation on the block, but the disk always leaves a mashable gap, so don’t get predictable.
2L5LL > 2M5M > 236S
Angle the disk up and mash Light to steal a turn and beat mashing against most characters. 2H will beat this option.
2L5LL > 2M5M > 236S[8] > L > …
But if you angle it down instead, you can reflect 27 (and other reversals) and punish accordingly.
2L5LL > 2M5M > 236S[2] > 45 > 2M5M >…
Disk 50/50 Mix

Once they respect you enough and block, you can go for an unreactable 50/50 mixup.
2L5LL > 2M5M 5H > 236S[2] > (Land) 2L >.
You should always call any assist after the disk to cover you to avoid getting 2H’d.

2L5LL > 236S[2] > A1 > 66 M > ..
Most assists will force you to use 1M and 2M midscreen due to pushback. In the corner, you can use iL and 2L, though.
2L5LL > 236S[2] > A1> (land) 2M >..
j2H Whiff 50/50 Mix
If you’re more into gapless mixups, you will need a high blockstun assist (min. 44f).
2L5LL > 2M5M > 5H > 236L > A1 > (whiff j2H) 66 jL>….
No delays are needed, call your assist in time and go high with airdash iL or low with empty 2L.

2L5LL > 2M5M
5H > 236L > A1 > (whiff j2H) > (land) 2L2M>…
214L Setup

After any 214L knockdown, immediately throw an s2s. It will cover up and back tech and prevent the enemy from mashing.
… > j214L > j2S> (land) 66 5LL > …
It isn’t much; it doesn’t beat Superdash, though, so you need to be careful. There isn’t much point in reflecting it, either.

> 214L > j2S > (land) 66 5LL >
In the corner, you can use just instead and immediately airdash LL. It will cover everything except delay tech and counterfeit Super dash.
… > 214 > jis > (land) 96 JLL > …
Level 3 Mixup

214S before Level 3 gives Vegeta a 4-way mixup. Super Jump straight up and air dash using the macro”, then float depending on which option you want.
Airdash Macro: Hold 9 (up forward) and press Superdash at the same time to get an instant to airdash.
> 214M161> 2145 > 132894-5171> > >
You can set the bot to Vanish after grounded recovery. If you hit the enemy before they Vanish, you’ve done it right. For the cross-up low, don’t jump straight up.
… > 2145 > Lv13 > 289H+S[2]> (land) 2L > 5LL > …
Miscellaneous Tips

You can always get the grab after a JH knockdown, and the Medium or Heavy Knee Drop Light version’s knockdown is too short.
… > 214M/H[6] > 2145 >.
The Level 3 mix is weaker in the corner since you can no longer crossup. For an extra bar, you can whiff a Vanish after any knockdown and get your full mix.

… > 214M[6] > 2145 > LV13 > …
If your combo ends in 214M, but you don’t want to Super afterward, you can always end in 214L instead and go for the jis/28 setup.
… > SLLL > j214M[6] > 2145
And lastly, keep changing your strings. Don’t always use the disk after 5H or use Rocket Kick early and remember the universal mechanics.

2L5LL > 236L > A1 > (whiff j2H) (land) 2L2M5M5H > 2365 > A2 > 66 LL > 5LL > 2M5M > 236S
BnB’s
Midscreen BnB
4377 dmg/3837 scaled 1.1.2 Bar
2M5M – jMLL2H – SD – jMLL2HjcLL2H – j214L
Vanish Extension

-300 dmg extra
…j2H – Vanish – (whiff j2H) jLLL
5H Route
4200 dmg/3794 scaled 1095 Bar
5M2M – 5H – SD – jLL2HjcLL2H – j214L
Mid-Corner Loops

2795 dmg/3952 scaled -155 Bar For scaled only do 1 loop
2M5M – jLLS – j236M – SD – jM2HjcLLS – {jL(dl)LS}x2 – jLLL
(For scaled only do 1 loop)
Near Corner Grounded Loops
4924 dmg/3935 scaled +1.7 Bar. For the scaled, you only have to do two loops.
5M2M – {5H – SD – jMS – (land) 5L}x3 – (5L)LL – j214M
(For scaled only do two loops. If you struggle with the 5LLL at the end try a small delay on the final 5LLL)
Near Corner Classic Loops

4875 dmg/4037 scaled -155 Bar For scaled only one loop.
2M5M – jMLL2H – SD – jMLL2HjcLLS – {jL(dl)LS}x2 – jLLL
(For scaled only do one loop)
Corner Classic Loops

5244 dmg/4425 scaled | +1.7 Bar Initial delay after 2M is only required for thin & small bodies. Delay in..LL(DIS > (land)… is extremely important; you can do it off 5M2M starter too.
2M5M – jM2H – SD – jMS – {jL(dl)LS}x3 – jLL2HjcLLL
Advanced Loops
2M(dl)5M – jMjcMS – jL – (land) 5M – jMLjcMS – jLLS – jLL(dl)S – (land) 5L5M – jLLjcLL2H – j214M
(Delay on 2M(dl)5M only required on certain slims and most small bodies)
Corner Optimal Loops

5654 dmgI+2.05 Bar Works off 2M(dl) 5M too. It doesn’t work off non-medium starters
5M2M – 236M – 2M5M – jMLjcMS – jLLS – jLL(dl)S – 5L5S(3)5H – SD – jMS – 5LLL – j214M
(For GC punishes for example)
SD Confirm

2425 dmg I+0.6 Bar
SD – jMLjcMLL2H – j214M
SD Confirm Corner

3175 dmg +1.25 Bar
SD – jLLS – j236M – j2HjcLLS – {jL(dl)LS}x2 – jLLL
Vanish Confirm

2200 dmg
… – Vanish – 66 2M5M – jLL2HjcLL2H – j214L
Vanish Confirm 2
… – Vanish – 66 2M5M – 2H – j214M[6] – 214S
2H Punish/DR Route

3700/3012 dmg 1+0.8/1.55 Bar Both routes are the same. Reminder holding Dragon Rush does more damage
2H/DR – SD – jML2HjcLL2H – j214L
2H Punish/DR Route Corner

2H – SD – jM2HjcLLS – {jL(dl)LS}x4 – jLLL
(For DR Route only do 1 loop)
Assisted Midscreen Loops

5007 dmg | +17 Bar, you have to dash before jumping for a lot longer than you’d think.
2M5M – jMjcMLS – A1 – (land) 66(dl)9 {jL(dl)LS}x2 – jLL2H – SD – jLL2HjcLLL
Assist Extension Example 1

5546 dmg l-1.8 Bar Works with basically any assist
5M2M – 5H – SD – jMS – j236M – A1 – 5M – jLL2HjcLLS – jL(dl)LS – jLLL – A2 – j214M[6] – 214S
Assist Extension Example 2

5691 dmg1+21 Bar Again, works with anything.
2M(dl)5M – jMjcMS – jL – (land) 5M – jMLjcMS – jLLS – jLL(dl)S – (land) 5L5M – j4LLMjcLL2H – j214M[6] – A1 – (land) DR – 214S
Assist Extension Example 3

4651 dmg
236H – 214M[6] – A1 – SD – jLL2HjcLLS – jL(dl)LS – jLLS – j236L – A2 – DR – 236L+M
0.5 Bar 236L Starter TOD

(Bardock B/Any Assist)
236L – Sparking – 66 2M5M – jMjcMLH – A1 – (land, dl) jMS – j236M – 2M5H5S(6) – jLL2HjcLLL – A2 – 214M[6] – A1 – DR – 214S – Lvl1 Lvl1 Lvl3
0.7 Bar 5H Starter TOD

(SSJ Vegeta/Any Level 3)
5H – 236S – Sparking – (whiff 5L)L – 5H – (dl) jMLS – (dl) 5L5H – (dl) jMLS – (dl) 5L5S(6)5H – jLL2HjcLLL – A2 – DR – 214S – Lvl1 Lvl1 Lvl3