This guide will provide you with the best console settings for Destiny 2, and it will help you improve your aiming and get more kills in the game.
Step 1
First, you will need to tap on the game settings and go to the gameplay settings option. You have to select the default setting for the “HUD” and select the default settings for “Subtitles”, as shown in the image below.
Turn off the “Colorblind Mode” if you are not colorblind, and if you are, you need to turn it on and select the color settings you want for your gameplay. You have to select the white color as your “Reticle Color” and select “always-on” in the “Helmet” option.

Step 2
After that, you will need to tap on the Sound settings and adjust your SFX volume, Dialogue volume, Music volume, and Chat volume. After adjusting the volume options, you have to go to the Voice Chat section and select default settings for all three options, as shown in the image below.

Step 3
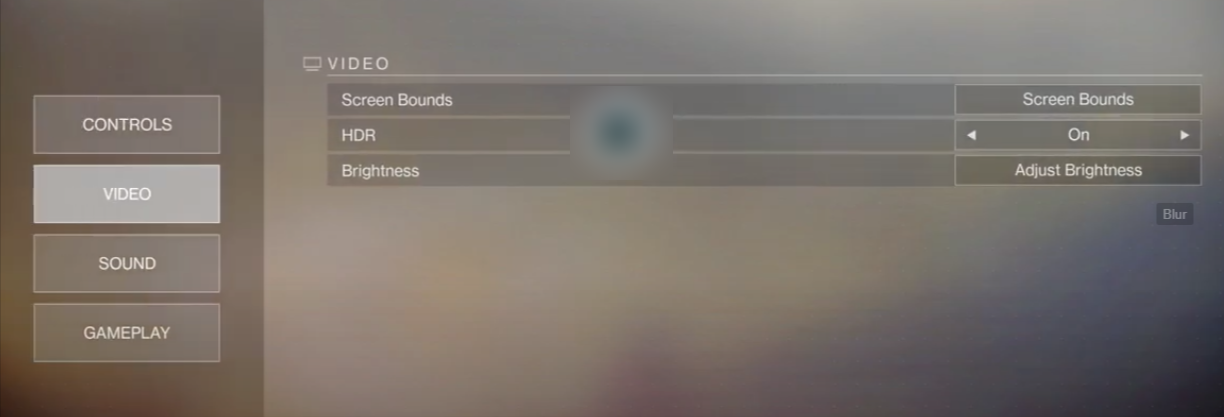
Now you need to tap over to the Video settings, and you can select the screen bounds with your TV screen; you can also adjust your screen brightness there. If you are playing on Playstation, you have to turn on the HDR option which will help you to improve the game graphics.

Step 4
Next, you will need to tap on the Controls settings and select the default settings for “Sticks” and “Button Layout”. After that, select 5 for the “Look Sensitivity” setting, and select the Not Inverted option for Vertical inversion and Horizontal inversion. You also have to turn off the Controller vibration and Auto look centering, as shown in the image below.
