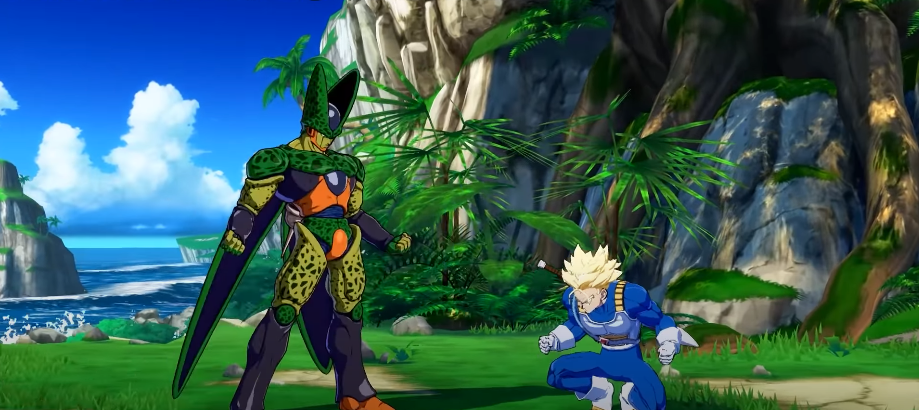
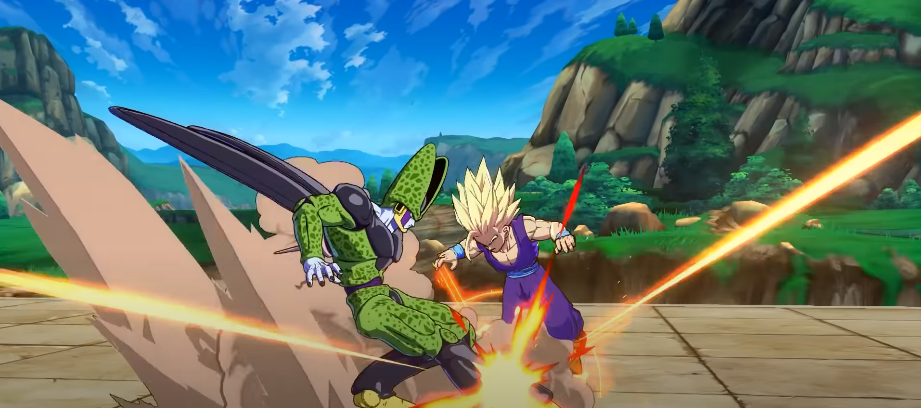
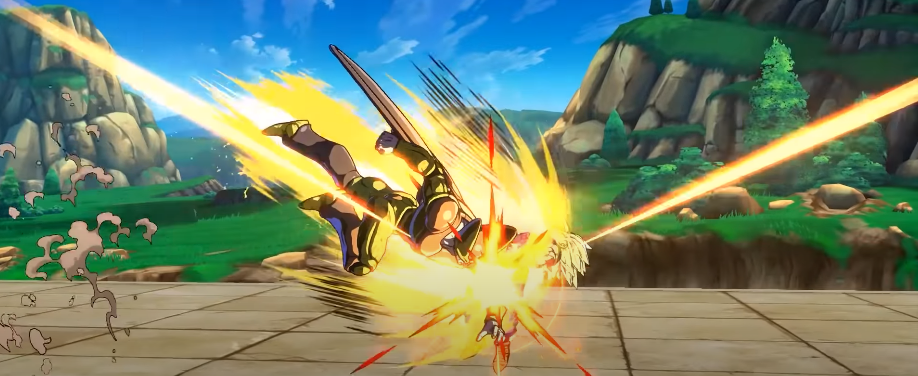
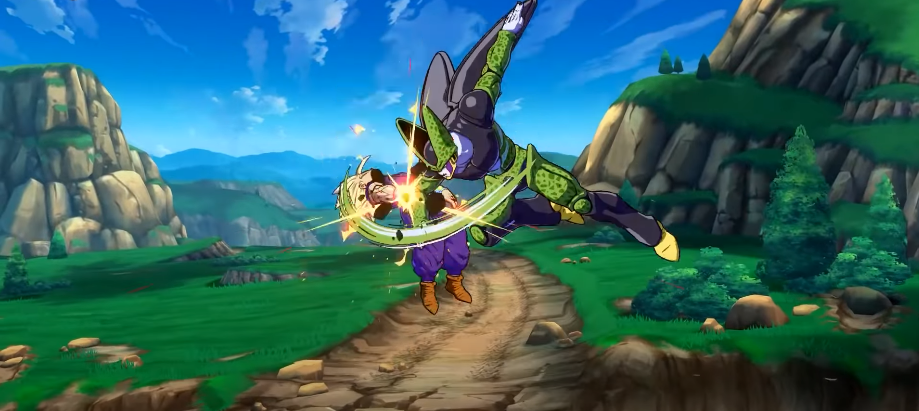
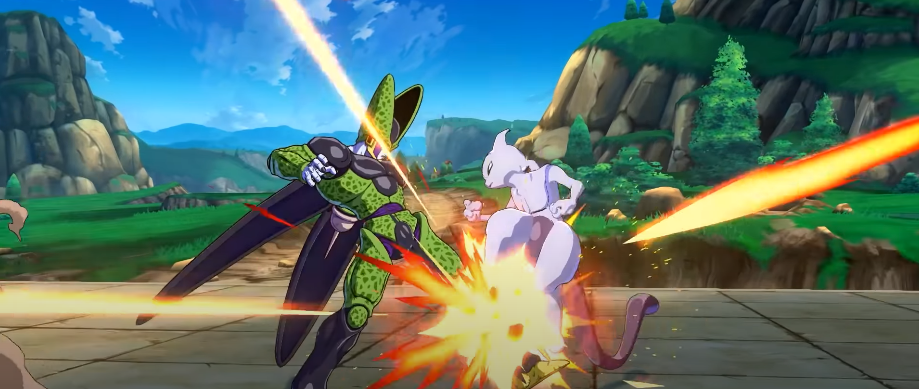
This guide will provide you with the BnB combos and basics of Cell in Dragon Ball Fighter Season 3.5.
Cell’s 5L is more on the stubby side and mostly outshined by his low 2L. 5LL goes half-screen, making it reflect proof.

Additionally, you can hold back during 5LL to half the distance traveled; you can use it to bait the reflection. 5M is huge and a great stagger because it can be done twice (even on whiff), creating a frame trap. 2M slides far but is unsafe; it becomes safe depending on how late it hits.
j2M is a tracking cross-up overhead, and it is mainly just a combo filler for Vanish combos. 5H is marginally larger than 5M but can be held for a lot more pushback. 6H is a third low that is safe on the block; it is a valuable stagger and combo filler.

2H has a terrible hitbox, but it still works as an anti-air. Most of the time
WA 12H launches horizontally with some forward momentum but is normal otherwise. You can chain 5S five times. And it is angled down with some spread, resulting in unreliable hits at a screen’s distance, always leaving a gap.
jS sends explosions across the floor. Slow and considered simple Ki Blasts, so only used in combos.

2S is a plus on block, it will beat mashing, but it’s easily countered since ki Blast properties allow it to be reflected or superdashed. It also likes to overshoot many characters at close range, so you need to be careful.
KELL, as for aerial buttons, only jM stands out as a great cross-up tool.

Rolling Crush (236X, Air OK)
The last hit is an overhead and gives sliding knockdowns. The Light and Medium versions are angled diagonally down in the air, and the Light version is pretty niche. You can only use it in clashes and very specific combos due to its steeper angle.
The Medium and Heavy version goes about half-screen and gives a small ground bounce, but you can adjust the distance by holding 4(back) or 6 (forward).
Heavy can additionally cross the enemy upon block using 4 and 6 and steal the corner. You don’t have to block the other way due to cross-up protection.
Perfect Attack (214X, Air OK)

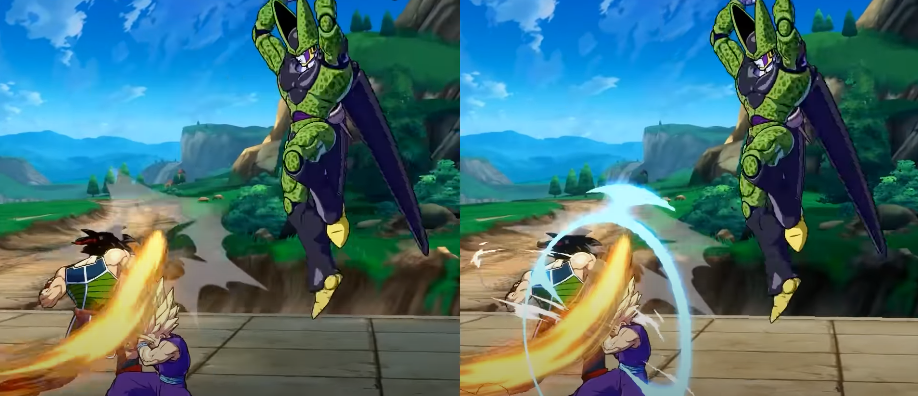
This one is the Cell’s most defining move. It’s his main anti-air tool and an unscaled starter, enabling his great ToD potential. Three hits on a grounded hit, two on-air hits and ground block, and one on-air block. The Light version keeps sides, and it is used for mid-screen ToDs since it doesn’t consume your smash. The Heavy version is a frame one anti-air, has a larger hitbox, and follows up in a hug. Instead of the second follow-up on the block, it will teleport behind and above the enemy, setting up a 50/50.
Kamehameha (236S, Air OK)

It is just a standard beam that can be angled up, and the Air version is always angled down. A slow command grab requires a minimum distance of about half a screen, but it will never overshoot the corner.
A Assist

It angled down beam assist. It is the best assist choice most of the time.
B Assist

Lariat-type assist has a decent blockstun but short range. It is a standard combo tool.
C Assist

Pretty bad C-Assist that only tracks horizontally. It has anti-air properties, but they come out so slow, you can’t use it on the reaction. C Assist Blockstun is also terrible since it only performs the first strike.
Blockstrings
Basic Safe Gapless Blockstring

It’s not only safe but also allows for a backdash afterward.
2L5LL> 5M2M > 6H5H > 236M
Staggers

You can use 2L to stagger and reset your pressure.
5L2L > 5LL > 5M2M > 6H5H > 236M
Even if you get reflected, SLL immediately puts you back in their face, forcing a double reflect to get Cell off you. It is where you shorten the distance on SLL to bait reflections.
2LL > 5LL[4] > 5UL> …
Other good stagger points are 5M, 4M, and H. Each of them has a responsibility to either mashing or reflect.

2L5LL > 5M> 66 2450L > 5M4M> 66 2L5UL> 5MZM > 6H > 66 2L5LL> 5M2M> 6H> 5H > 236M
Use 4M after SM or slightly delay 5H to discourage players from taking their turn by creating frame traps.
2L5LL > 5M2M >6H> (dl) 5H >…
And once they are too scared to press anything, cross them up with your godly jM.

2L5LL> 96 (dl) jM> (land) 5M2M > (dl) 6H5H> ….
Mixups
You can break the cross-up protection by getting an assist with low blockstun (24 or less) to hit between the first and second hit of the 214L/M. It works best with assistance with lots of visual noise.

2L5LL > 5M2M > 6H5H > A1 > 214M
Another option is a 50/50 using 214 and an assist with 30f of blockstun or more. If done correctly, both jL and 2L should hit on about the same frame.
2L54L> 5M2M > 6H214H > A1 > (dl) 66 L 2L5UL> 5M2M 6H214H > A1 > (land) 2L
Other tips

In the corner, the pushback of a charged five pushes you range for a pretty safe command grab and into a position where you can steal your turn back using 2.
2L5LL> 5M2M > 6H5[H] > 214S
Midscreen BnB

4312 dmg/3795 scaled 1.125 Bar
2M5M – jMLL2H – SD – jLLjcMLLH – jS – j236M
The damage varies very slightly depending on the enemy’s hitbox Near the corner end in JCMLL2H > j236M instead!
Vanish Extension

4844 dmg/4200 scaled I+0.1 Bar
2M5M – jMLL2H – SD – jLLjcMLLH – jS – j2M – Vanish – 66 2M – (dl) 6H – 236M
Mid-Corner BnB

4562 dmg/3960 scaled +1.55 Bar
2M5M – jM2H – SD – jLLS – (whiff j214L) – jLLS – (whiff j214L) – jLL2H – j236M
For scaled use S instead of j2H.
5H Vanish

5547 dmg/4535 scaled 1-0 Bar
5M2M – 6H5H – SD – jMLjcLL – j214M – (dl) Vanish – 66 (whiff 5L)LL – SD – jMLLjcLLLS – j236M
(Scaled: skip L starters, SD – jMjcM – j214M)
5H Rejump

4994 dmg/4280 scaled 0 Bar
5M2M – 6H5H – (dl) SD – 66 jM – 669 jLMjcLML – j214M – (dl) Vanish – 66 2M(dl)6H – 236M
5H Rejump Mid-Corner

5150 dmg/4290 scaled I 1.9 Bar
5M2M – 6H5H – (dl) SD – 66 jM – 669 jLMjcLMS – (whiff j214L) – jLLS – SD – jMS – j236M
For scaled skip, JM after the second SD and keep starters at a minimum.
Corner BnB

4655 dmg/3875 scaled I 1.85 Bar
2M5M – jMLLjcLLS – (whiff j214L) jLLS – SD – jLLS – (whiff j214L) jLLS – (dl) j236M
For scaled skip. LLS> (whiffj214) > after SD.
Advanced Corner

BnB 4945 dmg/3955 scaled |185 Bar
2M5M – jM2H – jcMS – (dl) SD – jLLS – (whiff j214L) jLLS – (whiff j214L) jLLS – j236M
(For scaled do: jH – 5LL – 2M5M – jL2H – (land) jLLjcLLS – (whiff j214L) – jLLS – SD – jMS – j236M)
Perfect Attack Punish

5275 dmg l-1.6 Bar
214M – 66 2M – (dl)6H5H – SD – jMLLjcLLS – (whiff j214L) – jLL2H – j236M
Perfect Attack Punish with Loops

8339 dmgl 0.6 Bar
214M – Sparking – 66 2M – (dl) 6H5H – {2S(2) – 66 jM – (land) 5H}x3 – 5S(5) – 214L – Lvl3
Perfect Attack Loops Midscreen

7481 dmg +0.6 Bar
214L – Sparking – (dl) 2M – (dl) 6H – {2S(2) – 66 jM – (land) 6H}x3 – 2H – SD – jMjcMH – Lvl3
2H Punish/DR Route

2H – SD – jMLLjcLLL
(In the corner end in jcMLL2H – j236M)
Superdash Confirm Pressure
2170 dmg-0.45 Bar
SD – jMLjcLL – j214L/M – 66 jH – …
(jH safe jumps. Pick your side with j214L/M)
The jH safe jumps 2H and reversals and immediately put pressure back on. You can switch sides with Medium Perfect Attack.
Superdash Confirm Near Corner

3850 dmg
SD – jM – j214H – (land) 66 5M – jMLjcLLS – (whiff j214L) jLLS – SD – jMS – j236M
Vanish Confirm
2958 dmg
… – Vanish – 66 (whiff 5L)LL – SD – jMLLjcLLLS – j236M
Assist BnB (Most Assists/SS) Vegeta A)

-6.5k dmg/5.5k scaled I +1.25 Bar
2M5M – jMLL2H – SD – jLLjcMLL2H – j236M – A1 – 6H5H – 214L – A2 – 5LLL – 214S – 236L+M
2H Punish Assist (Hit A/Any Beam)

6167 dmg1-03 Bar
2H – SD – jMLLjcLLLS- j236L – A1 – jLLjcLLL – A2 – SD – jLL – j214M – Vanish – (land) 66 2M – 214L – 236L+M
Corner Rejump Extension (Most Assists)

6402 dmgl 11 Bar
5M2M – 6H5H – (dl) SD – 66 jM – 669 jLMjcLMS – (whiff j214L) – jLLS – SD – jMS – j236M – A1 – DR – 236S – 236L+M.
Annotations & Damage are for Lvl 1 ender.
TODs
0.2 Bar Positive TOD (Any C/Any Beam)
2M(dl)6H5H – SD – jMH – Sparking – 2M(dl)6H5H – jMS – 66 jS – SD – jMS – j236M – A1 – 5LLL – jS – j236M – A2 – 44 DR – Lvl 1 Lvl1 Lvl3.
0.5 Bar Positive TOD (Fast Assist/SSJ Vegeta A)

214M – Sparking – 66 2M – (dl) 6H5H – j2Hjc2H – j236M – A1 – 6H – jMS – 66 jS – SD – jLLL – A2 – (land) jSjcS – j2M – Vanish – DR – A1 – 214S – Lvl3.
2.6 Bar Limit Break TOD

214M – Sparking – 66 2M – (dl) 6H5H – {2S(2) – 66 jM – (land) 5H}x2 – jLLS – SD – jLLL – j236H – Vanish – 66 2M – 214H – [Vanish] – DR – Lvl3.