The Continuum Shaders makes your world look more realistic, colorful and vivid. This mod sharpens some of the lighting effects of SEUS and also brings many exciting changes and features into the game.
Follow the following steps to install Continuum Shaders 1.15.2 in Minecraft:
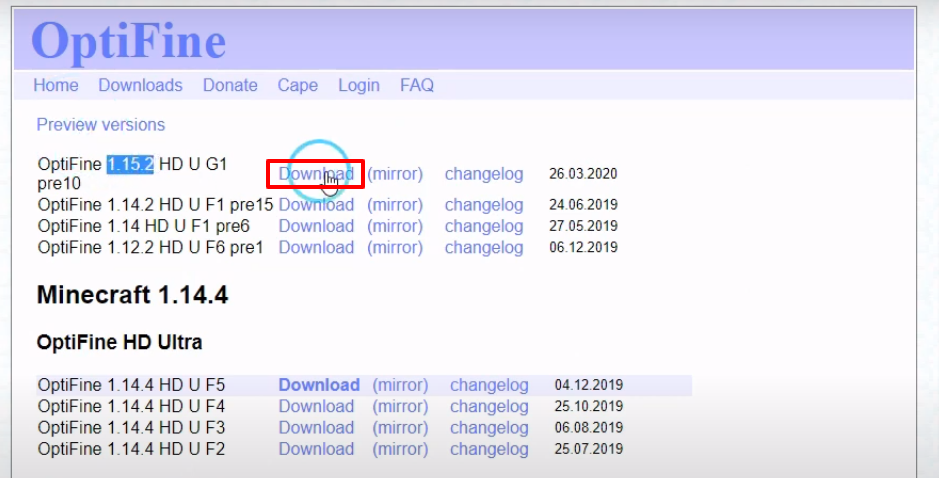
- Open the line below and download the setup.
https://optifine.net/downloads
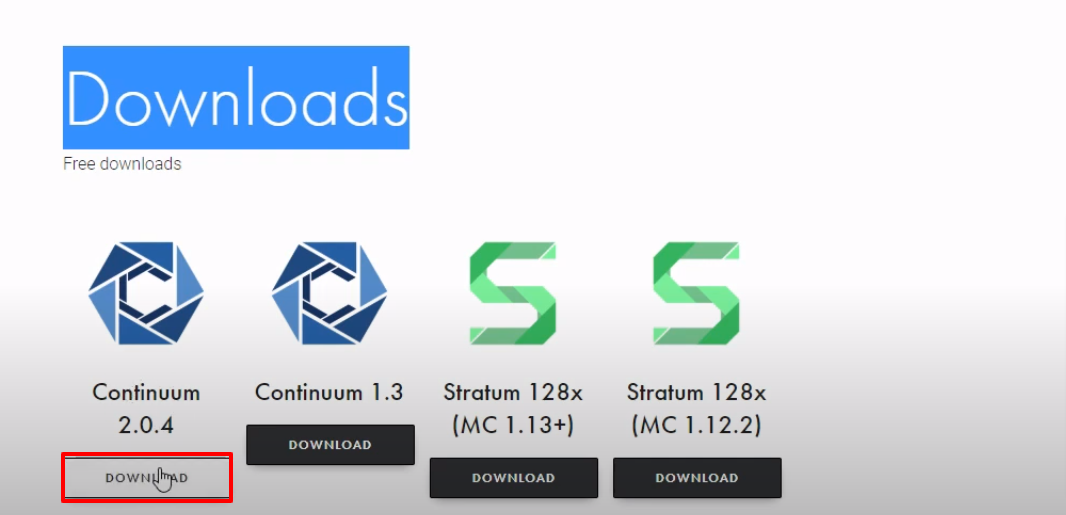
- Open up the following link and download the mod file.
https://continuum.graphics/downloads
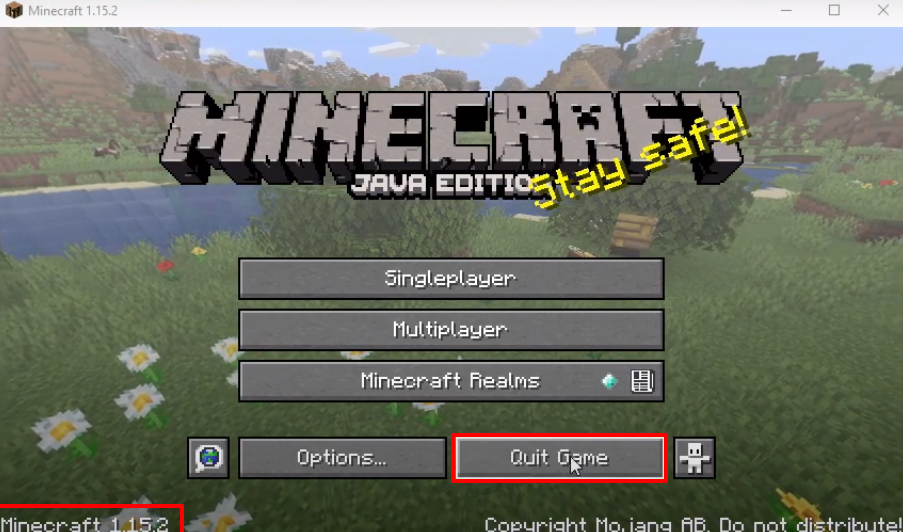
- Launch Minecraft, select the latest release and then click on PLAY.

- Check for the version and then click on “Quit Game”.
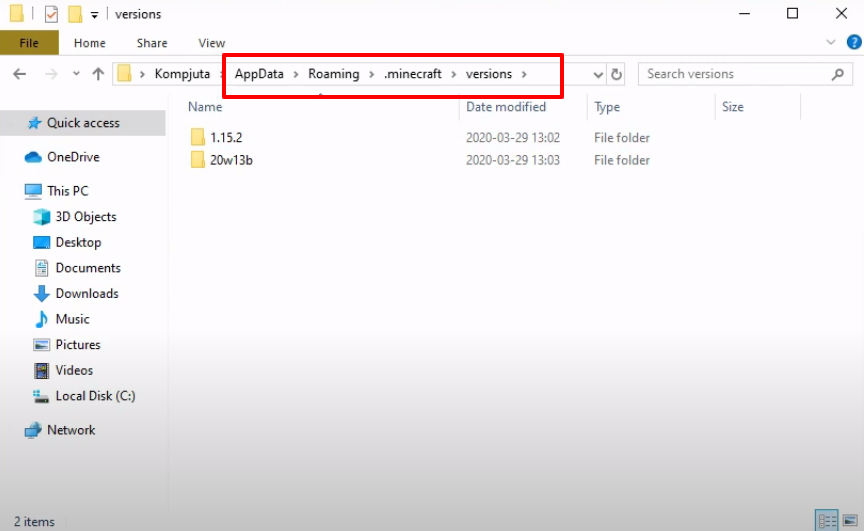
- After that, press windows+R to open the run dialogue box, type %appdata% here and hit enter.

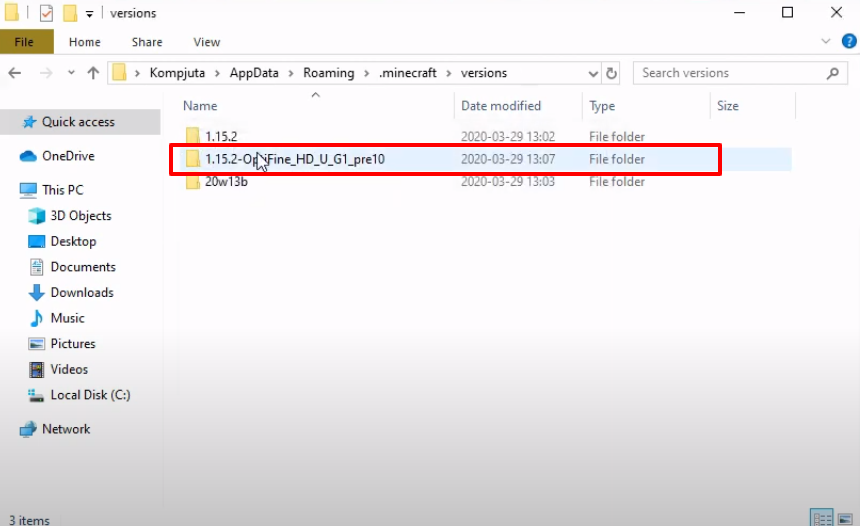
- Follow the path to the versions.
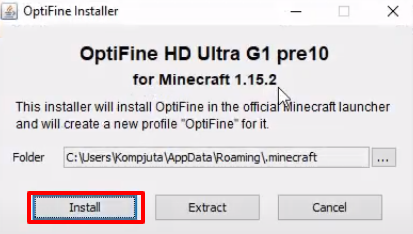
- And click on Install.
- As the installation gets completed, a new folder will be generated in the versions folder.
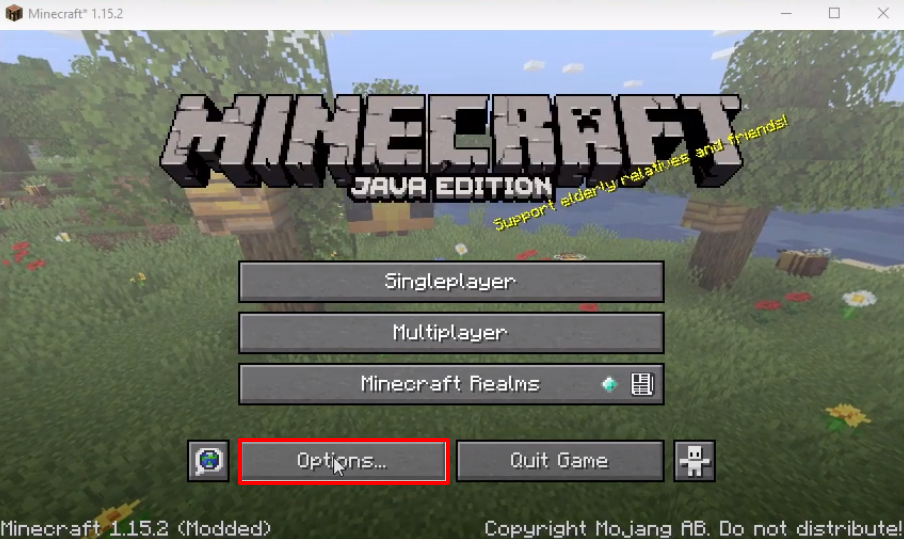
- Launch Minecraft, select the OptiFine version and then click on PLAY.

- Click on Options..
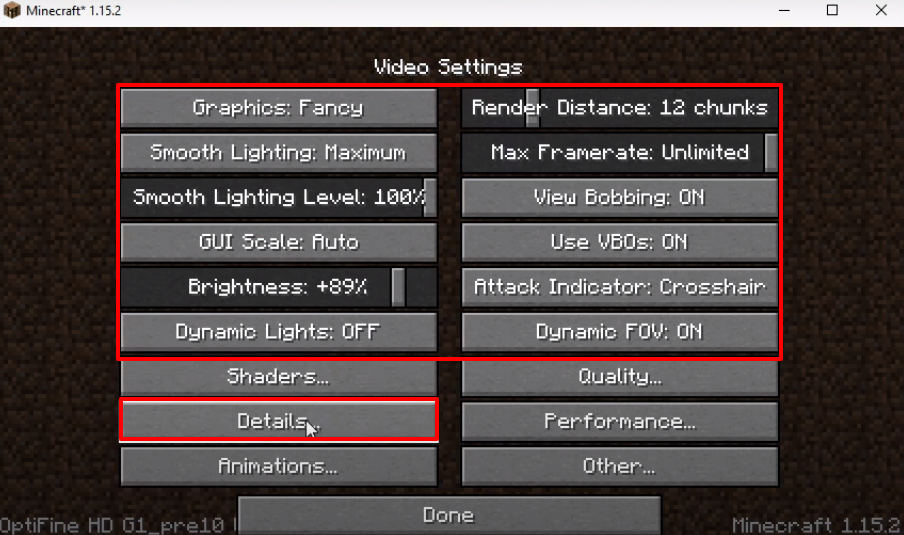
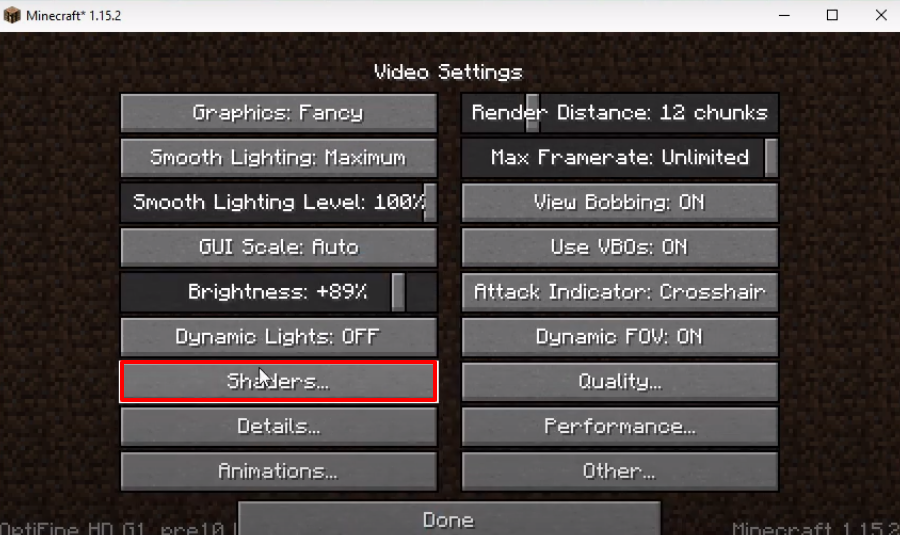
- And then tap on the Video Settings…

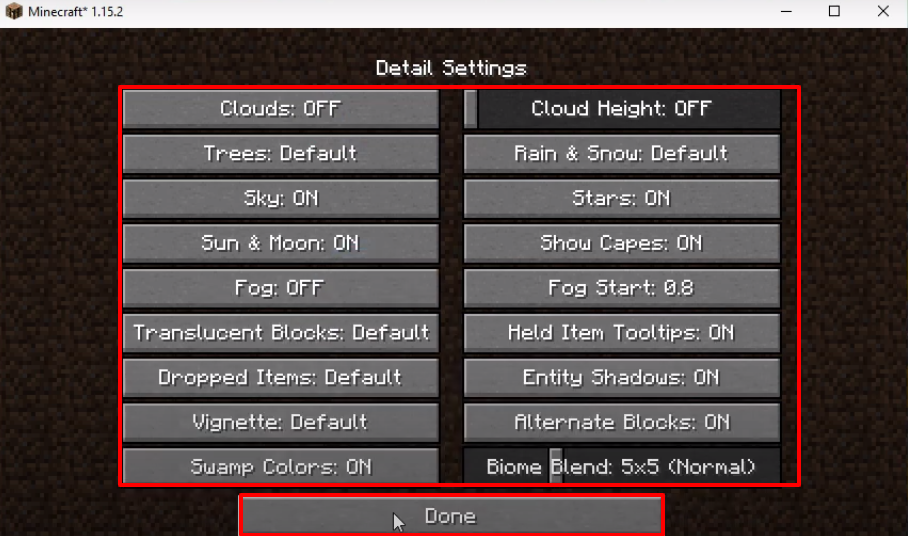
- Make some changes as shown in the image below and then click on Details.
- Make changes as shown in the image below and then click on Done.
- Now you will need to click on Shaders…
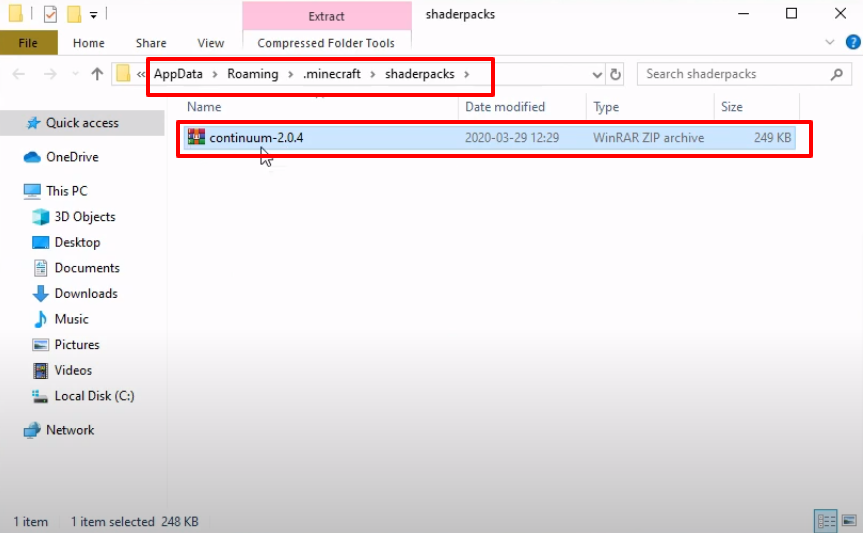
- And then click on Shader Folder…

- Paste the downloaded rar file in the shaderpacks folder.
- Click on the zip file and tap on Done.
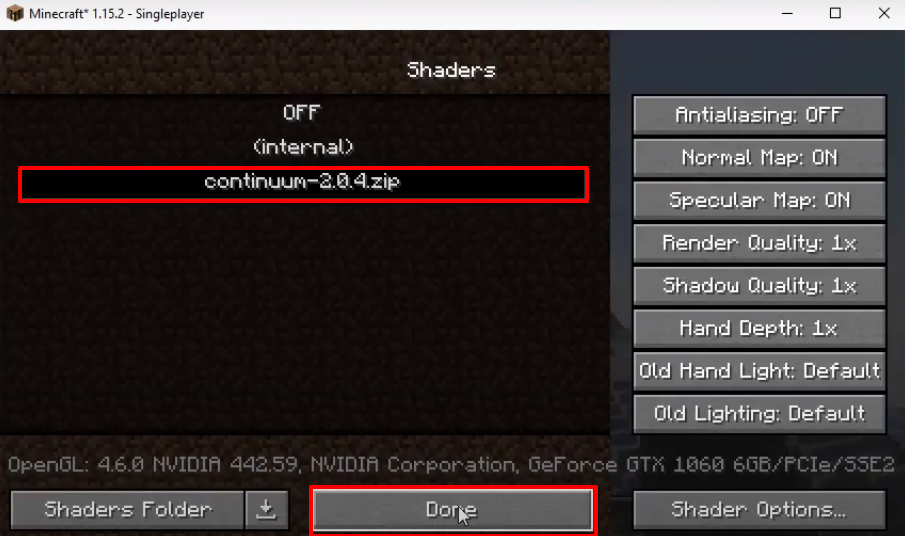
- Click on Done.
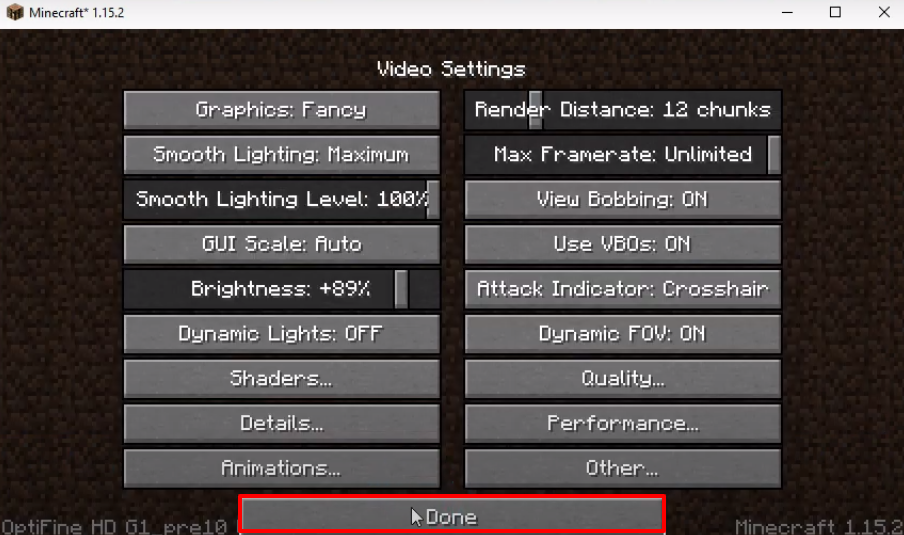
- Click on Done.

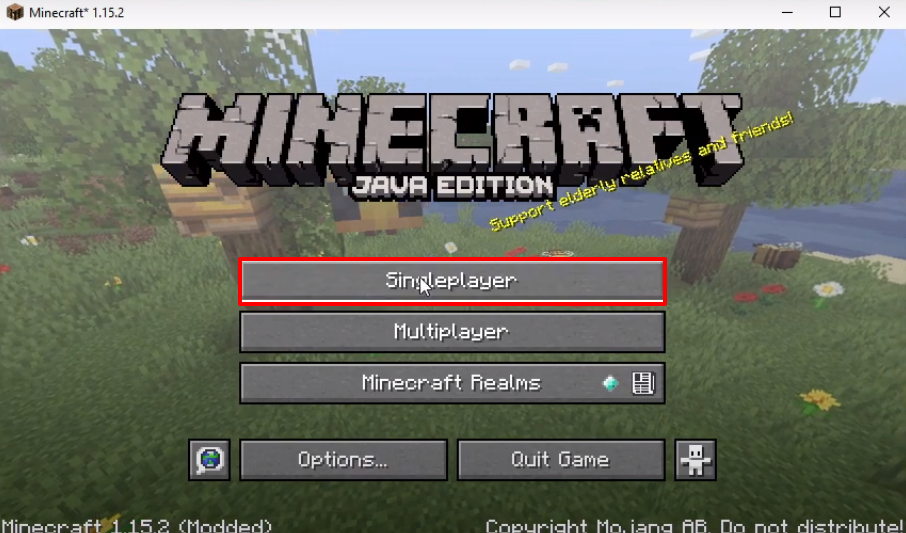
- Now you will need to click on Singleplayer.
- Click on the Create New World.

- Click on More World Options…
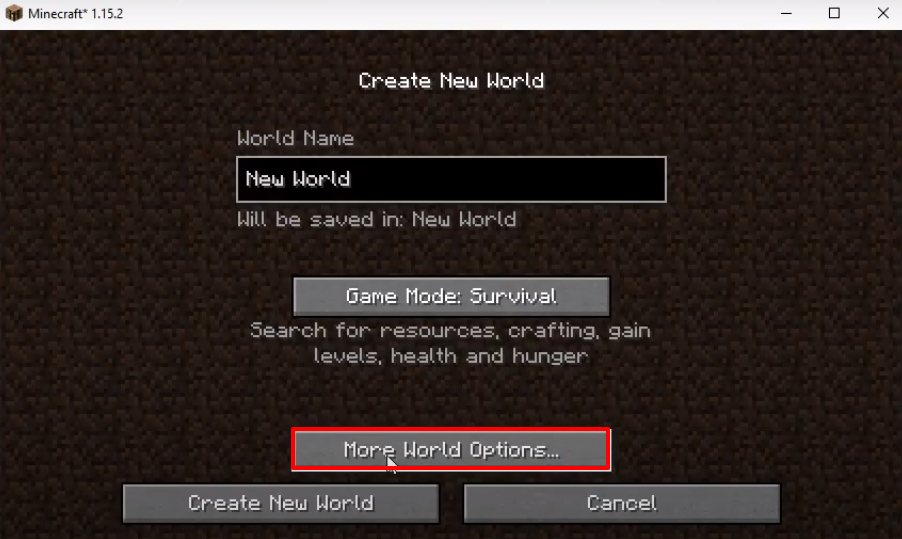
- Make some changes as shown in the image below and then click on Done.

- Click on Create New World.

- Explore and enjoy the game.
