If you want to enable Nvidia G-Sync in Windows, then this guide will help you to do so. Go through the guide and follow all the steps carefully to do so.

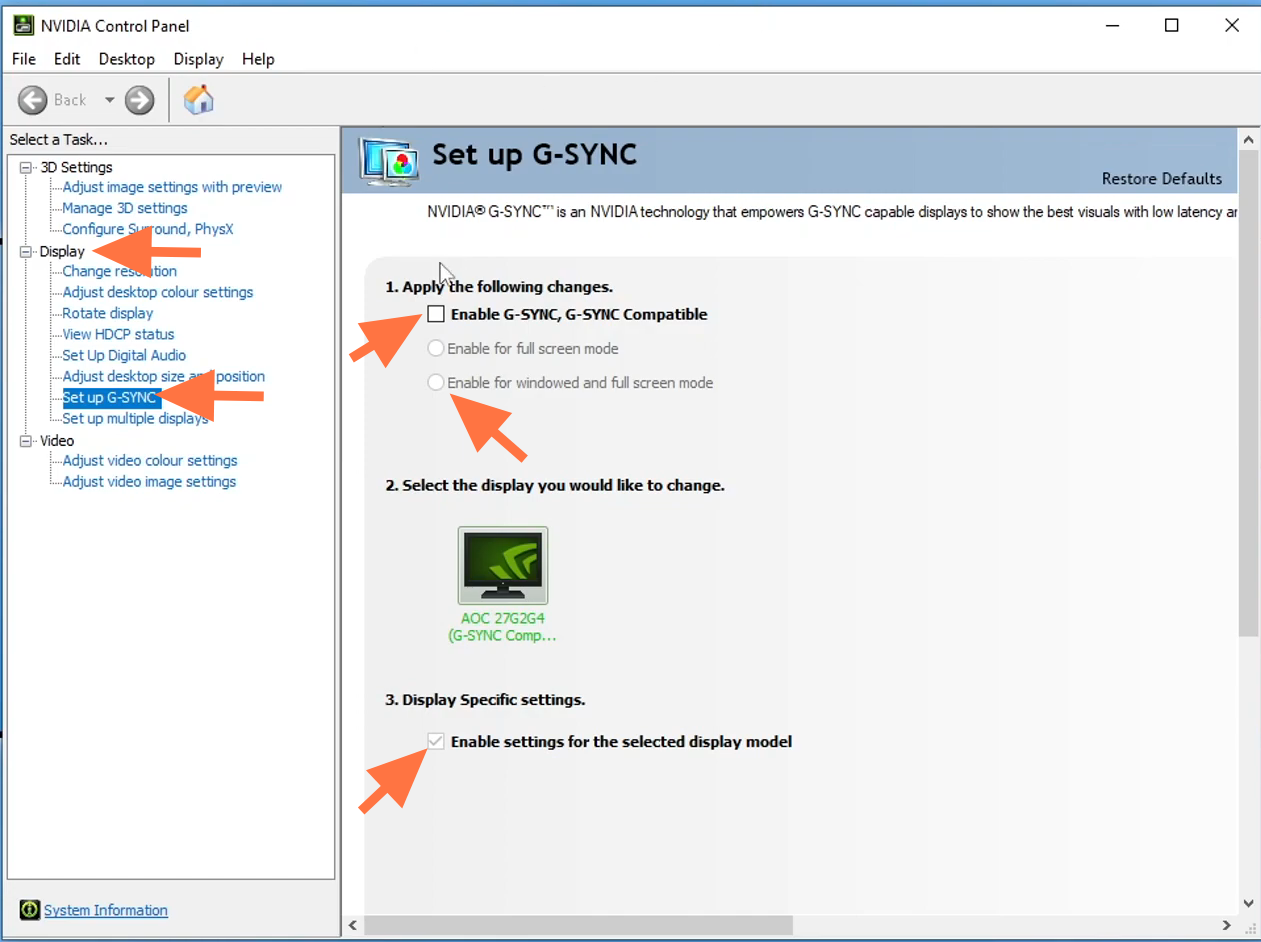
2. Once you’re on the Nvidia control panel, you will find an option for display and under that, you will find setup g-sync. There will be an option to enable g-sync on the right-hand side of the screen. If you do not see the option to enable g-sync then that means unfortunately your monitor does not support G-sync.

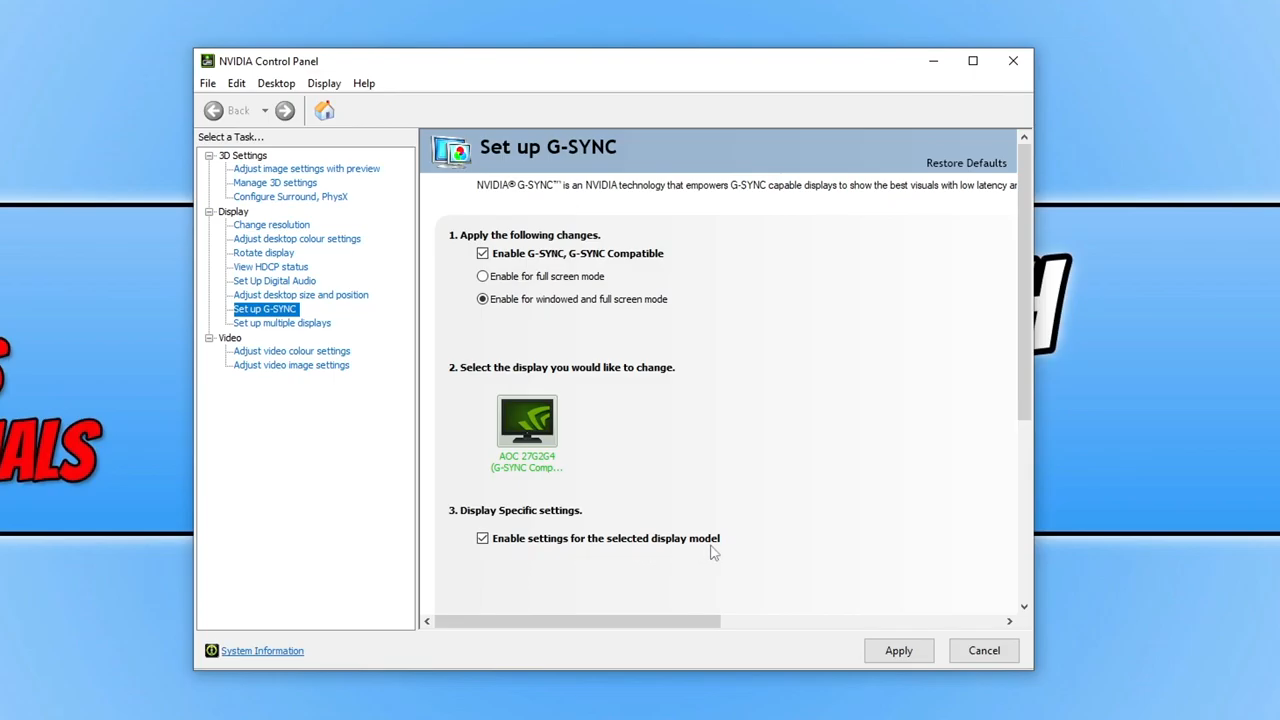
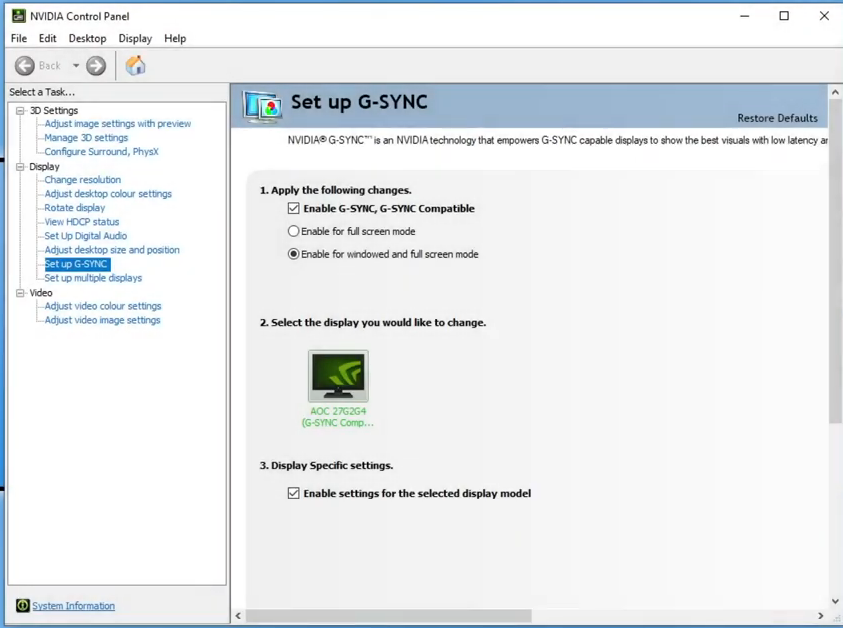
3. So go ahead, check the “Enable G-sync” checkbox, and then you will have two different options you can either enable it for full-screen mode or you can enable it for windowed and full-screen mode. So you need to go with the second option and then you will find your monitor for which you’re enabling G-sync. Then you will find the option to enable settings for the selected display model, you need to ensure it is checked well. Once you’ve done that, go ahead and press apply.

4. Your screen will go black for a second and when the display is resumed, you will find see that the g-sync has been enabled. It’s recommended to restart your computer before you do anything else in windows. That’s it.

