In this guide, you will come to know how to fix the Epic Games Launcher Download Speed Stuck at 0. You will also find the best ways to fast download the games in Epic Game Launcher.
You will need to follow the steps below to boost up your downloading speed of the game.
Step 1
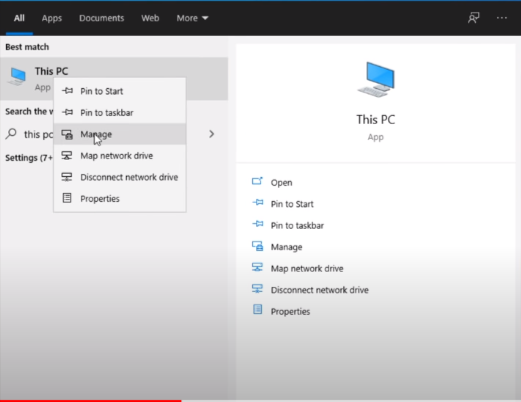
First, you have to go to the start menu and search for This PC, right-click on it, and select the Manage option. It will open up a new, as shown in the image below.
Step 2
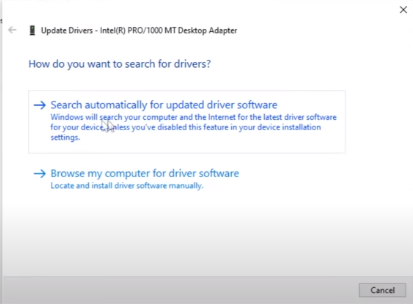
You will find a Device Manager option on the left side, click on it, and navigate to the Network adapters option. You have to right-click on your network adapter and then select the Update drivers option. It will open a new tab, and you will need to select the “Search automatically…..” option, as shown in the image below.
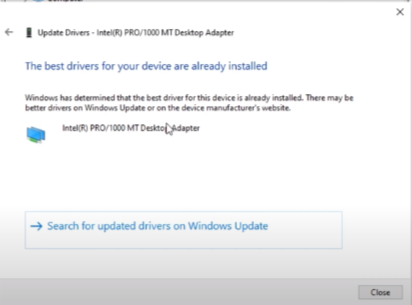
If any update is available, it will show up, and if it’s fully updated, it will show you that it’s already installed, as you can see in the image below.
Step 3
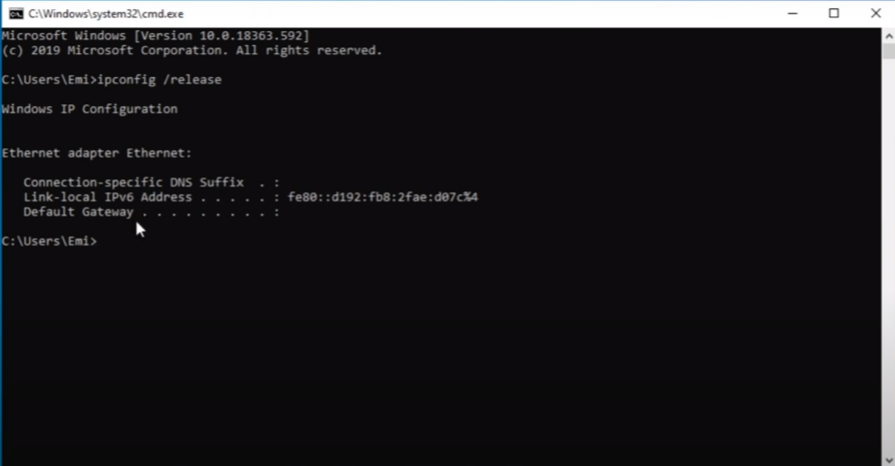
Now you have to renew the IP address, press the windows and the R key simultaneously to open up the Run box, and then type “CMD” in it.
When it is opened, you will need to type “ipconfig /release” and press the Enter key.
Step 4
While running the commands, make sure to save because it will disable your internet connection automatically.
You have to type the second command, “ipconfig /flushdns” and press the enter key.
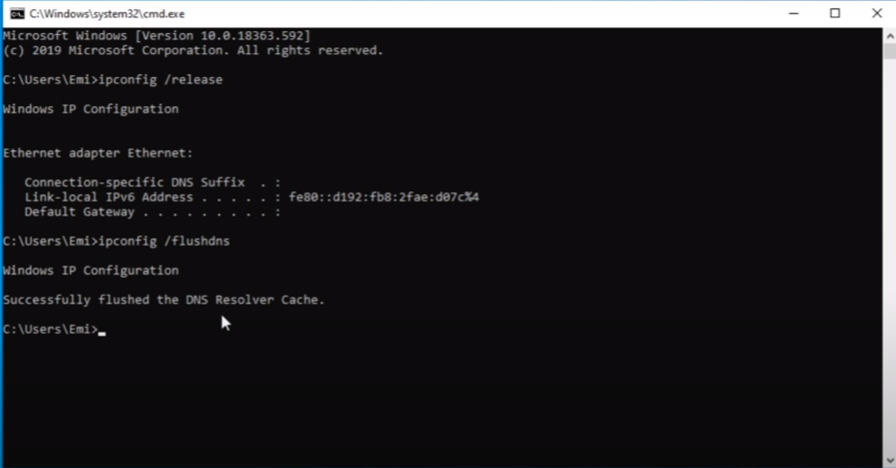
Step 5
Next, you will need to type the last command, “ipconfig /renew” and press the enter key from the keyboard. It will restore your internet connection.

Step 6
Now you have to close the command prompt, restart your PC, and check the downloading speed.
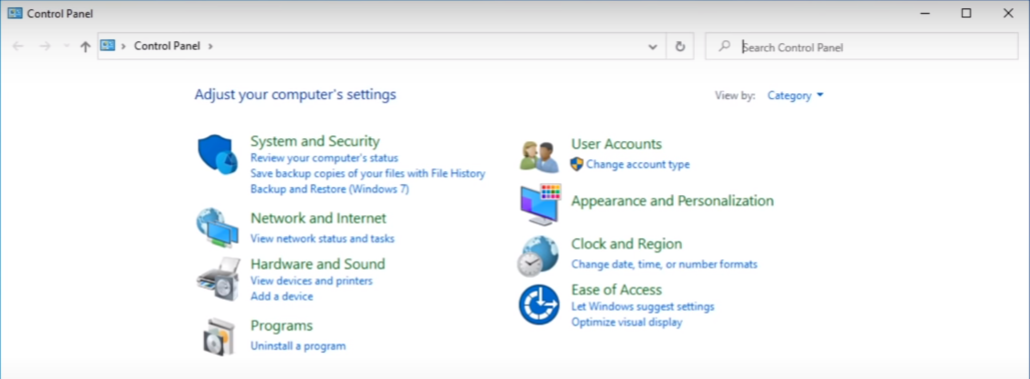
If the issue remains, you have to change the DNS server because Windows didn’t get you the best DNS server a few times. To change it, go to the search bar right next to the windows menu, and there you have to type the control panel and then open it.
You have to go to the Network and Internet option and then navigate to the “network and sharing center”. You will find the change adapter option on the left side, so you have to open it up, as shown in the image below.
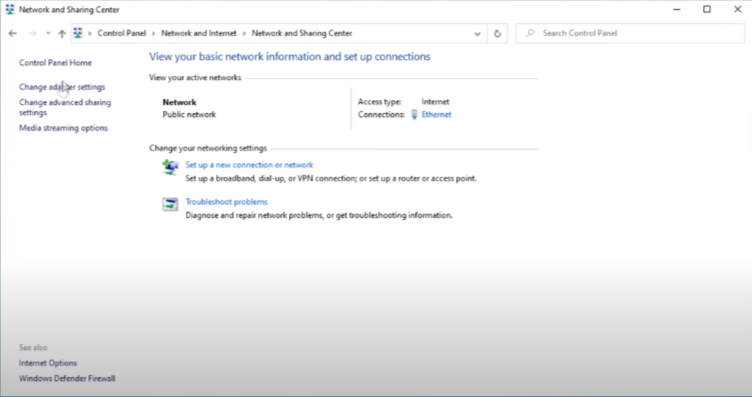
Step 7
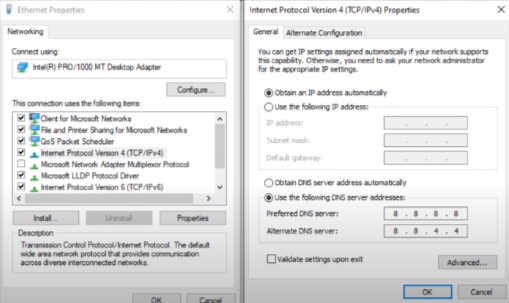
After that, right-click on the Internet Connection there and select the properties option. Then you have to navigate to the internet protocol version 4 option.
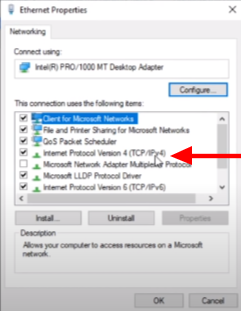
Step 8
Double click on it, and then you will find the general properties of ipv4; you have to make sure that there is a check on “obtain an IP address automatically”. You will find the DNS option; you have to check the “use the following DNS server addresses” and then type 8.8.8.8 in the preferred DNS server. And second, you have to type 8.8.4.4 in an alternative DNS server, as shown in the image below.
Step 9
Press the OK button, close all the tabs and restart your system to fix the issue.