This guide will provide you with the most reliable method to fix the FiveM Network Connection error in Windows 10/8/7.
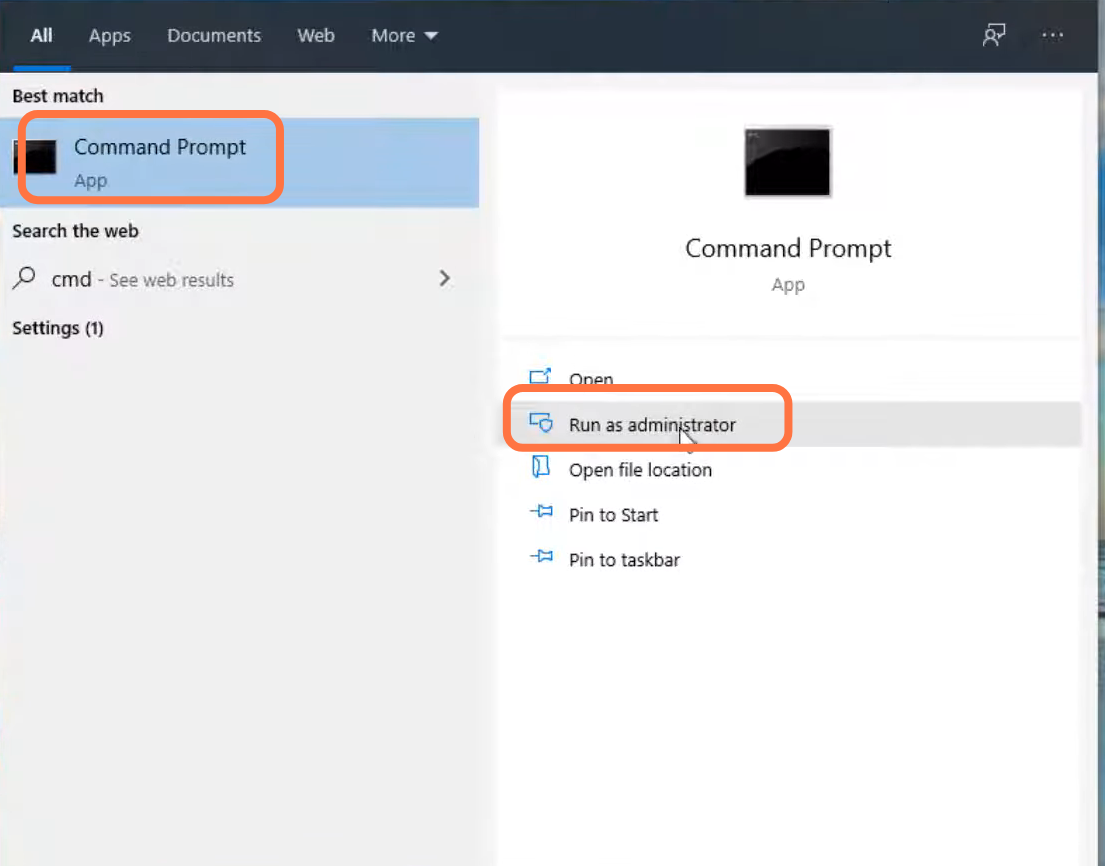
1. You will need to search the command prompt and run it as administrator.
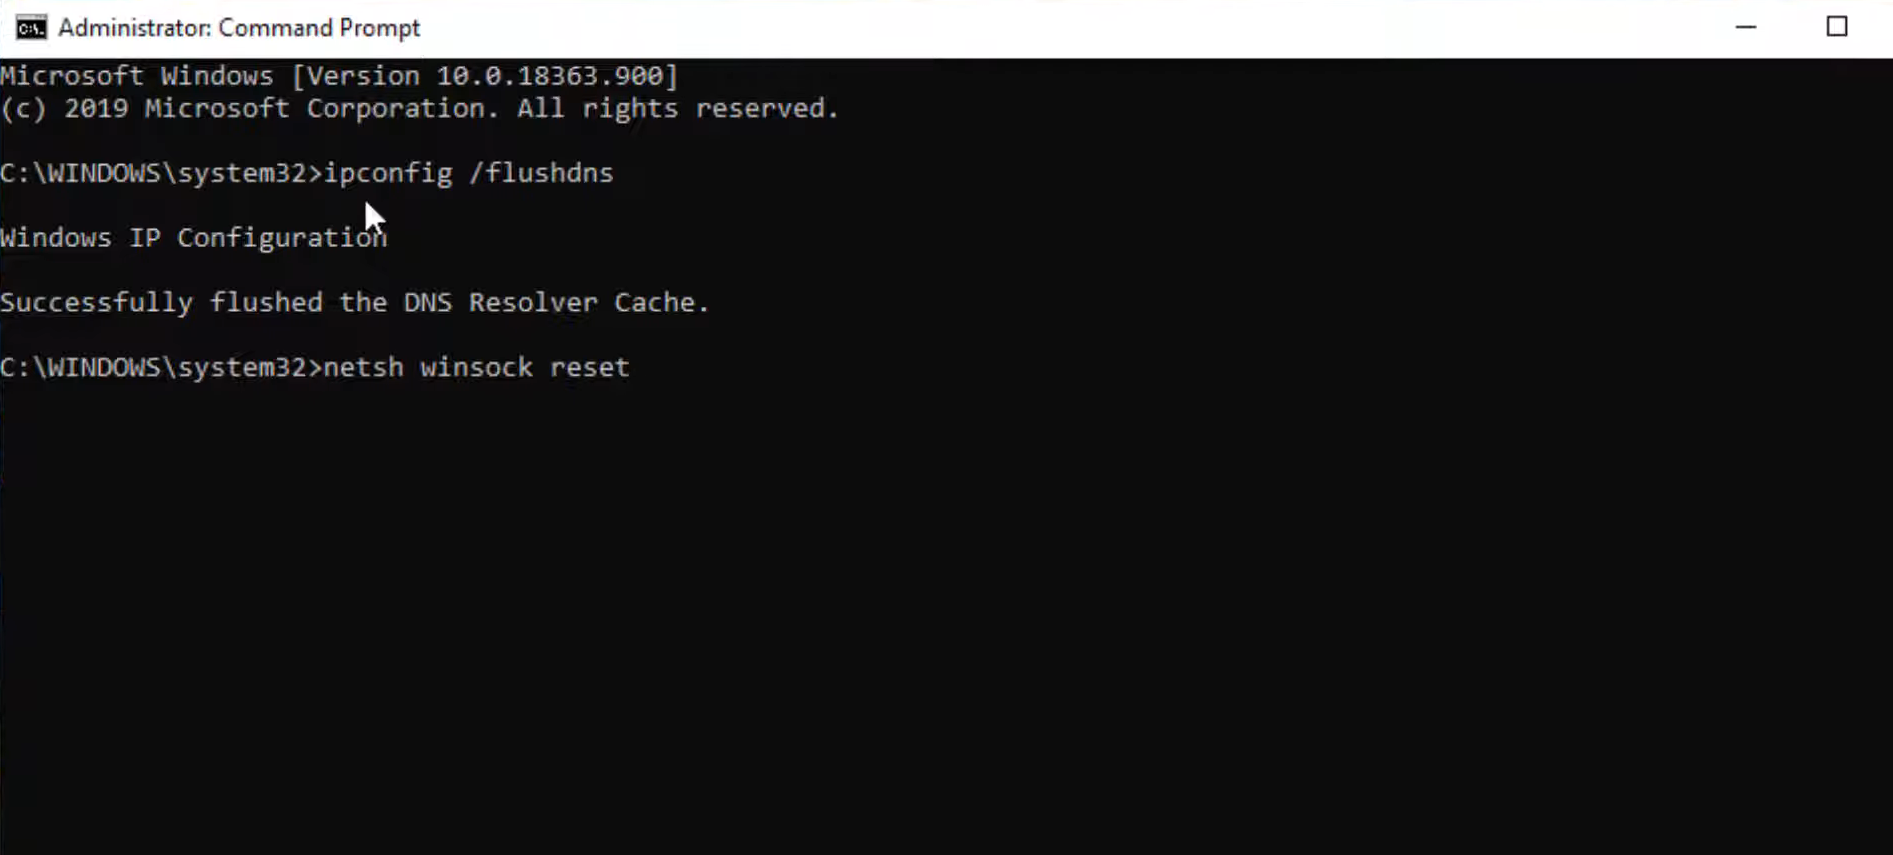
2. Type “ipconfig /flushdns” and press the enter button.

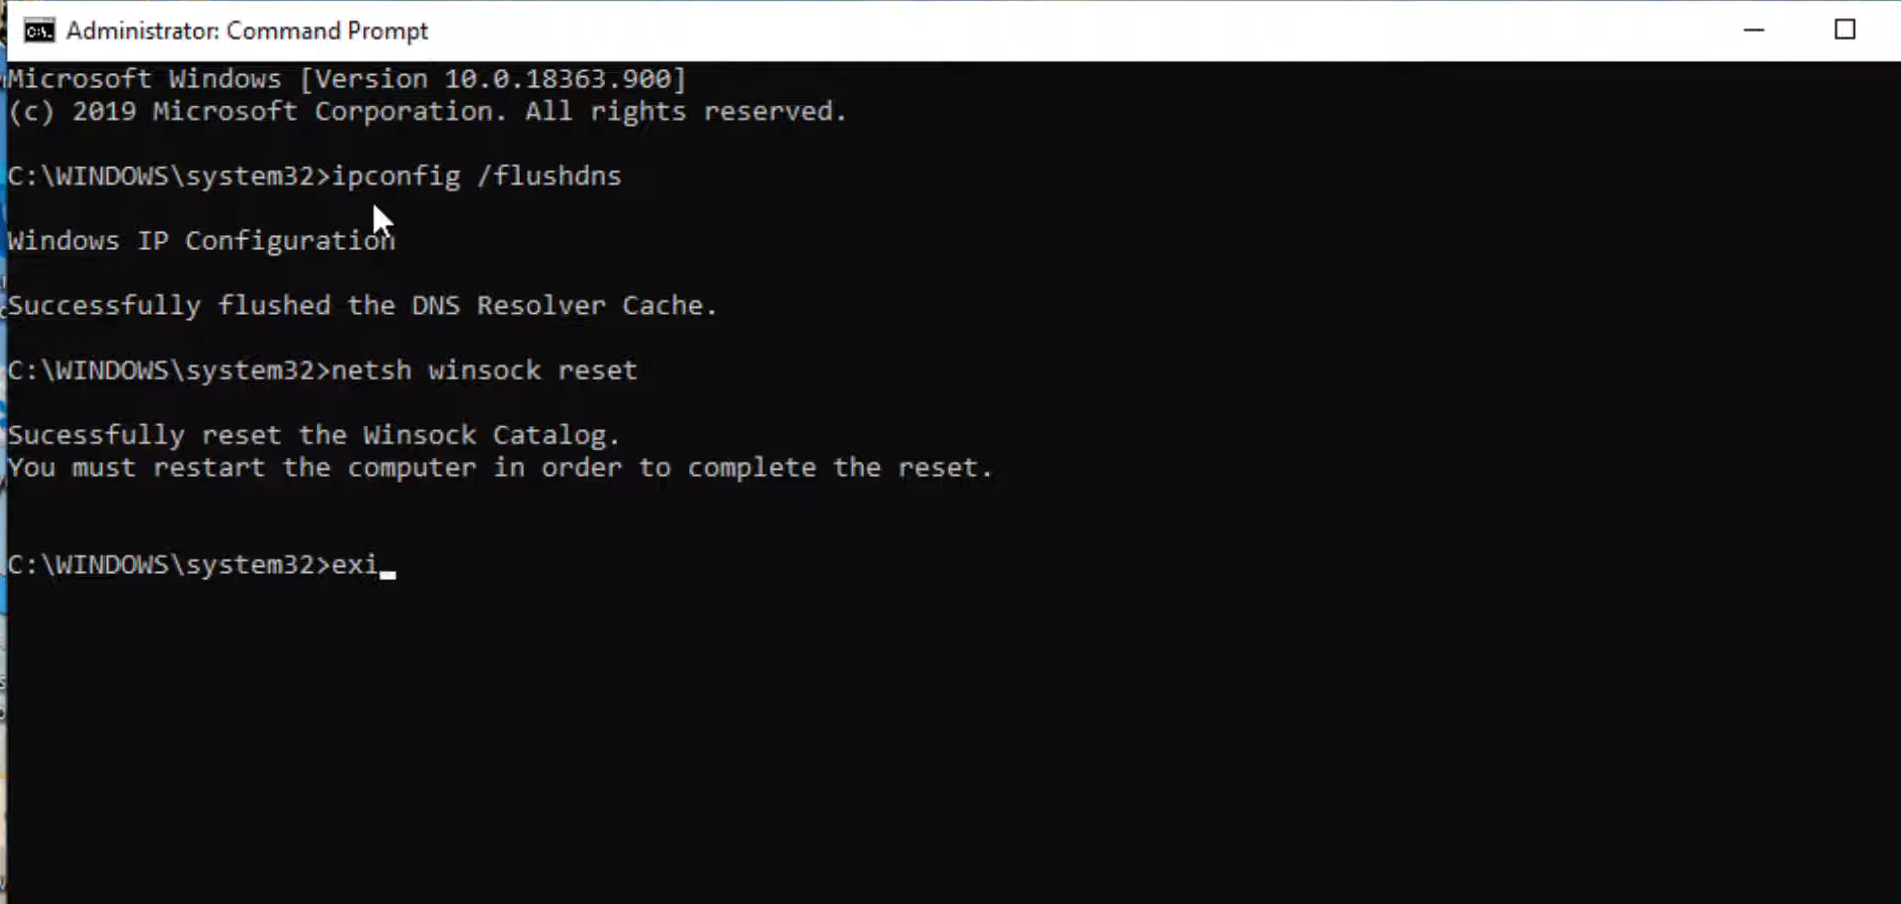
3. After that, input the “netsh winsock reset” command and press the enter button to execute it.
4. Then use the “exit” command to close the cmd interface.
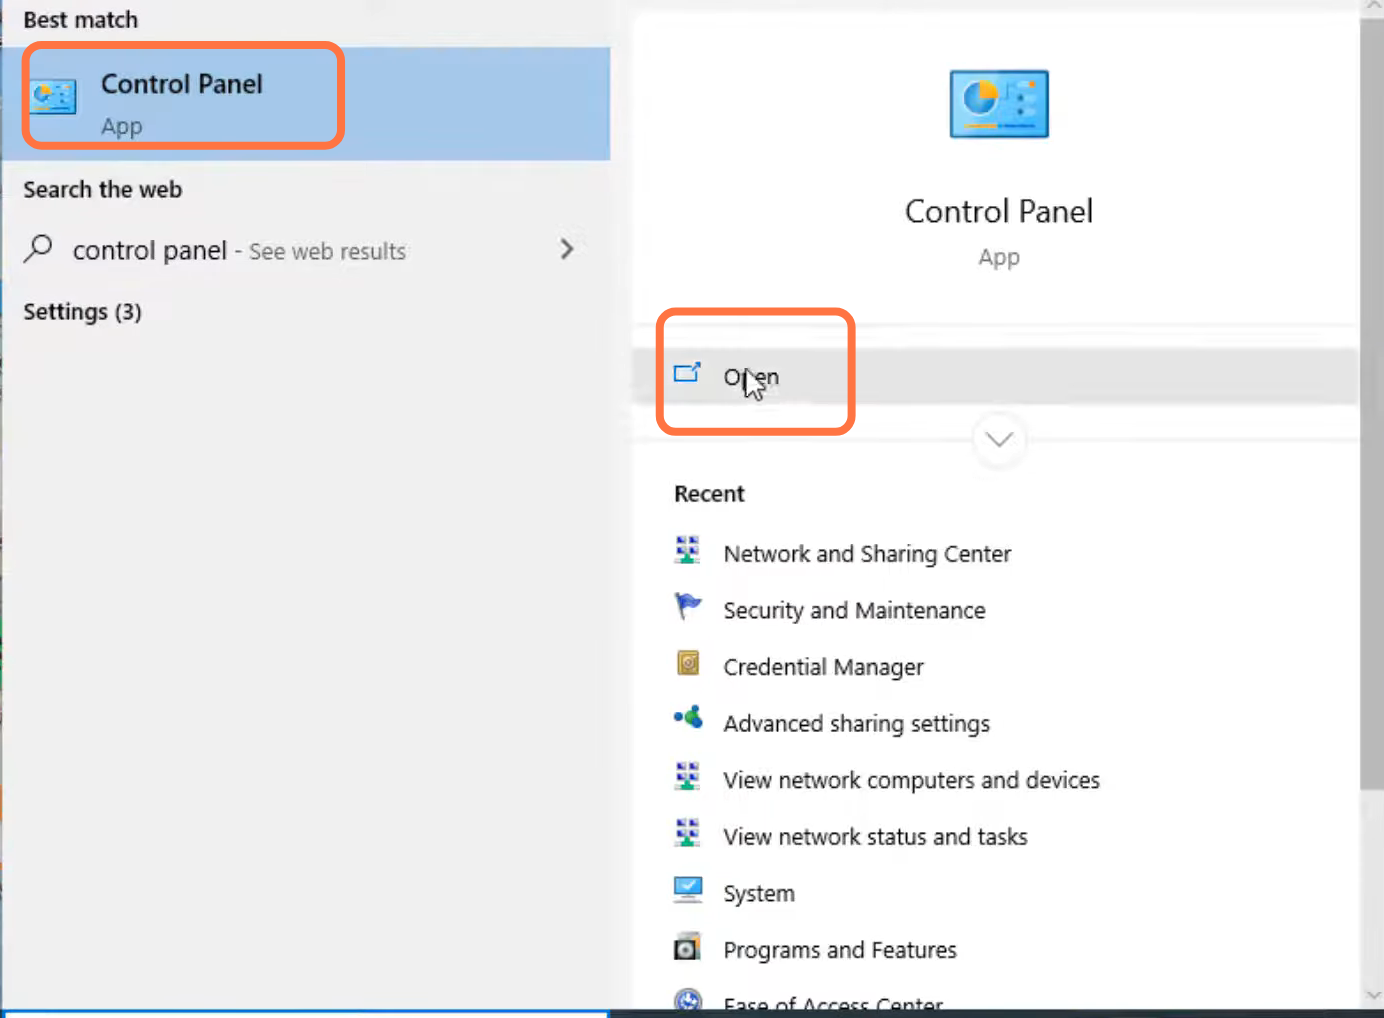
5. Next, you will need to open the Control panel.
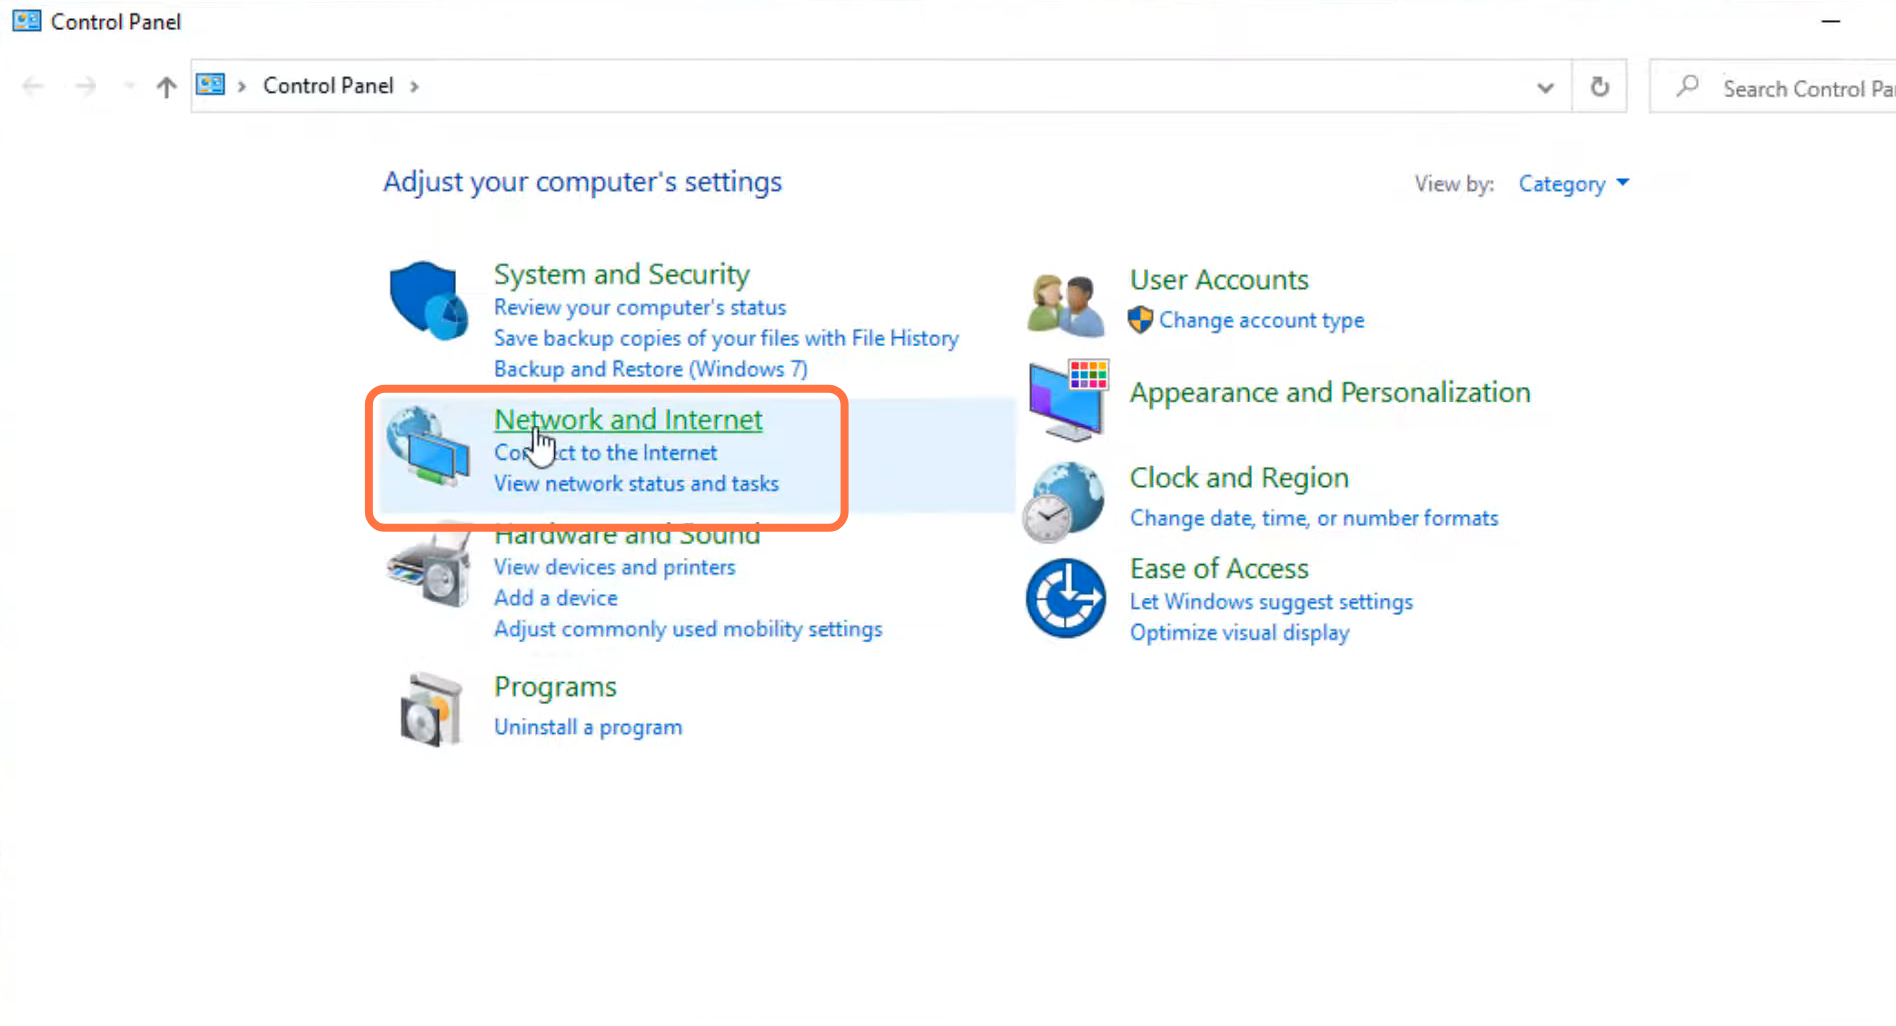
6. And double click on “Network and internet”.
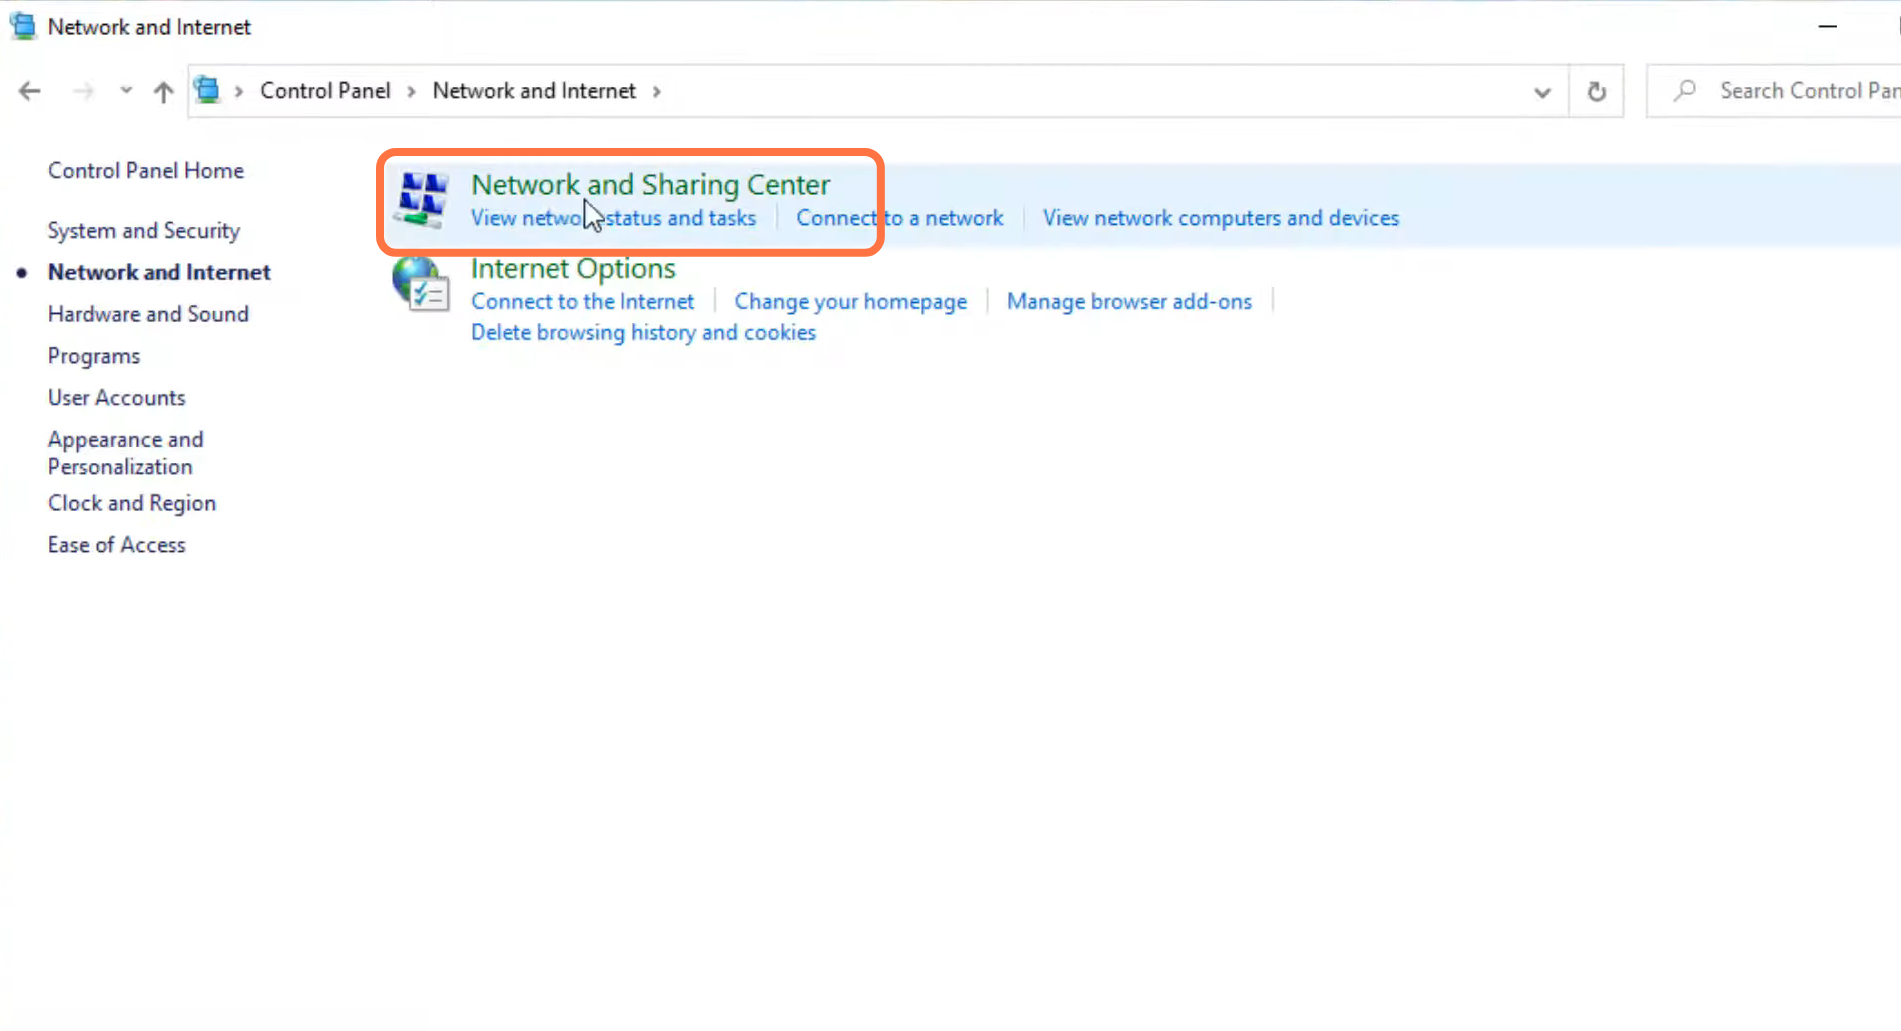
7. Enter into Network and sharing center.
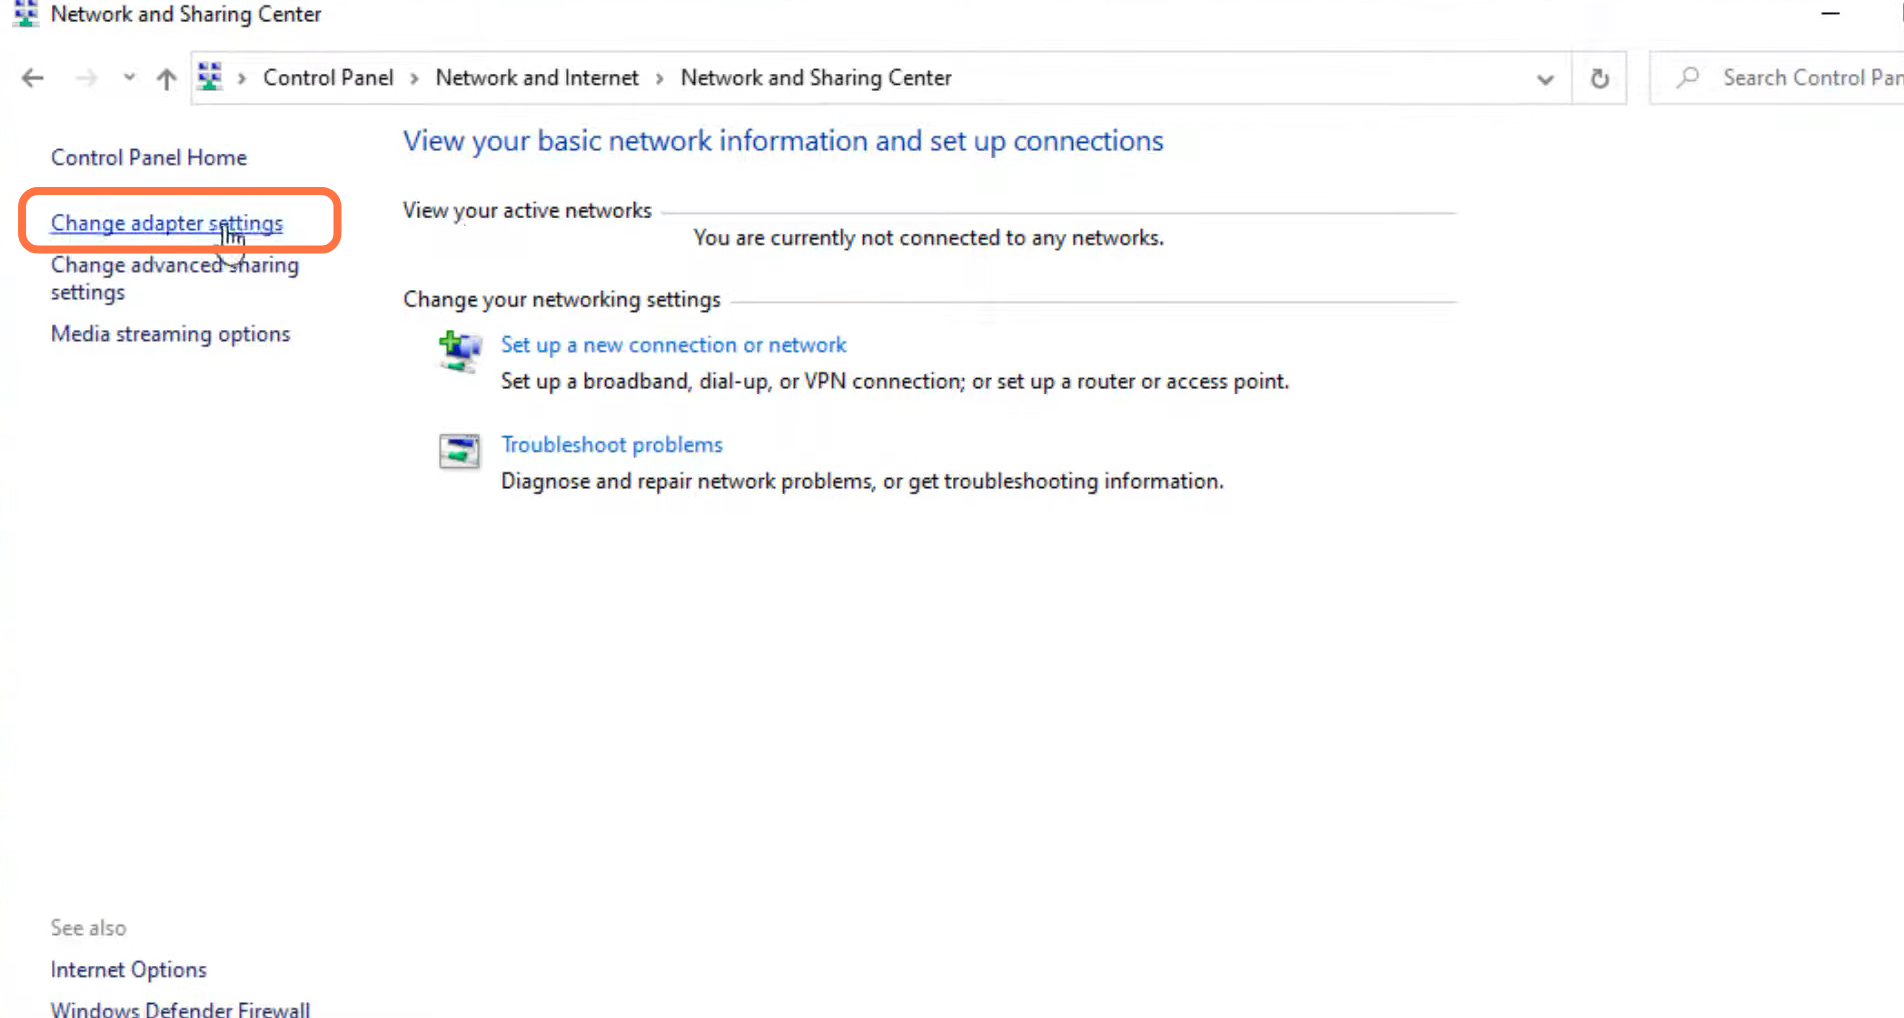
8. And tap on “Change into adaptor settings.”
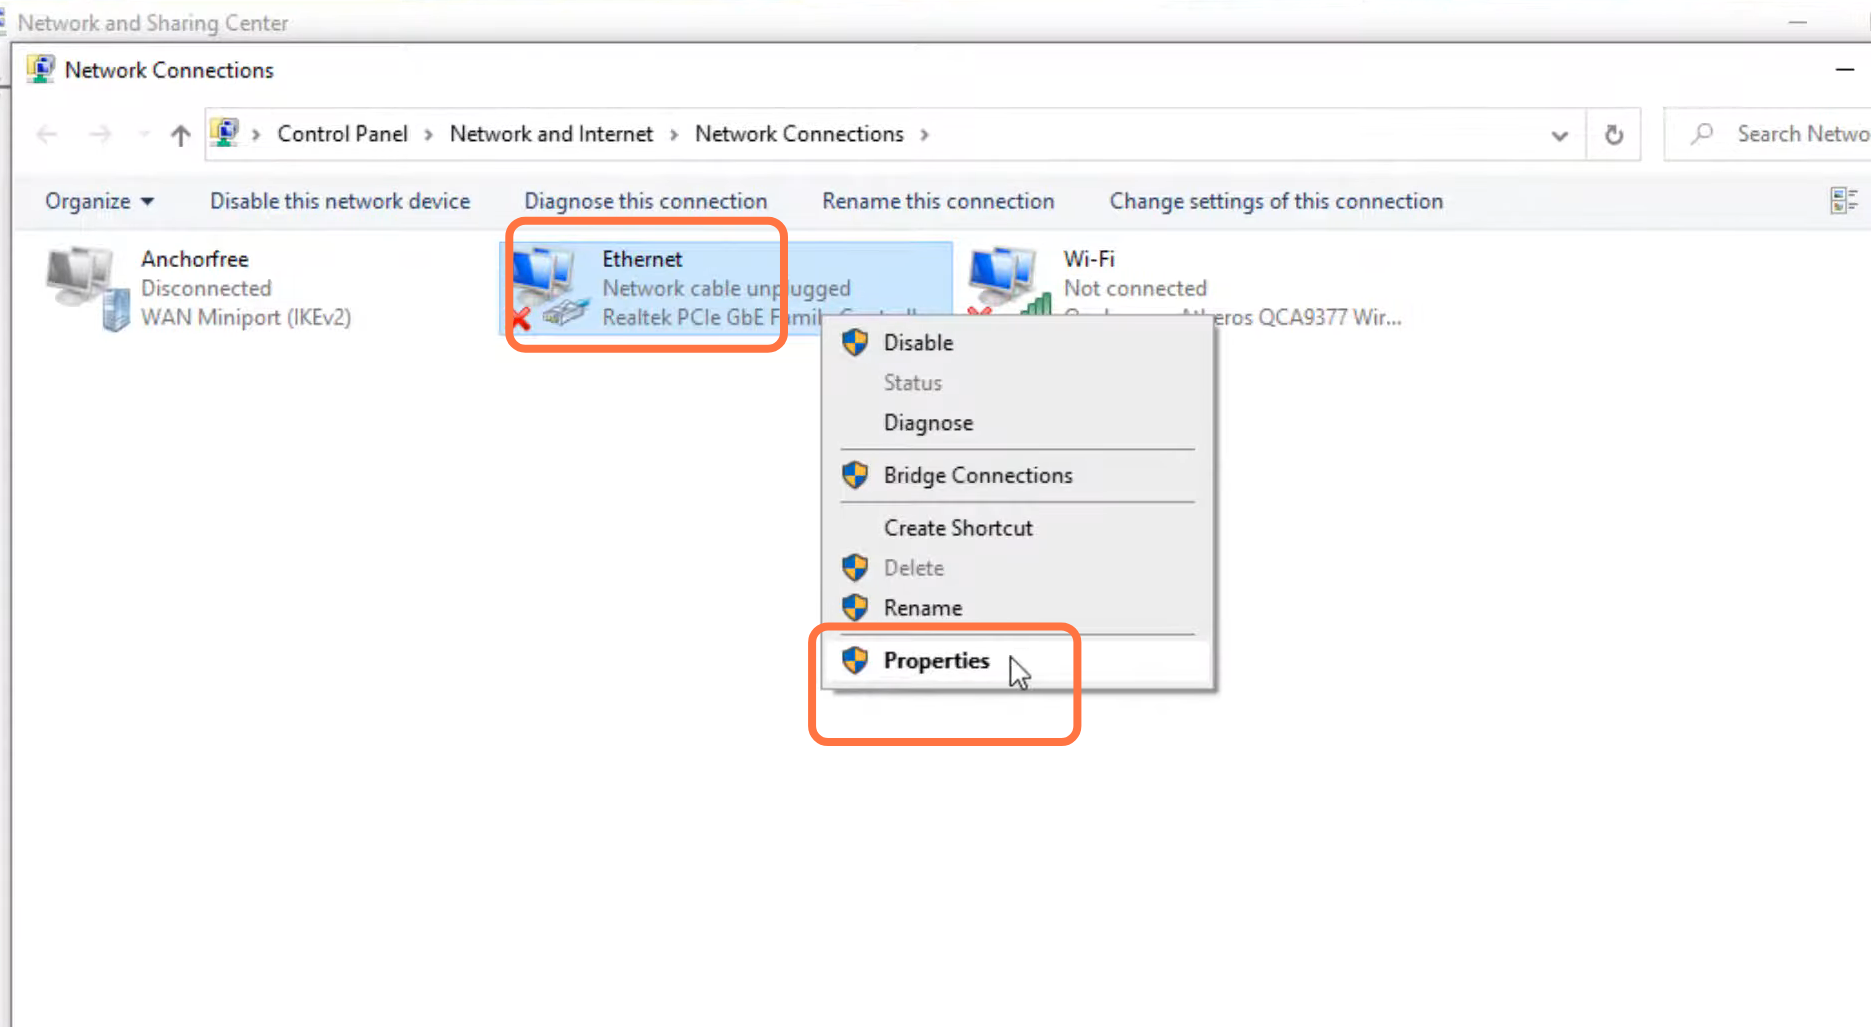
9. Left click on Ethernet and go to its properties.
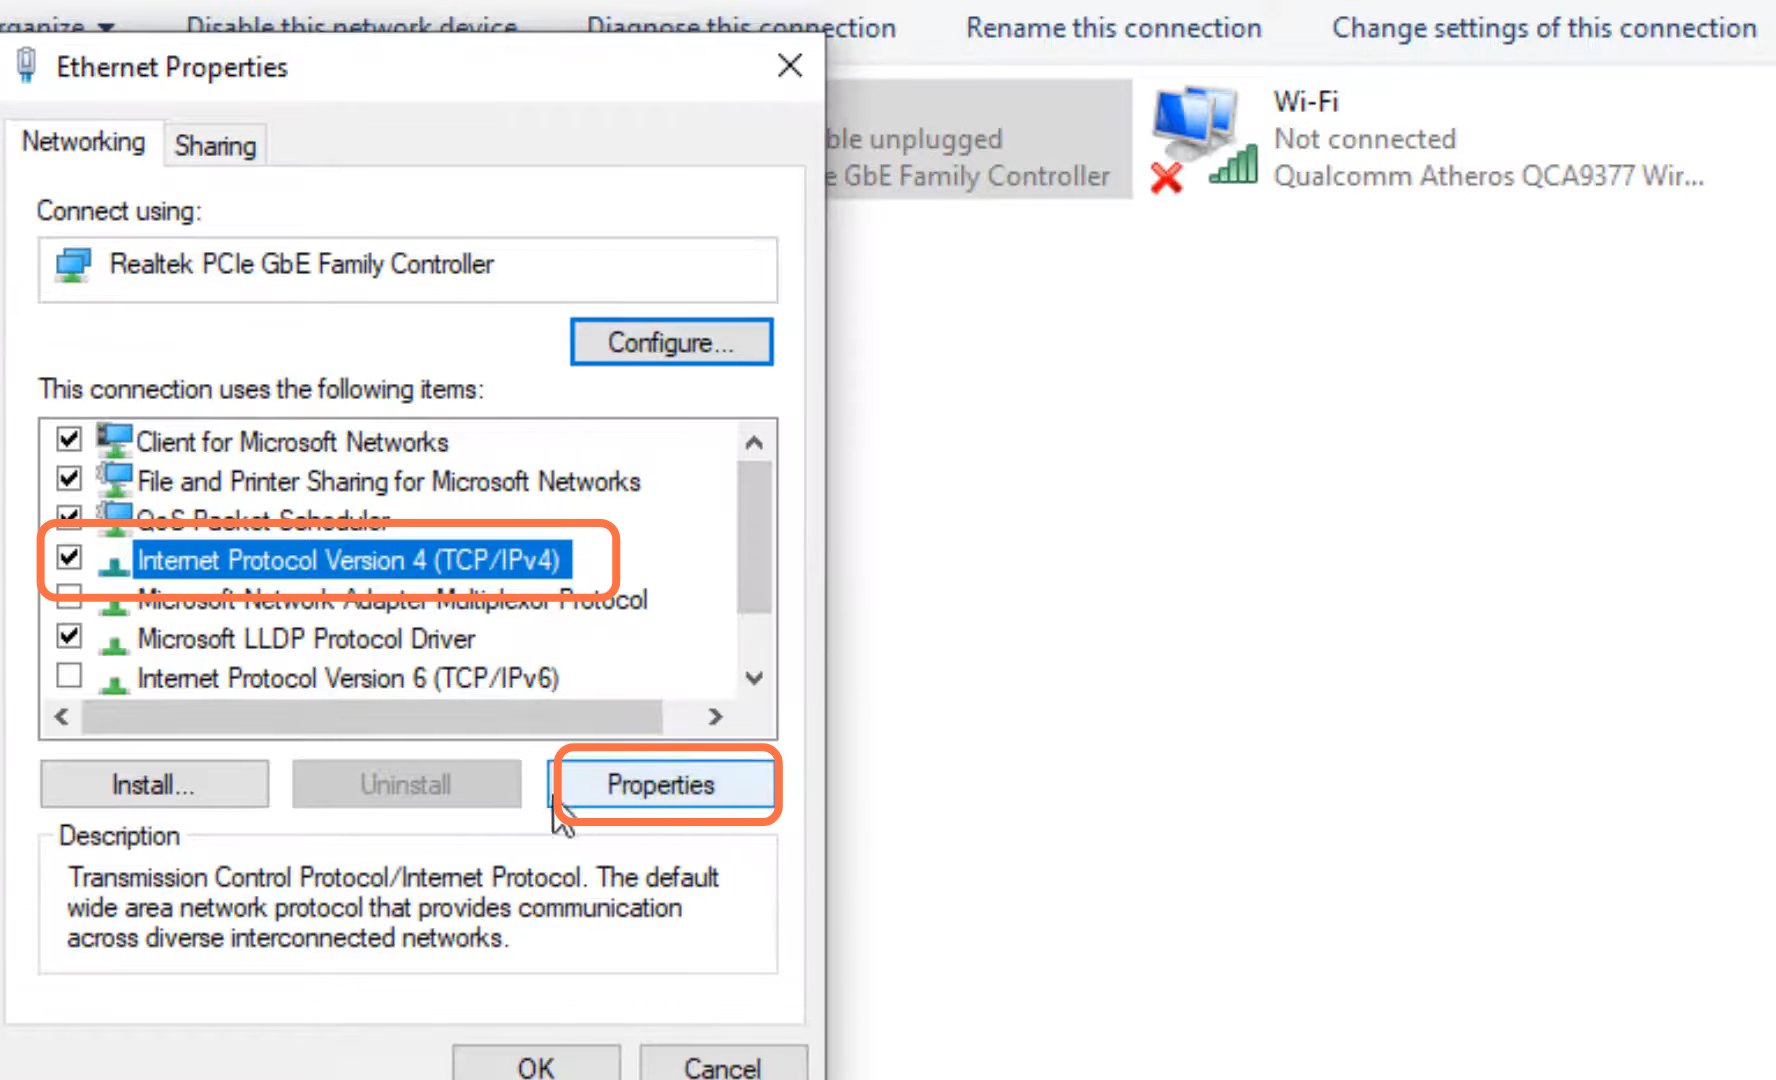
10. Enter Internet protocol version 4 (TCP/IPv4) and go to its properties.
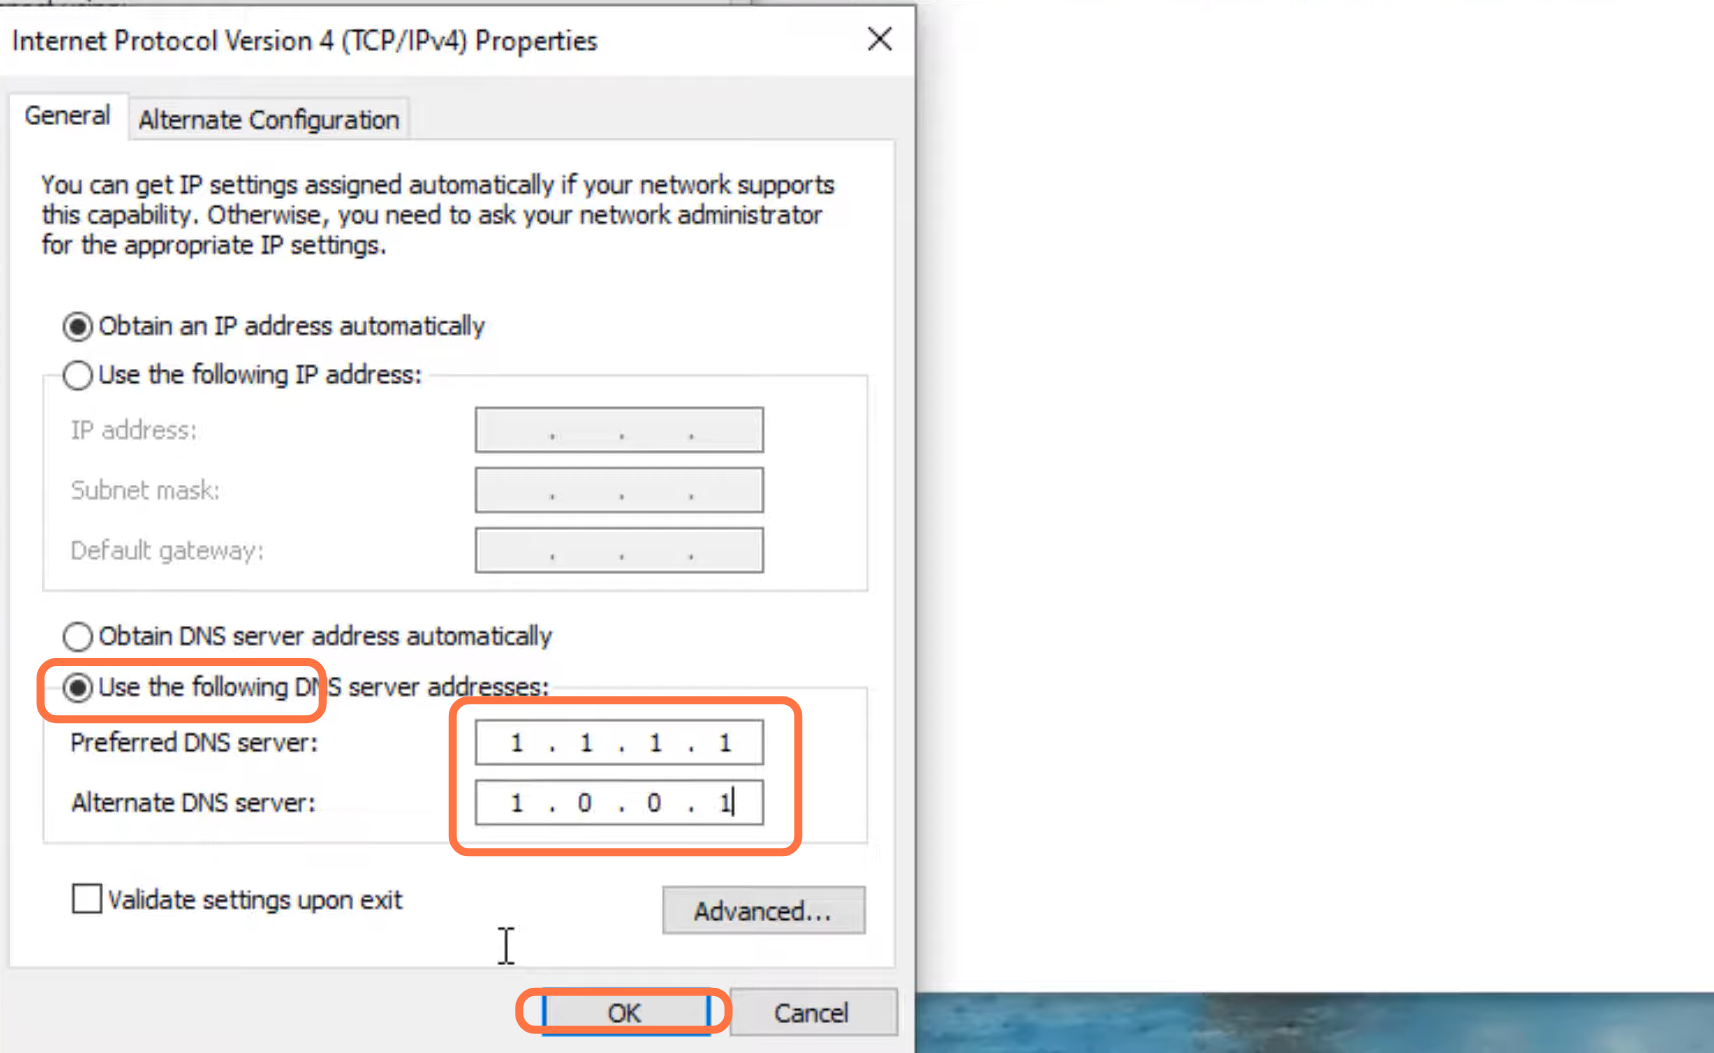
11. After that, enable DNS, input 1.1.1.1 in the Preferred DNS server and 1.0.0.1 in the Alternate DNS server, and press OK.
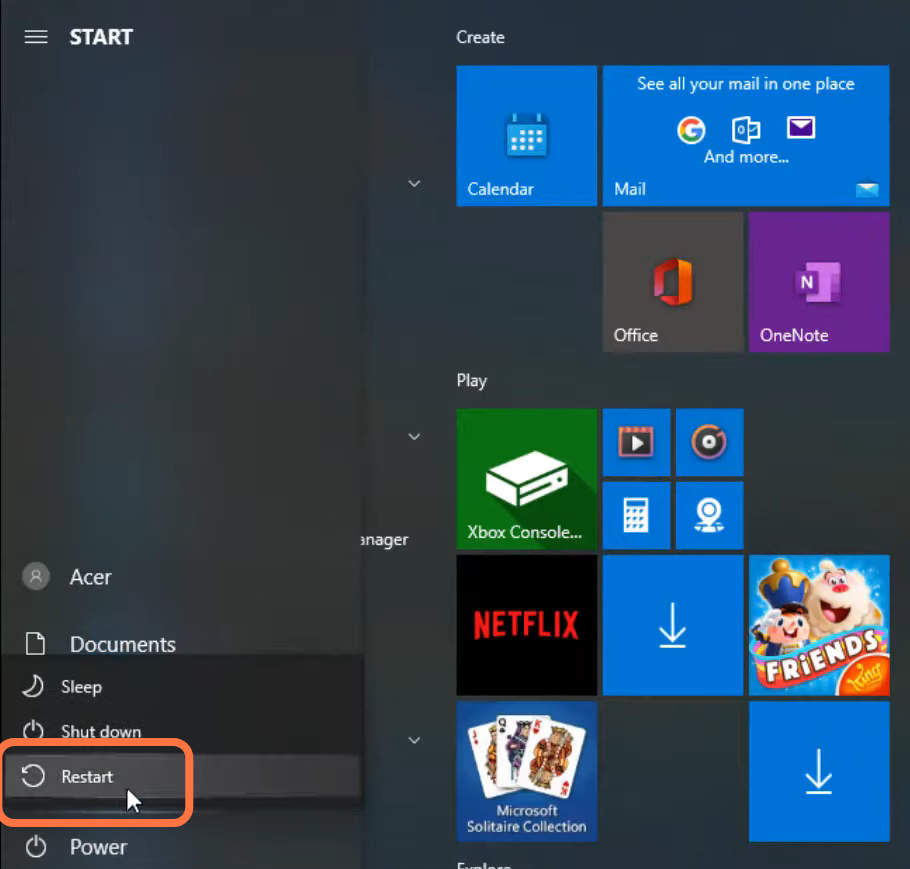
12. Now you need to restart your PC to check if the error is resolved.