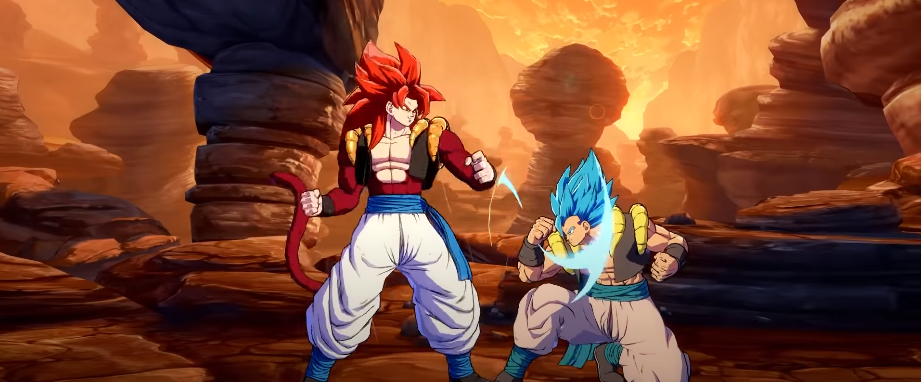
This guide will provide you with Gogeta (SSJ4) BnB combos and basics in Dragon Ball Fighterz Season 3.5.
First off, Gogeta gets two air dashes. He can still airdash after a double jump. All of his Lights are safe on the block.

5LL moves pretty far and has a cursed hitbox that hits behind Gogeta. 5L has a good range and will hit after a blocked super dash. It’s a great stagger button along with 2L, which does not hit low and is identical to 5L.

5LLL switches sides on hit and is an anti-air just like 2H. 5M is amazing, it’s massive and safe on the block. His 2M is a regular sliding 2M that is unsafe point-blank but safe if it hits late. His 5H is huge but is slow and will always leave a gap on the block, it is also unsafe. 2H is solid all around and can be made safe with 236L. 6H reaches high up and can be jump canceled, but it is unsafe. It has two follow-ups: 6H and 3H. Both of them always leave a big gap on the block. 6H-6H is an overhead that leads to a full combo and is safe on the block.

6H-3H is low that can combo into 2M or 5M and is an excellent stagger but is considerably slower than 6H-6H. 5S and sS are short-ranged tracking Ki Blasts that are mainly used in combos and pressure, unsafe on block.

6S is Gogeta’s unique taunt that raises his Finish Sign by 1 and builds a 0.1 bar. It caps out at Level 7, after which each use builds 0.25 bar. The finish Sign increases the damage of Gogeta’s next Super. The level resets after he uses his Level 1 or 3. jL, JM and jH are solid, with iM being great for cross-ups.
Lightning Hammer (236X, Air OK)

A series of short-ranged lariats with full projectile immunity. The light version goes about half the screen and is your main block string ender.
Medium goes slightly further and is one of his main combo tools. The heavy version additionally switches sides and ground bounces for full confirmation.
Meteor Strike (214X, Air OK)

Overheads that give sliding knockdown, but can be 21 d. The Light version is your primary knockdown tool and is safe on block. The Medium version is plus on block (+2) and has more range but is considerably slower, don’t mash after blocking this. The heavy is identical to Medium but faster, making it a decent way to get in from far away.
Bluff Kamehameha (2365)

A slow-ish command grab switches sides on hit and can combo meterless if it puts the enemy into the corner.
Punisher Guard (214S, Air OK)
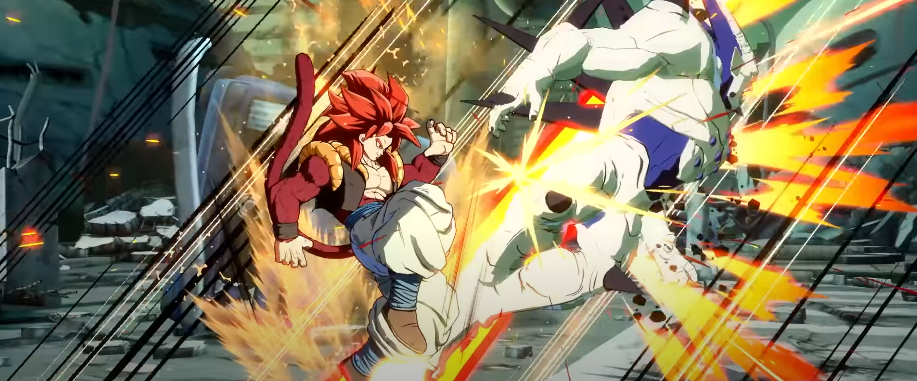
A-frame 4. physical counter that combos into Super dash on successful activation. Like hit’s js, great to punish Super dash on reaction. It is protected from all projectiles (except Supers) but won’t counter them.
Plus Energy of Justice (225)

A fully invincible Dragon Punch (DP) that gives sliding knockdowns. As with all meterless reversals, highly punishable if blocked. It will always give one Dragon Ball, even if it is whiffed or blocked. Also, it’s projectile-based.
An Assist
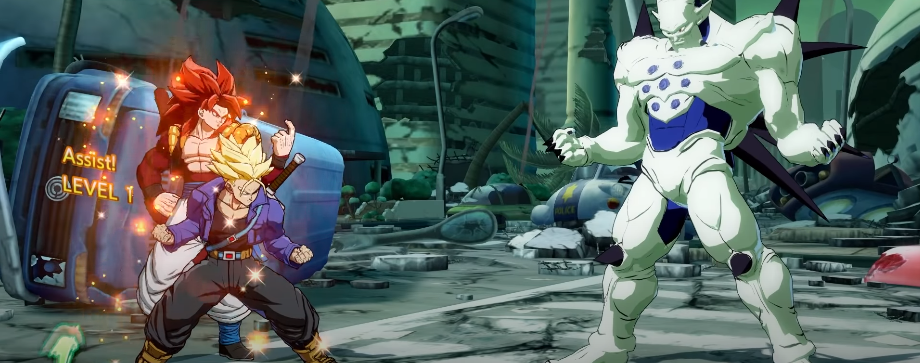
Similarly to Base Goku B. builds 0.5 Bar and 1 Level of Finish Sign for Gogeta. Caps are put at Level 5, after which each use builds 0.6 Bar.
B Assist
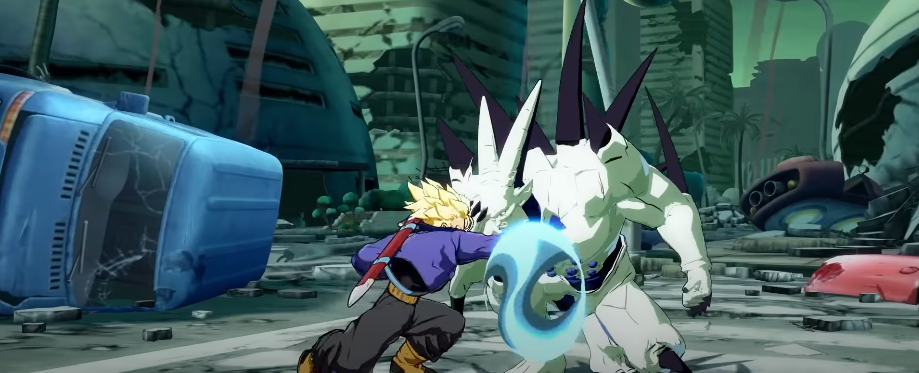
236L on demand, including its projectile invincibility. It has good blockstun (33f) and is decently fast, making it a good all-around assist.
C Assist

Calls Gogeta’s DP. Tracks on the ground but has barely any blockstun (16f). It will always give you a Dragon Ball, though.
Ultimate Impact (236L+M/R1, Air OK)

Tracks and carries the enemy to the corner when grounded, but if aerial keeps sides and stays in place.
Ultra Big Bang Kamehameha (214L+M/R1, Air OK)

His usual Level 3, a standard beam Super.
x100 Big Bang Kamehameha (214H+S/R2, Air OK)

This Super only unlocks when Gogeta has 7 Levels of Finish Sign. It is a guaranteed kill if you hit and use a different input.
Basic Safe Gapless Blockstring

2L5LL > 2M5M > 6H2H > 236L
Staggers

Gogeta has safe buttons that allow good stagger pressure 21,5L,5LL, and 5M are all points to reset your pressure.
2L(d2L > 5L > 66 5LL > 2L5LL > 2M5M > 6H2H > 236L
6H Followups

6H’s follow-ups have built-in mixups. 6H-6H is overhead, while 6H-3H13 a low.6H-3H is a lot slower, though, so you can block high first and then switch to low to cover both options.
2L5LL > 2M5M > 6H-6H
Both of them will always leave a considerable gap on the block, though.

2L5LL > 2M5M >
6H-6H If you want, you can use an assist to make it gapless or delay 6H-6H slightly to make both options hit closer to each other.

2L5LL > 2M5M > A1 > 6H-6H
2L5LL > 2M5M > 6H-(dl)6H > 555H > 6H-OH
will just barely beat mashing, but will still lose to invincible options and reflect. If they get to hit you can confirm it using 5S and 5H or Super dash.

2L5LL > 2M5M > 6H-6H
6H-3H can be mashed out of, but it is a good stagger I blocked (-2) also has a crazy hitstun, allowing you to link into 2M.

2L5LL > 2M5M > 6H-3H
6H-3H can be mashed out of but is a good stagger if blocked2). It also has crazy hitstun, allowing you to link into 2M.
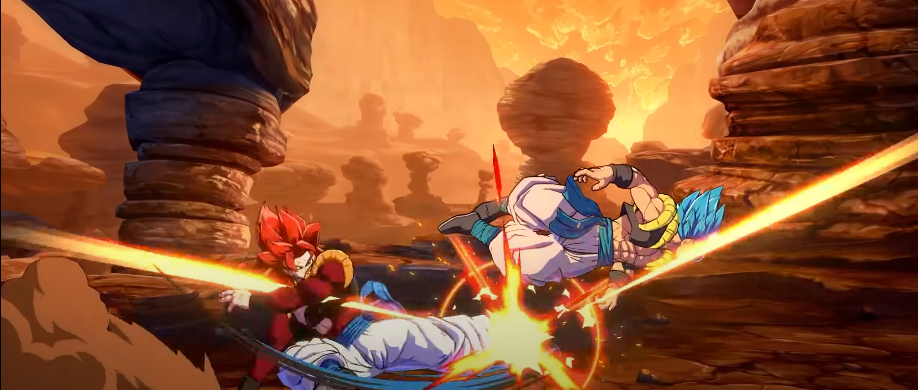
… > 5M > 6H-3H > 5LL > 2M5M > … > 2M5M > 6H-3H > 2M5M > M > j236M > 66 (dl) M > 6H > …
To beat reflect, you have to read the enemy and stop after 6H or use the command grab. But be careful; 6H is unsafe! block. You will still be safe from anything that isn’t 5L, though.

2L5LL > 2M5M > 6H >:(dl) 2M5MjMLL2H >
… > 2M5M > 6H > …
Post 6H Followups

Following 6H up with 2H > 236L will be gapless and safe, while 555H will beat mashing but leaves a gap.
2L5LL > 2M5M > 6H-3H > 2H > 236L 2L5LL > 2M5M > 6H-6H > 5S5H
2L5LL > 2M5M > 5H > …
You can reset your pressure after 5S or bait a reflect, but remember that 5S is unsafe.
2L5LL > 2M5M > 6H-6H > 55 > 66 5LL >…
Meteor Strike Pressure Resets

If the enemy blocks this, you will get a tree turn. And 14 are both plus on block. They mash; they will get counter-hit and feel dumb.
2L5LL > 2M > 214M > 5LL > 2M5M > 6H2H > 236L
2L5LL > 2M > 214M > 5LL > 2M5M > …
The Medium version is pretty slow though, so you risk getting anti-aired. The Heavy version is much faster and still plus but will cost you half a bar.
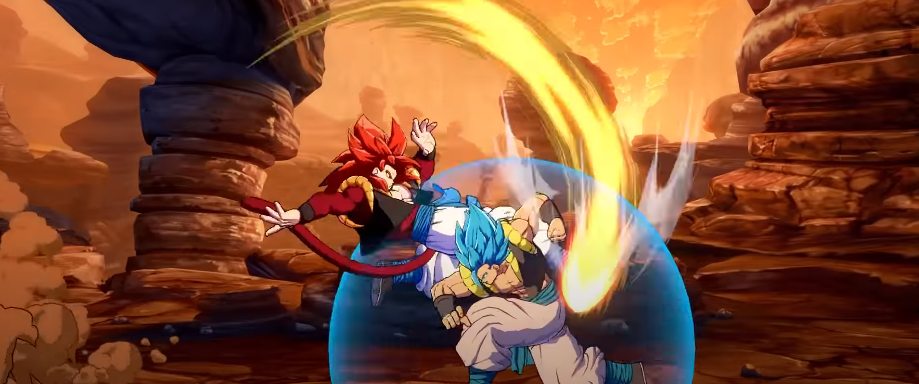
2L5LL > 2M > 214M .
2L5LL > 2M5M > 6H > 214H > 5LL > …
Crossups

Gogetasj allows him to get reliable cross-ups after any of his staggers. Particularly good after Meteor Strike if the enemy Likes to reflect
2151 > 96 (dl) iM > 5M2M > 6H-6H > 2H >…
2L5LL > 2M > 214M > 96 (dl) JM > 5M2M > 6H5H > …
If you want to use an assist you can also get a double cross-up using your second air dash.

2L5LL > 2M5M > 6H2H > 236L > A1 > 96 66 (dl) M > 5M2M > 6H > …
The double cross-up can be hard to do or assist dependent, though, so alternatively; you can try doing this Vegito-Esque left/right using JM and same-side js.

2L5LL > 2M5M > A1 > SD > 66 (dl) M > 5M2M > …
2L5LL > 2M5M > A1 > SD > 66 js > j236M >
Use the Grab
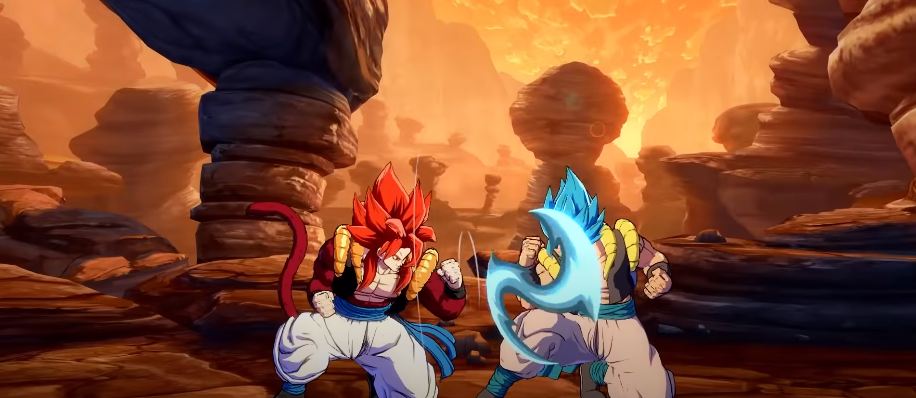
Gogeta’s command grab is fairly slow but will still work great when used sparingly and with other options.
96 M > 2LL > 236S
2L5LL > 2M5M > 236S
Works particularly well after or its follow-ups when paired with low blockstun assists.
2L5LL > 2M5M > A1 > 6H-6H > 236S
Anti Reflect String

2L2M will force a double reflect in most situations. Again, great after Meteor Strike.
2L5L > 2L2M5M > 6H2H > 236L 2L5LL > 2M5M > 6H-6H > 214M > 2L2M5M > 6H2H > 236L
Finish Sign
While it takes pretty long to recover from 6S fully, you can cancel it slightly earlier, like with reflect or 5L. So if you’re feeling cocky, you can try and squeeze out a Level Up mid-block string,
2L5LL > 65 > 5LL > 2M5M > 6H2H > 236L
If you’re lucky, the enemy might react too late and get hit, but the risk involved means you should only go for this once or twice per player.
. > 225 > 29 (float, dl) jm > 96 jLM OR (land) 2M > …
Fuzzy Mixups up
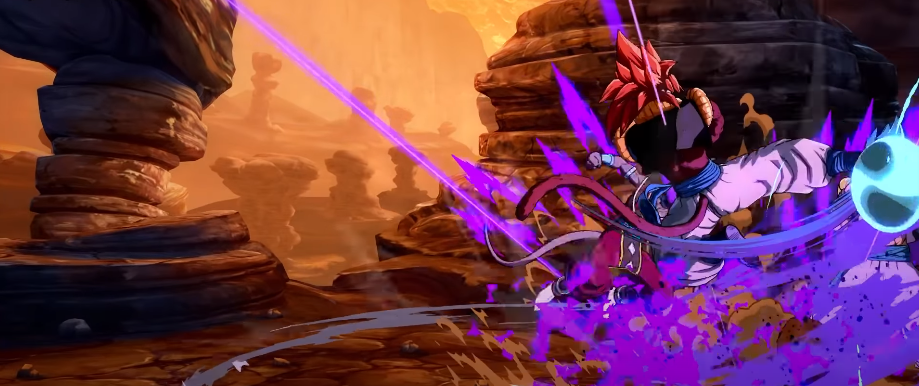
Gogeta can access the forbidden mi: There are two versions: the M fuzzy and the 6H fuzzy. Both are 50/50 mixed and are very easy to use.
2L5LL > 2M5M > A1 > SD > (dl) jM> 96 LML > 5LL > …
jM Fuzzy, the easiest way to get this is in the corner by Superdashing and covering your with an assist, then airdash-canceling the iM into jLML or land into 2M.
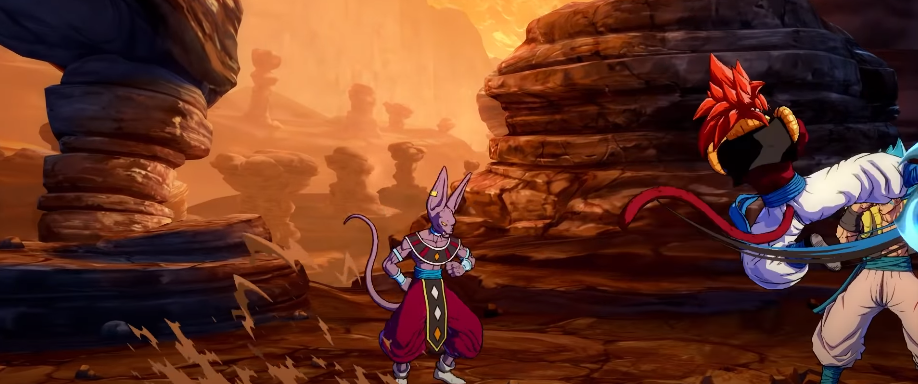
2L5LL > 2M5M > A1 > SD > (d) JM > 96 LML > 5LL > …
2L5LL > 2M5M > A1 > SD > (dl) jM> (land) 2M >…
If executed correctly, everything after the Superdash will be a true block string and JUML, and the 2M will hit on about the same frame.

… > SD > (dl) iM > 96 LML > … … > SD > (dl) jm > (land) 2M > …
It will become even stronger when you mix in his command grab and universal options.

… > 5M > A1 > SD > (d) jM> (land) DR>… … > 5M > A1 > SD > (dl) M > 96 jL(d, whiff jH) > 236S > …
This specific version of the fuzzy doesn’t work on the rats (CT Gotenks, Kid Buu, etc.) and all Vegetas. Certain characters can eat the first im to avoid the overheads, but the 2M option will combo if JM hits.
6H Fuzzy
Another way to fuzzy mix uses 6H and works anywhere on the screen. After the chemy has been conditioned to block high after 6H. you call an assist to lock them into a standing position and airdashumor micro dash 2M.
2L5LL > 2M5M > 6H > A1 > 96 LM > 5LL > …
2L5LL > 2M5M > 6H > A1 > 66 2M > …
This fuzzy is universal and only requires a single-hit assist with 26 or more frames of blockstun
2L5LL > 2M5M > 6H > A1 > 96 JLM > 5LL >.
JH Knockdown
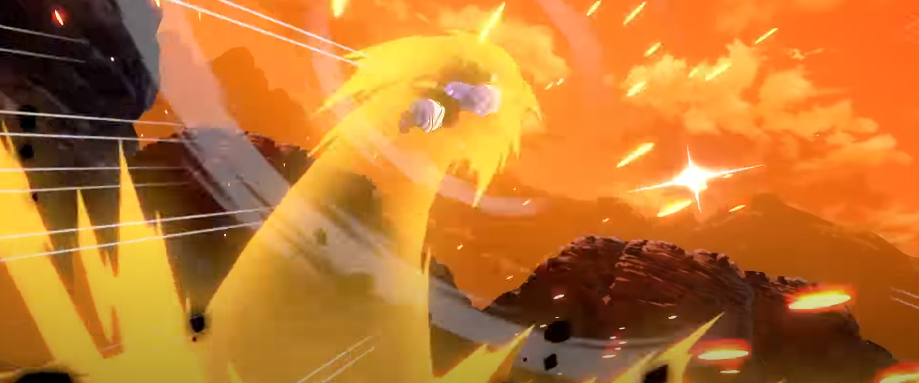
After a jH knockdown, you can get a Finish Sign Level and M immediately after. If done properly, 6 will be plus (+2) on block meaty and combo on hit and safe jump reversals.
…jCLLL > 6S6M > 5LL > …
…jCLLL > 6S6M . )
214L Knockdown
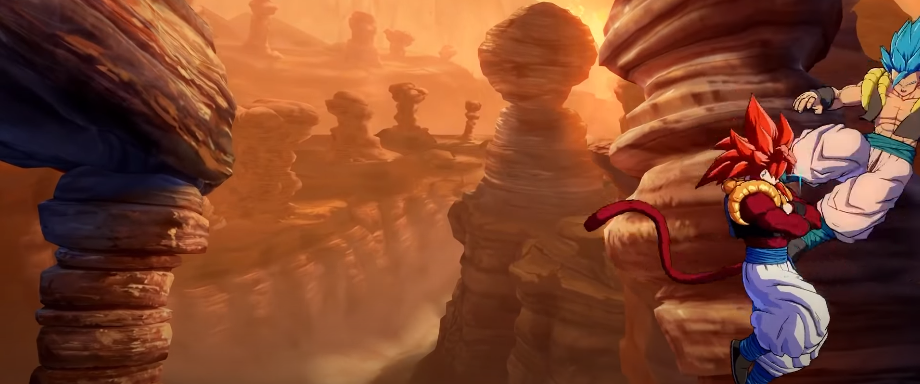
214L, on the other hand, either let you 6S once and beat mashing on wakeup or hold up and delay a JH to cover Alltech options and safe jump.
… > İLLS > j214L > 6S > 5LL > …
… > JLLS > j214L > 8 (dl) jH >..
22S Knockdown

You can set up his fuzzy mix solo meterless by super jumping and floating before hitting a jm. It will work on the rats but is very precise on them. Some of the following combos will end in 225.
… > 225 > 29 (float, dl) JM > 96 JLM OR (land) 2M >
Level 3 Oki

In terms of Oki, the best Gogeta can do mid-screen is a safe jump by dash jumping. He can then attempt another cross-up on the block.
… > Lvl3 > 669 (dl) JM > 96 (dl) JM > 5M2M>…
In the corner, he can set up the Muzzy mixup on his own. Hold up forwards, and Gogeta will automatically jump asap. To make it work on the rats, you have to jump forward super and fast talk, though.
cos > LvL3 » [9] (d) JM> 96 JLM > SLL …
.. > LV13 > 29(dl) 2 (d) M > 96 JLM > 5LL >.
Mid screen BnB

4307 dmg/3790 scaled I+11 Bar Also works off of 5M2M6H. End in …;CLLS >214L for more damage but worse Oki.
2M5M – 6H – jMLL2H – SD – jMLL2HjcLLL
(Works off 5M2M – 6H too. End in jcLLS – j214L for slightly more damage and meter but worse knockdown.)
Air Vanish Extension

–550 dmg extra
– jcLL – j236L – Vanish – (whiff j236L) jLLS – j214L
236M Rejump

5292 dmg / 4302 scaled 17 Bar On a 2M5M starter skip 6H. It can be done near or in the corner; skip the airdash. But it doesn’t work on Krillin.
5M2M – 6H – jM – j236M – 66 (dl) jM – (land) 6H – jMLL2HjcLMLS – SD – jLMHS – j214L
(On 2M5M starter skip 6H. You can do it in the corner; skip airdash. It will not work on Krillin.)
Rejump Explained

Immediately after the 236M, input an airdash. Then delay JM a decent amount, but not too long to land before it comes out. Make sure to press (LMH at the end. If you press Light three times, you will be too high to connect.
Universal Meterless Side Switch

4597 dmg/3952 scaled | +1.25 Bar Jump cancel diagonally up as usual after 6H.
5M2M – (dl) 6H – 96 jML – (land) 6H – jLL2H – SD – jMLL2HjcLLL
(Jump cancel diagonally up as usual after 6H)
22S Oki Near Corner
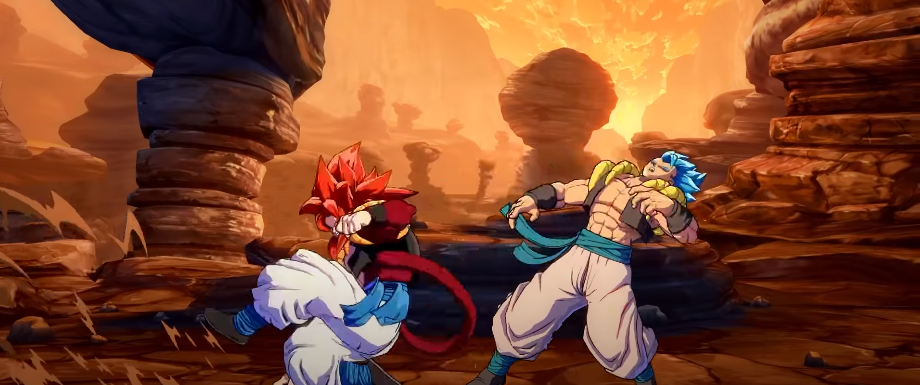
4555 dmg / 4127 scaled | +1.1 Bar Sets up solo fuzzy mixup and gives one Dragon Ball
5M2M – 6H – jM – j236M – 66 (dl) jM – (land) 6H~6H – 5S5H – 22S – 29 (float) (dl) jM – …
(Sets up the fuzzy mixup solo and gives one Dragon Ball.)
Corner BnB
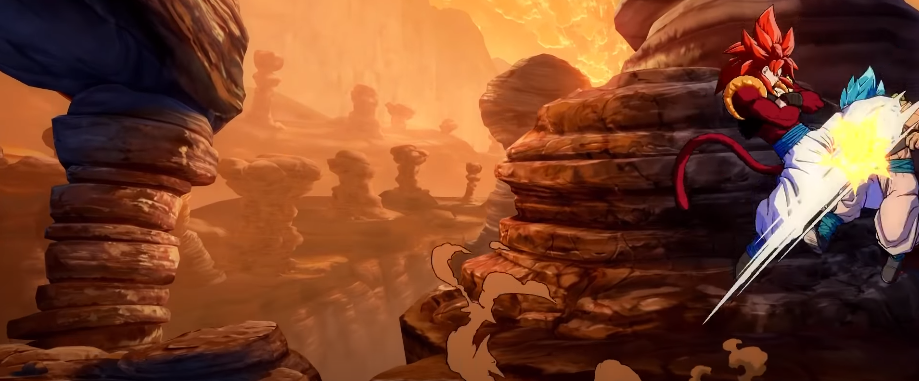
5392 dmg / 4367 scaled-16 Bar Off a 5M starter do 5M2M> 6H>236M.
2M5M – 236M – 2M5M – 6H – sjMLLHS – SD – jLL2HjcLMHS – j214L
(Off 5M starters do 5M2M – 6H – 236M – …)
Optimal Corner BnB

5519 dmg +1.7 Bar For Guard Cancel/Reversal punishes.
5M2M – 6H – 236M – (dl)2M(dl)6H – 96 jM – 5M – sjMLLHS – SD – jLL2HjcLMHS – j214L
Corner BnB 228 Oki

5190 dmg/4450 scaled | +1.4 Bar
scalechetips per the right height for oH
2M5M – 6H – jMjcMLHS – SD – 66 jM – j236M – (dl) jM – 6H~6H – 5S5H – 22S
(Airdash is optional but helps get the right height for 6H.)
Out of Corner Version
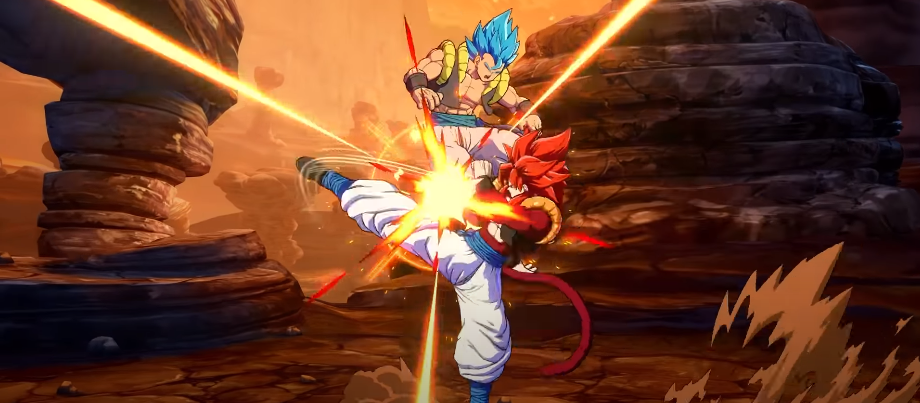
5249 dmg +17 Bar
2M5M – 6H – 96 jLL – j236M – (dl) jM – (land) 6H – sjMLLHS – SD – jLL2HjcLMHS – j214L
Scaled Out of Corner
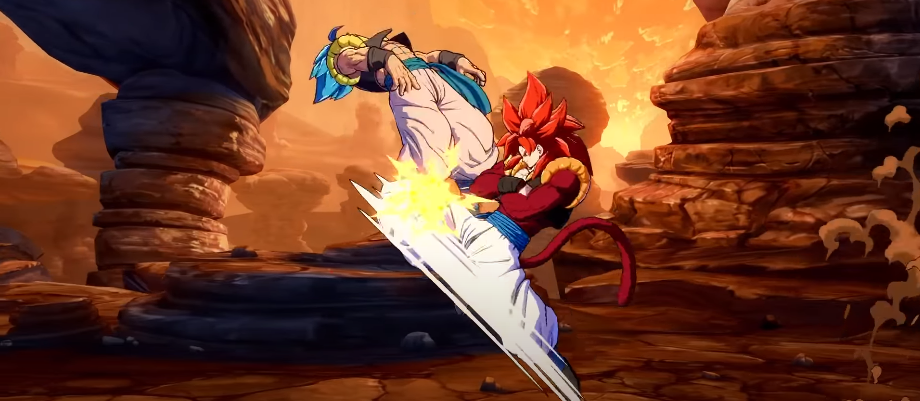
4065 dmg +1.75 Bar
jH – 5LL – 5M2M – (dl) 6H – 96 jML – (land) 6H – jLLjcMLLS – SD – jLL – j236M – 66 jLLS – j214L
214S Confirm midscreen

2065 dmg +0.8 Bar End in …CLLS >j214L for more damage but worse Oki.
214S – SD – jML2HjcLLL
(End in jcLLS – j214L for more damage but worse Oki.)
236S/214S Confirm Corner
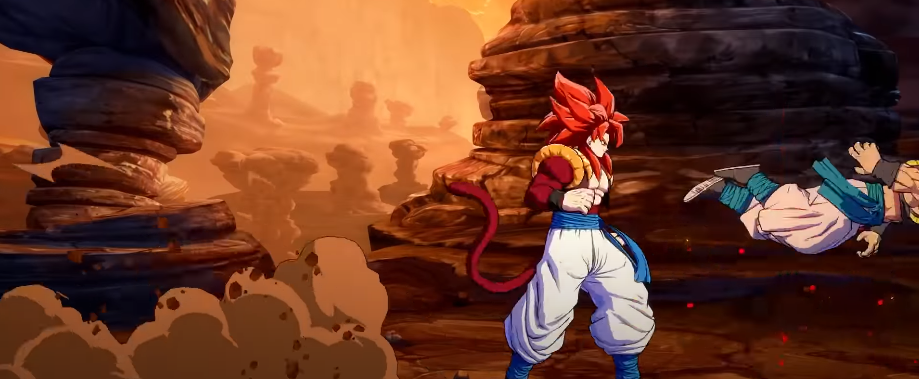
3435/2895 dmg1+1.4/1.6 Bar Both routes are the same.
236S/214S – 2M5M – 6H – sjMLLHS – SD – jLL2HjcLMHS – j214L
SD Confirm
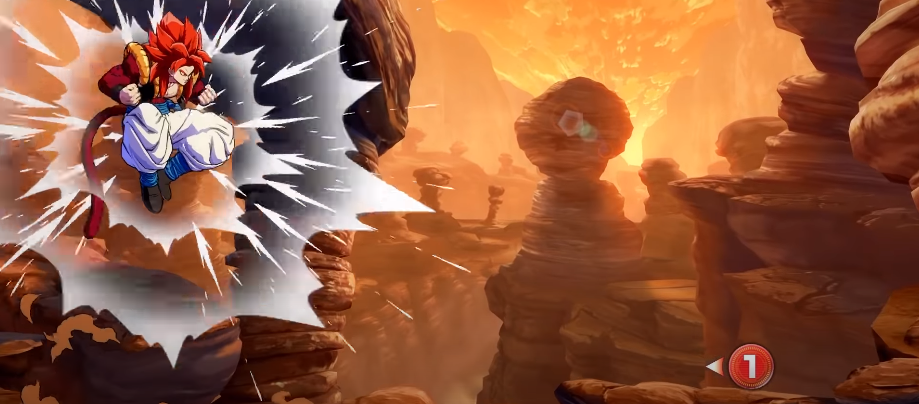
2490 dmg | +0.7 Bar
SD – jMLjcLL – j236M – 66 jS – j214L
SD Confirm with j236H

3662 dmg
SD – jMLjcLL – j236H – (dl) 66 2M5M6H – sjMLL2HjcLMLS – SD – jLMHS – j214L
2H Punish/DR Route

3445/2892 dmg | +0.75/1.45 Bar End in ..jCLLS214L for more damage but worse Oki.
2H/DR – SD – jMLL2HjcLLL
(End in jcLLS – j214L for more damage but worse Oki.)
Vanish Confirm
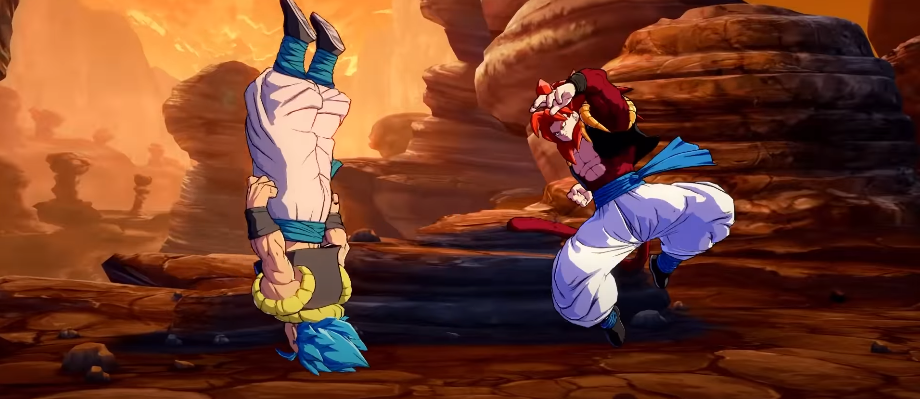
2715 dmg
– Vanish – 66 2M5M – 6H – sjMLL2HjcLMLS – SD – jLMHS – j214L
Vanish Confirm Same Side

2455 dmg
– Vanish – 66 (whiff 5L)LL – SD – jLL2HjcLMHS – j214L
Sparking Loops
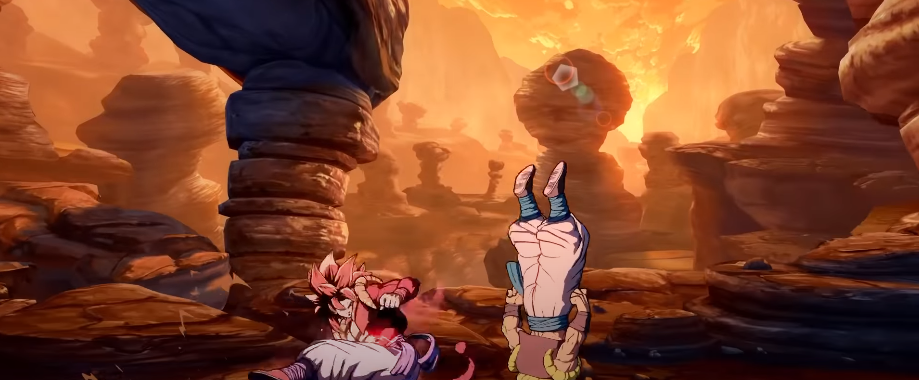
5314 dmg | +3.15 Bar Required delay on each 6H-6H becomes longer with each loop
2H – Sparking – 2M – {96 jLM – 6H~(dl)6H}x3 – 5S5H – 22S
Assist Combo Example 1
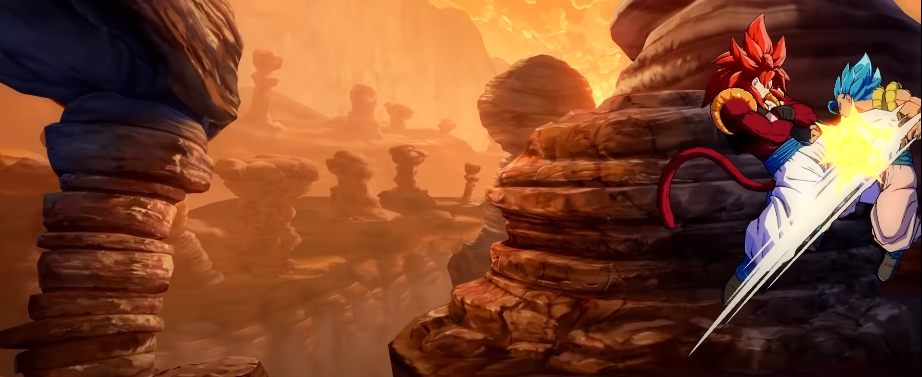
4859 dmg 1.6 Bar Damage before Supers. Just showing off Spirit Bomb Synergy
2M5M – 6H~6H – 5S – 236L – A1 – 66 6H – sjMLL2H – SD – jMLL2HjcLLL
Assist Combo Example 2
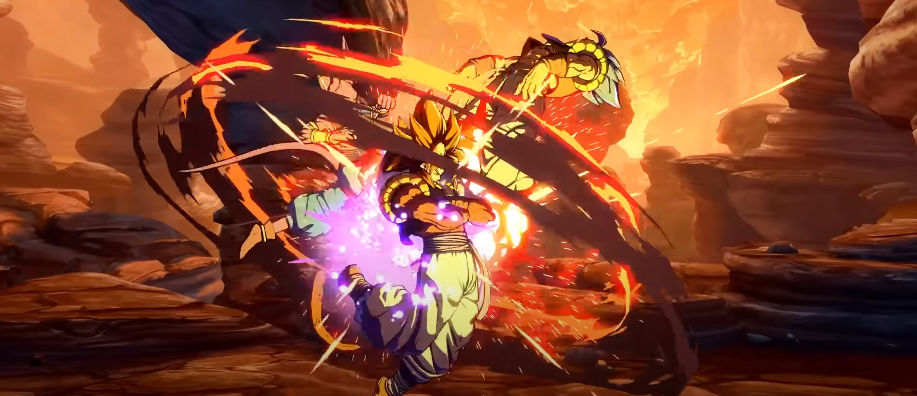
5217 dmg 18 Bar
2M5M – 6H~6H – 5S5H – SD – jMH – A1 – sjMLL2HjcLMLS – SD – jLMHS – j214L
Assist Combo Example 3

7345 dmg +0.95 Bar First 6S is optional and precise but looks cool
2M5M – 236M – 2M5H – 236L – A1 – 6S – 5M6M – sjMLLHS – SD – jLL2HjcLL – j236L – A2 – (land) 6S – 22S – Lvl1
1 Bar 2M Starter TOD (Gogeta Blue A/Vegito B)
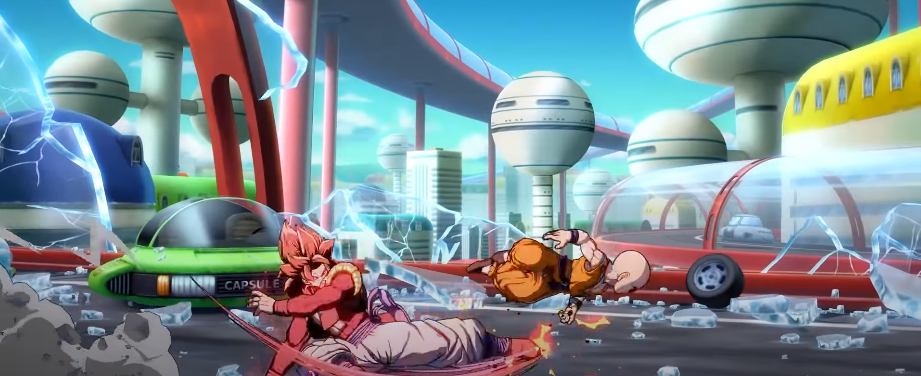
2M22S – Sparking – 2M – 96 jM – (land) 5L5S – sjLMLHS – 66 jMS – SD – (dl)jMHS – 66 jMS – j236M – jH – A1 – j214M – A2 – DR – 22S – Lvl1 Lvl1 Lvl3
1.5 Bar DP Starter TOD
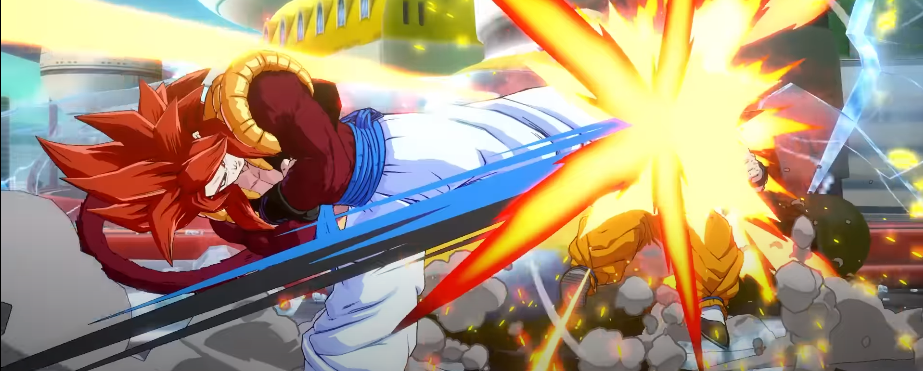
(Base Vegeta Android 21 C)
22S – Sparking – 6S – 5M – 6H~6H – 5S5H – A1 – 6S6S6S – 5L – A2 – 6S6S – 5H – 6S – Vanish – 236H+S