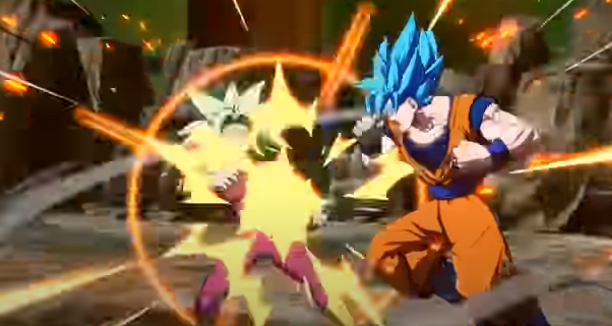
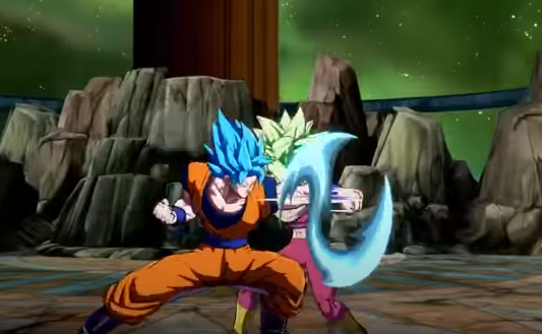
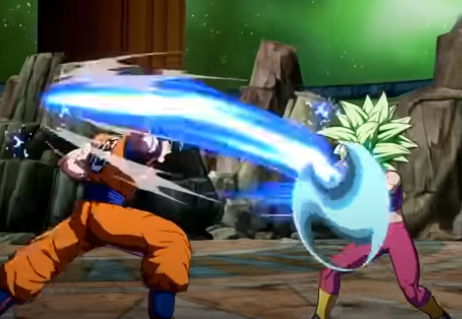
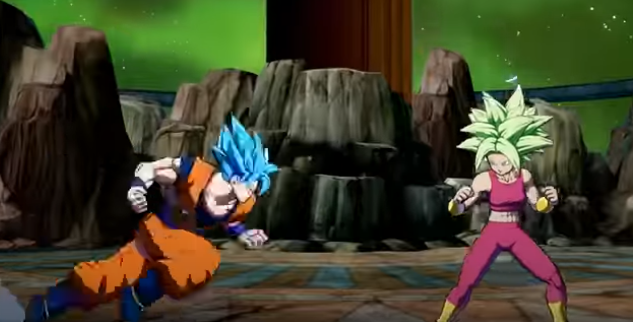
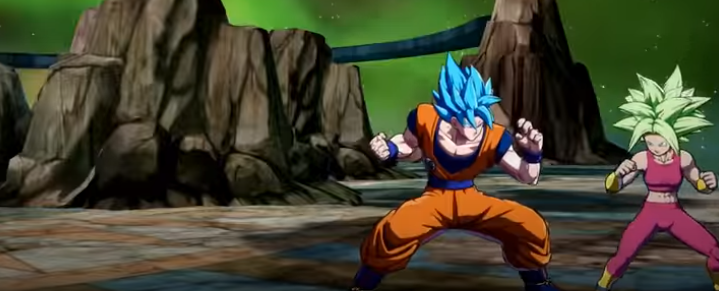
This guide will provide you with the basics and combos of Goku Blue (SSGSS) in the Dragon Ball Fighterz season.
Blue Goku’s 2L hit low, unlike Base and SSj Goku. And 5L is a standard Gab.

5LL is another low attack, followed by a high 5LLL.

There is a massive punishable gap in between them though.

In terms of mediums, Blueku still has protagonist buttons.
2M is speedy and far-reaching, making it a powerful tool.

5M has even more range and is just as dangerous.

He is unique to him, blueku has a 4m, which has less momentum and recovery than 5m.

For comparison, 5M is unsafe on block, and the heavies are standard again.

5s chains up to six times.

Js shoots a single projectile, but Goku keeps all his momentum, making it a strong jump-in tool.

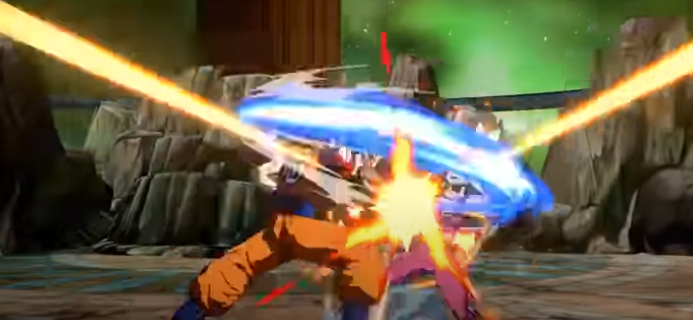
Divine void strike (236x. air ok), all versions are immune to Ki blast.

The heavy version will attack from behind and allow for a solo conversion.

Only the air version will slightly track vertical height.

Super God shock flash(214x), A command grab, the light version is unreachable but only works at almost point-blank range.

Light and heavy versions also have this little punch that makes them safe if they’re blocked.

Accidental dive kicks and being pushed out of range are likely to occur on jump-ins.
To prevent this, use Imh, the iH will cancel when landing leaving you close enough to grab.
The medium version is pretty slow but gives a meterless combo in the corner.

And the heavy version is only slightly faster but lets you convert midscreen.

A series of Dive kicks that are safe on block, not an overhead.

The medium version gives you sliding knockdowns anywhere. The Heavy versions are used at high hit stun decay, as mediums can be too slow.

Dragon Flash Kick (i214x) also doubles as a mixup tool as it teleports behind blocks.
Instant transmission (236s/214s. air ok), A tracking, +1 on block teleport, 236s appears behind.
 –
–
While 214s appear in front of the enemy, they can be 2H’d on reaction, so you have to use them with care.
Usually, level 3 won’t switch sides, but if you hold any attack button before the kick, Goku will teleport behind instead.

Since level 5 will force a side switch, you must switch the sides before the kick to keep the same side. A basic safe capless block string, Ending in i236L allows you to backdash out most character ranges.

Blockstring with Assists example, 236M catches people mashing L, end in 236L to make it gapless.
Simple assist mixup; timings may vary depending on the assist.
From here, you have a few options:
1. Crossup 2L
2. Crossup iM

3: Crossup command grab

4: Crossup Tickthrow
Simple auto combo mixup, delaying 2M after 5LL. It makes one expect the 5LLL follow-up and beats mashing.
Simple Auto Combo Mixup, delaying 2m even further will also beat reflect.

Simple Auto Combo Mixup, micro dash 214L also works.

Pressure using 4M, using 4m instead of 5m in a block string, spaces you out for pressure reset.

Pressure using 4M, other options are dR,214L, and 5M.
j214H mixups using assists, j214H is very strong. Using a high blockstun assist, you can easily get a 4-way mixup for half a bar.

Mid screen BnB, 4185dmg/ 3737 scaled/+1 bar
5LLL Route 3025 Dmg/+0.8 bar.
Mid-screen 5M route, 3930 dmg/3650 scaled/+0.8 bar.

Corner 5M Route, 4675 dmg/ 3980 scaled/+1 bar.
Corner BnB no loops, 4860 dmg/ 4007 scaled/ +1.1 bar

You have to straight up instead of forward because it is more consistent.

2H punish midscreen, 3445 dmg/ +0.8 bar.

2H punish extension, 4757 dmg.

Super dash confirmed for Oki, 2130/+0.4 bar.

Super dash confirms alternative, 2325 dmg/+0.6 bar.
Super dash side switch, 2325 dmg/+0.6 bar.

Vanish confirm, 2305 dmg.

214H/236H confirm the same route as vanish confirm.

Vanish confirm side switch, 2245 dmg, jump straight up after 5m.

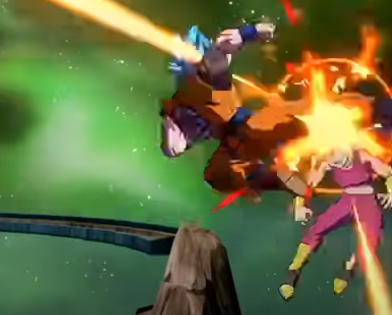
Dragon rush route, 2892 dmg/ +1.4bar.

There are two ways to loops: jLLs and Jmls; there isn’t a big damage or meter difference; just pick the one you’re more comfortable with.
You can use jmls loops, but both ways will work with the combos shown here.

The best way to learn loops is to try to do three reps off a 2M starter. Once you decide which version to use and get to the 2H part, you can try the following combos.
Mid corner 5m start loops 1 rep 4650 dmg/3982 scaled/ +1.2 bar.

Mid corner 5m start loops 2 reps, 5135 dmg/ 5020 scaled/+1.6 bar.
Corner loops 2M, 5857 dmg/ 4340 scaled/ +0.8 bar, for scaled only do one loop.
Corner loops 5M, 5912 dmg/ 4365 scaled/ +0.85 bar.
2H punish with loops, 6492 dmg/ +0.8 bar.

Assist combo example 1.

Assist combo example 2.
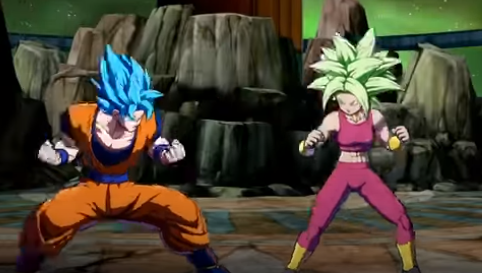
A new foe has appeared, Challenger approaching.

1.5 bar limit break TOD.

3 Bar 2H Tod.