This guide will let you know how to add a vehicle in GTA 5. Go through the guide and follow the step-by-step instructions to do so.
First, you will have to download OpenIV from the following link.
https://openiv.com/
Now you need a file of the car or bike you want to add in GTA 5; you will find the files from the link below.
https://www.gta5-mods.com/vehicles/lamborghini-sian-fkp37
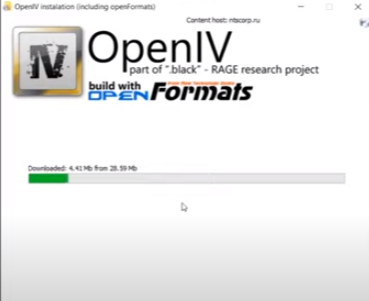
After downloading the OpenIV file, you have to extract it and then install it.
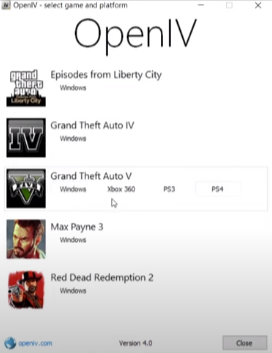
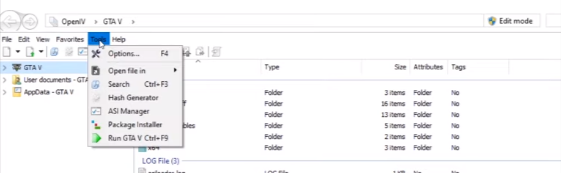
After installing it, you have to open it and click on the Windows option; if you are using Windows or any other system, you have to click on that one, as shown in the image below.
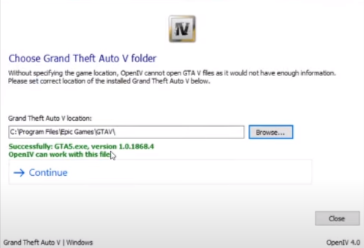
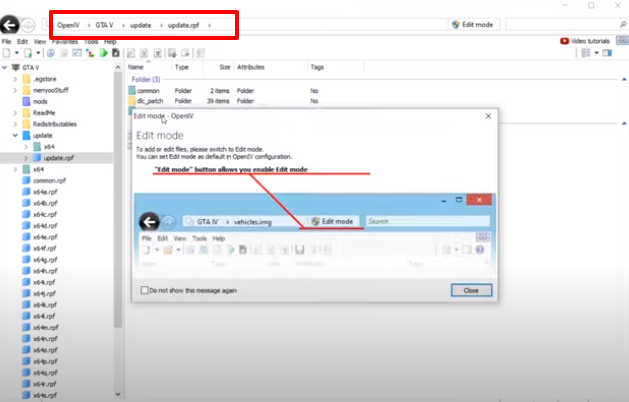
You have to browse the game folder in OpenIV, and it will give you the success message, as shown in the image below.
Now click on continue, and it will take a bit of time to process, and your game folder will be opened in Open IV. You will need to click on the tools option on the left top side of the window.
Click on the ASI manager, and you have to install all of them to create a mods folder. Go to the mods folder, and you will find it’s empty.
Go to OpenIV and open up the update folder, then click on update.rpf file and make sure to turn on the edit mode.
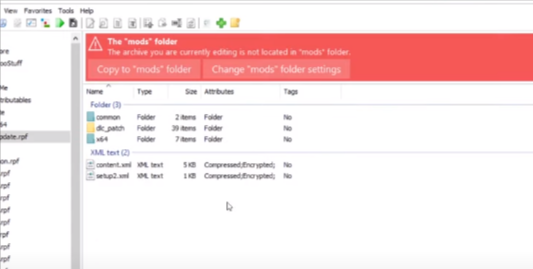
A new window will open at the top and you have to click on Copy to “mods” folder, and if it was already there, it will show you Show in the “mods” folder; you have to click on that option and wait a bit.
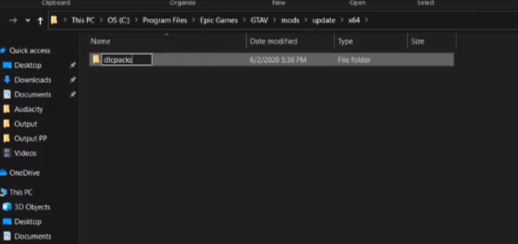
When it’s copied, you have to open the mods folder, then update, and then you have to create a new folder with the name x64, open this new folder and create another folder with the name of the DLC packs inside it.
The next thing you will need to do is add the cars or bikes. There are two steps that you need to follow.
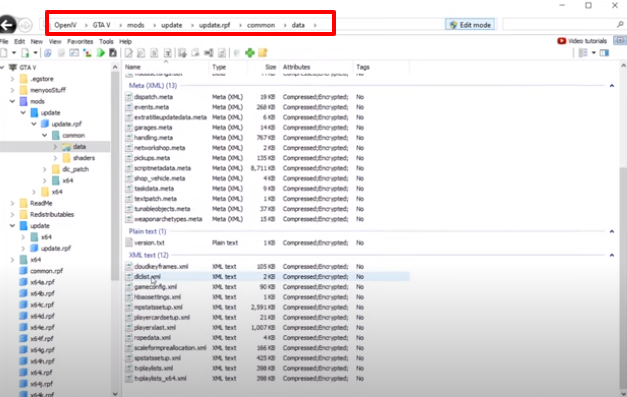
The first step is to navigate to the data folder by following the path shown in the image below and then searching for the dlclist.xml file in that folder.
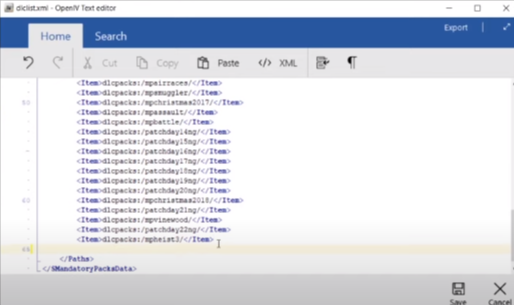
Now you have to right-click on that file and select the edit option. It will open up the Editor, and you have to go to the end of that file where you will find Item, click here and press the enter button for the next line.
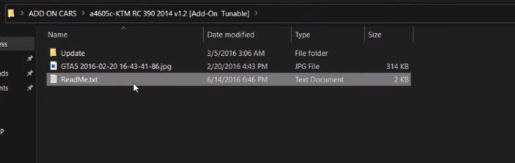
Now you have to open the folder of the car or bike which you want to add. After opening that folder, you will find a file with the name readme.txt, as shown in the image below.
Open that file you will find a command starting with the item, as shown in the image below.
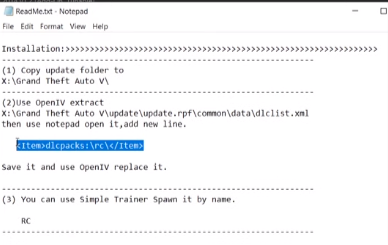
You have to copy that command and paste it into the DLC editor, which is open already, as shown in the image below.
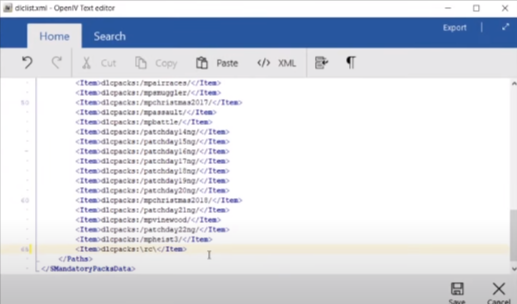
Now that the first step is completed press the save button appearing at the end of that tab.
For the second step, you have to open the GTA 5 game folder, navigate to the mods folder and then go to the dlcpacks folder.
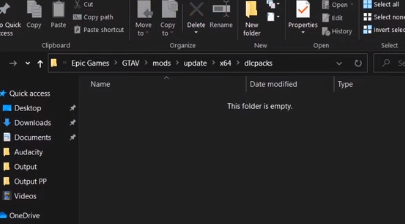
After that, you have to open the file you have downloaded for the cars, go to the x64 folder, and go to the dlc.rpf file. Now you have to copy that file and paste it into dlcpacks folder, as shown in the image below.
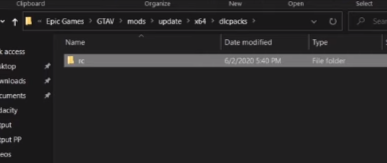
The second step is completed, and the car is added to the game.
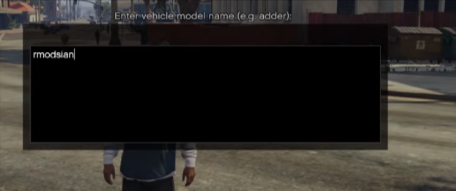
Now you have to open the game and go to the menu mode. Navigate to the vehicle option and then go to Vehicle Spawner; you will find an Input Model option at the end; click on that.
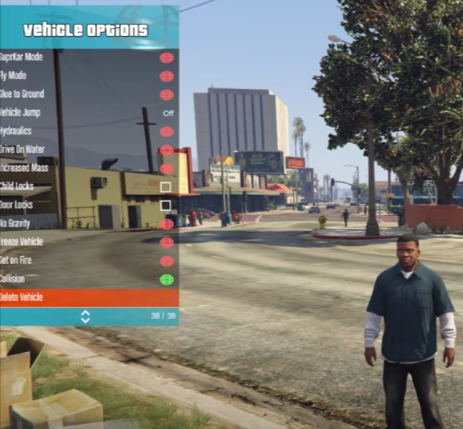
After that, you have to type rmod with the car name you have added in the previous steps and then press enter, as shown in the image below.
That’s it. You have added the car successfully in GTA 5.