In this brief guide, you will get to know how to edit PS4 Saves for GTA 5 (PS4 Only). Whether these saves are on save editor or save wizard. It all starts off with getting your safe from your PS4 to your PC.
Turn on your PS4 and go to settings. When you are into the settings, scroll down to application saved data management. Before you click on this tab, make sure you have a USB already plugged into your playstation 4. That USB needs to be formatted to fat32.
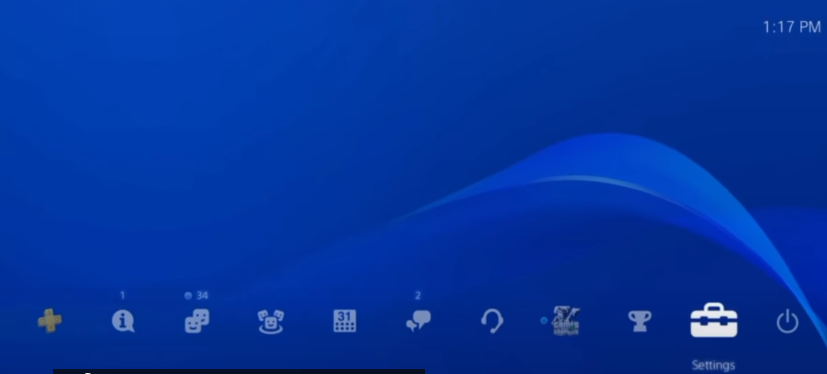
Up on clicking “application saved data management”, if you have any application running you will have to close it. In the application saved data management, open the “saved data in system storage”.

Then look for the second option, it will say copy to USB storage Device. You have to select it to copy data to USB.

Then a games list comes up for you, select one of them to copy to a USB device.

So we are picking grand theft auto V. Upon clicking the grand theft auto V, you will see all the saves that you have saved on that game. You can pick any one of the saves, Don’t take the auto save and also the backup save. Take the original save which is the starlet in winewood in our case at 7.7 percent progress.

Check it and click on the copy. It will take some seconds to copy all the data. Once it completes, it will be back to the previous options under the saved data in the system storage.

Now go back to the main screen by pressing the circle under the controller.
So take USB into your PC now as we have successfully got our saved data from our PS4. When you insert the USB into your PC, a window will pop up like this:
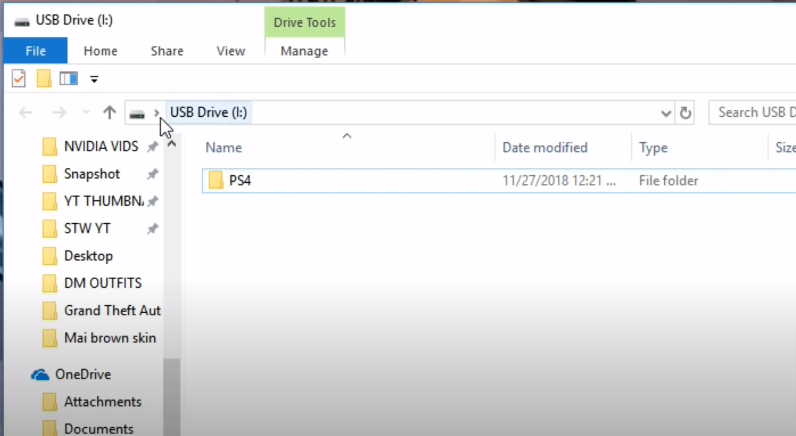
Now minimize this window and open up the save wizard.
Download the wizard from the link below.
It will cost you $60 for the activation key. It is a one time fee and you can use it as many times as you want after paying that fee. There are tons of games available, and they are always updating and adding cheats to new games.
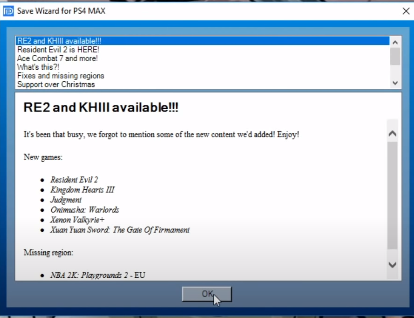
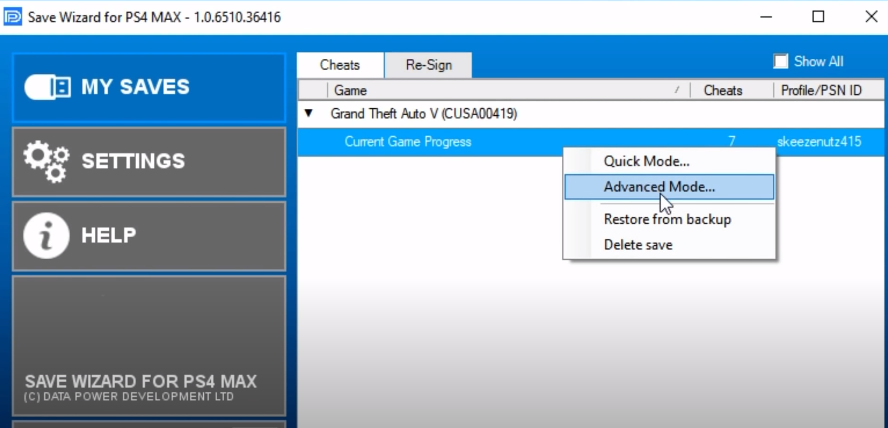
Once you open up the save wizard, click on OK. Then you will see your saved game there in the cheats column, not in the Re-sign column. It is important to see it in the cheats column.

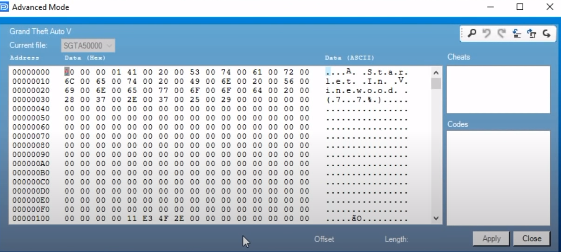
Now click on the saved file. There will be a blue bar showing current game progress. Right click it and then select the advanced mode.
It will start loading.
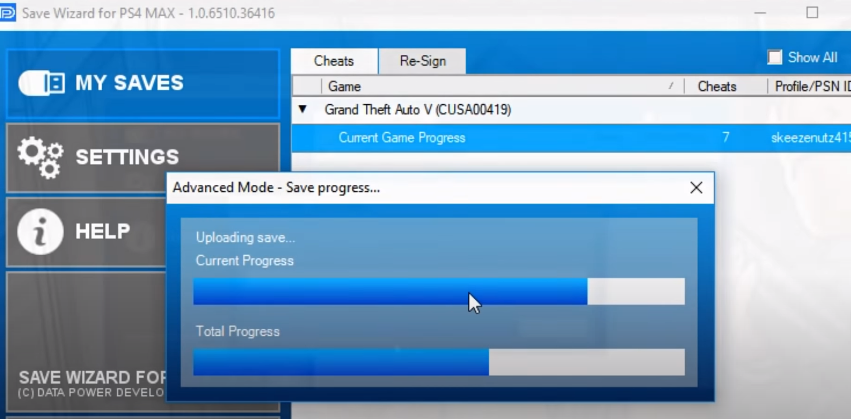
Once the advanced window opened up. Click on export to file icon at top right side of the window.

Upon clicking it, another window will pop up asking you where to save the file. Save it to the USB plugged into the PC. save it with the PS4 folder.
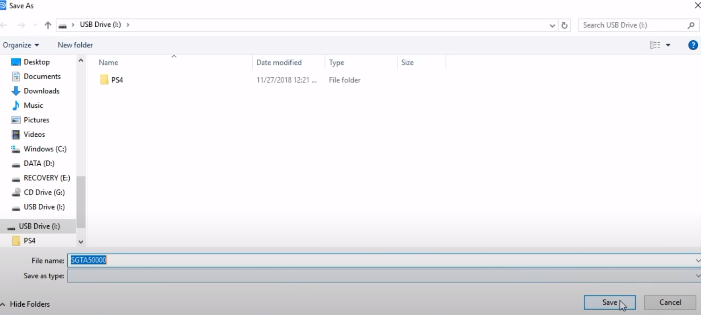
After that, minimize the advanced mode windows. See the USB drive, there will be an exported/extracted file with PS4 folder.
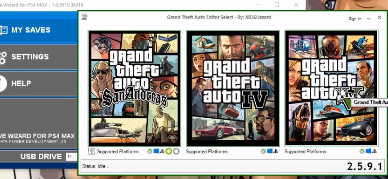
Minimize all and now it is time to open our GTA save editor. Download GTA V save editor from the following link.
https://x3t-infinity.com/GTA_V
When the editor opens up, click grand theft auto V from the given options.
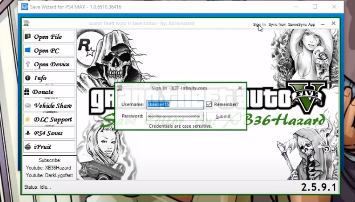
Now click sign in and if you don’t have an account with save editor, feel free to go down the website and sign up it is all free you are just registering.
Now click on the open file and go to where your USB is, and click on the exported file. Do you want to make a backup before editing? Always click Yes.
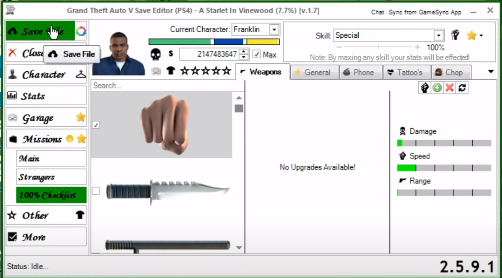
So here is the interface where you can change/edit your saves.
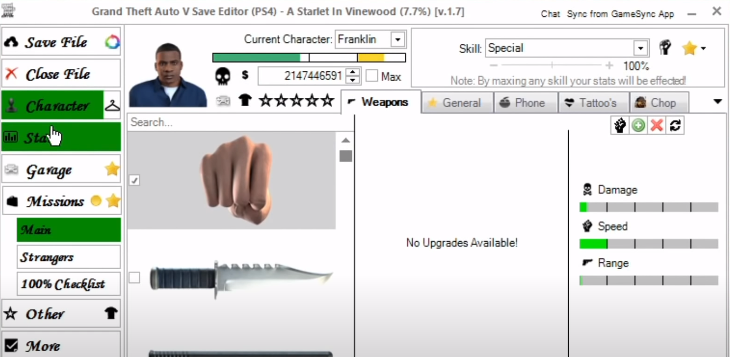
You can change everything from characters to their health, armors and their special abilities. You can also give them a max amount of money and edit the current vehicle, set the level at which the game will start.
You can click garage and can edit all the cars in their garage, the car they are driving and also the car at their house.
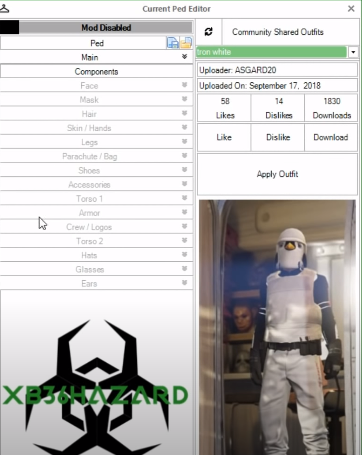
The hanger icon with character is to set the default character which is franklin, trevor or michael. This is where you can also get outfits which you can not get in the ped editor part.

You have to sign in to see anything on this side. There is a dropdown menu to select all the outfits that were uploaded through the community with save editor. There are a lot of outfits which you cannot get with the director mode. Once you choose an outfit, you will have to enable the mod or you would not see that outfit. When you apply the outfit that will replace the Franklin with an online character. That will make it hard for you to go online, there is a way around but you have to do that research yourself.
There are many options in this menu.
There are categories which we are going to tell what each does. We have a missions tab.
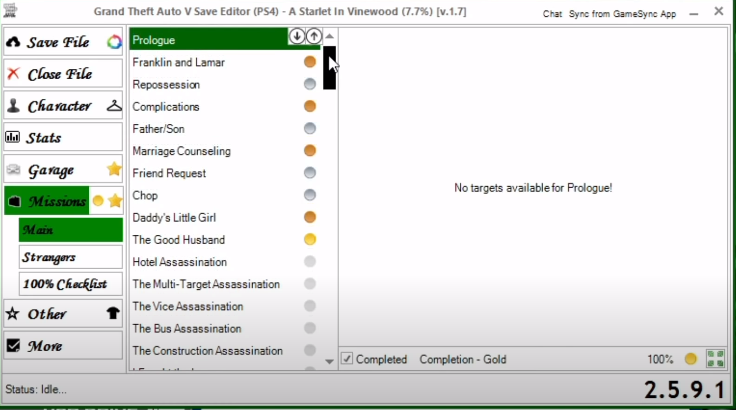
As you can see, few of them have yellow dots, which means I have completed them. You can go ahead and click on one of these to go in detail.
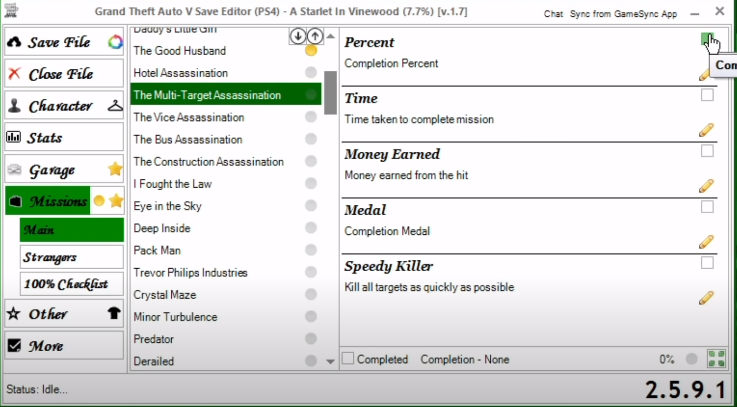
And once you check the boxes on the right side in front of the properties like percent, time, money earned, medal and speedy killer, it will turn the mission into a completed mission and will change the dot into a bronze type color.
So this way you can edit your missions and mark them all complete.
You can also click on the yellow dot with the missions tab to change all missions to completed missions at once. And when you click on the start ahead of it then you will get to do a little bit more in-depth editing.

We suggest staying away from this part, if you really do not know what you are doing. Because if you don’t know what you are doing you may edit something that will make problems for you like it can lock your safe. If you try to load up your safe you will be stuck in 90 percent, and it will not load.
So just click on the dot and do changes with missions, no need to click on star if you don’t know about that. Below that we have the main tab for the main mission. Then we have strangers for stranger missions.
And there is a hundred percent checklist tab you can look for if you know about it. But if you are not familiar with them just leave them alone.

And then if you click on the “Other” category, it will show where you can unlock the director mode animals. There is a dropdown list of animals from where you can select whichever animal you want.
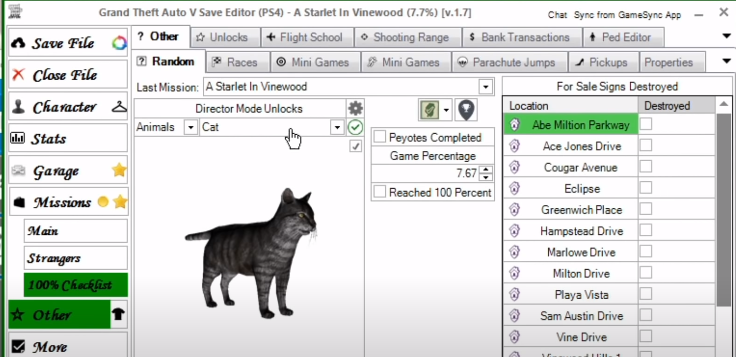
Other than this, you have bank transitions, shooting range, flight schools, unlocks and other tabs. When you click the “Other” category, go through all the tabs at top to make changes.

Now moving on to this last category which is named “More”. This is where you can edit family data, if you move side by side, there is friend data, player scene data, shop robberies and block tab.

This is where you can edit your grand theft auto V saves. Once you are done editing, you can click save files.
Then click on the close file and minimize the main window.

Now open back our advanced mode window for the save editor now. We are going to click on the last icon at the top right. From there you can import that file.

Now open this file again and you will see a little cursor blinking.
Now press zero on your numpad and a message will appear. Click continue and then click apply, then tap yes and give it some time.
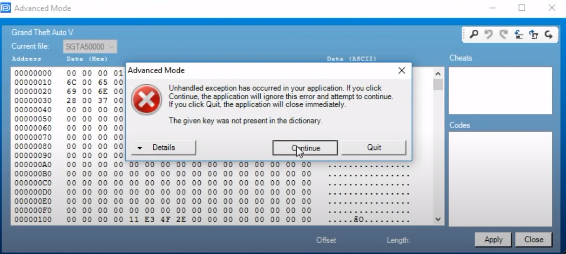
Once it is done, you will see a little box pop up saying
“Modifications successfully applied”. You will see the advanced mode window disappear now go ahead and close the save wizard. Now we need to take the safe back to the PS4.
Plug in your USB into the PS4 and go to settings and then scroll down to the application saved data management. And then under application saved data management, select the option saved data on USB storage device. Then further select copy to system storage. There will be grand theft auto V available to get all the data into the PS4.

There will be the save which we just have edited. Make sure to Check it and then go over to copy to click it.
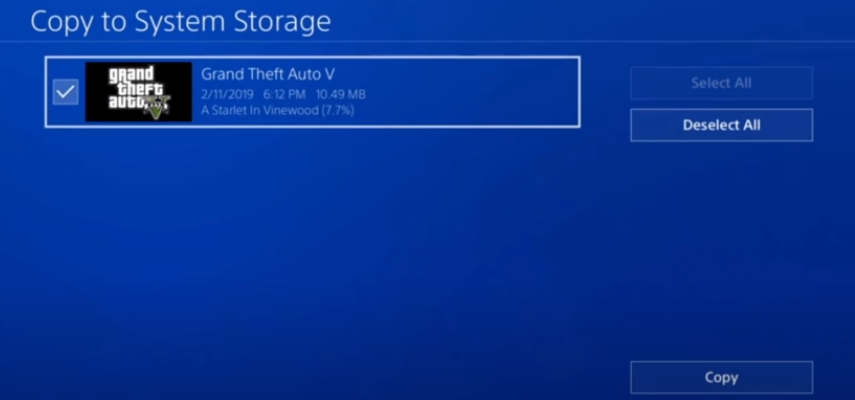
You will see a message click yes to that. Always click yes because we are replacing the old save with the new one.

No go back to the main game icon and run the game and enjoy the changes.