This guide will let you know how to fix Error Code MARMOT in Destiny 2. There are multiple fixes, if one doesn’t work, you can try the next one.
Fix 1
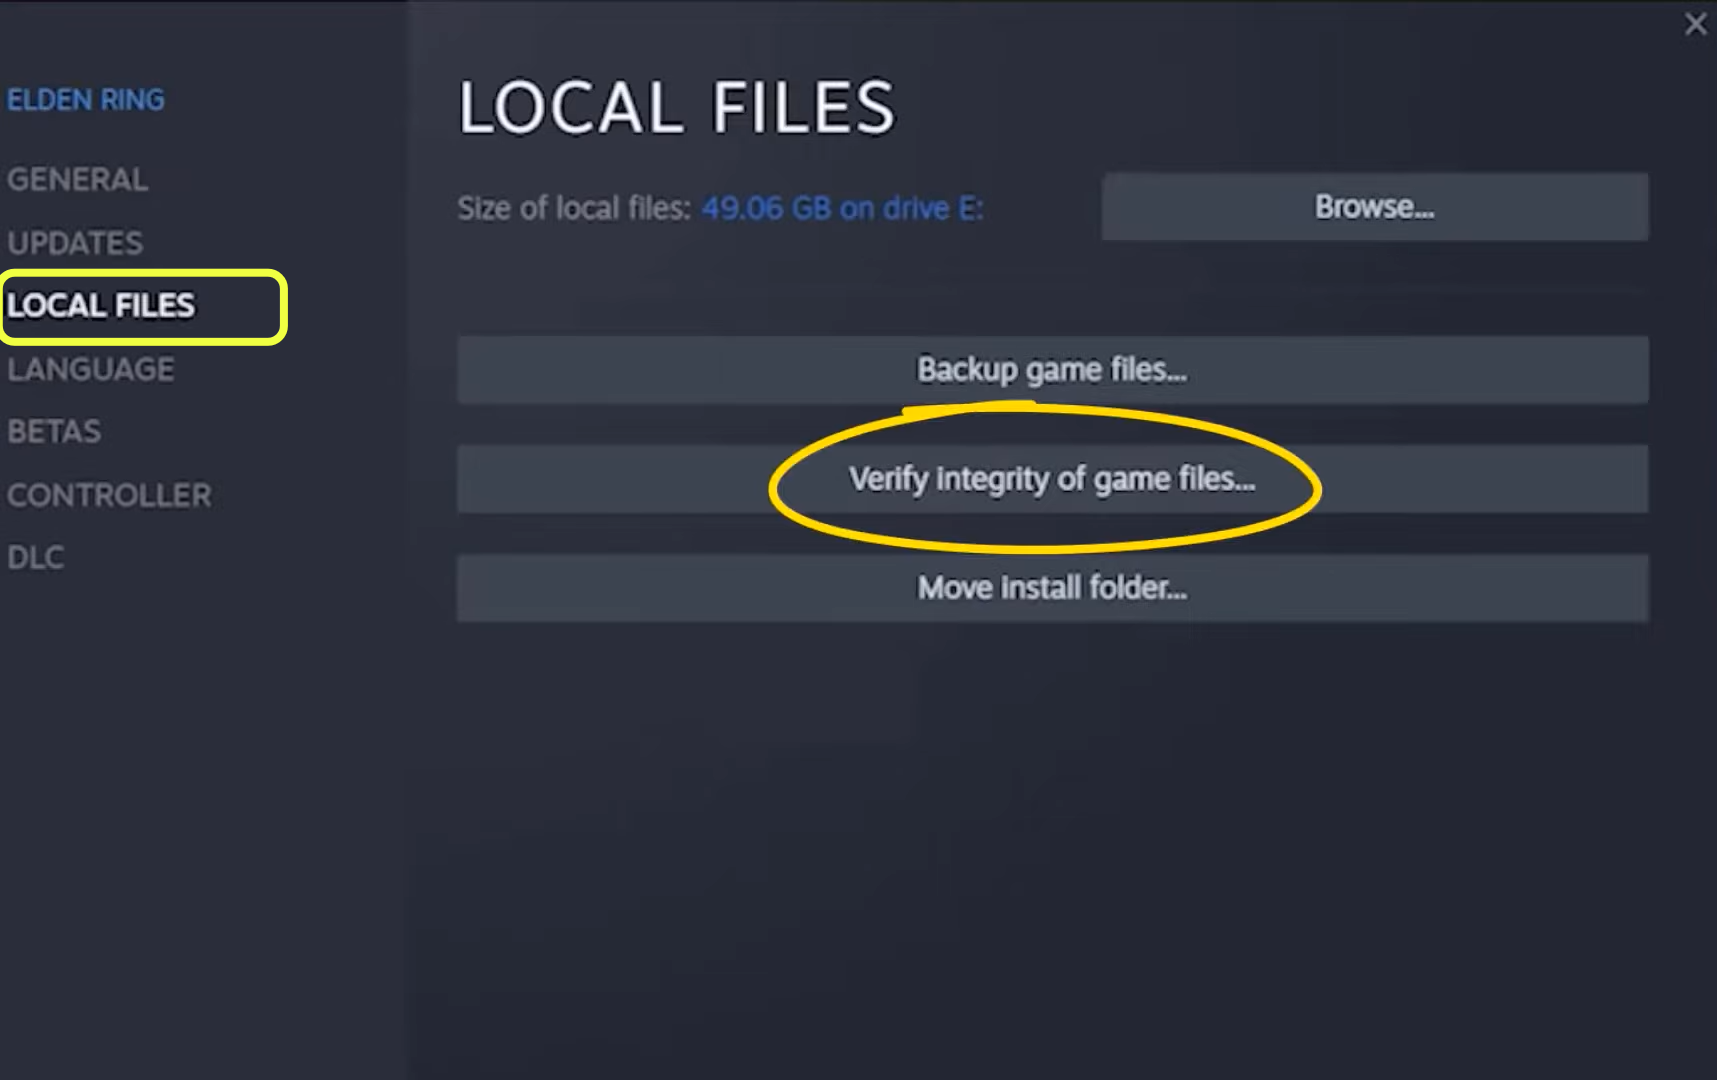
You have to open Steam on your PC, then head over to the library and find Destiny 2 on the left side of your screen. Right-click on it and go to properties, a new window will pop up, and you have to click on local from the left side of your screen. After that, click on verify the integrity of the game as it will start repairing your game. You have to wait for some time, and once it is done, you can start playing Destiny 2.
Fix 2
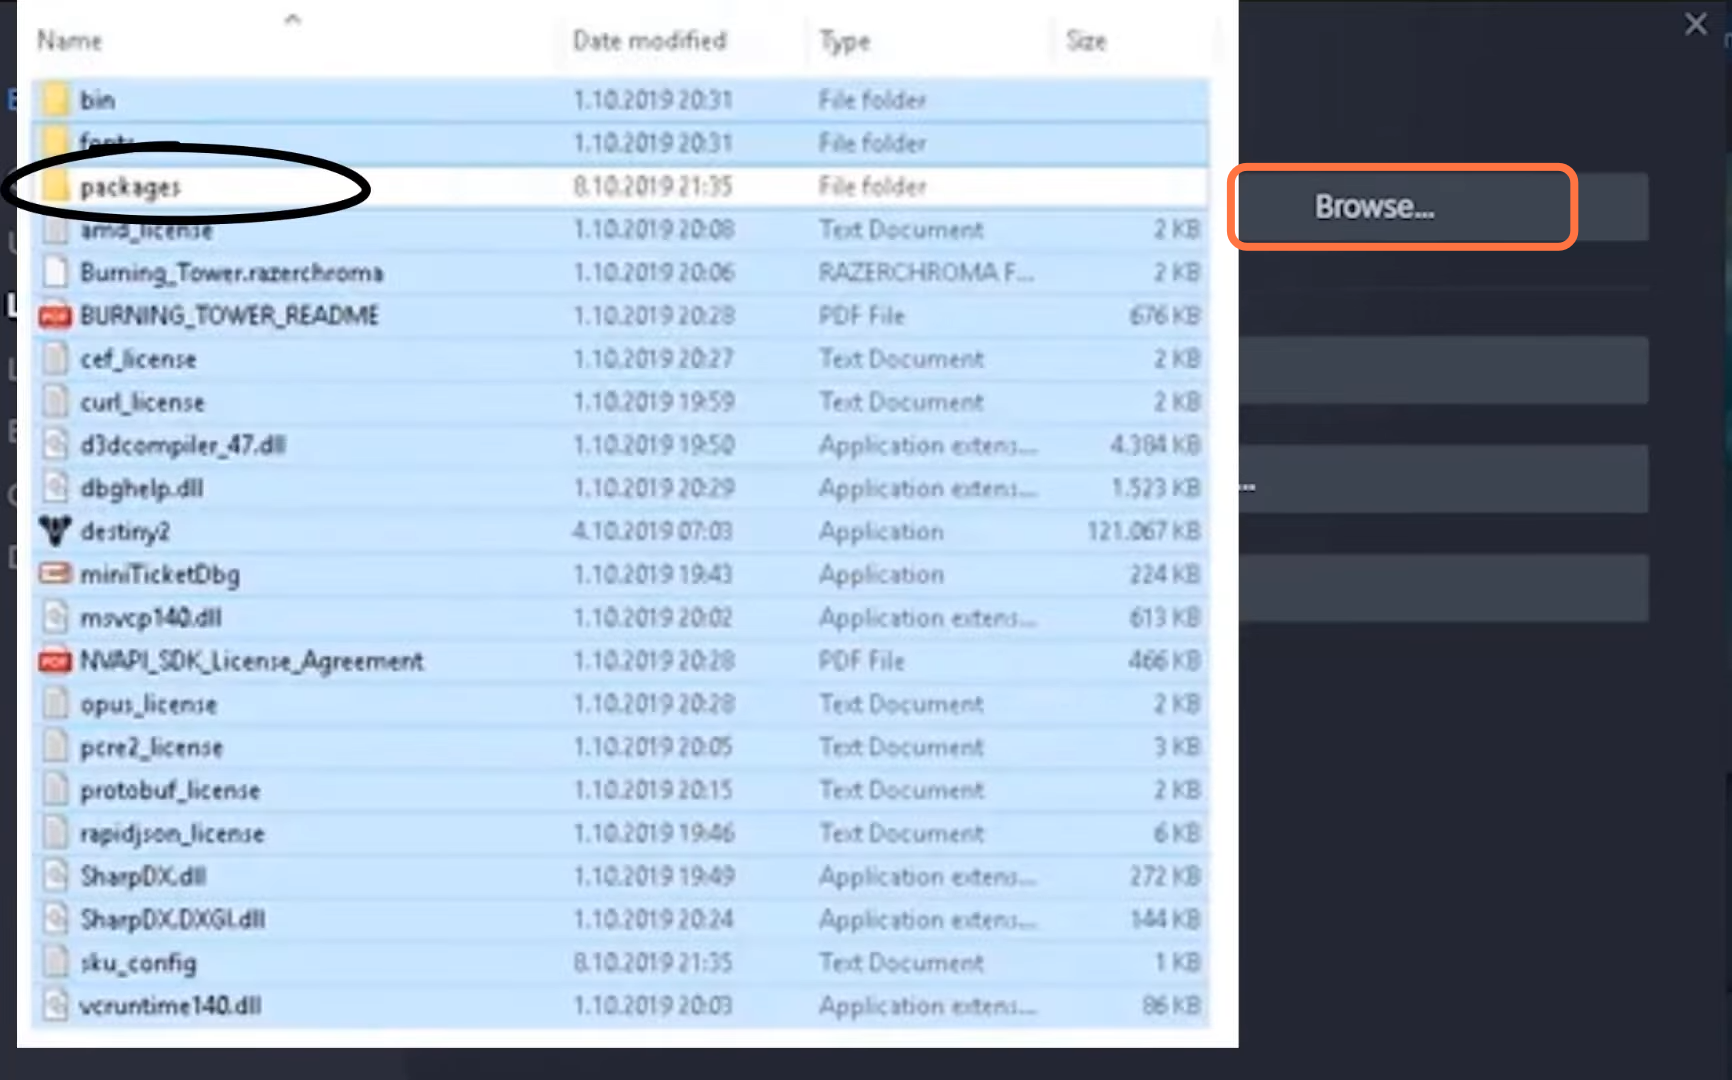
If you are still facing the issue, then open Steam on your PC again, head over to the library and find Destiny 2 on the left side of your screen. Right-click on it and then go to properties. A new window will pop up and you need to click on local from the left side of your screen. After that, click on Browse and delete all the files except the packages folder. After this, again you have to click on verify the integrity of the game as this will start repairing your game. Make sure that you do this before logging into the game.
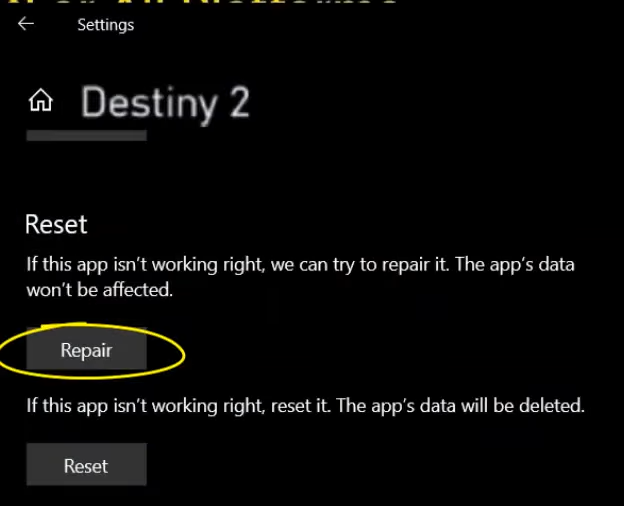
Now you have to go to Windows settings on your PC, click on Apps, and select Destiny 2. After this, you have to click on advance and then hit on the repair. Now you can enjoy your game.
For Xbox
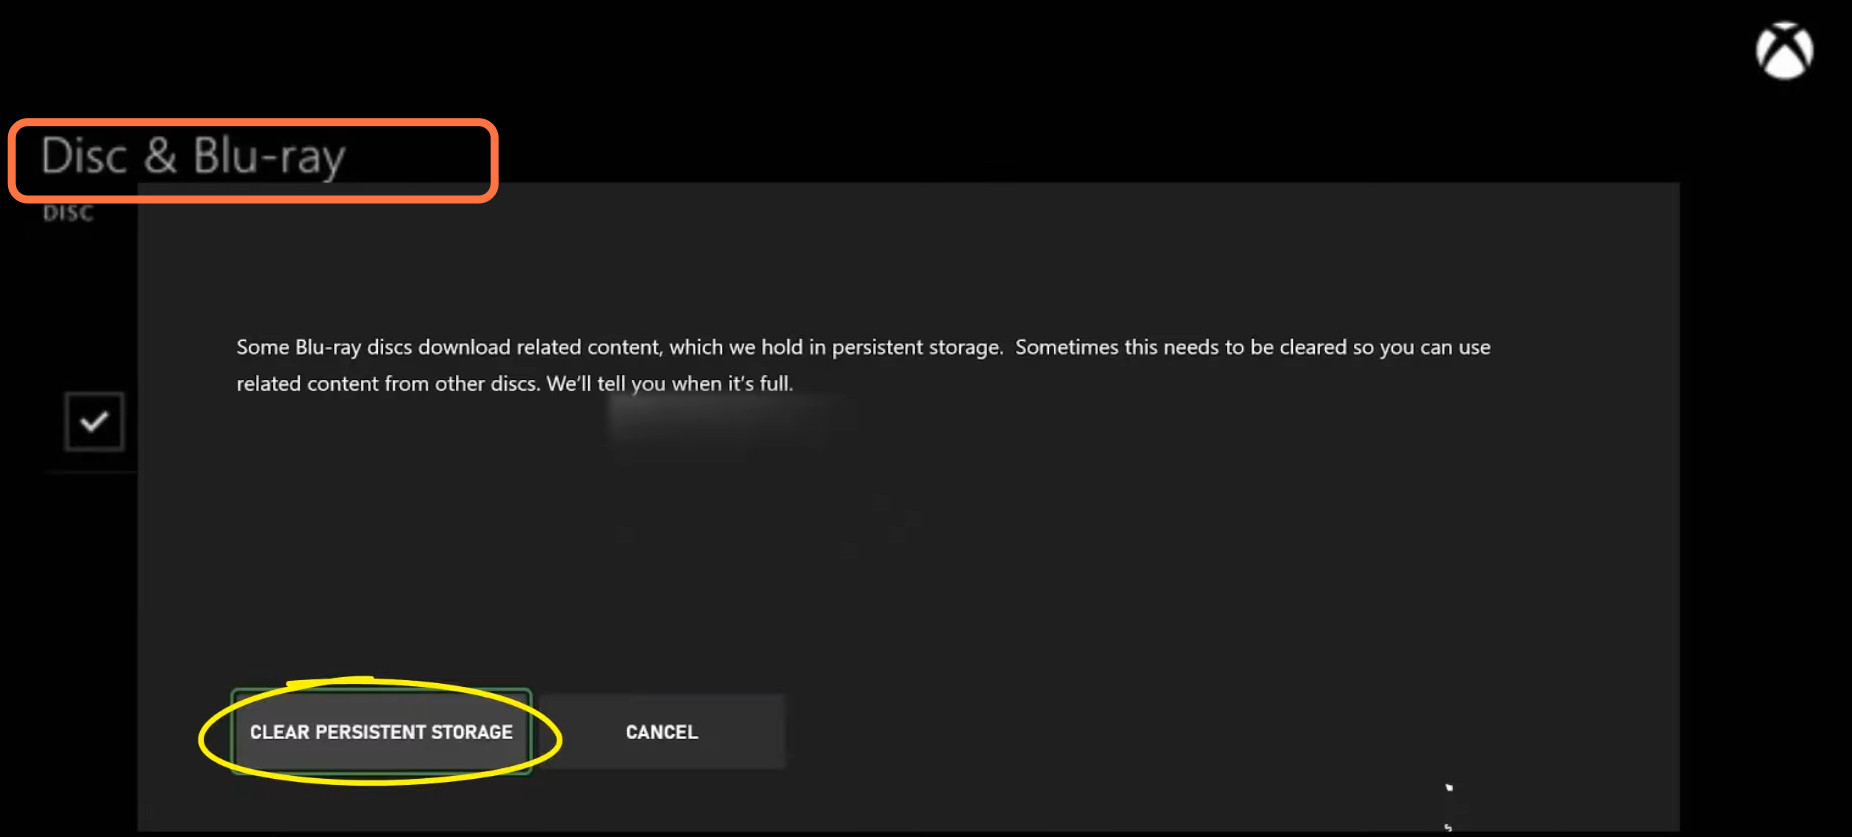
First of all, you have to press the Xbox button on your controller and open the settings. After that, select the blue ray option from the left side of your screen and then click on persist storage. You need to clear persistence storage and then restart the Destiny 2 game.
For PS4/PS5
The first thing you have to do is clear the console cache by simply turning OFF the console, then unplugging the power cord, and letting it stay unplugged for at least five minutes. After this, restart the console and enjoy Destiny 2 error-free. But if the error is still there, then you have to launch the PlayStation in safe mode by holding the power button until the console gets turned OFF. Then again hold the power button for 7 seconds and release the button once the console beeps twice and connect the controller to the console. After that, choose the database rebuild option to keep your files safe. Your hard drive will be scanned for various issues including corrupted files. Once this is done restart the console and play destiny 2. If the issue still occurs you have to uninstall the game and install it back in.