How to Fix High on Life Not Launching, Not Opening on Xbox App Microsoft Store
This guide will let you know how to fix High on Life Not Launching, Not Opening on Xbox App / Microsoft Store.
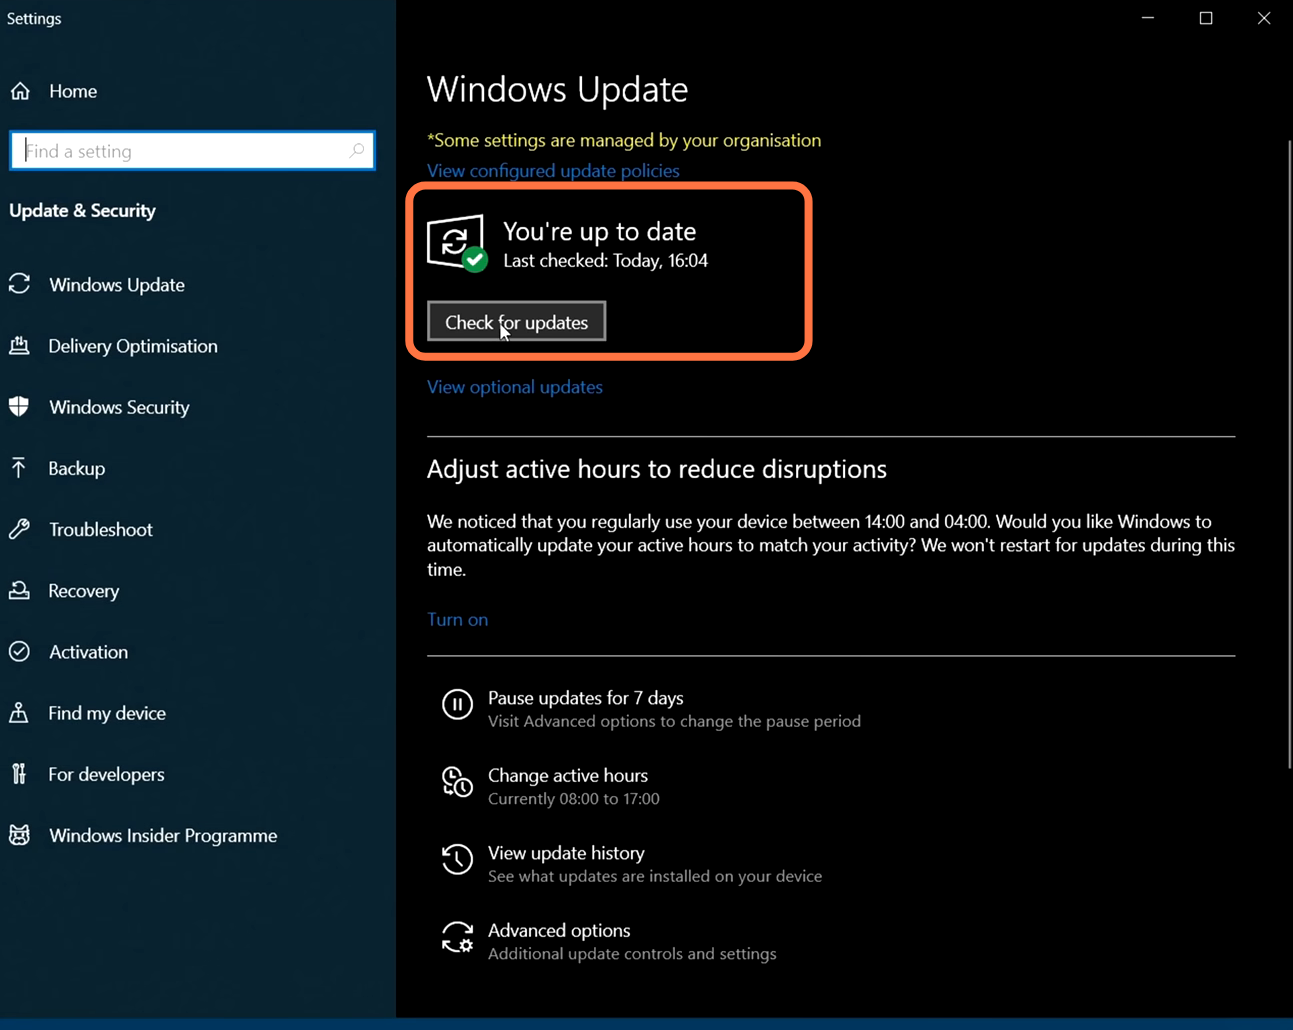
1- First, you must ensure that your window is fully updated. It is a very important step.
2- Go to the bottom left side of your screen to the search button, write "update" on it and click on "check for update."
3- A new window will pop up, navigate down, and click "check for updates". It will scan your machine to see if there are any updates available.
4- Click Start Menu and then Open Settings. Tap on System from the left side of the screen and scroll down until you find troubleshooting. Click on Troubleshoot and then tap on Other trouble-shooters.

5- Under the Other trouble-shooter options, press the Run button in front of the Windows Store Apps.

6- Now, log in with the same account on the Xbox app and the Microsoft store. For this, open the Microsoft store, and click on the top right corner of your screen
7- Log in using the account you signed in to on the Xbox app. After this, you must verify that the time, date, timezone, and region are correct. At the bottom right of your screen, you can see the date and time, make sure it is correct.

8- Now repair or reset the Xbox app or the Microsoft play store app. For this, you must search for the Xbox app in the windows search column.
9- Right-click on it and then open the app settings. It will open the windows settings, scroll down, and click the Repair button. After that, try to install the game.

6- Now update the Xbox app or the Microsoft store from the storage library. For this, open the Microsoft store on your computer and go to the library tab by clicking on the button left of your screen.
7- You will find the option "Get Updates" at the top right side of your screen; click on it. After installing all the updates, try to install the game.

8- Now, click on the link: https://www.microsoft.com/en-us/p/xbo... and it will take you to the Microsoft website. Click on get on the install page of the Xbox identity provider, and then click on open Microsoft store, then, on the store you have to install this.

9- After that, uninstall the gaming services with the help of the following command:
get-appxpackage Microsoft.GamingServices | remove-AppxPackage -allusers 10- Then paste this in Powershell. You need to make sure you are opening the power shell as an administrator. It will uninstall the gaming services from your PC.

11- After that, reinstall the gaming services on your PC with the help of the following command:
start ms-windows-store://pdp/?productid=9MWPM2CQNLHN12- Paste it into the power shell, and it will open the Microsoft store. With the gaming services installation page, click on the Install button.
13- Once the installation is complete, open the store or the Xbox app and try to install the game.

9- If, your game is still not installed, you need to start a few services, which include IP Helper, Xbox Live Auth Manager, Xbox Live Game Save, Xbox Live Networking Service, Gaming services, Windows Update, and Microsoft install service.
10- For this, type services in the Windows search button and find the Ip helper in this list.
11- Right-click on it, and the start-up type should be automatic. After that, click Apply and OK and find all the services on the same page. Set the start-up type to Automatic, then try installing the game to see if it fixes your issue.

12- If you still face the issue, type the WS reset command on the windows search bar and run this command by pressing enter.
13- A black screen will appear in front of you, and the Microsoft store will open up. Now you can try to install the game.

12- If your issue is still not solved, uninstall the Xbox and the Microsoft store app and then reinstall the apps. For this, write Xbox app in the windows search button, right-click on it, and then click Uninstall.

13- After that, install the Microsoft play store by opening the Windows power shell and typing the following command Get-AppxPackage -allusers WindowsStore | Remove-AppxPackage. After that, reboot your PC.

14- After rebooting your PC, you need to open the windows power shell and type the following command Get-AppxPackage -allusers WindowsStore | Foreach {Add-AppxPackage -DisableDevelopmentMode -Register “$($_.InstallLocation)\AppXManifest.xml”}. It will reinstall the windows Microsoft store. After this, open the Microsoft store, and install the Xbox app.

15- If you still face the issue, try installing the game on a different drive. For this, open the setting, go to the system settings and navigate to Storage.
16- Scroll down and click on Advanced storage settings; then, you need to click on change and choose the disk where you want to install the game.

17- After that, rename the Wp system and Windows app folder. Open the file explorer, then open the D drive, and you will find both folders. You need to rename both folders.

18- After that, stop the gaming services. For this, open the task manager to find the gaming services, right-click on it, and then click on the End Task.

19- After that, start the gaming services. Type services in the Windows search button and find the gaming services. Right-click on it, tap on the Start button and try installing the game.

20- If you still face the issue while installing the game, run the inetcpl.cpl command by typing inetcpl. cpl in the Windows search bar. After that, press Enter, and once it is open, you need to click on Advanced in the top right corner of your screen.
21- Scroll down and make sure that all the TLS 1.0, TLS 1.1, TLS 1.2, and TLS 1.3 are check-marked. After that, click on the Apply button.

22- If you still face the issue while installing the game, you must delete the Microsoft store local cache file. For this, open C drive and go to the user's folder.
23- Then open the username folder, go into the app data folder and open local. Open the packages folder, and then open Microsoft. Windows store folder.
24- In this folder, you will find the local cache folder, right click on it and tap on the Delete button. After that, you must restart your PC and try to install the game.
