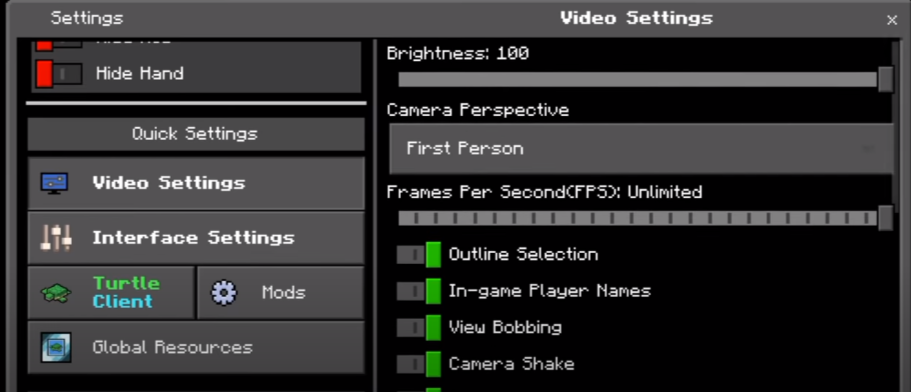
In this guide, you will get to know how to fix the Lag In Minecraft PE. You have to follow the step-by-step instructions in this guide to fix that problem.
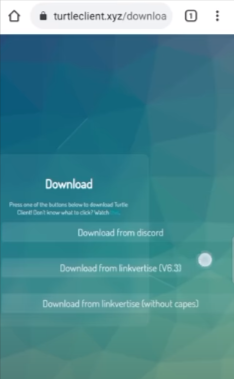
First, you will need to download the file from the following link. You have to download the second option, as shown in the image below.
https://turtleclient.xyz/
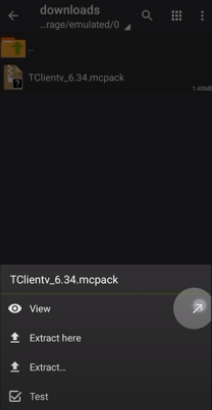
After downloading it, go to the zarchiver, open it up. Then navigate to the Downloads folder to find your downloaded file.

Now you have to click on the file and then select the view option, and it will directly open the Minecraft game.
After starting the game, you have to go to the settings, scroll down and go to the Global Resources option, as shown in the image below.
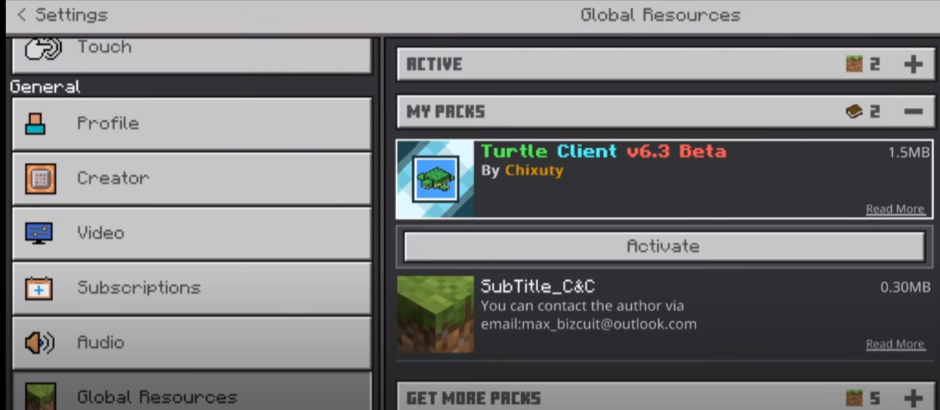
After that, you have to go to the My Packs option and activate the Turtle Client. After activating it, go to its settings, and there you will be able to change the resolution; you can decrease or increase the resolution for the best experience.
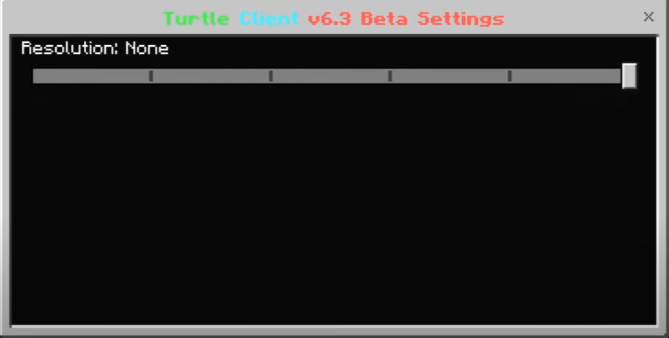
Now you have to go back to the game, and it will start loading the resource pack. After that, your game will start, and you will get a different layout compared to the previous one, and the game will not lag as well.
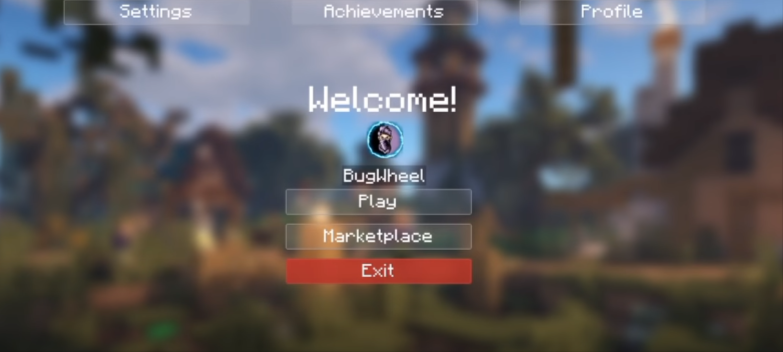
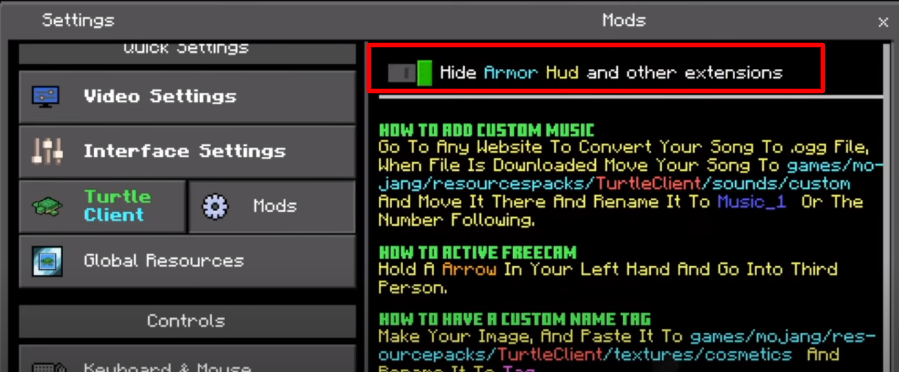
When you go to the settings, you will find some of the new options and features that will help you play the game without lagging. While you are in the game setting, you have to go to the mods option and turn on Hide Armor Hud and other extensions, as shown in the image below.
In the Interface settings, you can change the frames per second according to your need and the brightness.
The issue will be resolved now, and you can play the game without any lag.
