In this guide, you will know how to fix the Mic Not Working in Call Of Duty Vanguard and in Warzone.
Step 1
First, you will need to restart your console by selecting the power option and tapping the restart button.
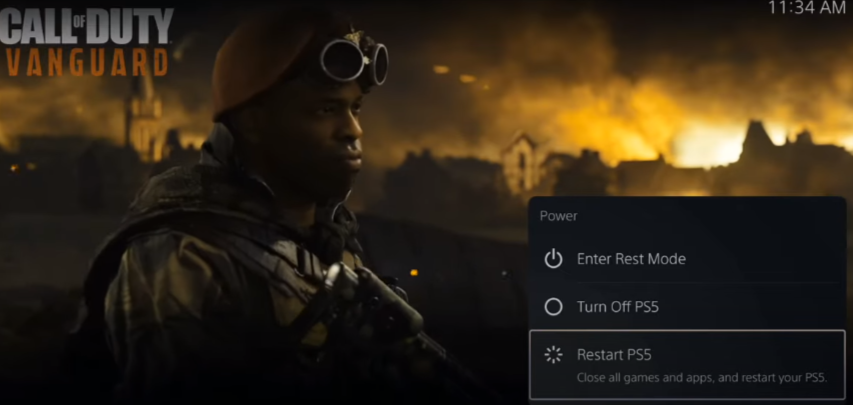
When your Playstation is restarting, you will need to disconnect your headset from the PlayStation, check it is working properly, and reconnect it with the PlayStation.
Step 2
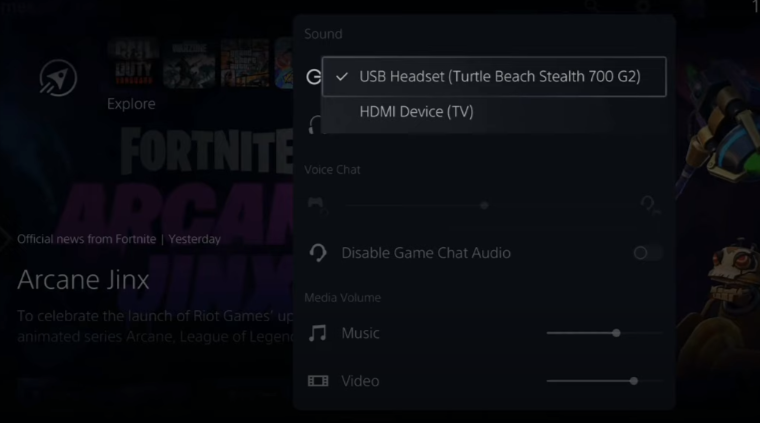
When your PlayStation is started, you have to press the Playstation button from your controller and verify that your headset is plugged in; you will see an icon on the top right side of the screen. You have to tap on that icon, go to the settings, tap on the output device, and check that your headset is correctly selected, as shown in the image below.
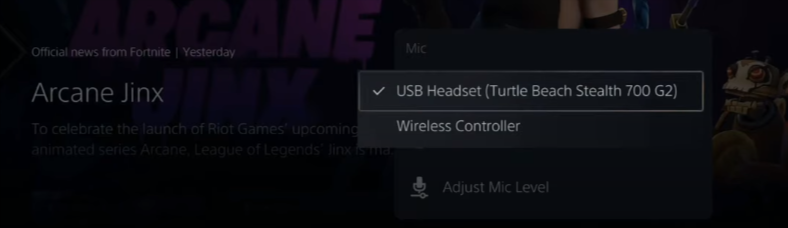
You have to do the same steps for the microphone settings and select the correct microphone.
Step 3
The next thing you will need to do is go back to the Mic settings and select the Adjust Mic Level Option. You will find the microphone level, and you can adjust according to your gameplay.

Step 4
After that, you will need to go back to the main multiplayer menu and press the options button from your controller. It will open the game settings, and you have to tap on the Audio settings, then scroll down to the voice chat section, as shown in the image below.

You have to turn on the voice chat; you can also adjust the voice chat volume from the option below and adjust the volume of your microphone from the microphone volume option.

To avoid distortion while playing the game, you have to select the no effect in the Voice chat effect option.