How to Get and Use the Left Finger of Glova in Dying Light 2.
This guide will let you know how to get and use the Left Finger of Glova in Dying Light 2. You have to follow all the steps carefully to use it.
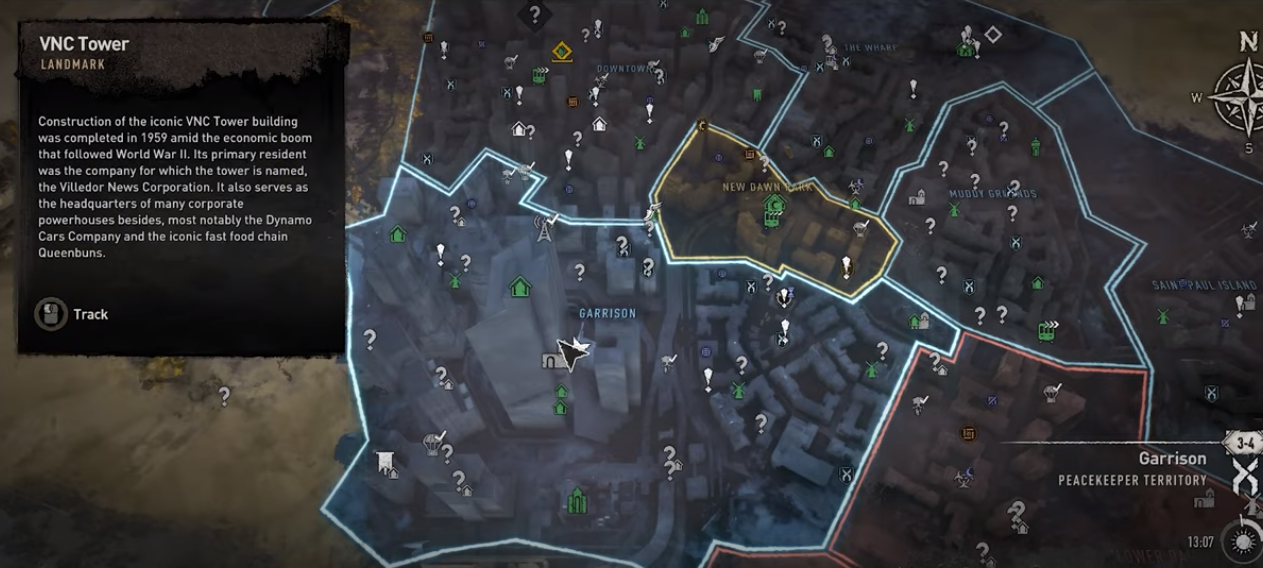
To unlock the hoverboard, you first need to go to the Saint Paul island district, and there you have to go to the right side of the VNC tower building.
After that, jump over the fence and go through the tower doors. After that, go towards the end of the hallway to find an elevator and push the elevator button. Once you are in the elevator, you need to select the VNC tower roof location. Go to the left side and find a slight edge there.

When you are on edge, you will need to equip the paraglider, target the building next to you, and go there. You will find a military airdrop and a panel in the middle of the roof, so you must pull the cable from the electrical panel. After that, you need to go to the edge of the wooden plank and then turn around, jump from the board and push forward. You will enter a room from the window, as shown in the image below.

When you fall inside the window, you will need to use the meds for healing, then fall from the window again and go to another room. Now you need to heal yourself, attach the cable to the panel next to you, and activate it.
After that, go across the room and pull another cable from the electrical panel, and right next to the panel, you will find a wooden plank. You have to go on the edge of the wooden plank.

When you are on edge, you need to turn around, fall towards your right, and push to enter another room. You will find an electrical panel there, so you have to plug in the cable and activate the switch, as shown in the image below.

The next thing you have to do is walk across the room to find another electrical panel. You have to pull out the electrical cable, turn around from the line and walk over to the wooden board. Make sure to equip the grappling hook, and you have to grapple the hook on the solid thing at the edge of the building.
After that, jump off from the window, throw the grappling hook on the object, and drop from the grappling hook when you reach the next building.

After reaching the bottom floor, you need to go inside the room, plug in the cable, and attach it to the electrical panel. Then you have to deactivate the lock system, and you will see that the doors of the building will open. Now you have to open the door, and there is an enemy inside the building, so you have to use your crossbow to shoot at it from a distance because when you hit him, he will explode, as shown in the image below.

Go inside, walk down towards the hall, and you will find a mattress around the corner. You have to sit on it by the campfire, and you will see that the teddy bears will start spawning in. Once all the teddy bears spawn in, you will see that the blueprint will pop up by the poster techland, as shown in the image below.

The blueprint you will find there is the left finger of the Glova blueprint; you need to have 369 scrap parts to craft it. You will get sixteen shots with it, and when you use all of them, you need to spend 369 scrap parts again to craft another one.

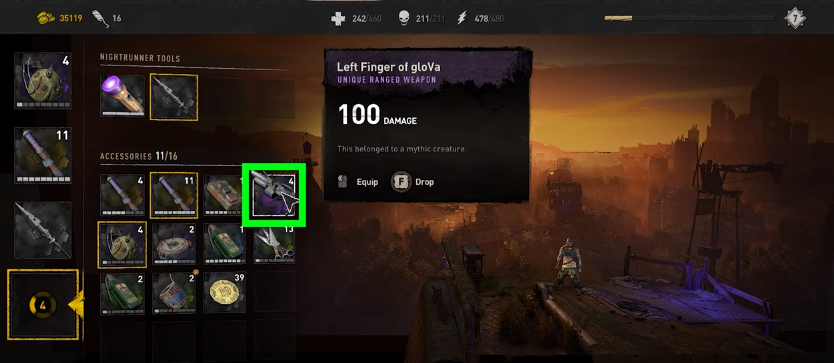
To equip the finger of Glova, you need to go to your inventory and tap over to the accessories tab. After that, select the empty slot and then click on the left finger of Glova from the accessories, and you will see that you have successfully equipped the left finger of Glova, as shown in the image below.
To use it, you have to hold one hotkey to open the wheel for all of your accessories. From there, you need to tap over to the Glove's left finger, select it, and then exit the menu. To use it in the game, you need to press your "use equipment button."
If you are playing on a PC, you have to press the middle button from the mouse. You have to aim at the enemy, and it will shoot automatically.
