This guide will let you know how to get Custom Capes for free in Minecraft.
The first thing you will need to do is to go to Mcpedl.com.
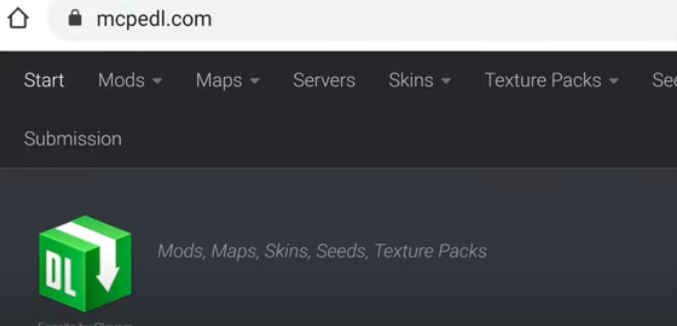
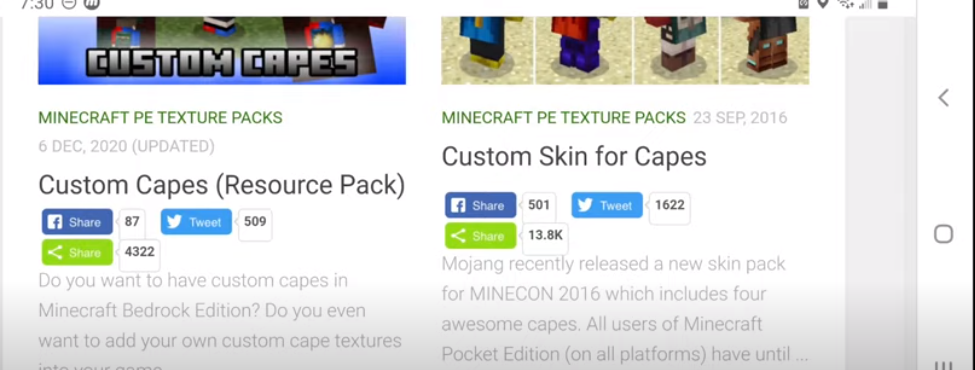
Type custom capes in the search bar and press Enter.
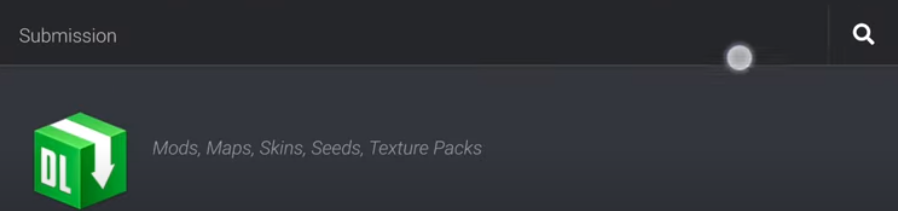
After that, you have to select the first result.
And click the green download link.
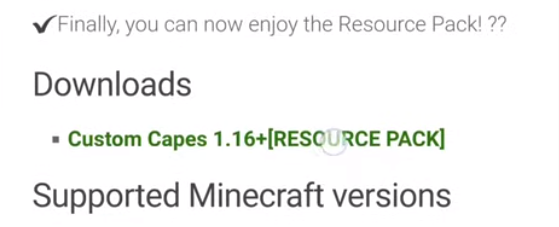
Then click the blue download button.

Make sure the resource pack is in a .zip format.

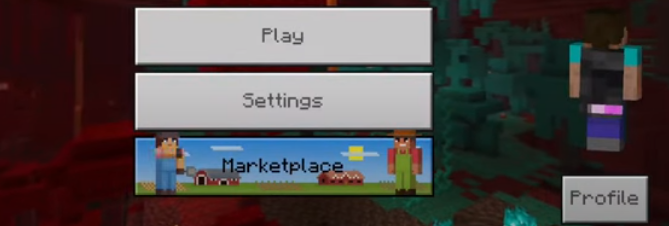
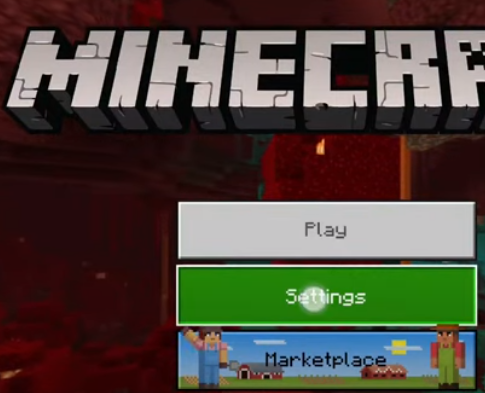
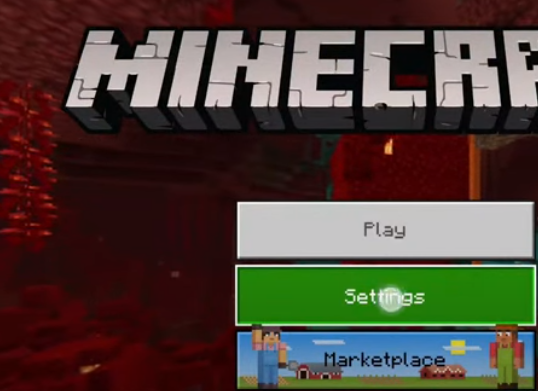
Make sure your storage location in Minecraft is set to external. Then click Settings on the main screen.
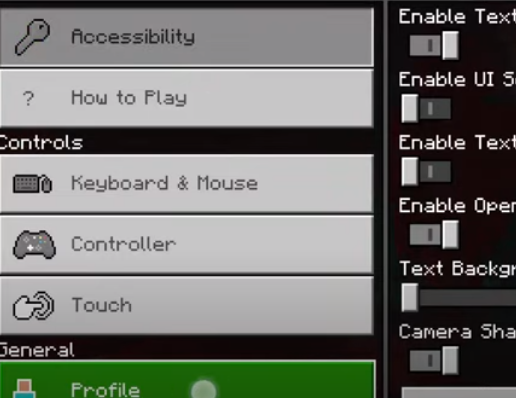
After that, you have to click on the profile.
And then click on Application.
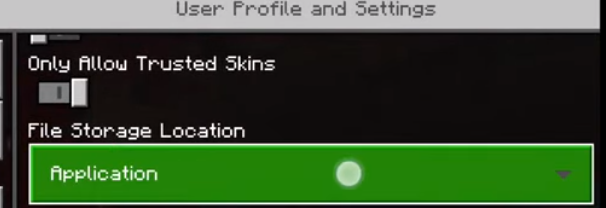
Now you will need to check the checkbox next to the external.

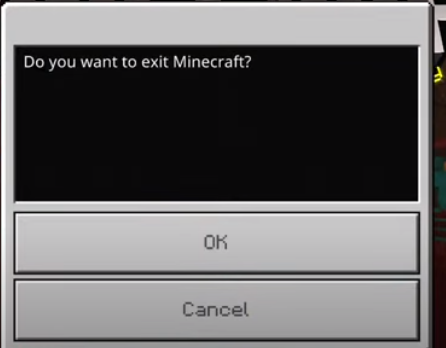
Exit the game once you did that.
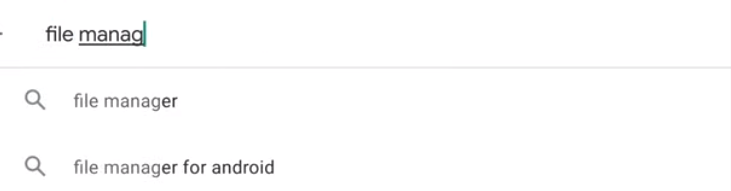
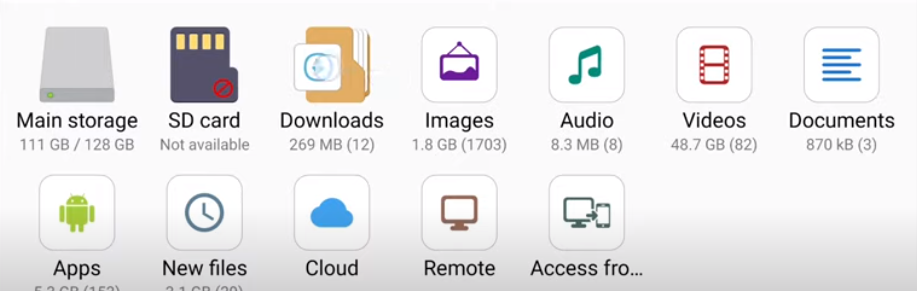
Now go to Google Play and search for a file manager.
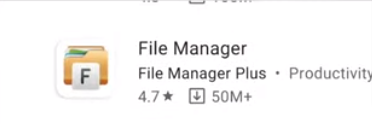
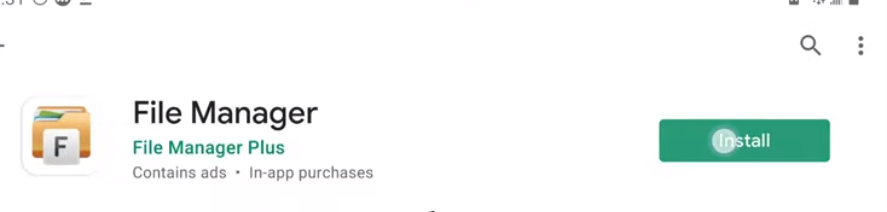
Select this app and install it.
Once the installation is done, you have to open it.

And allow the permission.

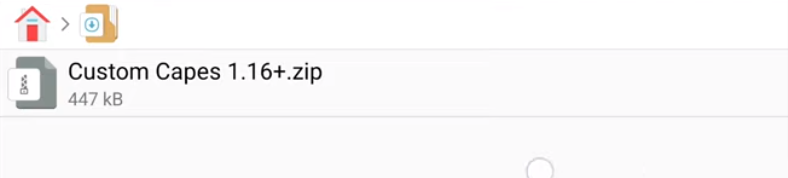
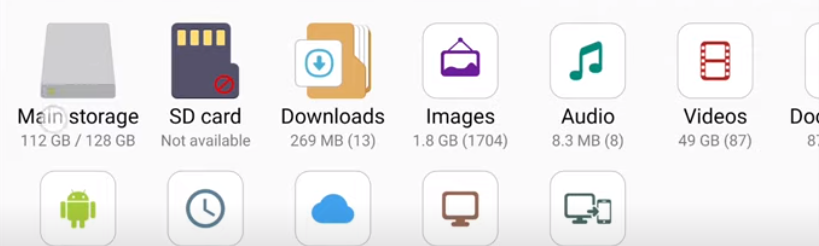
Now you have to click downloads.
Press and hold the resource pack(Zip file) and click more at the bottom right corner.
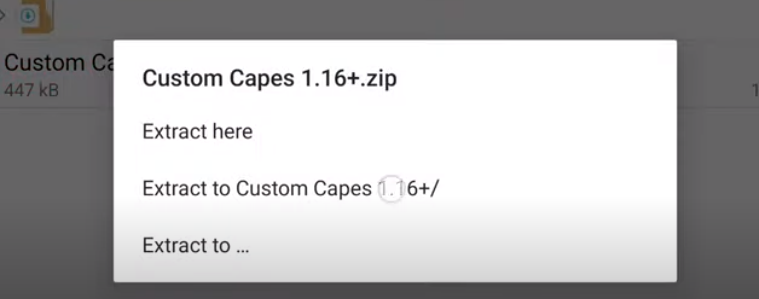
And then click on Extract.

Choose extract to custom capes 1.16+/

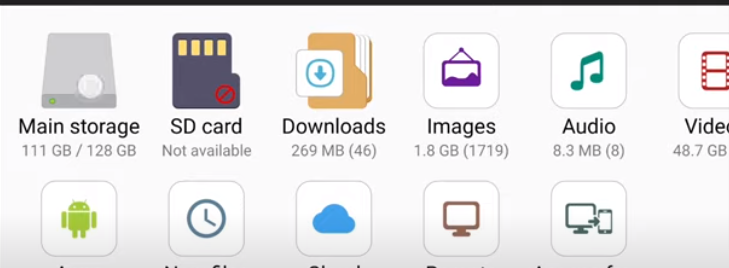
Now you will find a new folder with the same name. Press and hold that folder, then click move at the bottom.

Go back to the home page of the file manager and click on Main storage.
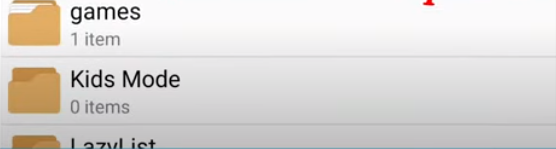
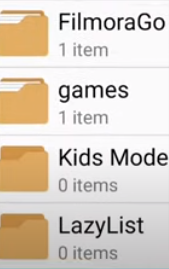
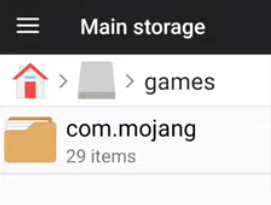
Then you will need to find and open the games folder.
After that, click com. Mojang.

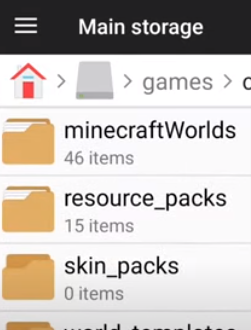
Find and open the reource_packs folder.

Now you have to click paste at the bottom right corner. You should see the folder that was moved.

Now open Minecraft and click on Settings.
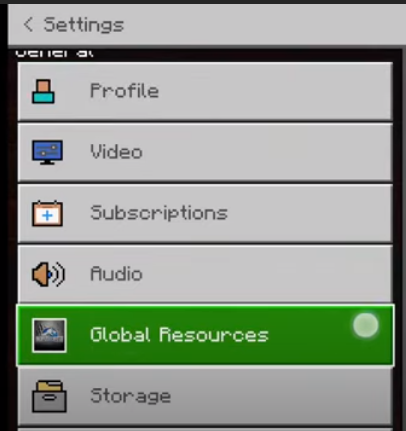
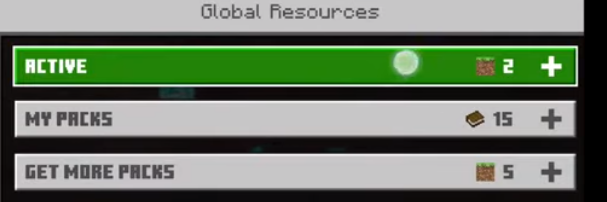
Then select Global Resources on the left.
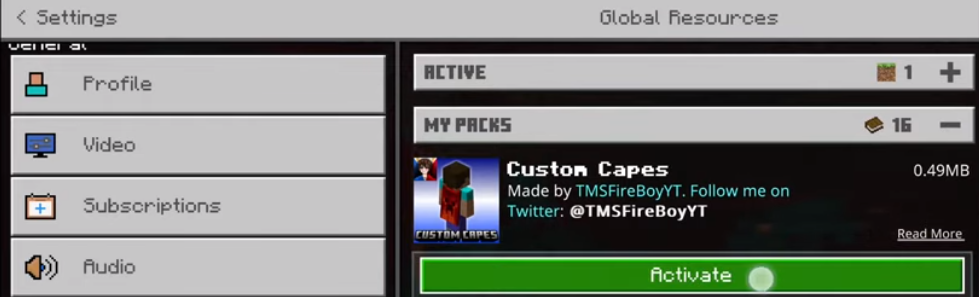
After that, you have to click on my packs and find the Custom Capes Resource Pack.

Then you have to click on activate.
Go back to save changes, and the cape will be installed on your character.

If you want to change your cape design using the capes, then follow the steps below.
Click setting.

And then select Global Resources.

Click “Active” and select the custom capes resource pack.
Then you have to click on the gear icon.

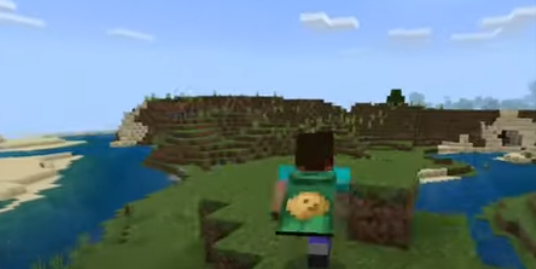
Now drag the slider to choose different cape designs you like (There are 14 cape designs provided). In this guide, we went with the potato cape.
Go back and restart your game to apply the new cape.

As you can see, the cape which is chosen for this guide has been loaded.

Now you will need to create a world to check how the cape looks.
However, if you want to use the custom cape you made or found on the internet, follow these steps.
You will need to click on settings.

And select the Global Resources again.

Click Active and select the custom capes resource pack.

After that, you have to click the gear icon.

Drag the slider to the left until it says “design your cape”. Then go back to the main screen of Minecraft and exit the game by clicking back on your phone.

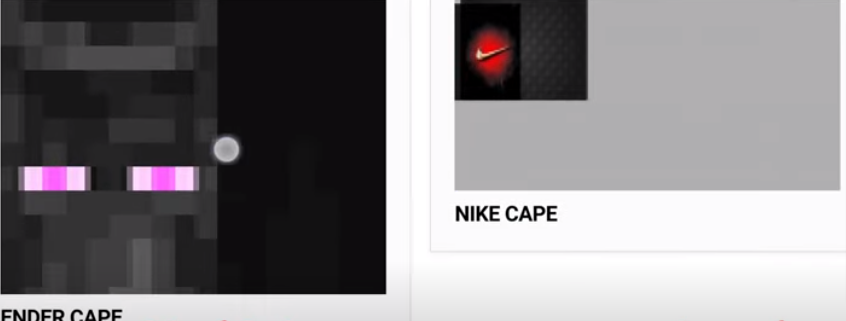
Find any cape that you like; For this guide, we have used the website advanced capes.

If you use the same website, you have to click the three lines at the top right corner.

Then click the cape gallery.

Press and hold the cape you want to download, and then click the download image.
Make sure your cape is in a .png format.

And then click the Download folder.

Press and hold on to the cape you downloaded and then click move at the bottom.

Go Back to the home page of the file manager.
Then click on Main storage.
Now you have to find and open the games folder.
And then click on com.mojang.
Find and open the resource_packs folder.
Click on the custom capes 1.16+ folder.

Then click subpack.

At the very bottom, select the folder that says custom.

After that, you will need to click on textures.
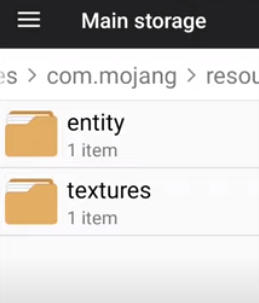
And then click the entity folder.

Click on the paste button at the bottom. Press and hold the file that says cape_custom.png.
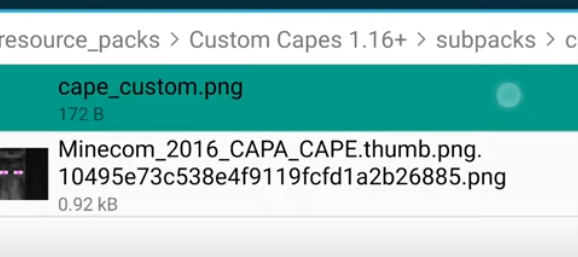
Now, you have to click delete at the bottom.

Press and hold the cape you downloaded, and then click rename at the bottom.
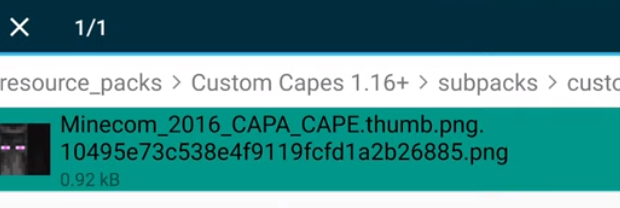
Delete the entire file name already there and rename it to cape_custom.png.

That’s it, now open up Minecraft and enjoy your cape. Like earlier, you can see the cape on your character.