This guide will let you know how you can get the Mighty Bow Feather. You will also learn where you can get the coins.
You will need at least one of the four coins to unlock the craft.

You can get these coins in the arena, Hunter King coin and Carioth coin in the Barioth arena. Ace Hunter coin and Rajang coin in the Rajang coin. A mighty bow feather gives you the skill bow charge plus. Bow charge plus increases max bow charge level by one.
For example, here, with level 4, you can gain rapid level 5.

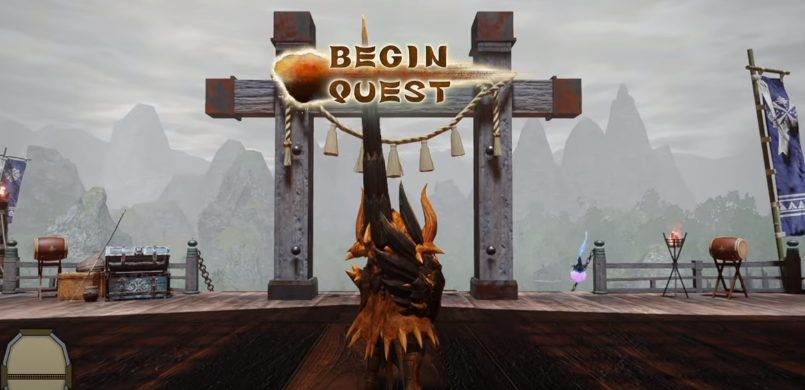
Let’s now see where and how to launch the arena event.
You will need to talk to Master Utsushi.

Arena 4 will give you a Barioth coin and Hunter King coin; you can easily kill a Barioth as a bow user. Any rank will give you coins; you have to finish the arena.
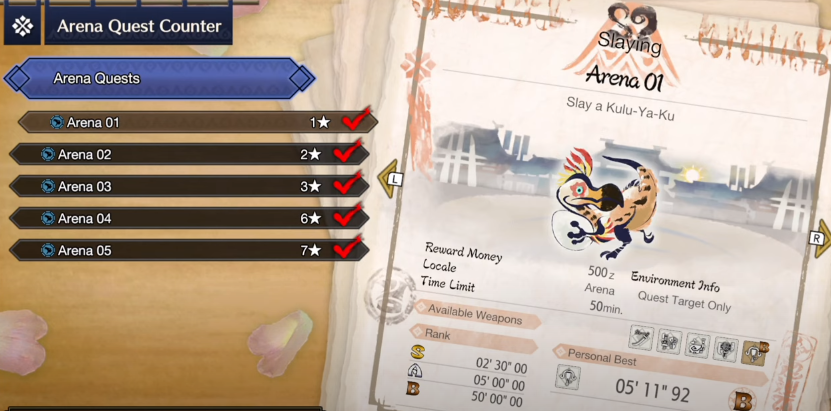
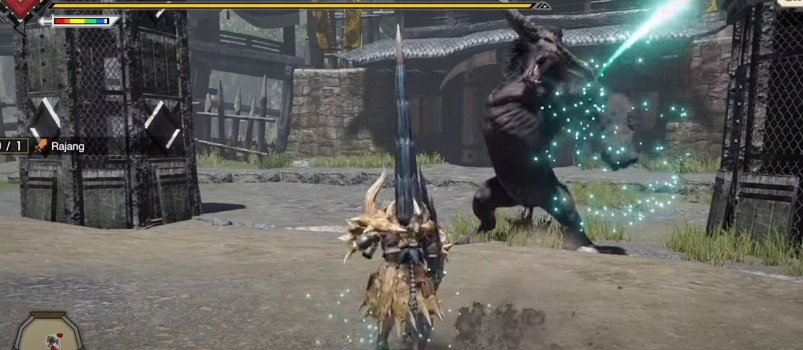
For Rajang, there is no bow choice. But don’t worry, it will be really easy to understand and do it. Launch the event and choose the lance, and you are ready to go.
Before going to the arena, let’s look at the basic skills that you need to use.

So your main skill will be the guard, just press and hold ZR. In the arena, it can almost block everything (except beam). Next, you will have the counter-thrust, guard + A and release ZR. If you keep holding ZR, it will guard until release or time out.
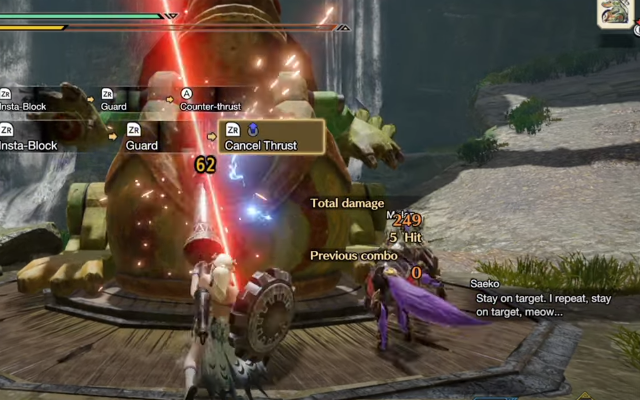
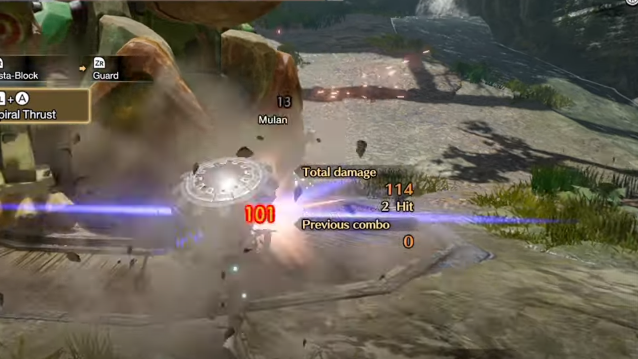
There is also a skill that will enable you to chain combos together. So hold ZR if you need to guard to go offence. Here is your basic combo with high trust: A+A+A.

As you see, you can’t chain two basic combos without a little pause. To link 2 combos together, you have to use counter-thrust at the end; that way, you get our infinite combo in the skills list.

You can also begin guarding, counter-thrust and chain with combo A.
Now let’s see different possibilities to aim at your target. Push and release L in a direction; it will turn you in that direction and attack. That way, you can aim in any direction without moving the camera.

Next, you will need to turn the camera with R, push L top and attack. It will make you attack centred with the camera. It is important not to attack or attack while turning; otherwise, you will always keep attacking in the same direction. Train a little bit, and you will aim exactly where you want.
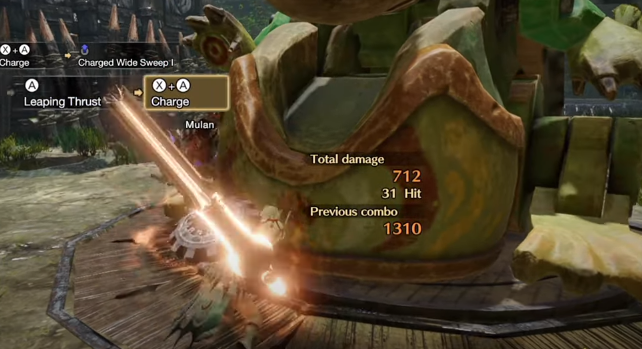
The next skill is the shield charge, just guard and (X+A).

It will make you charge draining stamina. You can change direction a bit with L. Pressing A during charge will make a leaping thrust attack.
The next skill is the charged wide sweep, hold (X+A) and release. We will mainly use just guard and basic combo poke for rajang.
Other skills are situational and can help you do better.
It will make you attack centred with the camera. it is important not to attack or attack while turning. Otherwise, you will always keep attacking in the same direction. Train a little bit, and you will aim exactly where you want.
The next skill is the shield charge, just guard and (X+A). it will make you charge draining stamina. You can change direction with L; pressing A during charge will make a leaping thrust attack. The next skill is the charged wide sweep, hold (X+A) and release. You have to use guard and basic combo poke for rajang mainly. Other skills are situational and can help you do better.
If you pushed A While guarding and nearly at the end of the auto release. If a huge attack comes at that moment, you can push B. you will go in power guard draining your stamina but extending guard.
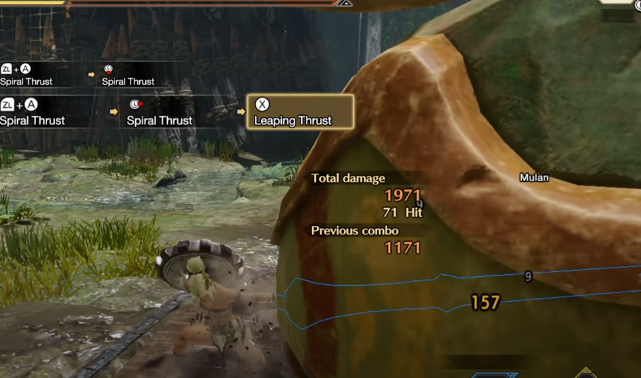
Lastly, you will learn how to use the spiral thrust attack easily.
You have to hold the L direction and push (ZL+A) and then release the L direction. It is important to release the first L direction otherwise, the second attack will go the same way. At the end of the second attack, you can push X to do a leaping thrust. To make it easy to aim, you need to do the first spiral trust and push R centred to your target. You will have to push L forward, and you will hit where you want.

It is not required to know exactly where to push L for the second spiral, but having the camera in your front position will be a plus to see action. The leaping thrust deals a lot of damage, x after the second spiral. so try to get into a position where your second spiral enables you to X the monster. Sometimes, you are in a position where you can’t land the two spiral + leaping hitting.

When you feel that is the case, place yourself in the first spiral. To perfectly land the second spiral and the leaping with X, it is easy to do the reverse spiral without moving the camera.
Just spiral in one L direction after animation pushes the opposite L direction. This reverse spiral is really useful when you are next to the monster.
You will go through him with the first spiral and recommend him with the 2nd. Just put wire bug gauge to infinite use in training options and train yourself.
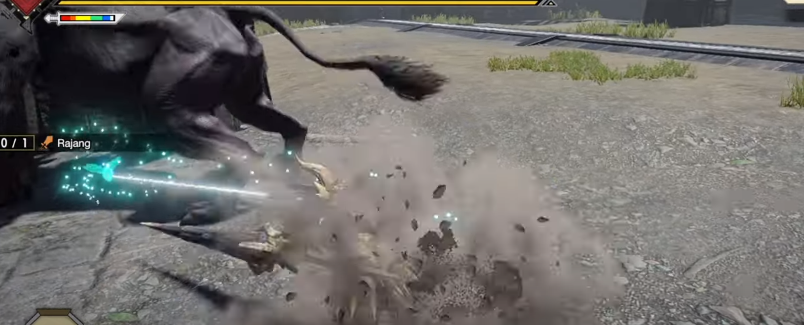
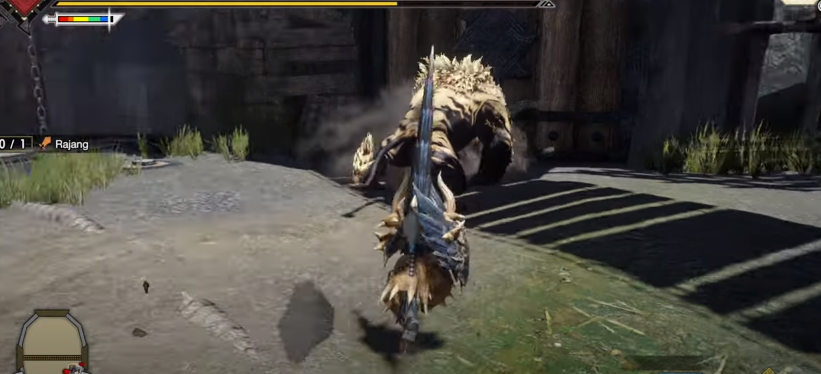
Now you have learned everything basic from the lance. Let’s get to rajang now.
Always take the buff and the wirebug before engaging with rajang.
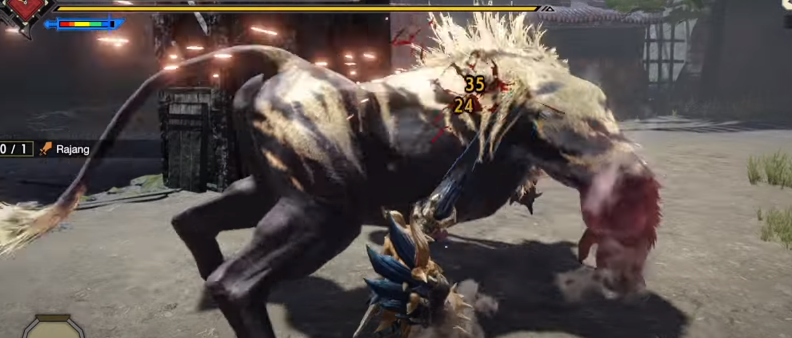
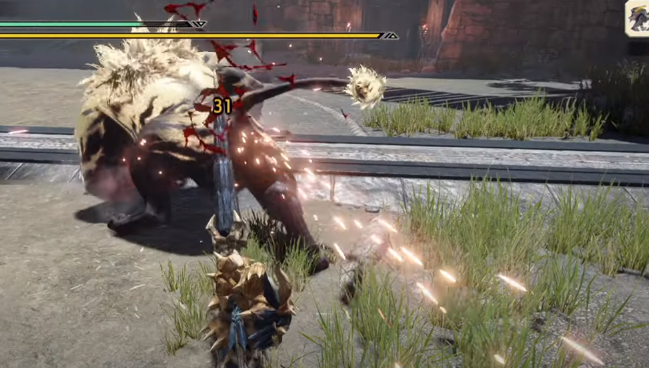
Then your first goal is to damage him with spiral thrust as much as possible. His roar will often prevent you from doing the X leaping, don’t worry about it. The important thing to know is you are far away from him; prepare to go side or shield charge to dodge his beam attack.

You have to learn his moves, guarding and poke A just after his animation. Poke a two times; then guard is the safest way to damage him and spiral thrust to continue to make him wired.
This fight will only be a routine:
He attacks, and you have to guard. After the animation, poke A + A basic combo or infinite combo if you have time. If he is far, then you can prepare to dodge the beam.
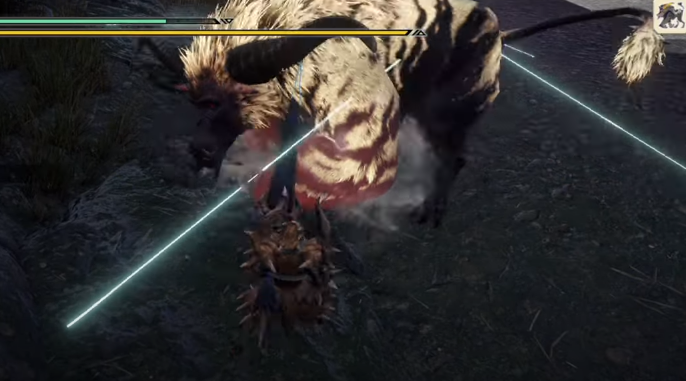
This is his grab attack; to dodge it, you have to guard. Or if you try to dash or dodge near it will fail.

After taking a big hit or laying down like this, quickly wire side and regen your life with Y, or he will get one shot you.
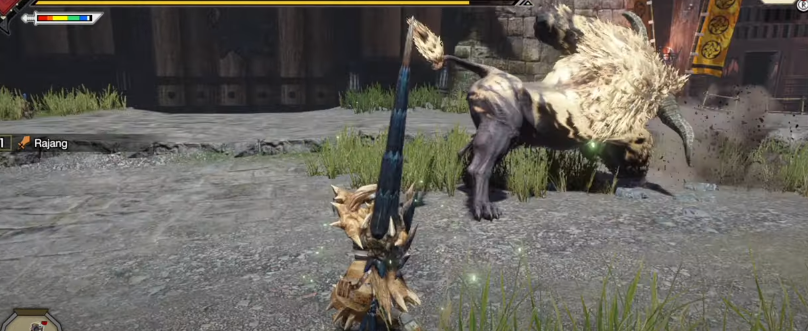
You have to continue damaging him with spiral thrust when possible to enable the monster ride for more damage. When he goes into rage mode, make sure to guard every of his attacks. You can guard all of his attacks except the beam to dodge.

You will sometimes fail if you don’t know his attack pattern. Your guard is your best friend; use it often and learn his attacks movements. Poke him hard when you have time but always be ready to guard.
As you can see, his scream also deals damage; you can guard it too. Keeping spiral thrust when possible will enable the ride wyvern.
While riding, you can launch a monster with Y to the wall or structure quickly. Press B to Evade and repeat the process until it ends.

When it ends, you have time to attack him with a basic combo or spirals.
Now that the riding is finished, spiraling is not your priority. You can play safe with guarding and poke or spiral again when opportunity.

Turning yourself to attack fast with a good camera placement is the key to doing damage with your poke, so train it before beginning.
Now you have learned all the basics of the fight, let’s have some tips.
Grab attack, do not dash/ dodge, just guard.

Multiple frontal attacks, guard prepare to turn back to poke and guard against the scream attack. This is how a big jumping attack guard it and press A to immediately combo poke after landing; he won’t move for a while. This attack is a good time to deal with a lot of poke damage.
Back jump, attack, guard, and prepare to turn yourself, same with his smashes attack, guard turn, and poke.

The Bunning attack, guard, and if he is far, he will chain his jump back attack. Rolling attack, as a usual guard.

You now know nearly all about his attacks and how to deal with it. He will repeat it all until he dies.

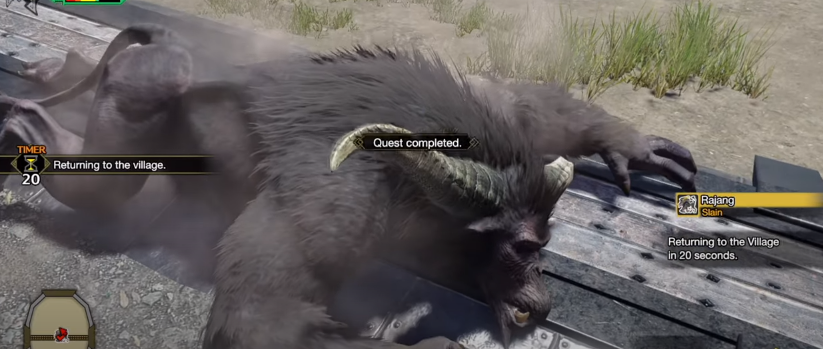
When he finally comes to a weak state, finish him and you are done.
Final tips and attacks pattern. You don’t have to be too greedy or in a hurry to do damage. You will lose a life and risk the hunt.

Remember that you are not speedrunning; you have to kill him to get the coins. Any rank will give you a random amount of coins.

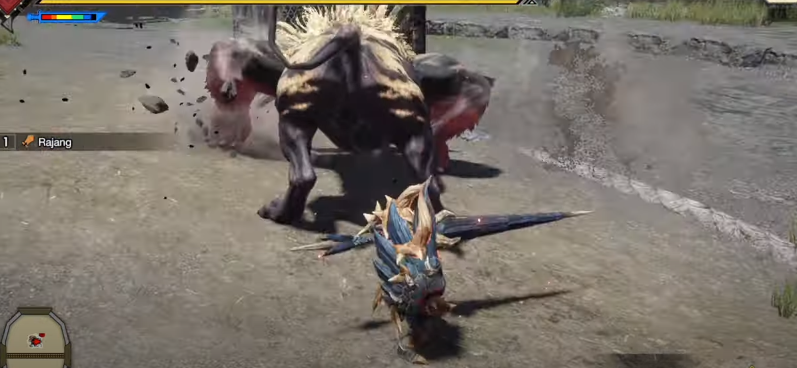
You can see that little stair; you will do damage through it but stay down. He goes in Rage mode, time to be safer now; just guard, and everything will go fine.
Another attack, he will do 2 punch attacks and this attack which is a normal jump attack; prepare to turn back If you are far from him in the Rage mode. Prepare to Shield Charge LA; you won’t be able to dash/dodge like in normal mode.

As you see here, you can’t attack his Red fist. So don’t attack this part.
That’s why it is better to turn your camera while Spiral Thrust. You will always have an eye on Rajang.
That’s all about the fights, have fun while farming this Arena.
