How to install Curvy Dancers Mod in GTA 5
This guide will let you know how to install Curvy Dancers Mod in Grand Theft Auto 5.
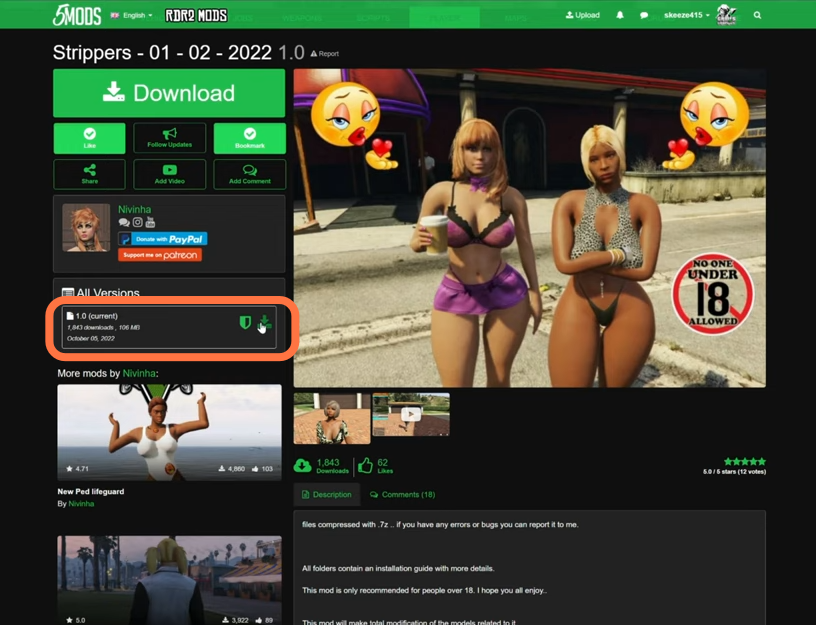
- First, you will need to download the strippers Mod from "https://www.gta5-mods.com/player/strippers-01-02-2022". Open the link and click on the green arrow icon under the 'All Versions' section to download the mod.
2. You will require an archive manager for this mod to work which is "Open IV". You can download it from "https://openiv.com/". Once you have downloaded the required Editor and the Curvy Dancers Mod, you have to go to the downloads folder to open the files.
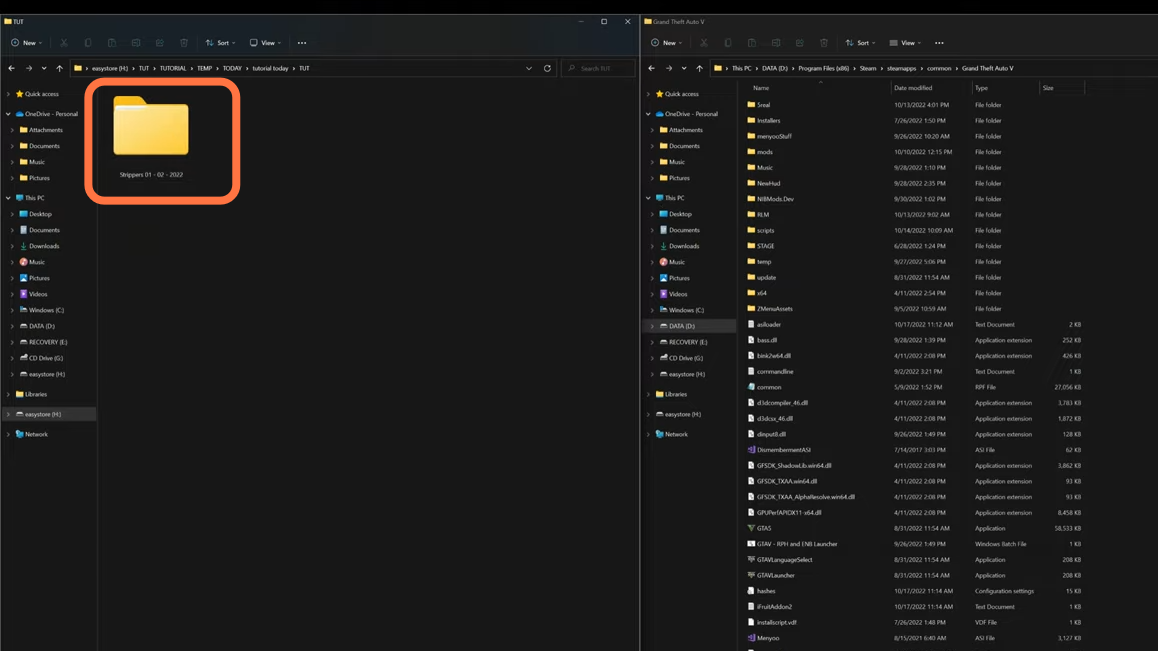
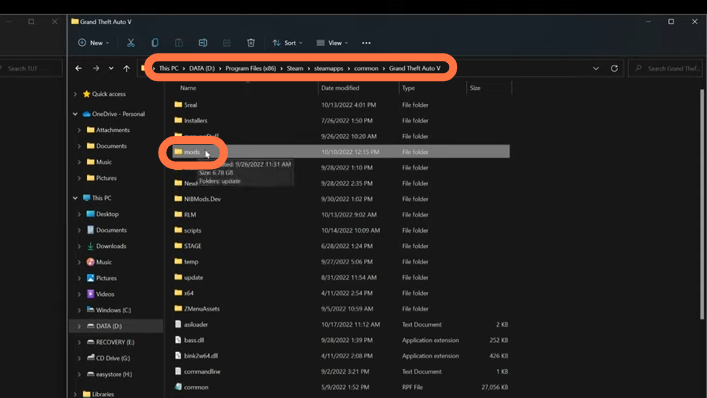
3. On the other hand, open the "GTA V" directory side by side with the downloads folder. Now open the mods folder of the "GTAV" and if you don't see this folder here, then you need to create an empty folder and name it mods.
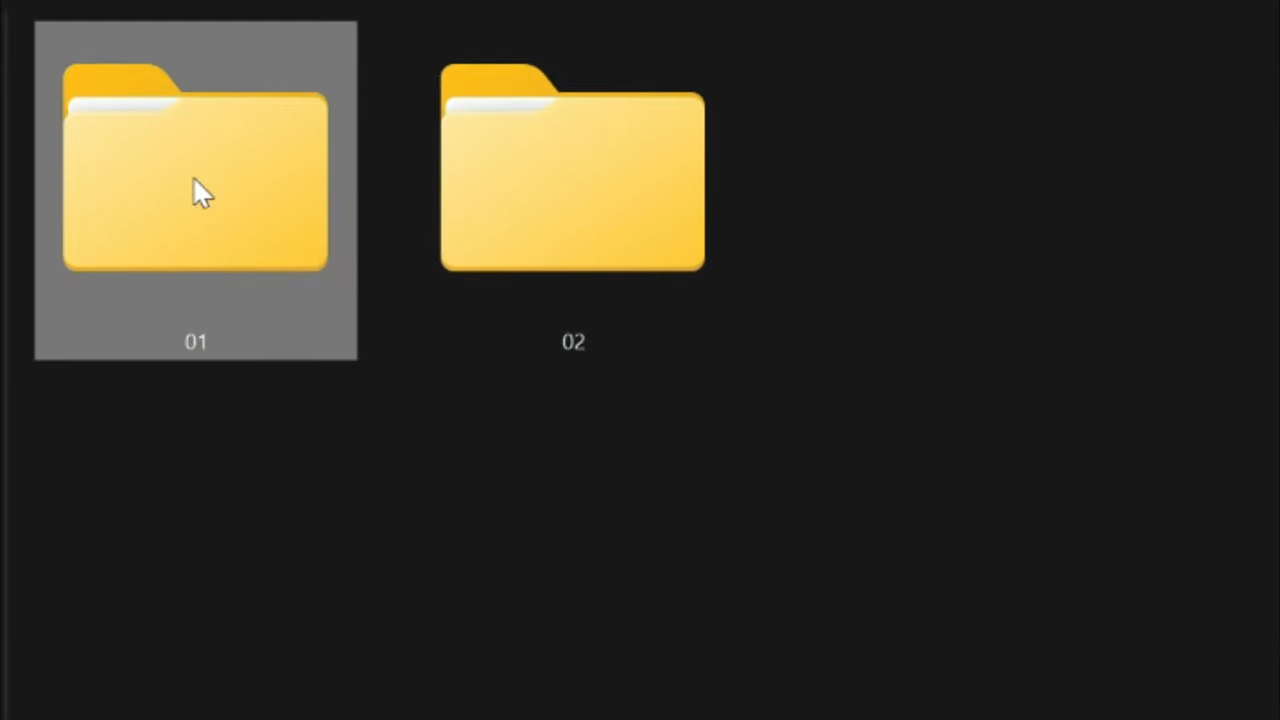
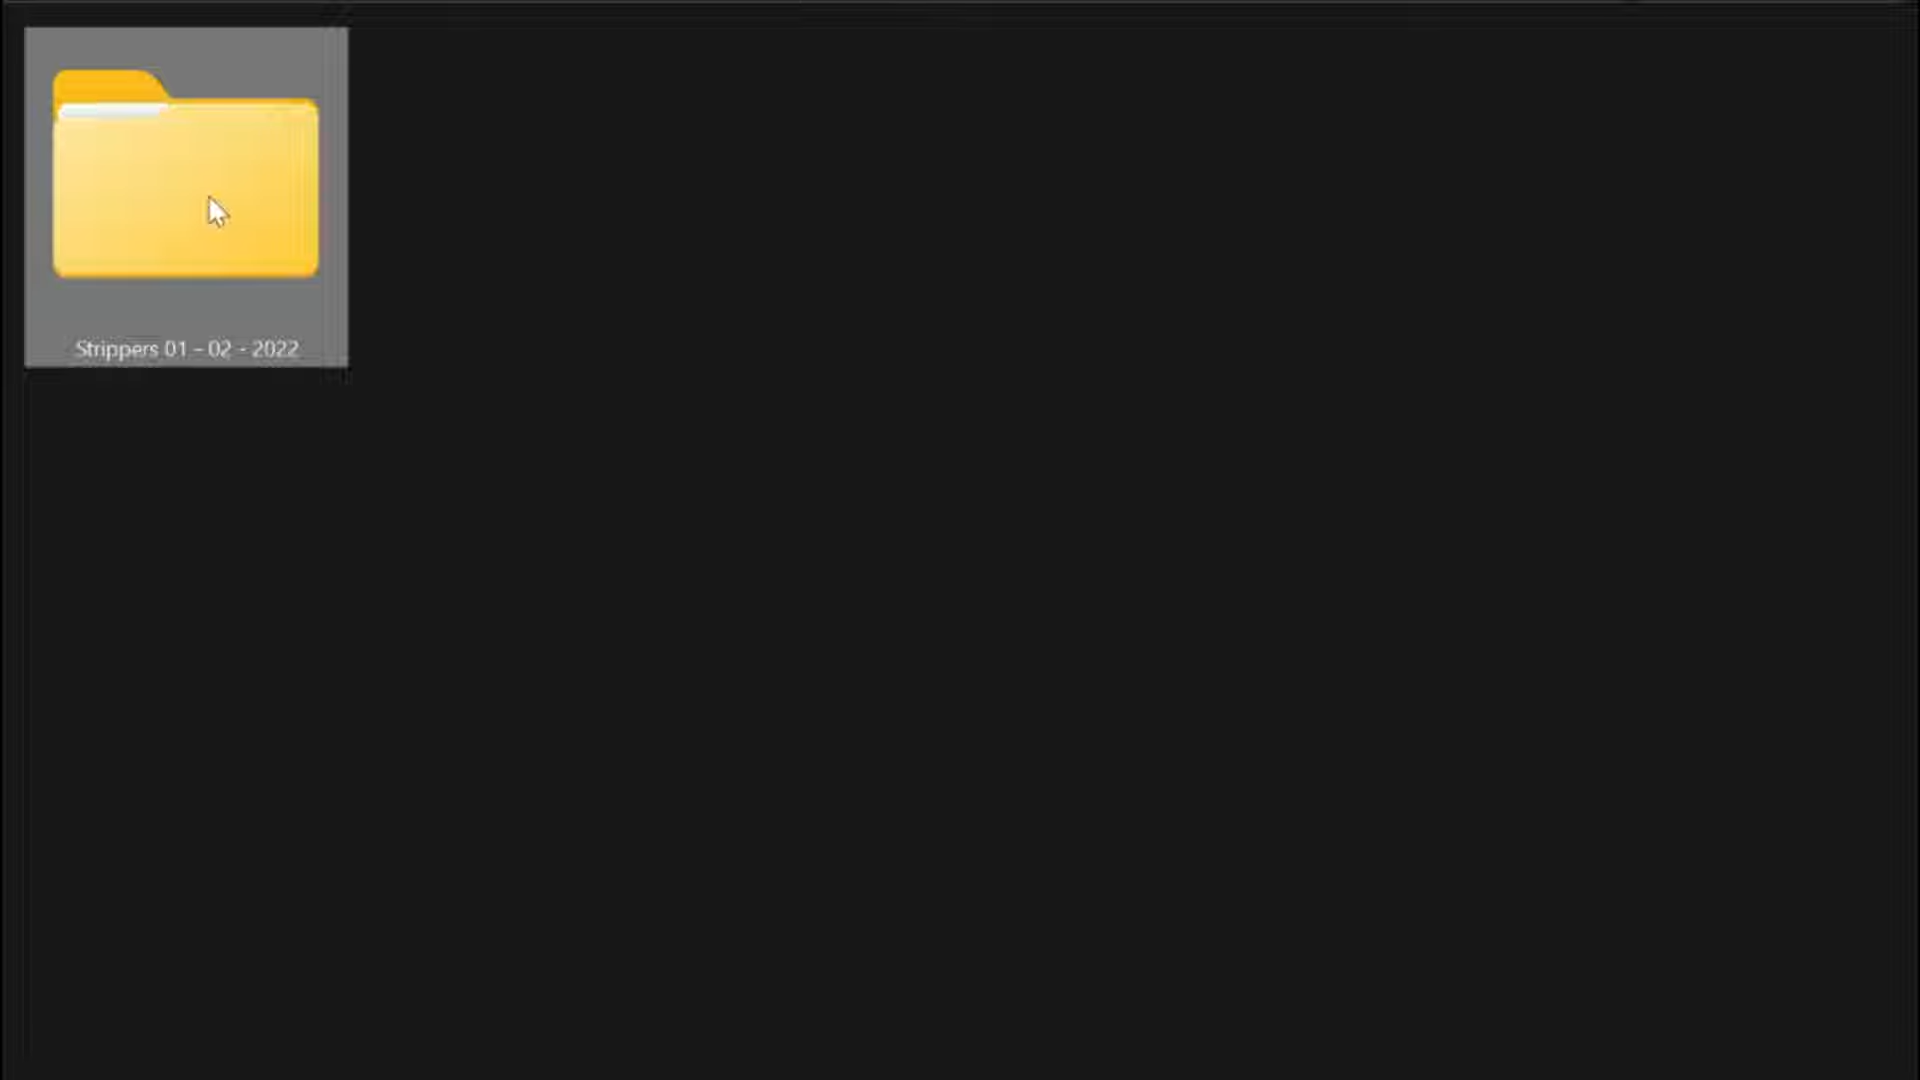
4. Now go back to the downloads and open the "strippers" folder. You will have two folders named 01 and 02.
5. Start with the first folder, you will find two more folders (csb_stripper and sfy stripper) inside the '01' folder. Open the csb folder, and there will be two more folders inside it. You have to pick the first one which is CSB-Normal.
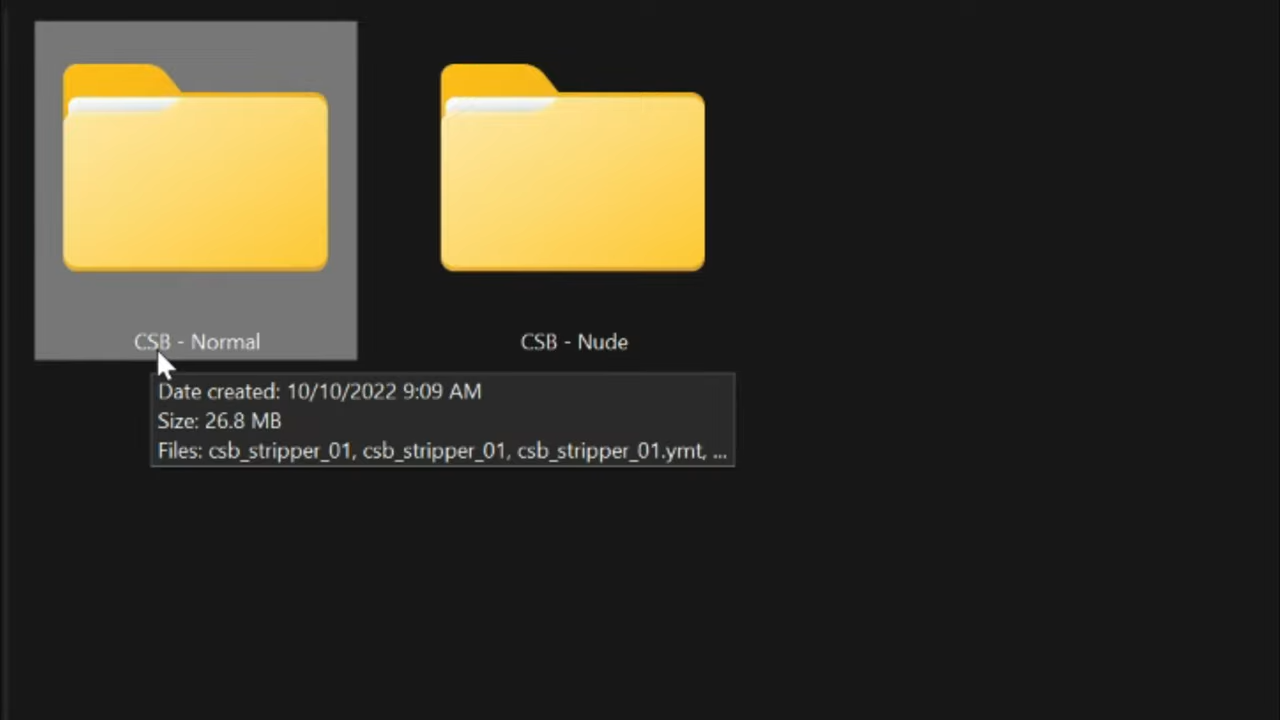
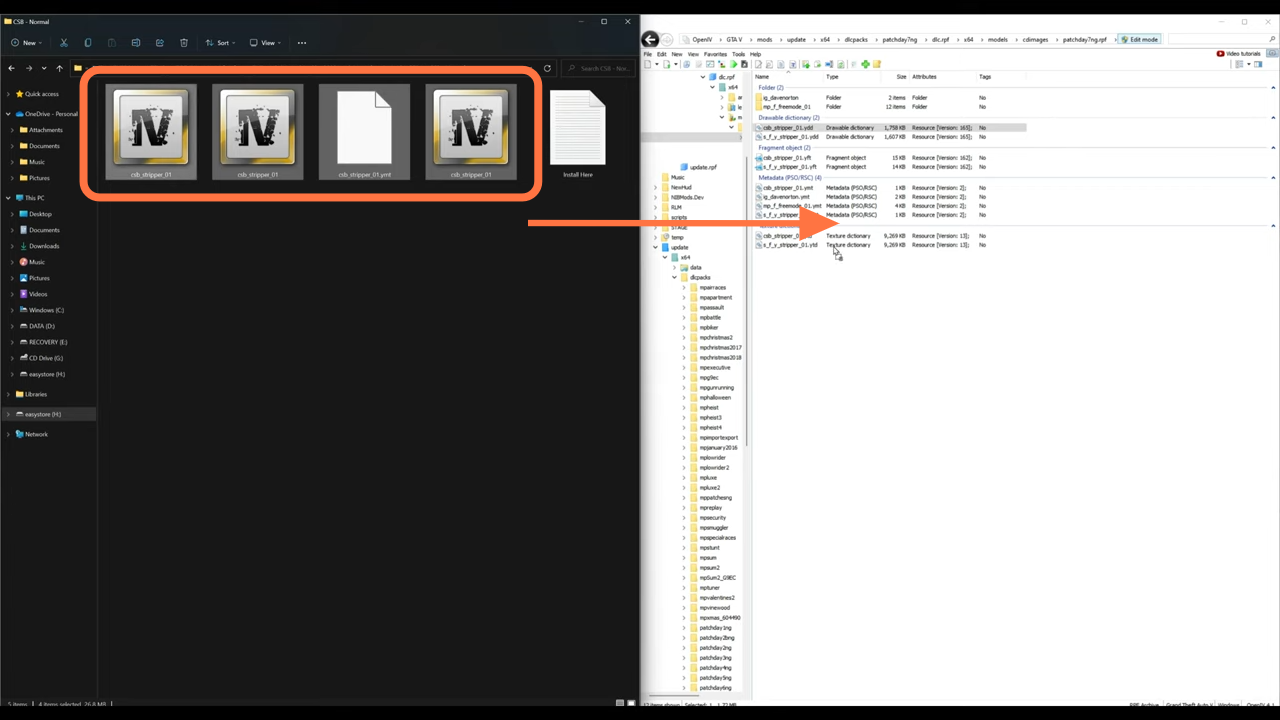
6. You will get to see some files including a text file that has instructions on where to place these files.

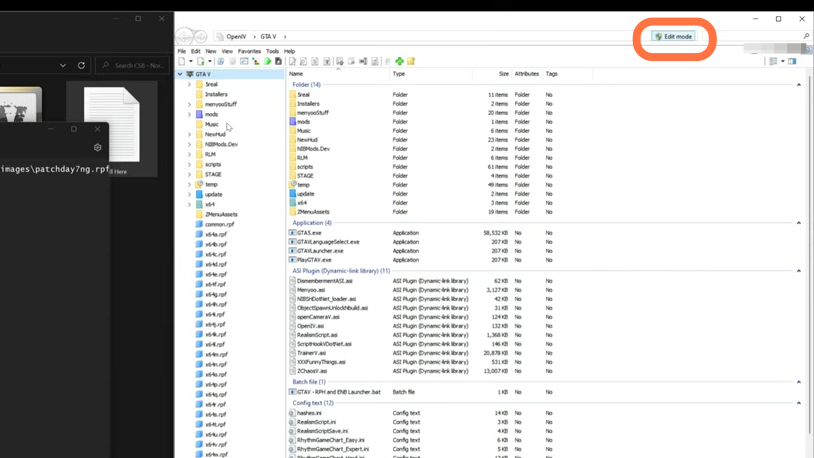
7. Now you need to open the Open IV editor and make sure to click on the Edit Mode to enable it.
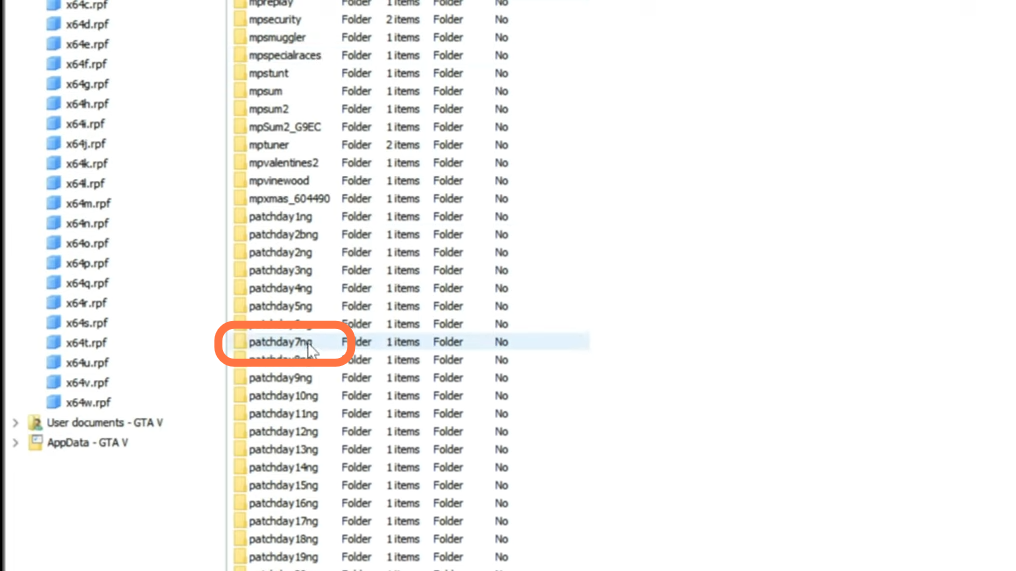
8. Now move to the side column and go to this directory: update > x64 > dlcpacks and scroll down to find patchday7ng.
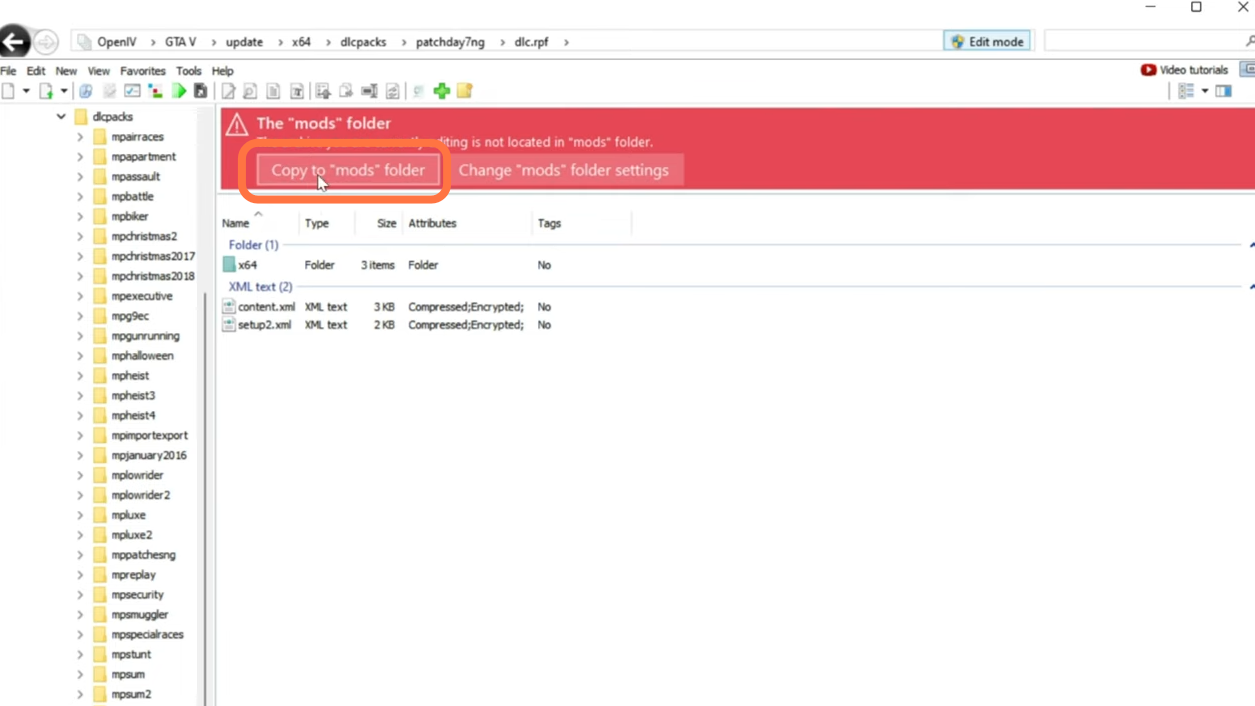
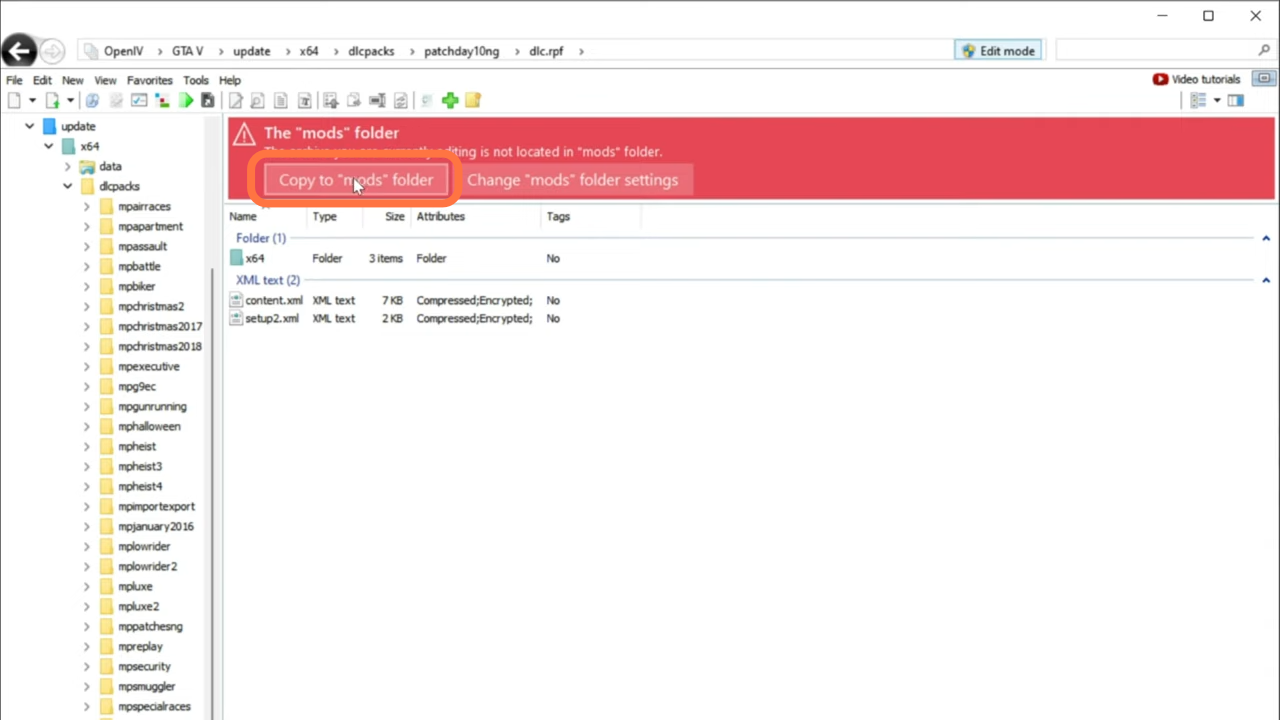
9. Open it up and select "dlc.rpf", then you will find a red banner pop up asking you to copy it to the mods folder.
10. After that, go ahead and select the x64 > models > cdimages > patchday7ng.rpf. You need to paste your files there. Drag all the files from the downloaded folder except the text file into this directory.
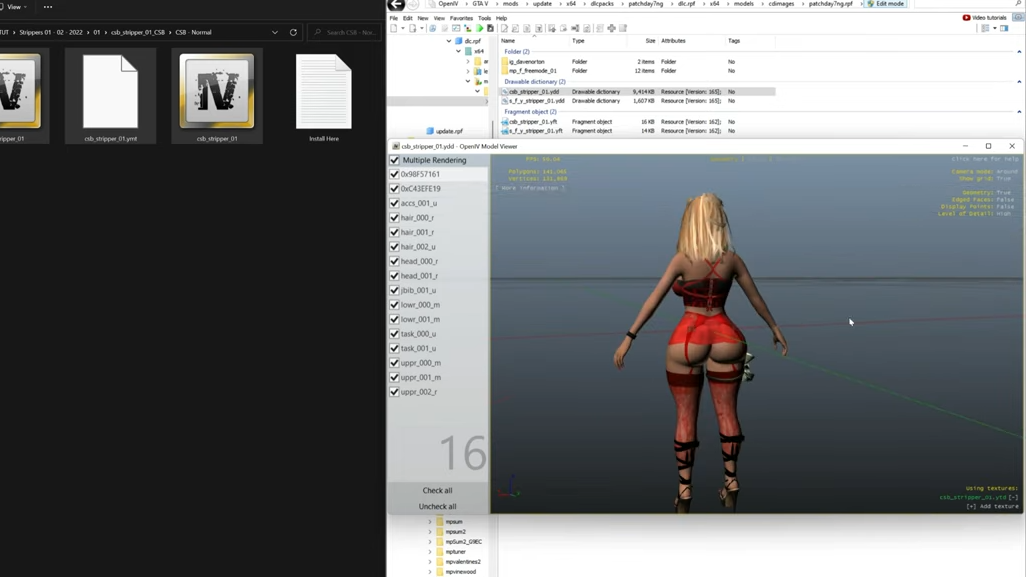
11. Now if you open any csb striper file, you will find that they will have curves on the body. Now you have installed the csb stripper.
12. Now close out the archive on the open iv and go back to the downloads folder to get the files from the sfy stripper folder which was inside the "01" folder.
13. You will get to see some files including a text file that has instructions on where to place these files.

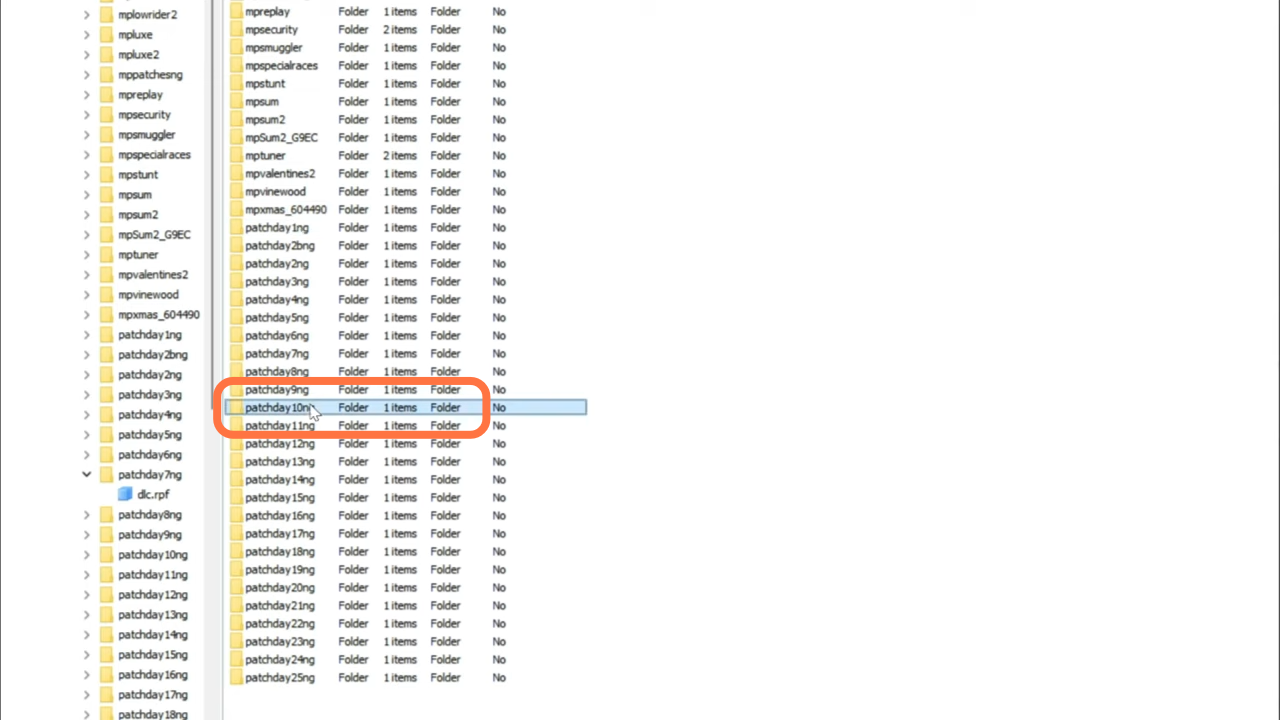
14. Now you need to open the Open IV editor again and make sure to click on the Edit Mode to enable it. Move to the side column and go to this directory: update > x64 > dlcpacks and scroll down to find patchday10ng.
15. Open it up and select "dlc.rpf", then you will find a red banner pop up asking you to copy it to the mods folder. You have to click on the Copy to "mods" folder tab.
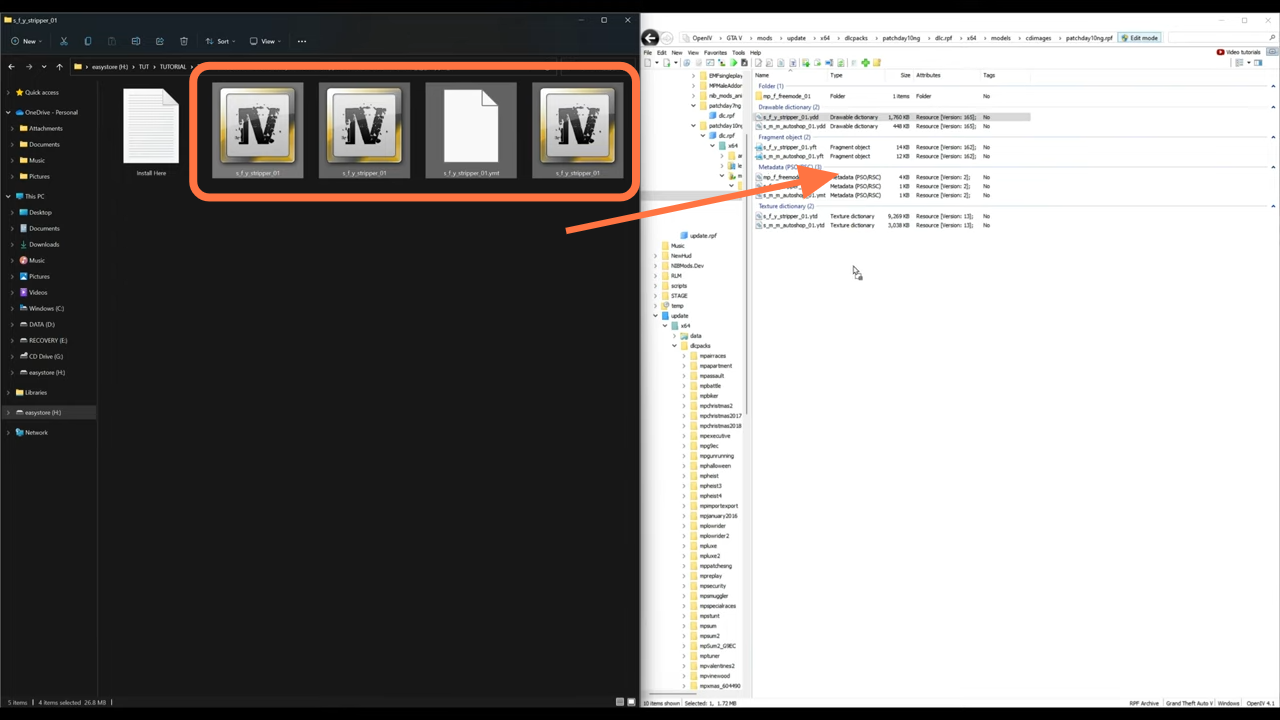
16. After that, go ahead, select the x64 > models > cdimages > patchday10ng.rpf and paste the files there. Drag all the files from the downloaded folder except the text file into this directory.
17. Now if you open any sfy striper file, you will find that they will have curves on the body. Now you have installed the sfy stripper.

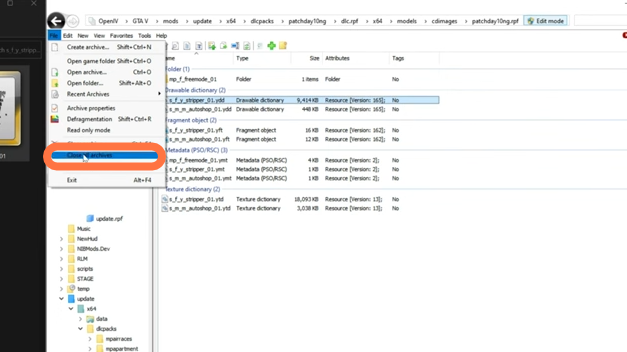
18. Now click on the file option at the top left corner and then select "close all archives" on the open IV.
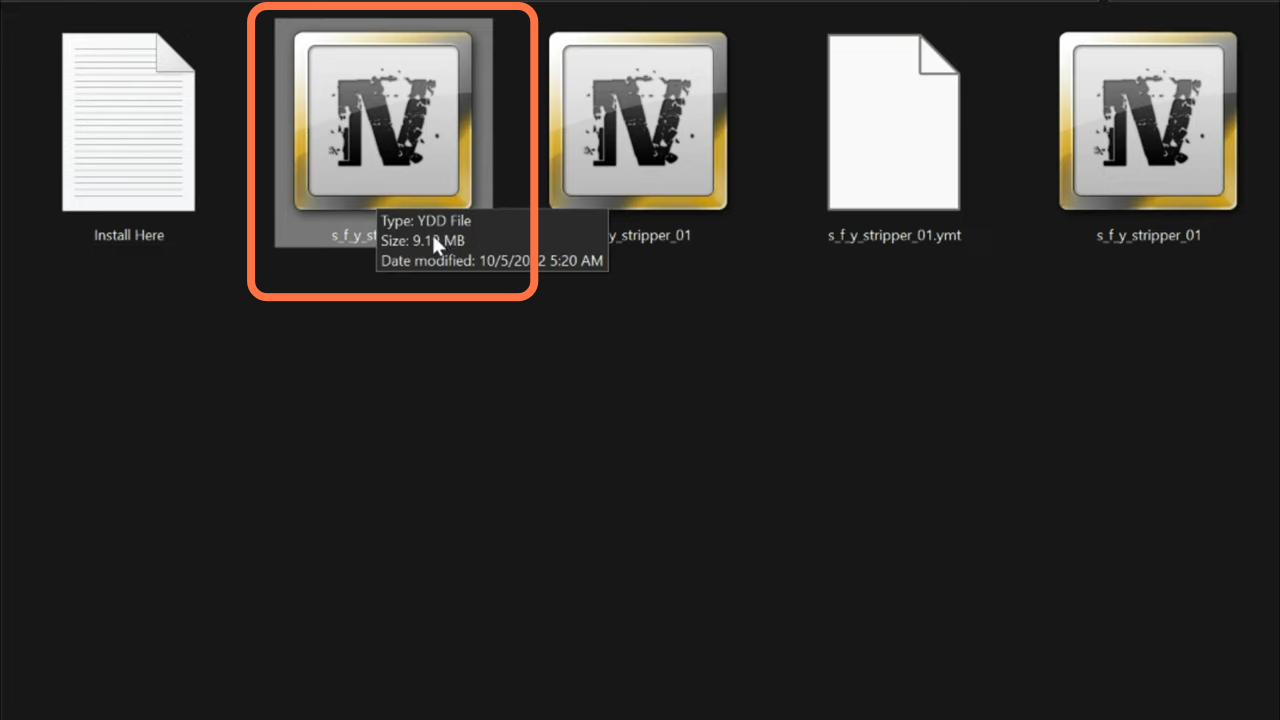
19. From there, you need to copy the YDD file from the sfy stripper folder into the Open IV directory.
- You need to go to this directory update > x64 > dlcpacks > patchday19ng > dlc.rpf and you'll get a red banner pop-up. Click on the copy to "mods" folder tab on it, then select x64 > models > cdimages > pads and select the patchday19ng.rpf. There, you need to paste that YDD file and then drag the file from the downloaded folder into this directory.
