This guide will let you know how to easily install MODS into American Truck Simulator.
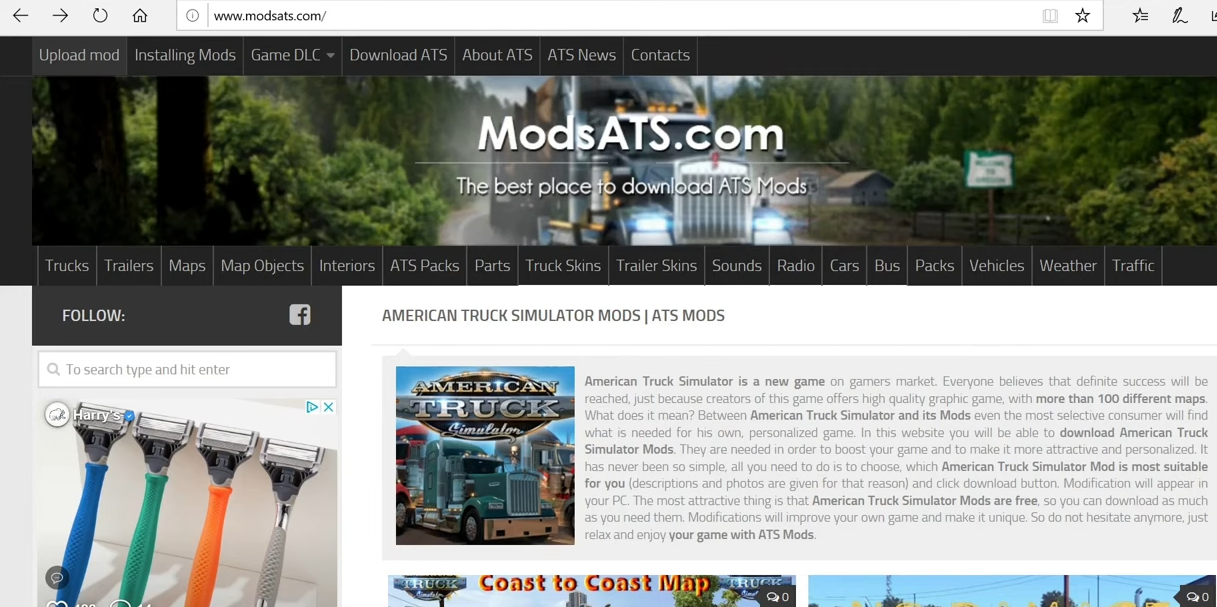
1. The first thing you will need to do is download the mods for American Truck Simulator from “http://www.modsats.com/category/american-truck-simulator-mods/ats-trucks/“. You can explore Trucks, Trailers, Maps, and many other things here on the given link.
2. Let’s first download the “Volvo VNL 2019 Truck” Mod from here. Click on it to get to the details page and scroll to the bottom to find the Download Button. You will need to have WinRAR extract the downloaded file. You can download it from “https://www.rarlab.com/download.htm“.

3. Now open the downloaded file and you will get these two files in it.

4. After that, go to the game’s folder directory, in this case, it is in Documents > American Truck Simulator. If you don’t see a mod folder here, you’ll need to create an empty folder and give it a “mod” name.

5. Now take the two SCS files from the downloaded folder and drag them into the mods folder which you just created. You can also directly download the zipped file into the mod folder of the game directory.

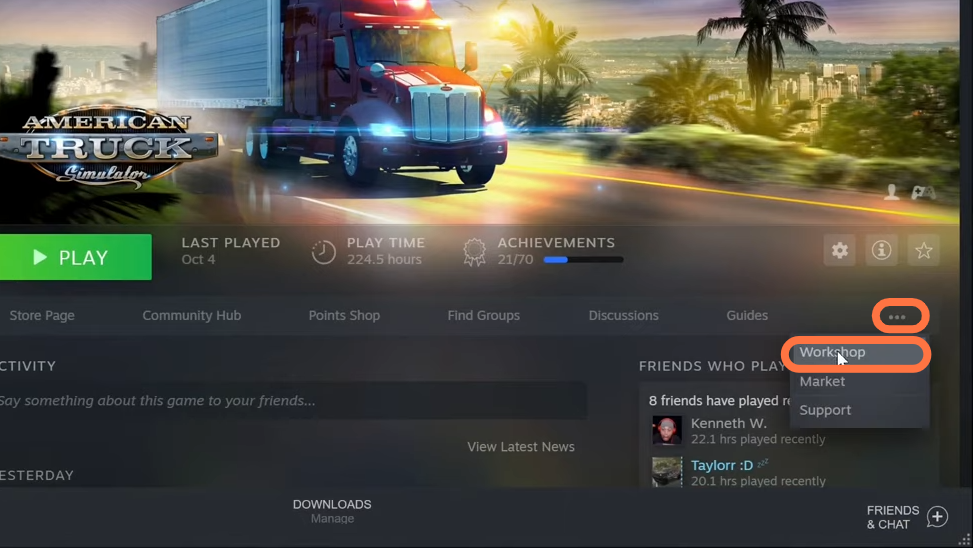
6. Another way you can use is to open up the Steam application and go to the library and select the American Truck Simulator game. Click on the three dots on the right side of the nav bar and go into the Workshop tab.
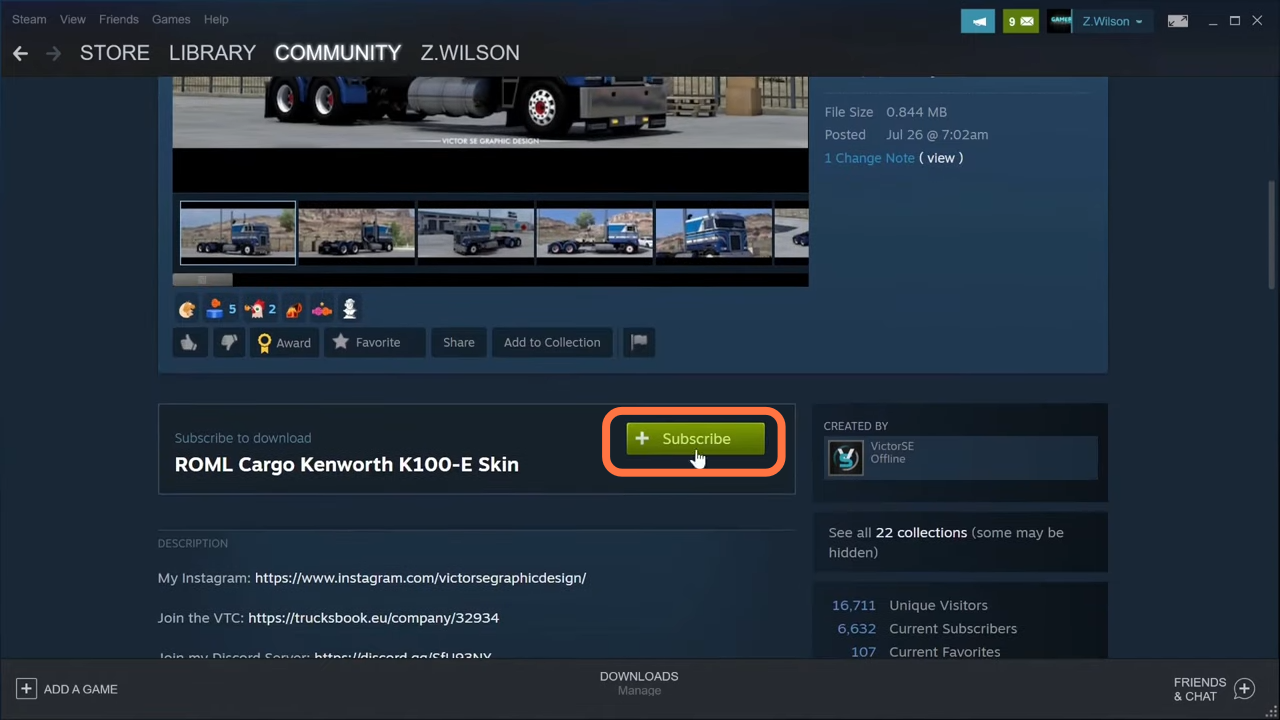
7. Now pick a mod of your choice from the Most Subscribed tab, as they are the most trusted mods. After that, click on the mod and go to the details page. Let’s pick the “Kenworth K100-E Skin” mod for the moment. Press the Subscribe button on the mod details page and it will start downloading.
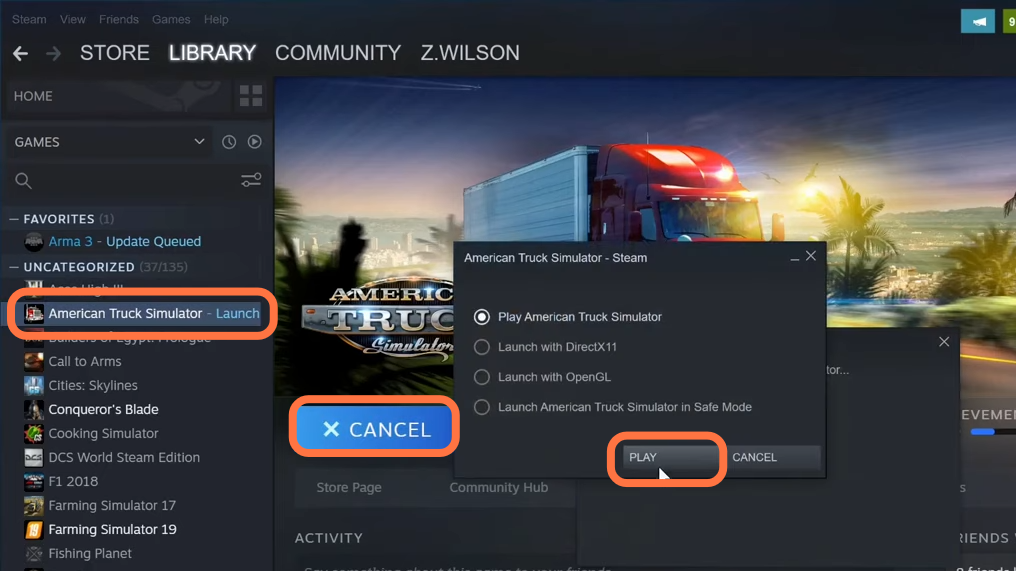
8. Now go back to your Steam app library to start the game.
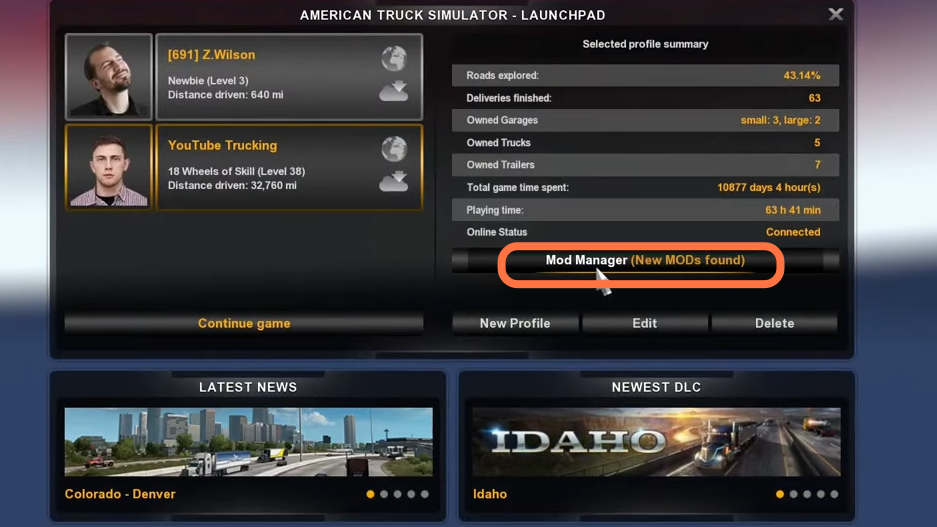
9. When you arrive at the main menu of the game, click on Mod Manager (New MODs Found).
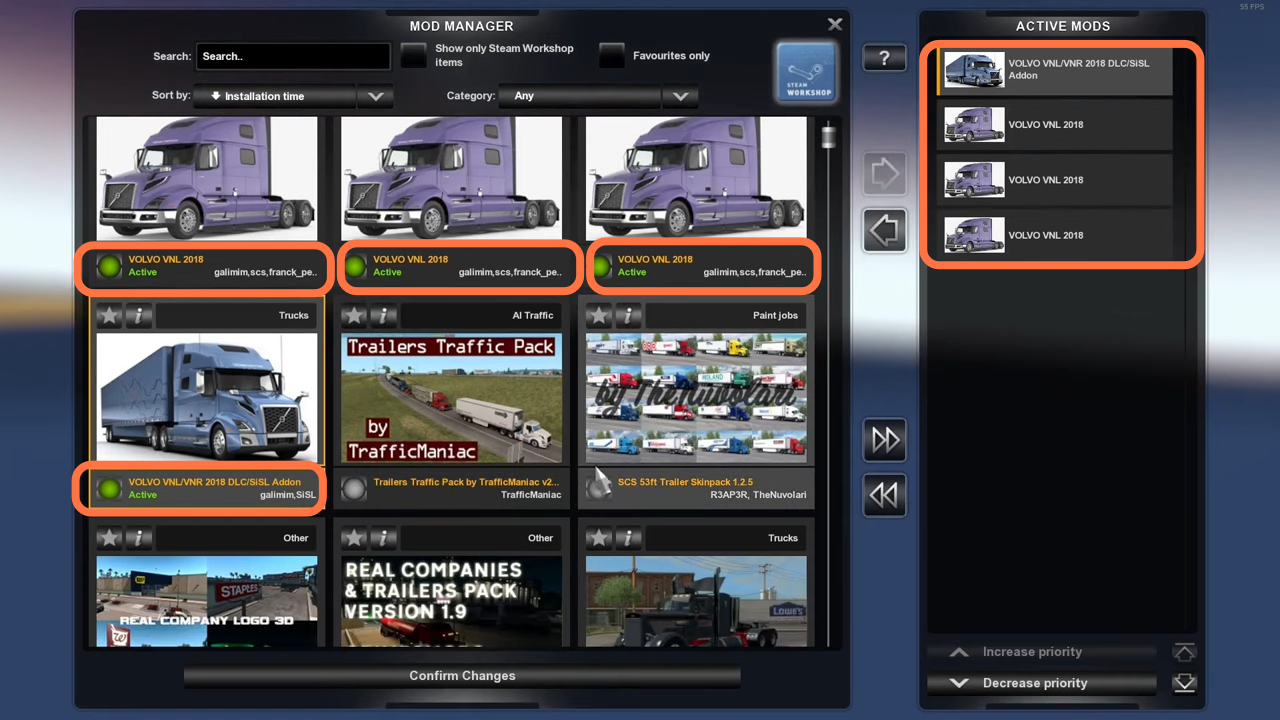
10. Now click on the mods you want and make sure to hit the radio button so that it turns green and becomes active. You can also see the active mods shift to the right side window under the Active Mods.
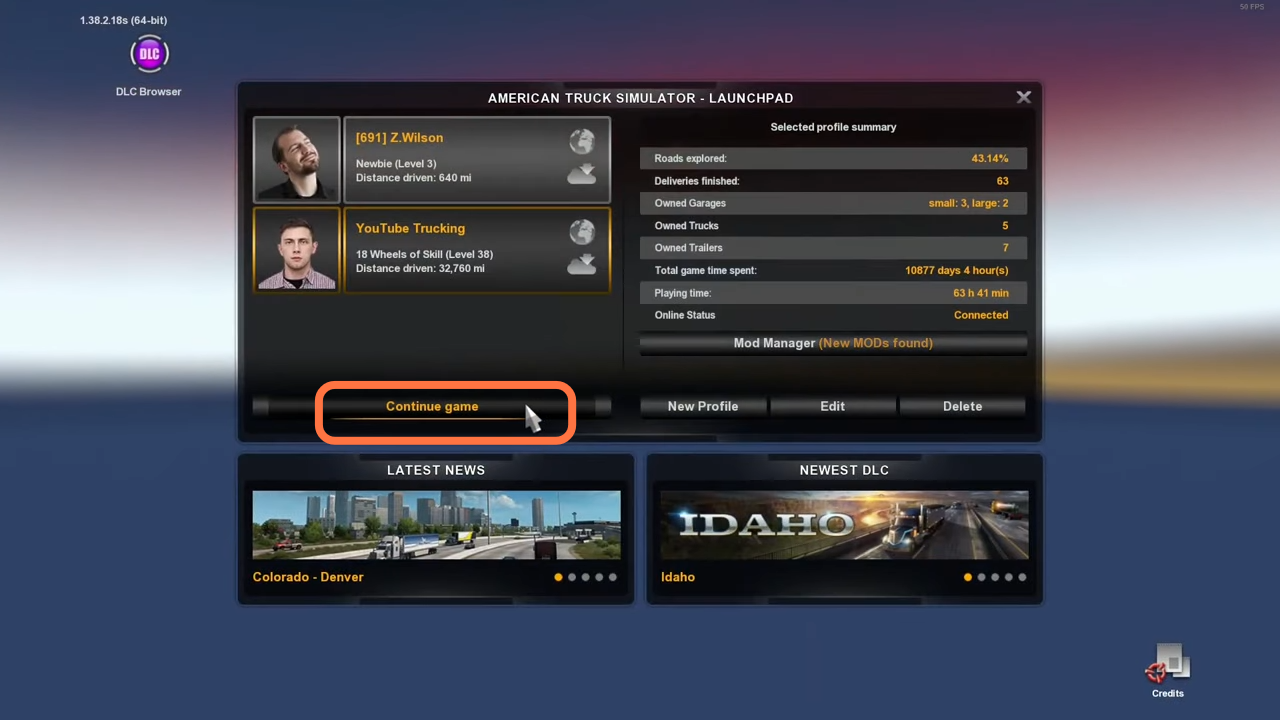
11. Now come back to the game’s screen and click on the Continue game.
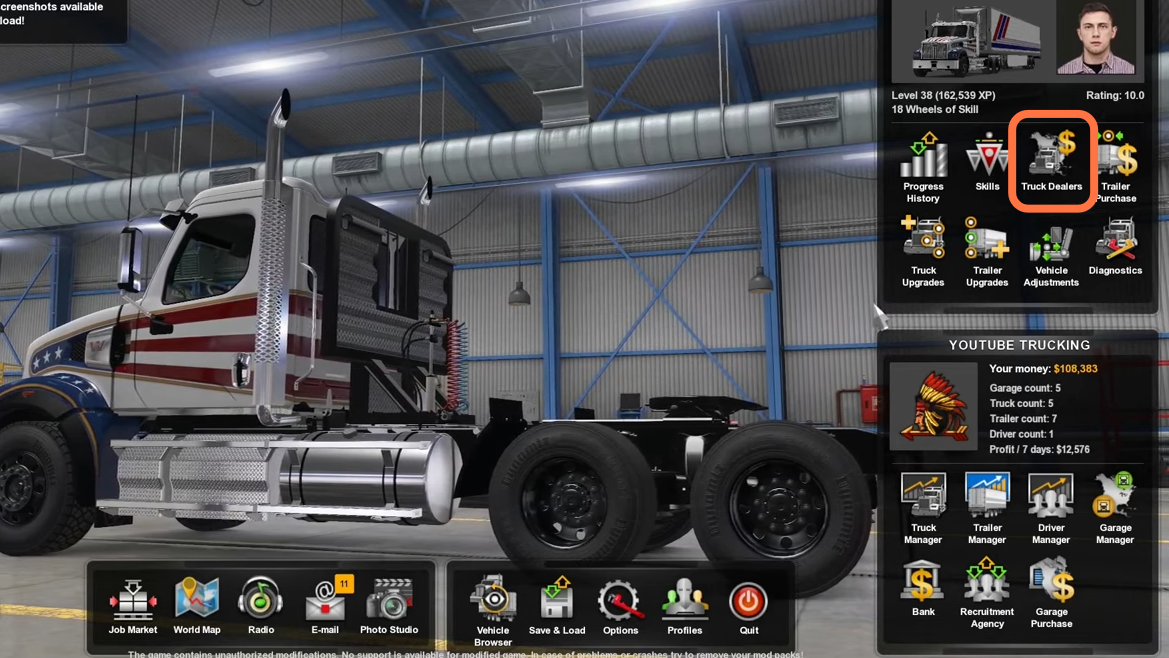
12. When the game loads up and you want the modded trucks to use then you still have to pay for it in the game as they don’t show up straight away in your garage. So you will need to click on Truck Dealers.
13. Then click on the ‘Access Mod Dealer’ Tab at the bottom right corner.

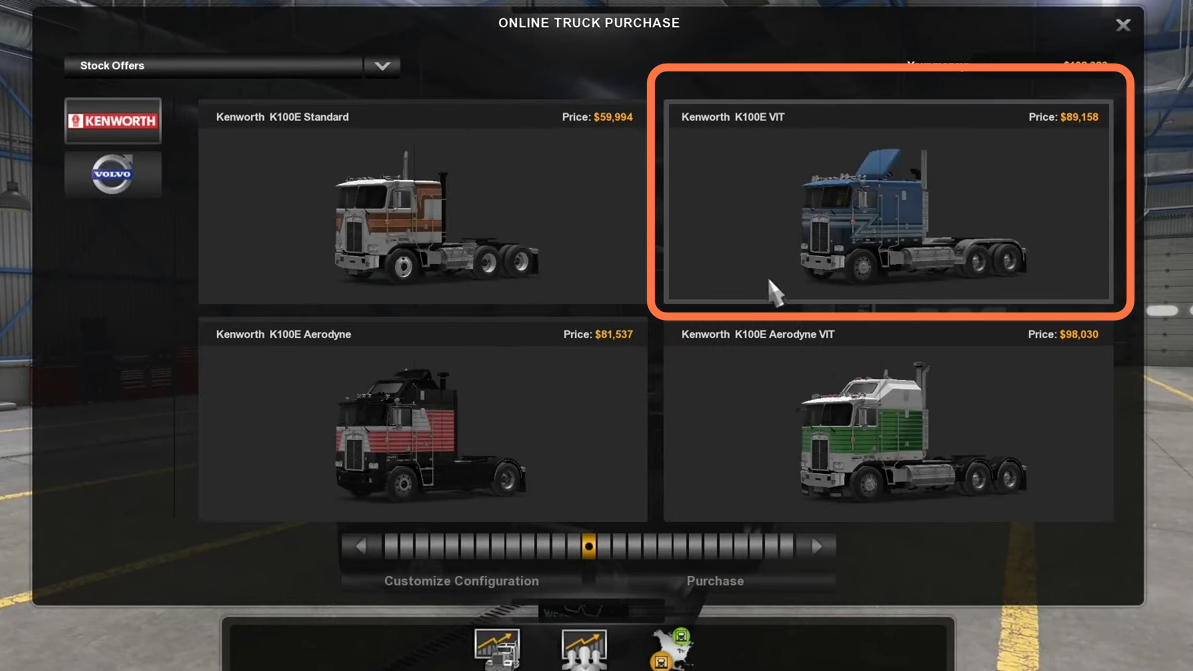
14. Now you are in the mod dealer now and you will find the Kenworth K100E that you just installed.
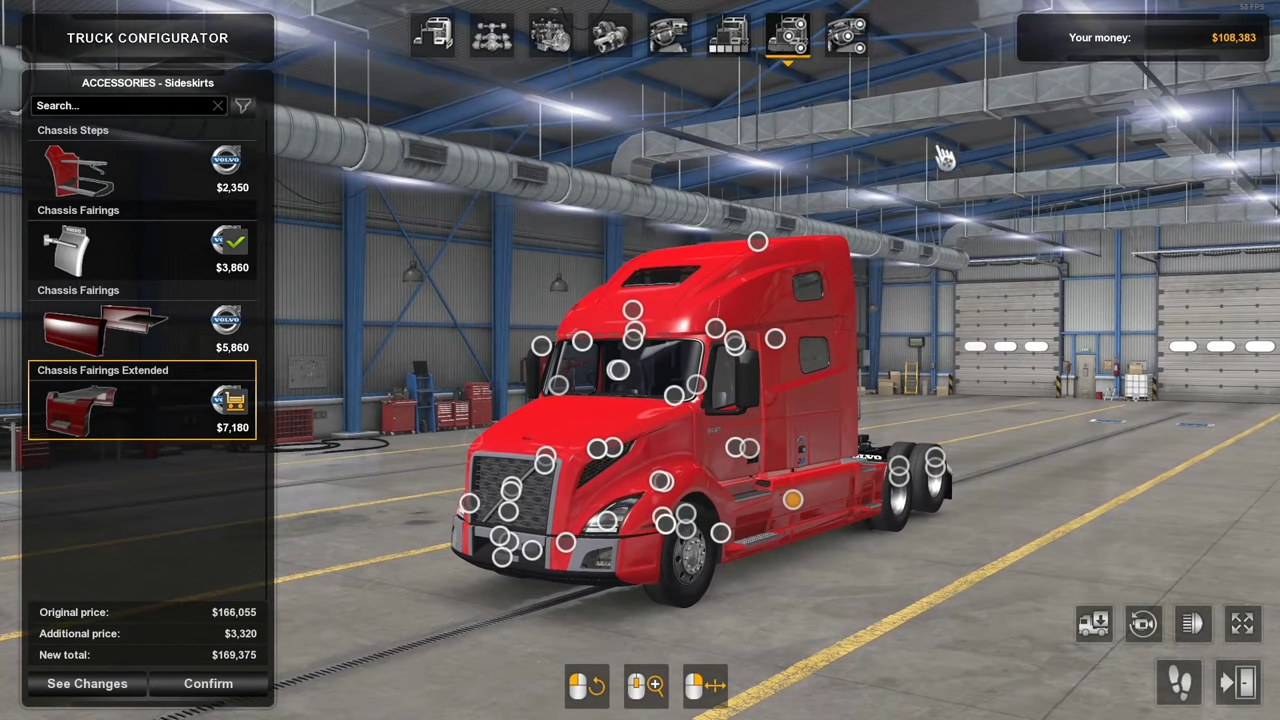
15. Now click on the truck you want to customize. You can change the color of its body, change chassis fairings, and even you can change the engine up.
16. Now click on the truck manager and choose the truck which you have customized and click on Drive it Option.
