This guide will let you know how to install mods in World of Tanks Blitz 7.2.
1. The mods you are going to install in this guide are Gun and hits sounds, GUI-SFX, Crew Voices, Loading Screen themes and music, and Tank Skins.
2. You can download Gun sounds mod from “https://iblitzmods.ru/mods/231-zvuki-vystrelov-916.html“.

3. And download the GUI-SFX mod from “https://madwotbmod.wordpress.com/modding-corner/maddoxs-gui-sfx-mod/”.

4. After that, download Crew voices mod from “https://madwotbmod.wordpress.com/modding-corner/wotb-crew-voice/”.
5. Download Battle loading screen and music mod from “https://madwotbmod.wordpress.com/modding-corner/girls-und-panzer-battle-loading/”.
6. Download German tanks mod from here: “https://madwotbmod.wordpress.com/modding-corner/khornys-kbm-skinmods-truegermany/”.
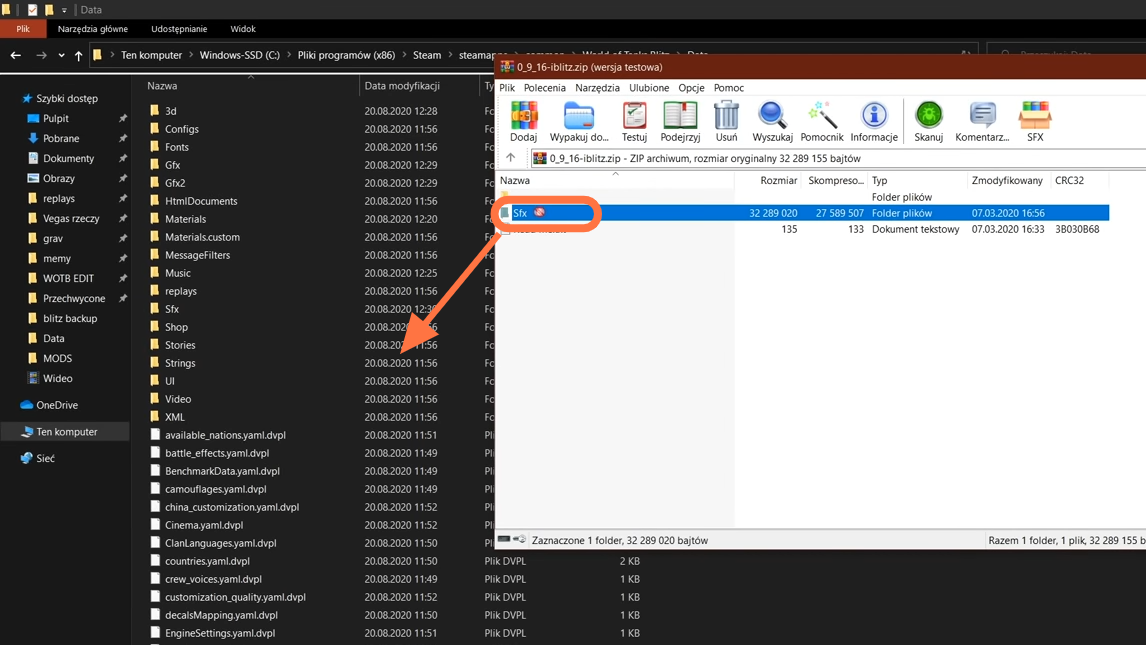
7. Now you need to find your game location and create backup files in case something go wrong. Your game folder location will probably be in C:\Program Files(x86)> steam> steamapps>common>world of tank blitz> data.

8. You have to start by adding a gun sounds mod. Open the downloaded mod file using WinRAR.

9. Copy the “SFX” folder from the downloaded mod file to the “data” folder of the game directory and replace all the files.
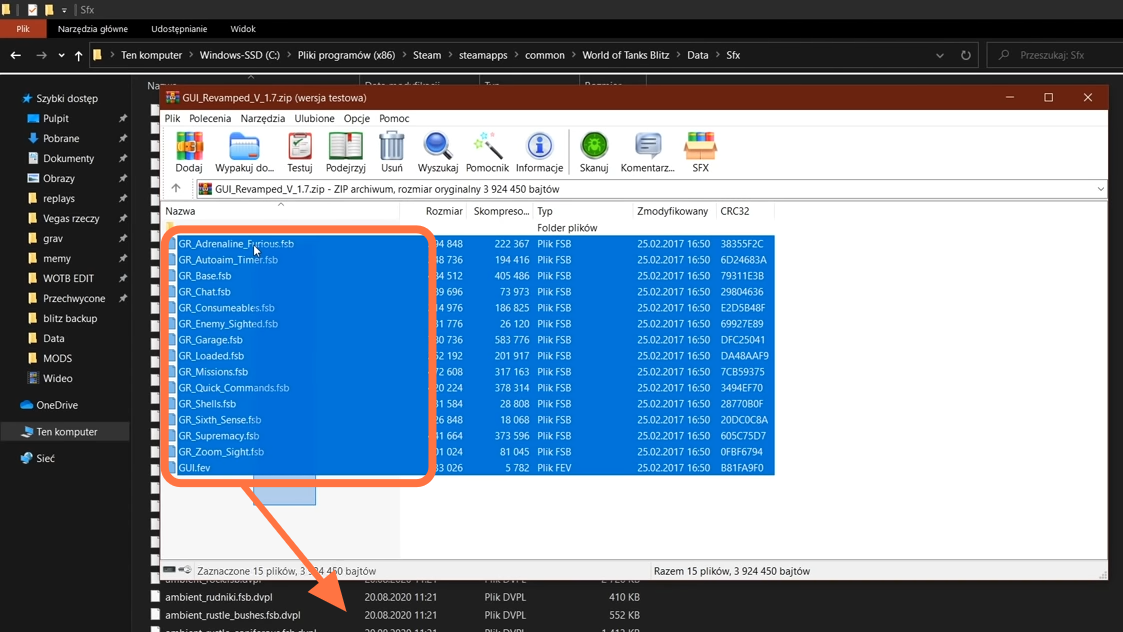
10. After that, add GUI-SFX mod and open the downloaded mod file using WinRAR.
11. Now copy and paste all the files from the downloaded mod file to the “SFX” folder in the data folder of the game directory and replace all of them again.
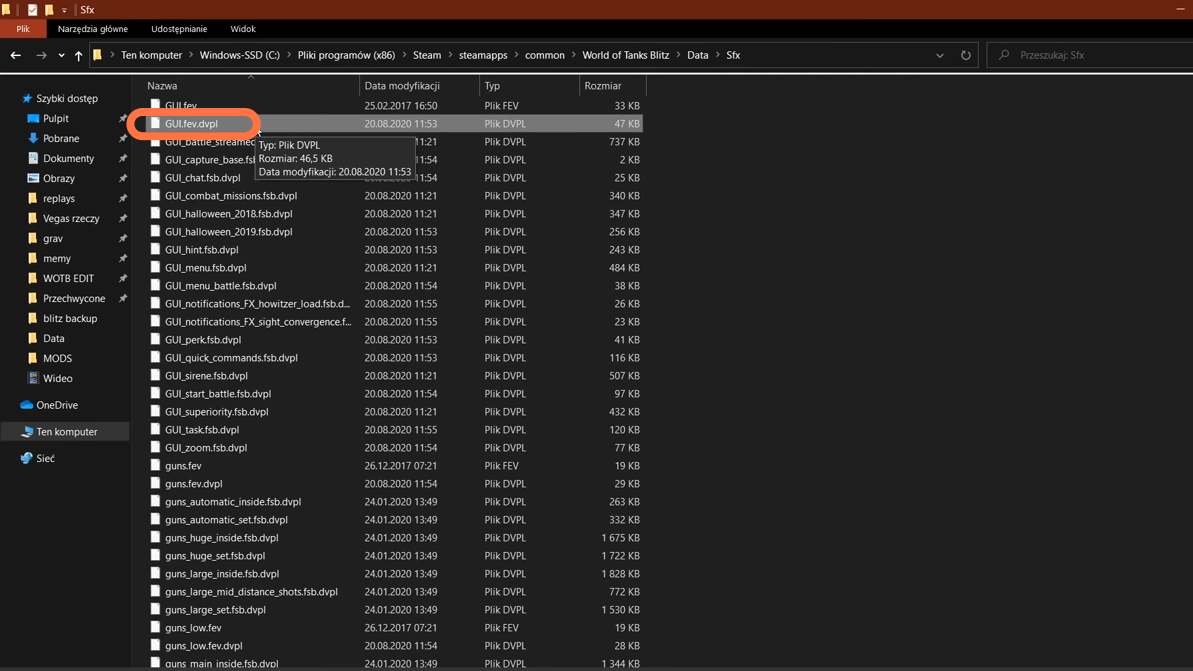
12. After pasting the files, you need to find a file named “GUI.fev.dvpl” and delete it.
13. Now, Let’s add Crew Voices mod. Open the downloaded crew voices mod file using WinRAR.
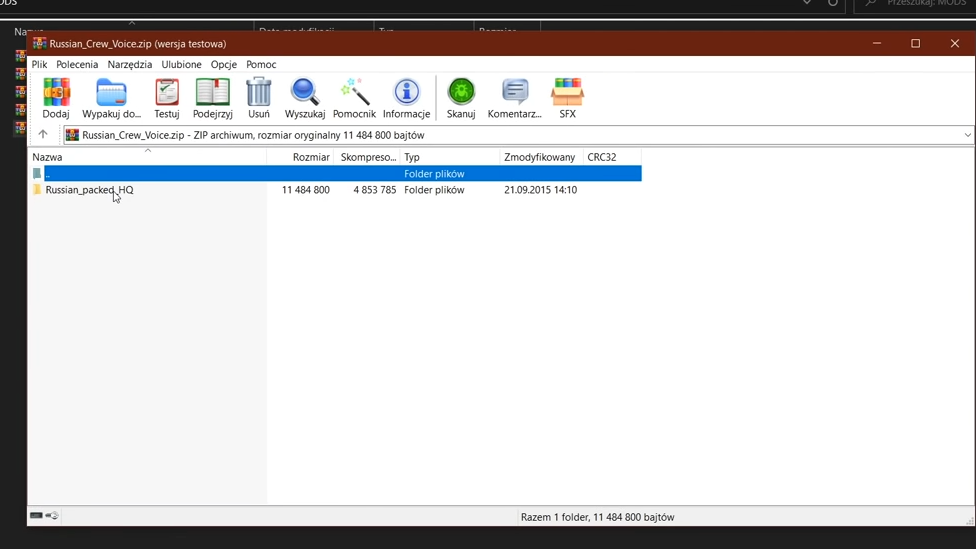
14. Copy the file from the Crew Voices downloaded folder and paste it to the “mods” folder, where all your downloaded files are.
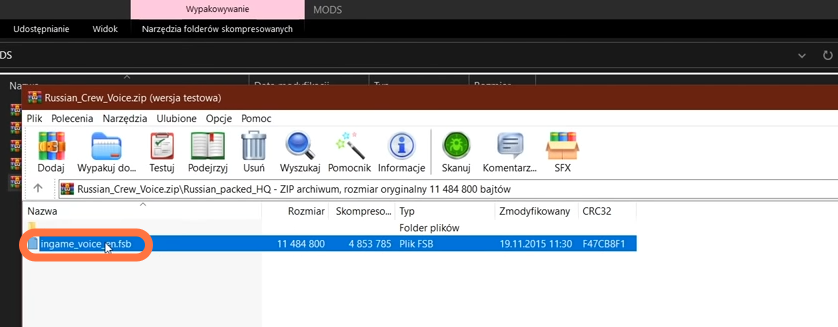
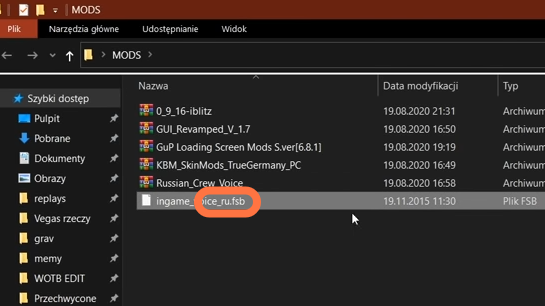
15. After that, search for the equivalent file in the game’s “SFX” Folder and look at the language shortcut like (ru). As an example of Russian crew. it’s (ru).
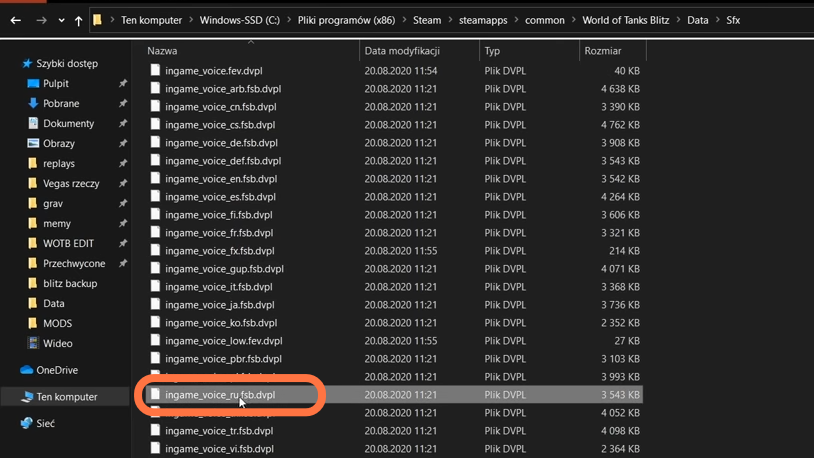
16. Now delete this file with “.dvpl” extension in “SFX” folder and go back to the modded sound file in Mods folder.
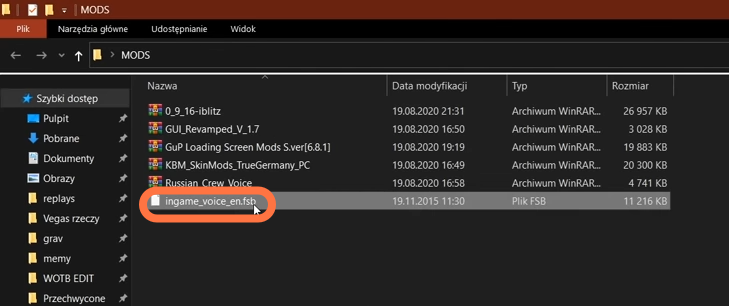
17. Edit this file name, change the language shortcut from “en” to “ru” and copy it to the “SFX” folder.
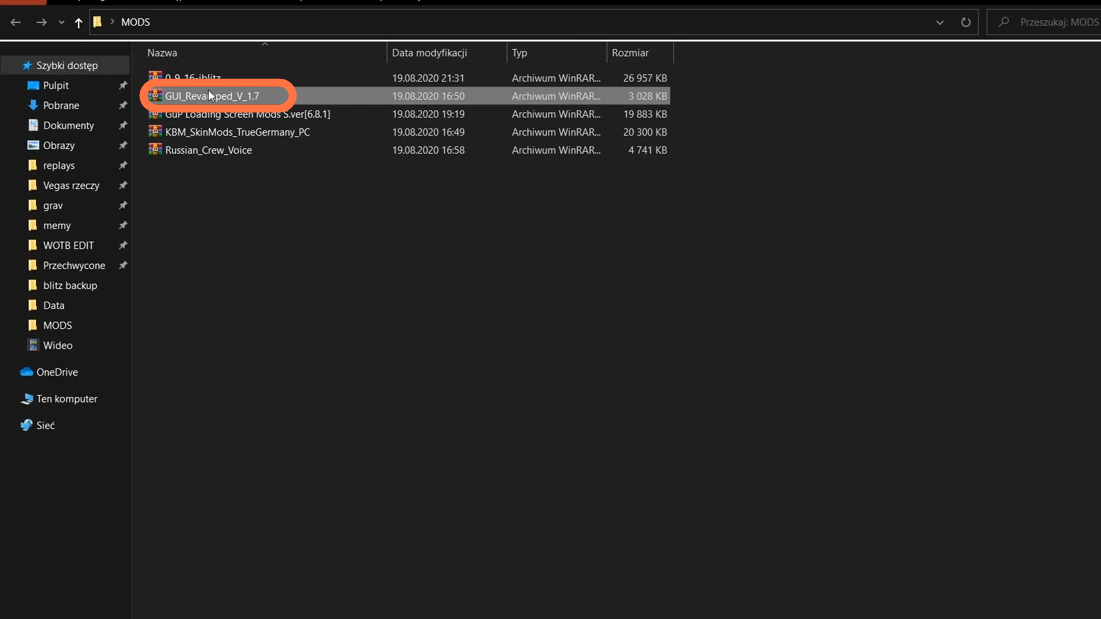
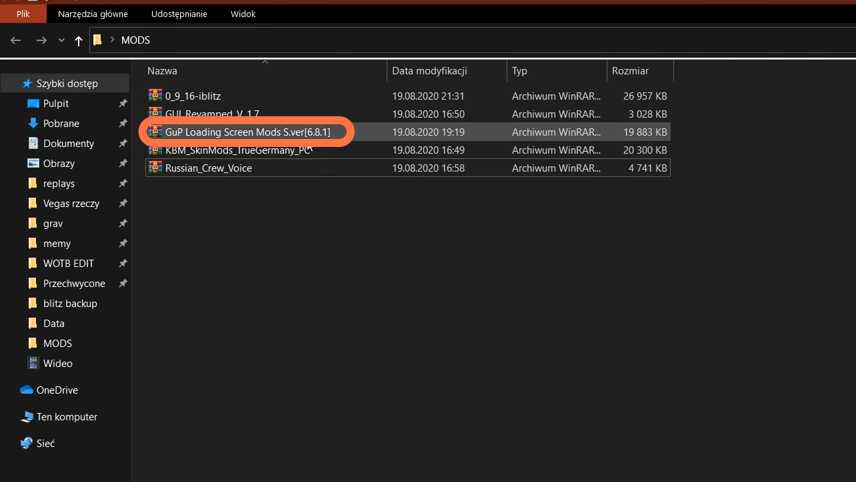
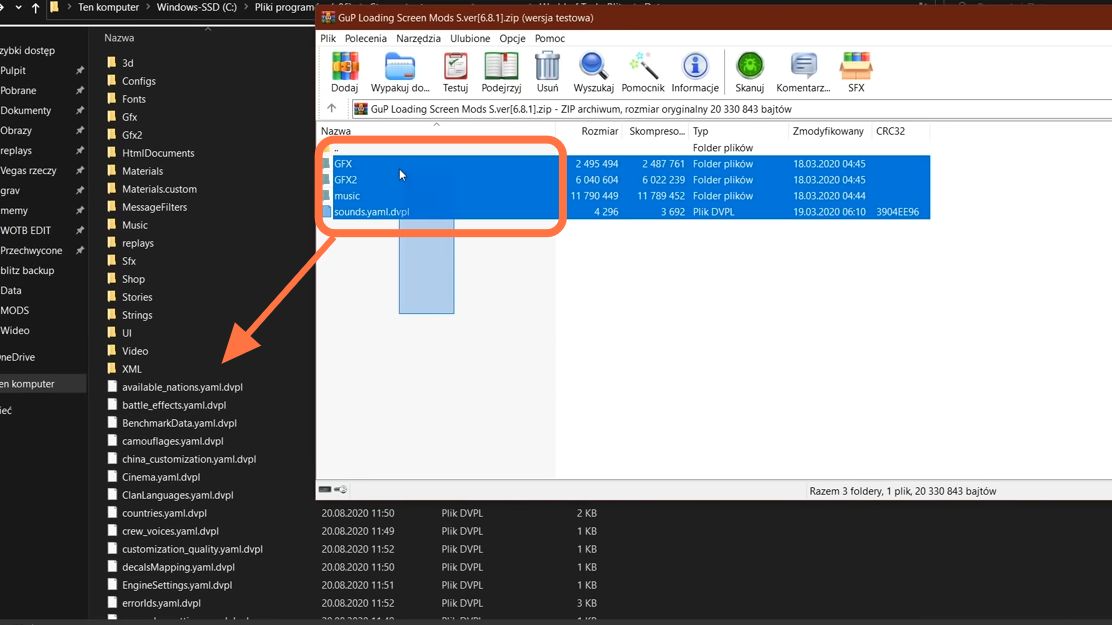
18. Next is to load screen themes and music mod. You have to go to the downloaded file in MODS and open it up.
19. Copy all the folders and files from here and paste them into the “data” folder of the game’s directory.
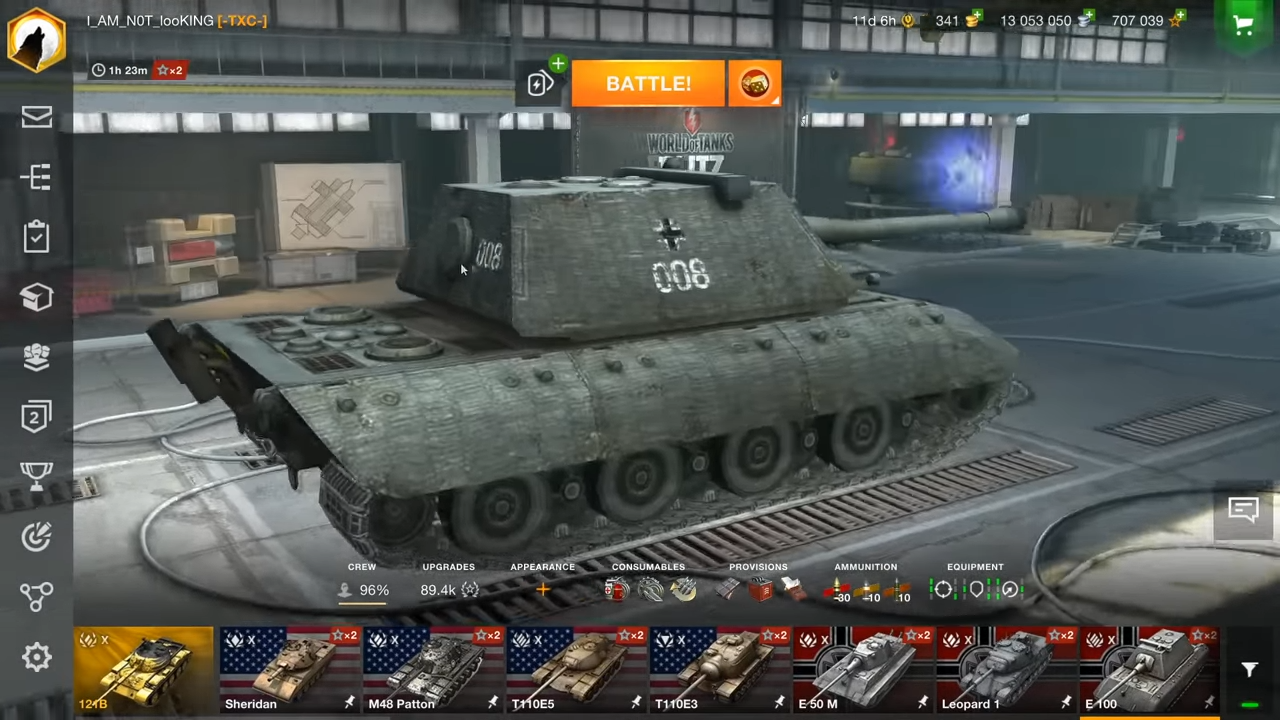
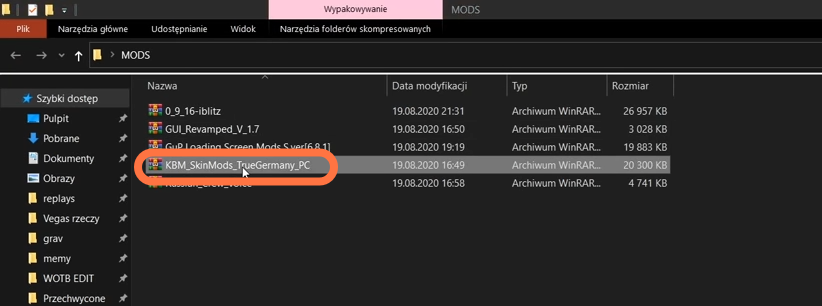
20. You have to move to the last mod which will be used to change tank skins. You can change it only for E-100 Tank. Open the downloaded tank skins mod file.
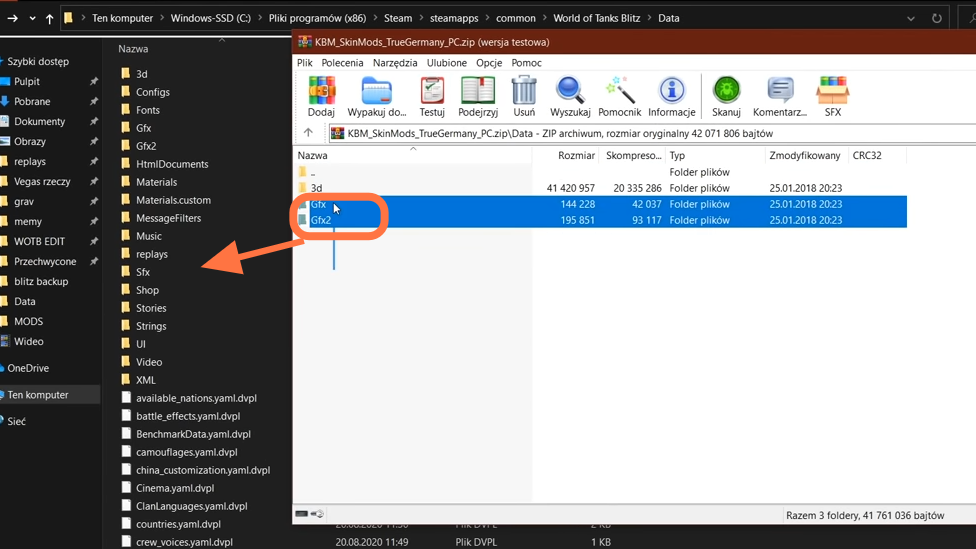
21. Then open the Data folder to copy the “GFX” and “GFX2” folders from it into the “Data” folder of the Game’s directory.
22. Next you need to go to data > 3d > tanks> German> images in the game’s directory and open the 3d>Tanks> German folder from the downloaded file and
Next, you need to go to data > 3d > tanks> German> images in the game’s directory and open the 3d>Tanks> German images folder from the downloaded file. Copy the E-100 files and drag them into the opened directory of the game.
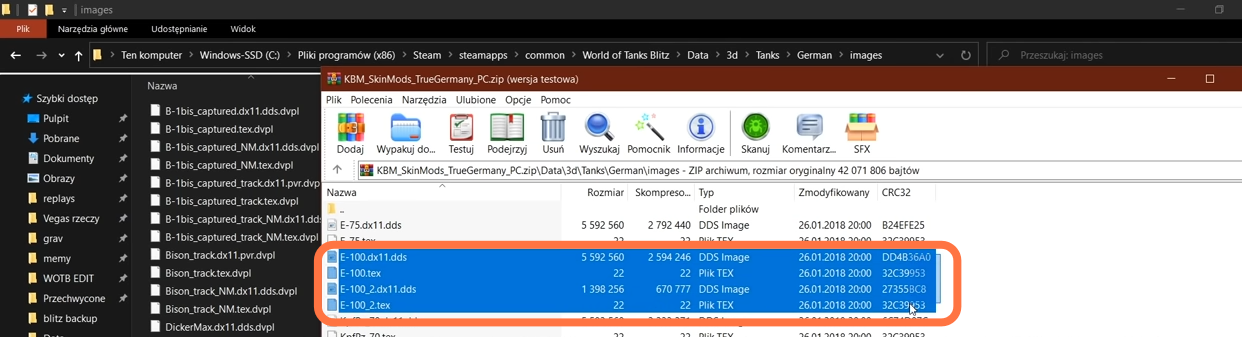
23. After that, delete all original files with “.dvpl” extensions.

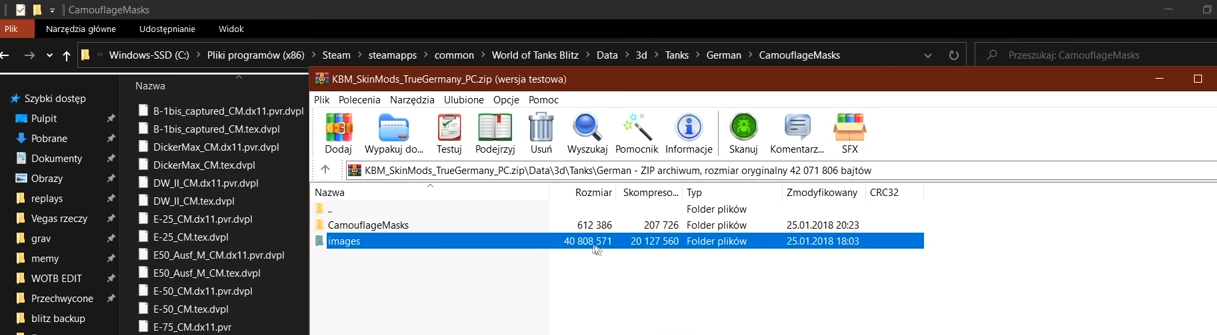
24. You need to do the same with the Camouflagemasks folder in the downloaded file. Only copy E-100 files from it and copy them into the CamouflageMasks folder of the game’s directory.
25. Now everything has been installed so open the game and the skin has been changed already!