In this guide, you will find how to install RavenM (Ravenfield Multiplayer).
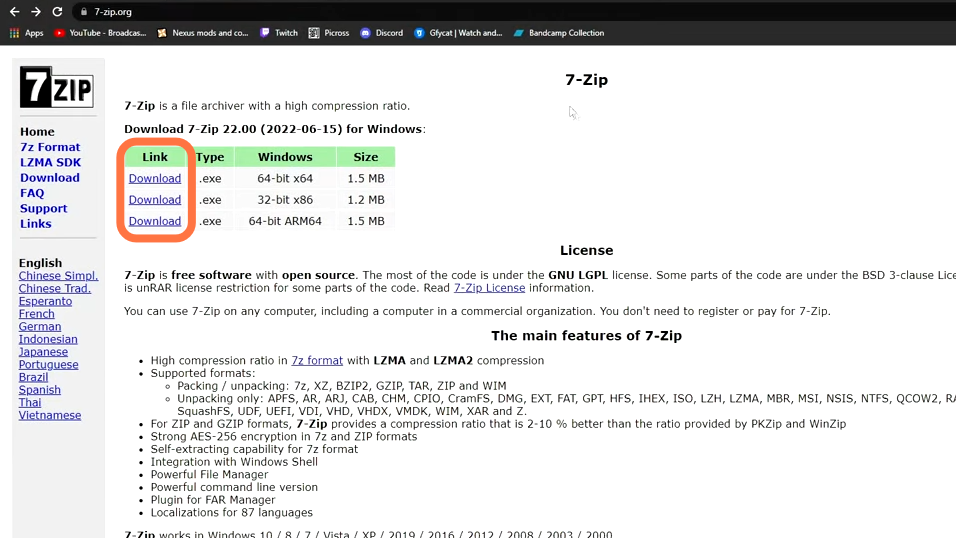
1. You have to go to this link “https://www.7-zip.org/” to download the 7-zip for Windows operating system and then extract the zipped files.
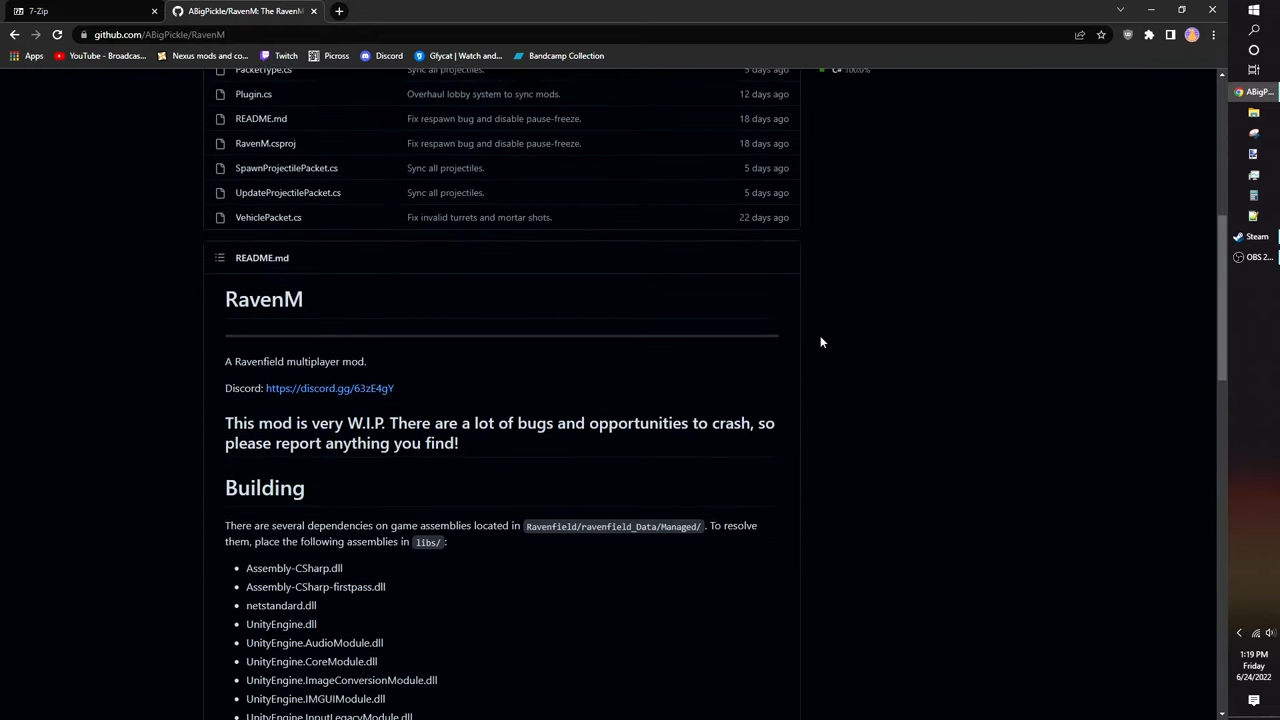
2. Then go to RavenM GitHub page from “https://github.com/iliadsh/RavenM” and go down to the installation section.
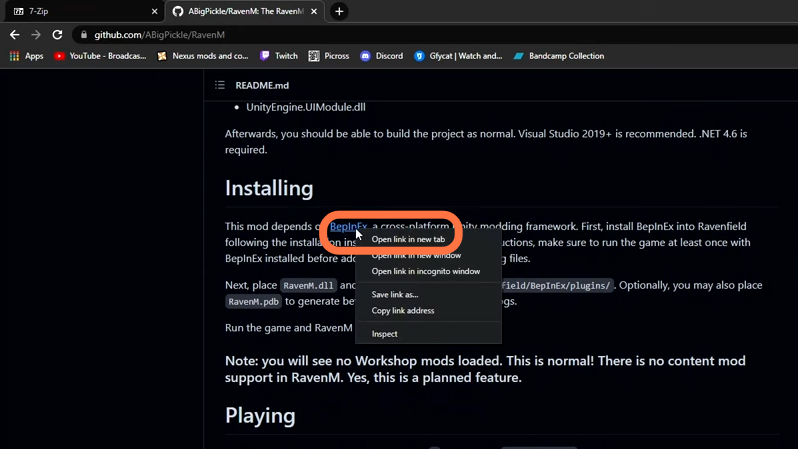
3. And open BepinEx hyperlink in a new tab.
4. After that, go to the releases on the right side and click on them.
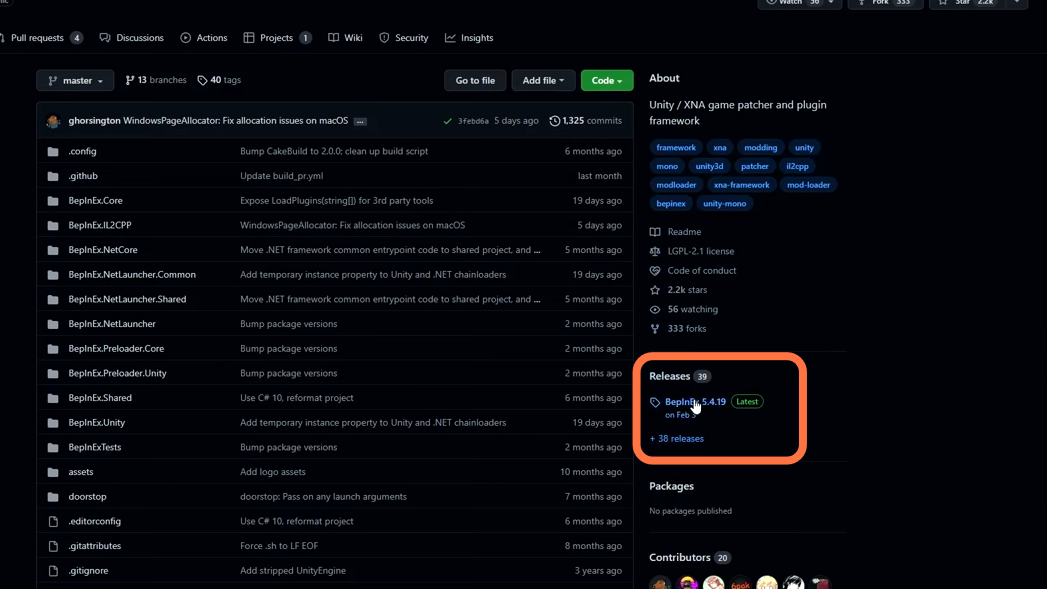
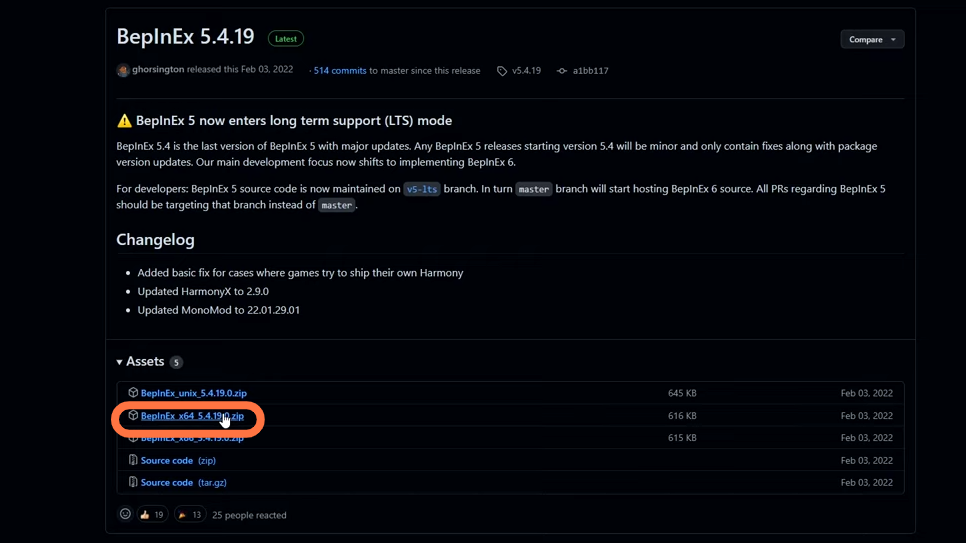
5. If you are on Windows OS, then you need to download the x64 zip file. For Linux and macintosh users, there is also a Unix zip file.
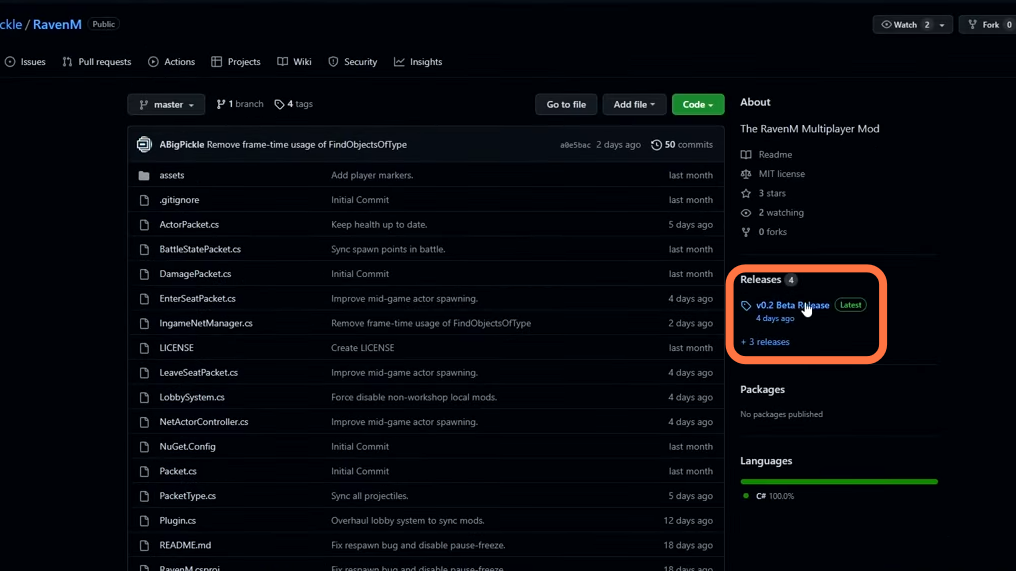
6. Now go back to the top of the raven M’s git hub page and click on Releases.
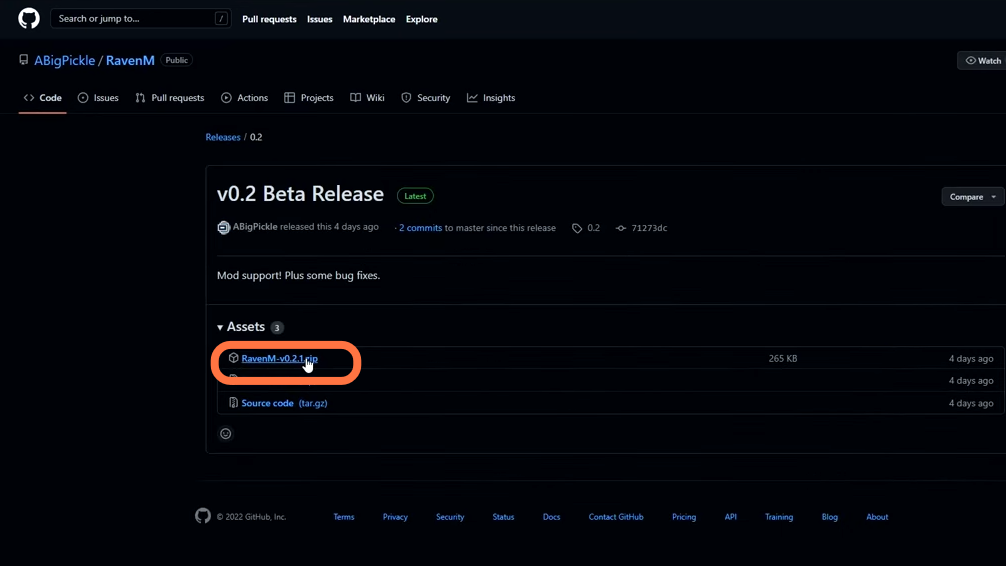
7. You need to download Raven M’s zip file.
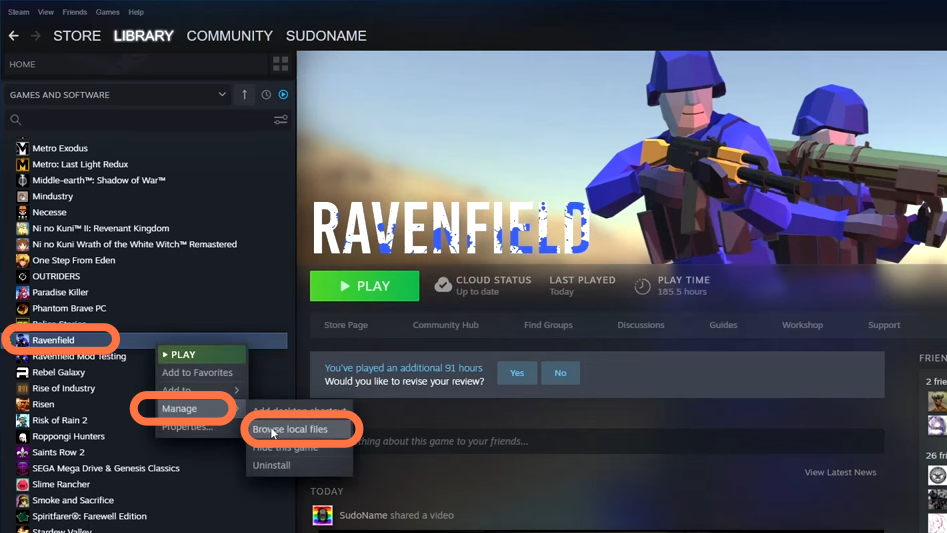
8. After that, move to steam and right-click on the game’s name. Then go into Manage and choose to Browse local files from the left side Games and Software List.
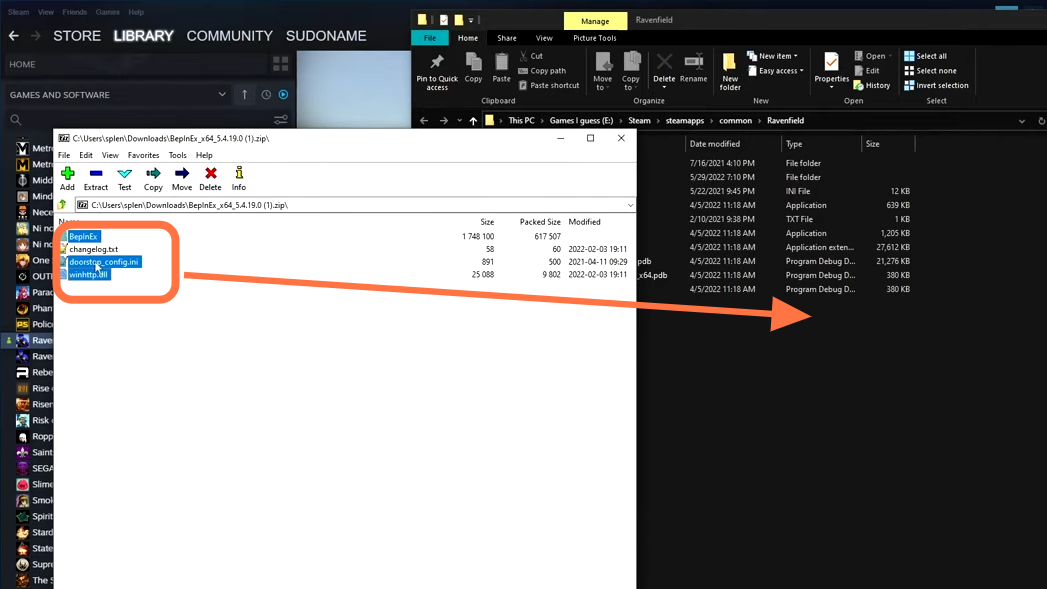
9. Now open the downloaded bepinEx zip file and drag all the content within it to RavenFields main directory which you just opened through the Steam app.
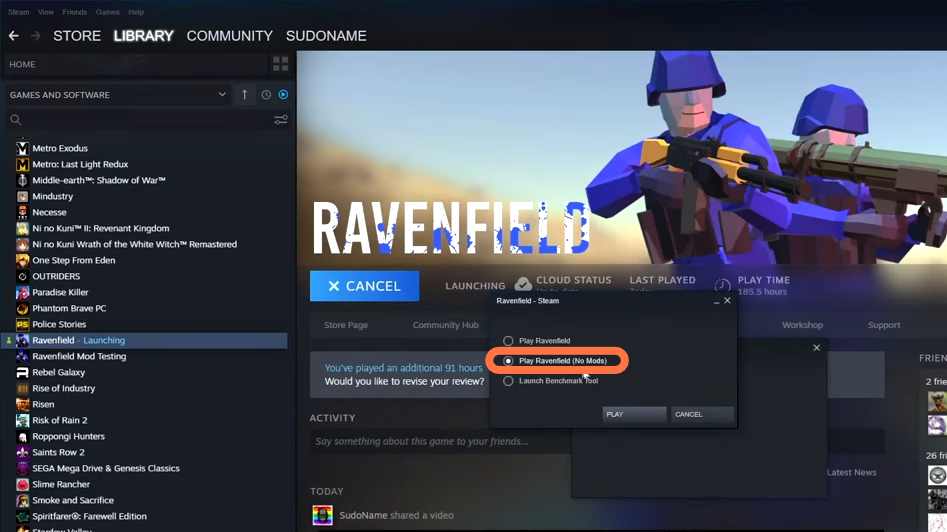
10. Now click on the Play button to launch the Ravenfiled with the (no mods) option.
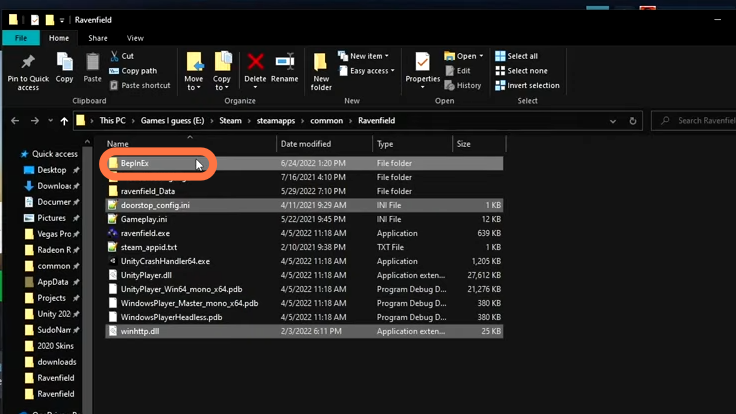
11. Once you get to the main menu of the game, you have to close it, then go back to the ravenfield folder and open BepinEx.
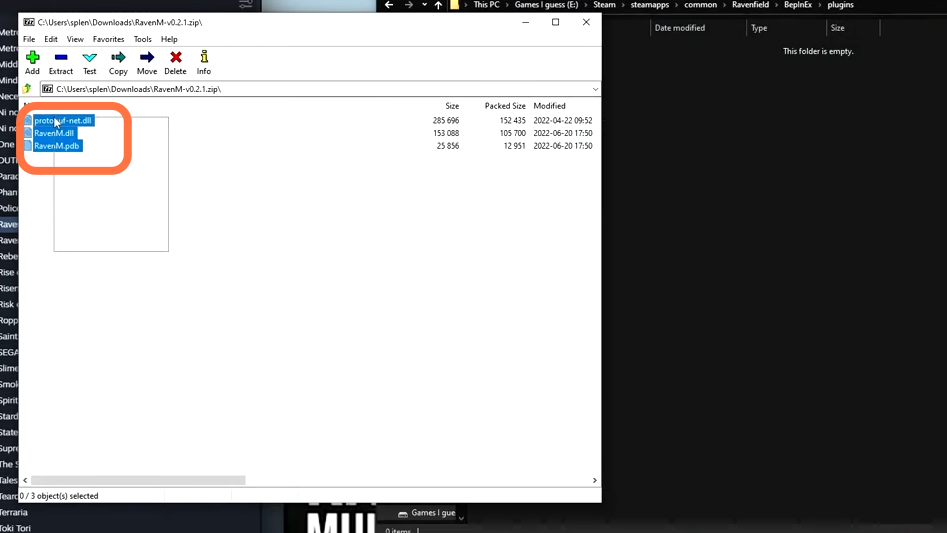
12. Within BepinEx, you will find the plugins folder. You need to paste the raven M files in it. So open the Raven M zip file and drag all the content into the plugins folder.
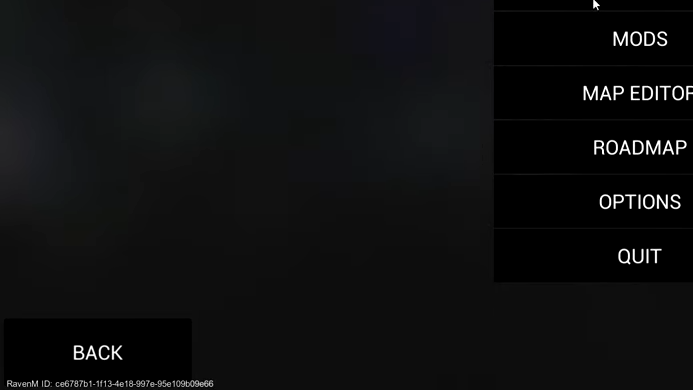
13. Relaunch the RavenField and you will see Raven M id at the bottom left corner of your screen.
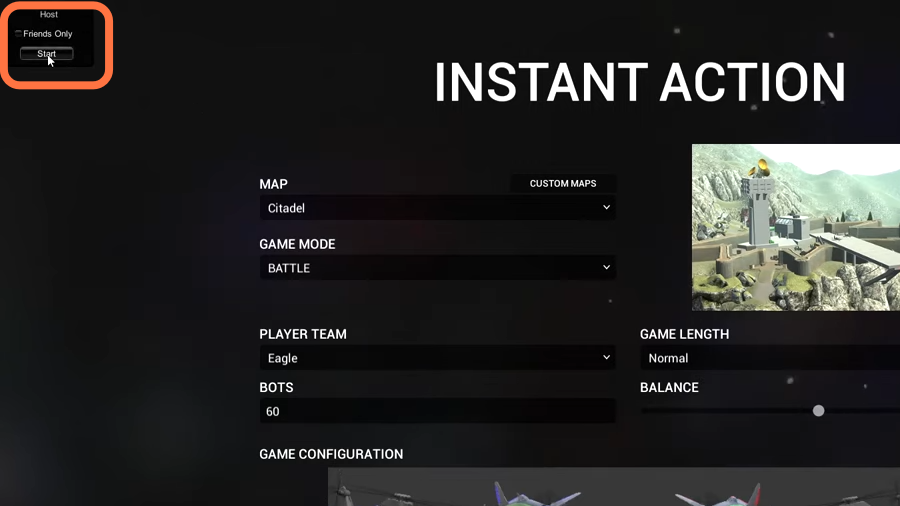
14. Click on the Play button and Load instant action. Then press M and the Raven M lobby menu will appear on the top left corner of the game’s window. It is where you can join or host your own raven M session.