Cyberpunk 2077 Texture Override is an archive that will nullify a file that overrides modded textures, colors, etc. It allows for custom or modded .mlsetups to be used and displayed in-game.
Before installing the Mod, make sure that you have a mod folder in the directory (Cyberpunk2077/archive/pc), if you don’t have a mod folder then create a new folder and name it “mod”. In case, if you have a patch folder in the directory(Cyberpunk2077/archive/pc), then rename it to mod.
Now, in order to install the Cyberpunk 2077 Texture Override mod in Cyberpunk 2077, follow the following steps:
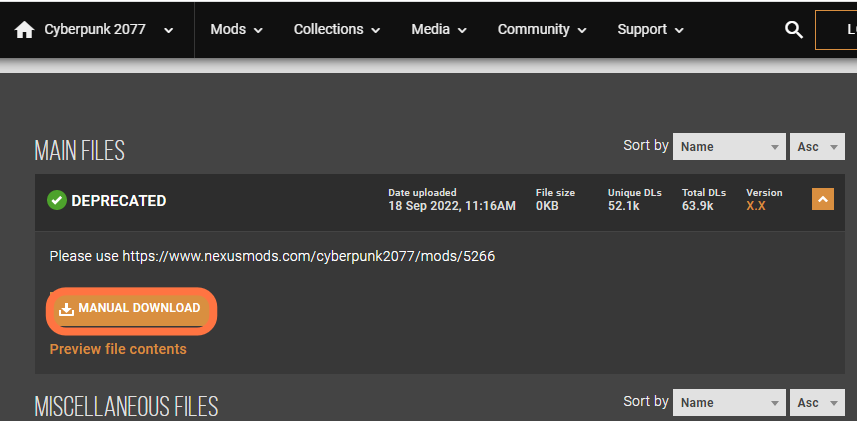
- Firstly, You need to download the required mod from here “https://www.nexusmods.com/cyberpunk2077/mods/1572?tab=files&file_id=11871” Click on the Files tab, choose the latest version and then click on the Manual download button to get it for free.
2. Open the downloaded file using WinRAR and select the archive folder to drag it into the main directory of cyberpunk 2077.

Now, the mod is installed successfully.