When playing games, your performance can be greatly enhanced with the mod E3 2018 Lighting MOD. This mod simply changes the lighting, so you can see all of the details on the screen.
Before installing the Mod, make sure that you have a mod folder in the directory (Cyberpunk2077/archive/pc), if you don’t have a mod folder then create a new folder and name it “mod”. In case, if you have a patch folder in the directory (Cyberpunk2077/archive/pc), then rename it to mod.
Now, in order to install the E3 2018 Lighting mod in Cyberpunk 2077, follow the following steps:
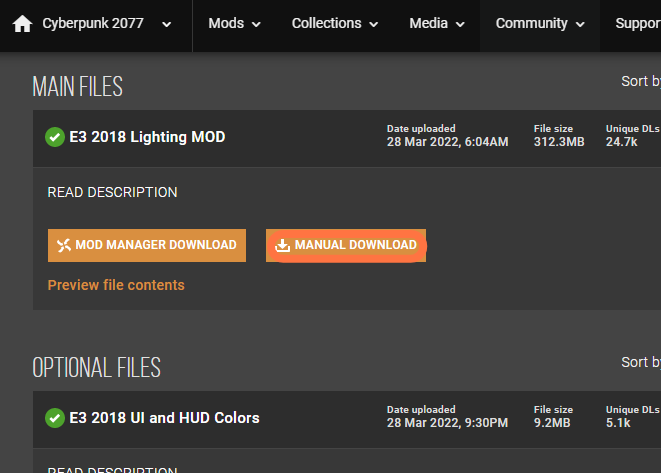
- Firstly, You need to download the required mod from here “https://www.nexusmods.com/cyberpunk2077/mods/1347?tab=files&file_id=23450“. Click on the Files tab, choose the latest version and then click on the Manual download button to get it for free.
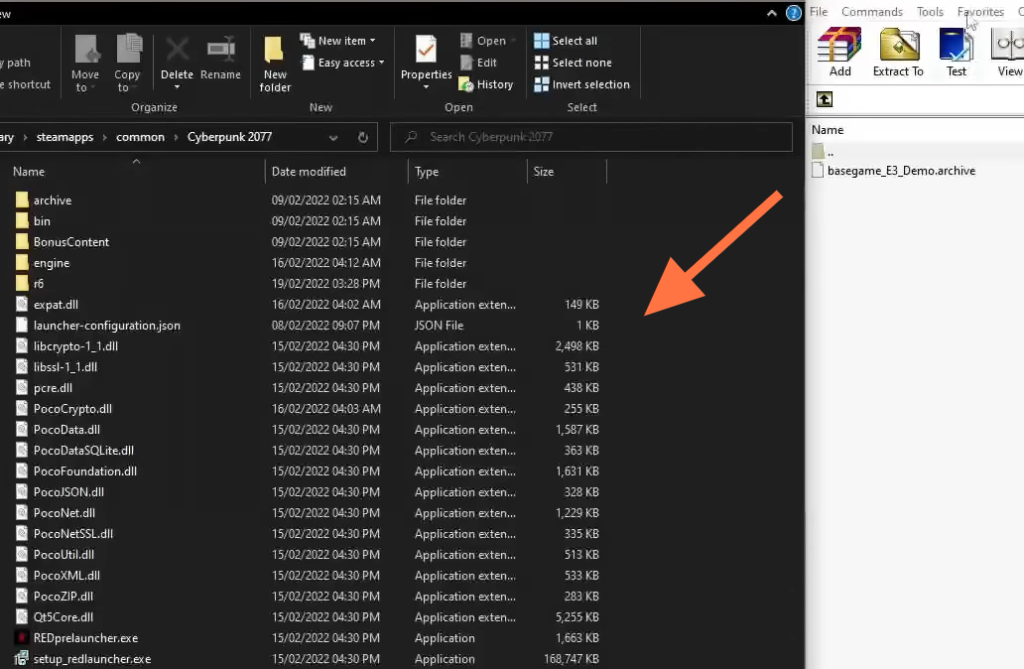
2. Open the downloaded file using WinRAR and copy the ‘basegame_E3_Demo_archive’ file from it and go to this directory Cyberpunk2077/archive/pc/mod and paste that file here.
Now, the mod is installed successfully.