This guide will tell you how to install World of Warcraft on a Mac. You have to download and install Battle.net Launcher, then install the game and play it on Apple Silicon hardware.
Download Battle.net Launcher
In this section, we will take you through the steps to download the Battle.net launcher. To begin, the user needs to navigate to the download page for Battle.net and click on the “Download” button located at the top right of the screen.
- You first need to download Battle.net. Once you reach the web page, click on the “Download” button located at the top right of the screen.
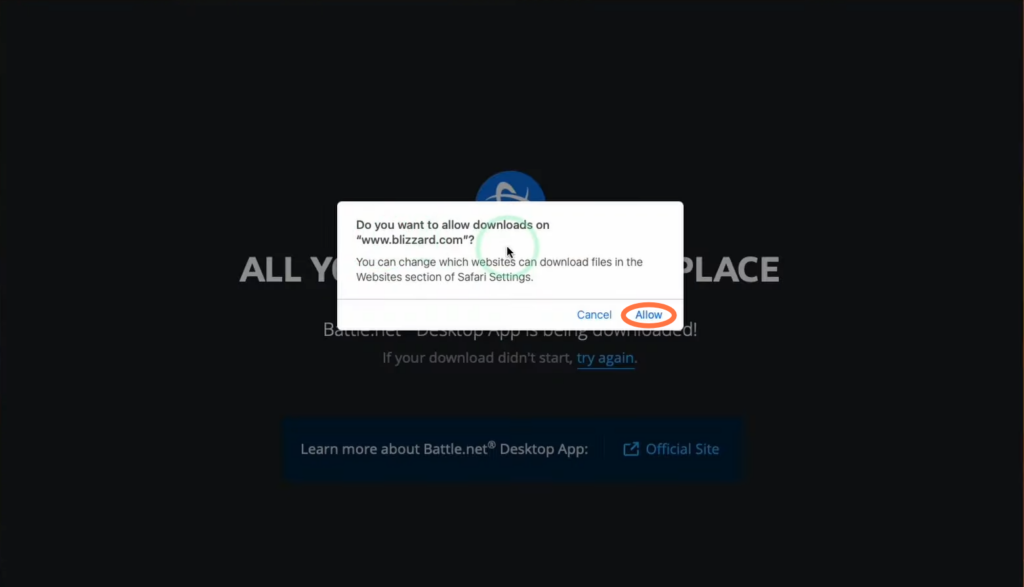
This will take you to the downloader. - Click on the “Allow” button to initiate the download.
Install Battle.net
This section describes how to install Battle.net after downloading it. By following the steps below, you will be able to open the downloaded Battle.net setup file, choose your preferred language and select the installation location to install it.
- Open Finder and navigate to the Downloads folder. Locate the downloaded Battle.net setup file and double-click on it.
You will be asked for permission to open the file. - Click on “Open” to proceed. After that, select your preferred language and choose the installation location.
- Input your local administrator password to update it. Tap on the Continue button to start the installation process.

- Once the installation is finished, launch Battle. net and enter your username and password to log in. If you don’t have an account, you can create one or sign in using your Gmail or Facebook account.

Purchase and Install World of Warcraft
This section provides instructions on how to purchase and install the game using the Battle.net launcher.
The launcher will automatically scan for games.
- Close the scanning process by clicking the “Close” button, and then click on “Continue.”
- In the launcher’s main menu, navigate to the Shop section.
You will find various games for purchase there. Note that not all games are available for Mac, so ensure compatibility before making a purchase.
- Locate World of Warcraft, select it and click on the “Buy” button to purchase it.

- After that, go to the “All Games” section, tap on the game and hit the Install button at the bottom left side.
By default, it will be installed in the Applications folder. Make sure you have at least 78 GB of free storage space to install it.
- Once you’ve verified the available space, click on the “Start Install” button.
The installation process will take some time, depending on your internet speed.

- Once the download is finished, click the “Play” button on the bottom left of your screen.
The game will request permission to access your documents folder. - You need to grant it by clicking “OK“, then log in to one of the game servers and accept the game contract.
Now you can enjoy playing World of Warcraft.
