In this brief guide, you will find out how to move your sims 4′ folder to an external drive in Windows.
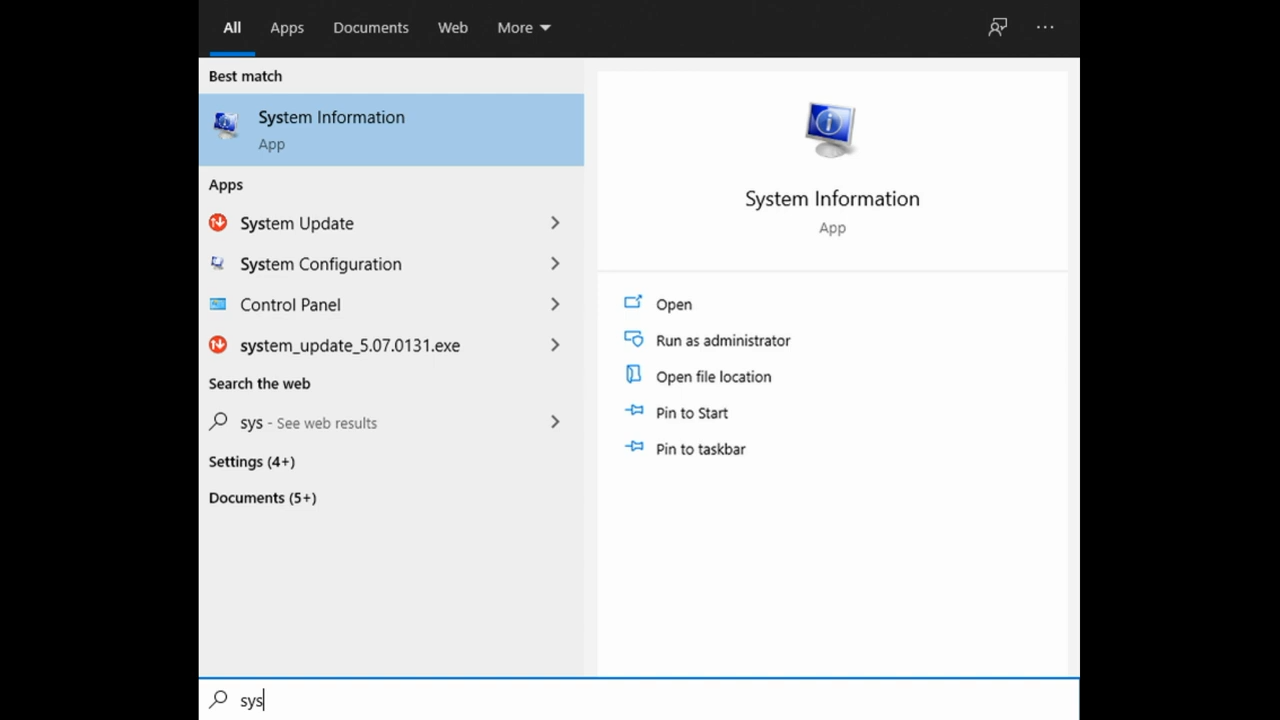
1. If you’re running out of space on your computer and need to store game saves and mods, you can move or store your user data on an external/ USB drive. It is only recommended when you don’t have any other way to store data. If you have a second internal hard drive with enough free space, it’s better to move the entire Windows Documents folder onto that drive for the best performance. There is a possibility of longer loading times when using an external drive that is slower than the one inside your computer. First, click on the Start button on your computer and type in the system information.
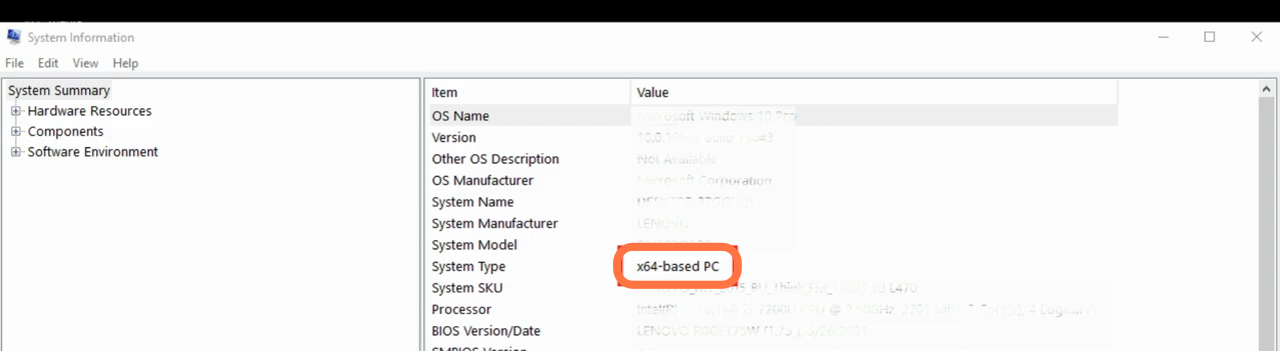
2. Open this System Information app to find out if you’re working on a 32-bit or 64-bit system. In this case, it’s a 64-bit Windows PC.
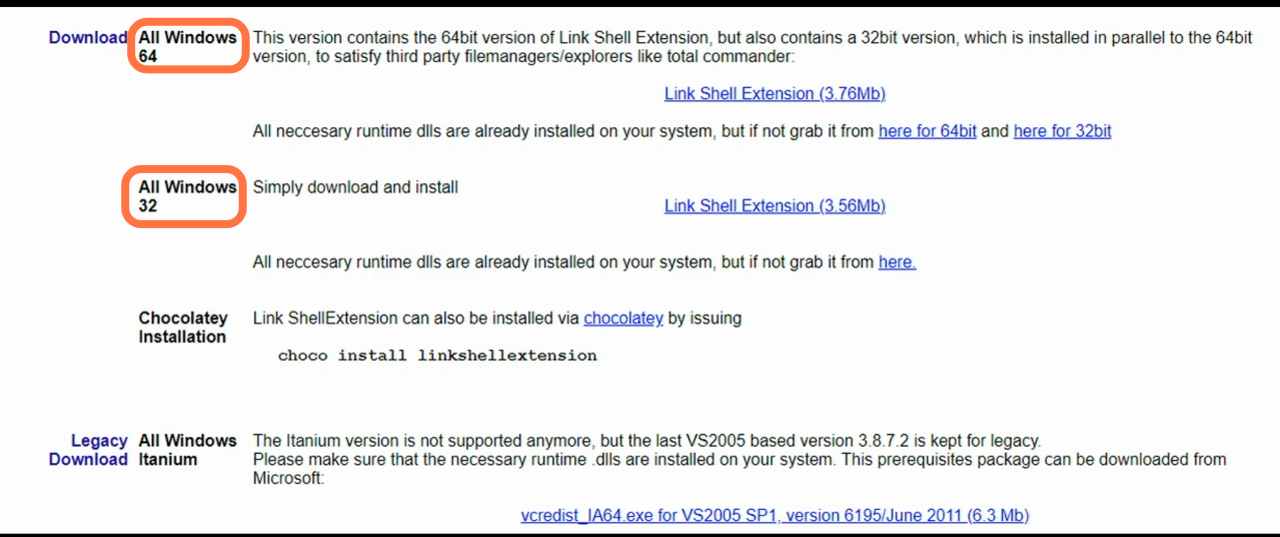
3. Make sure you have downloaded the needed link shell extension for your system from “https://schinagl.priv.at/nt/hardlinkshellext/linkshellextension.html“. There are two different options; a 32-bit extension or a 64-bit extension. You have to download whichever is appropriate for your situation and it’ll work in whatever you’re using.
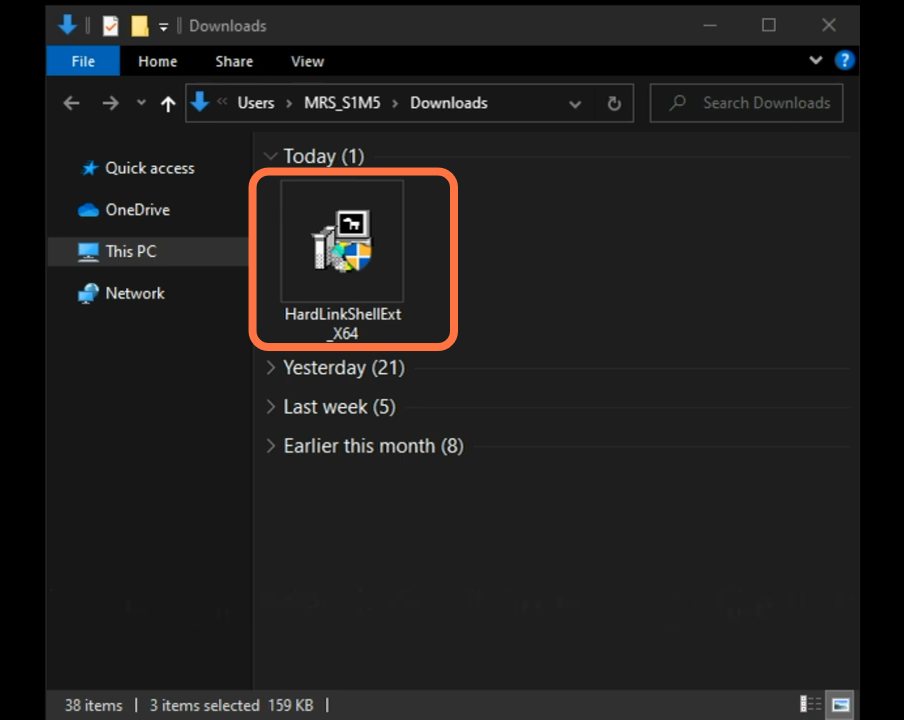
4. The downloaded file will look like this.
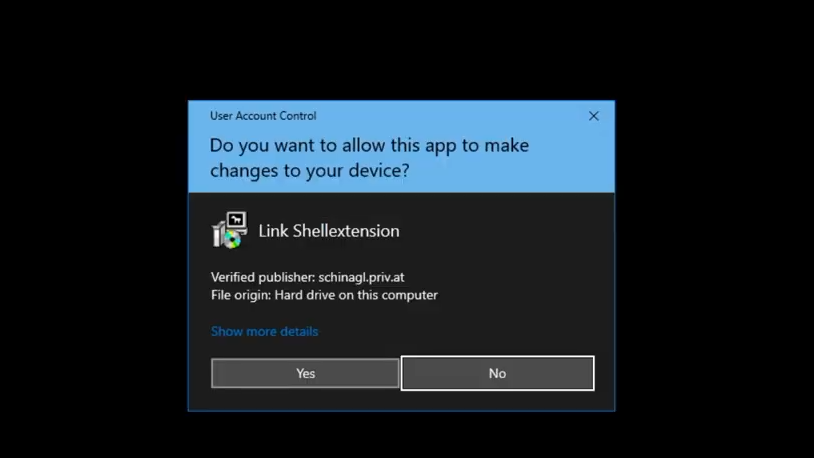
5. You need to double-click on it to start the installation. A pop-up will appear and you need to click Yes to give it permission to make changes on your device.
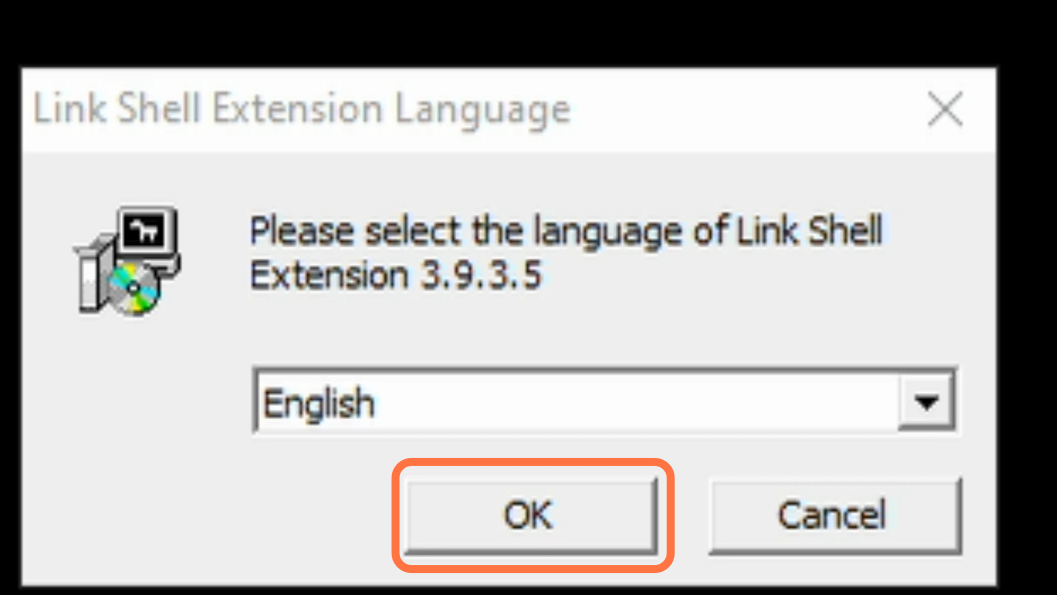
6. After that, you will find another pop-up about choosing a language for the shell. You have to select the Language and Click on ‘OK’.
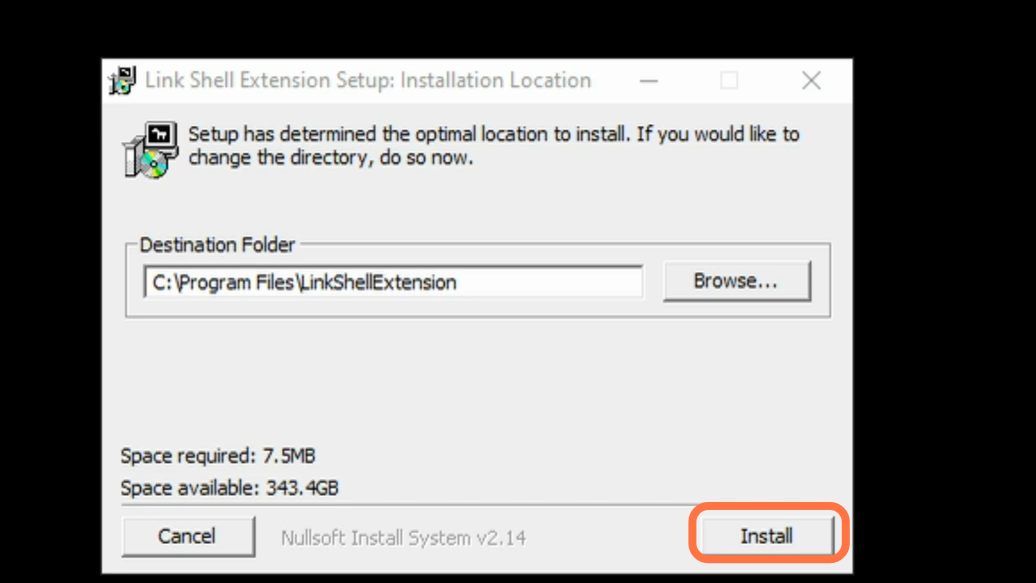
7. Next, click on the “Install” button.
8. Click on ‘Yes’ when this appears and continue until you see “completed”. After that, click on Close.

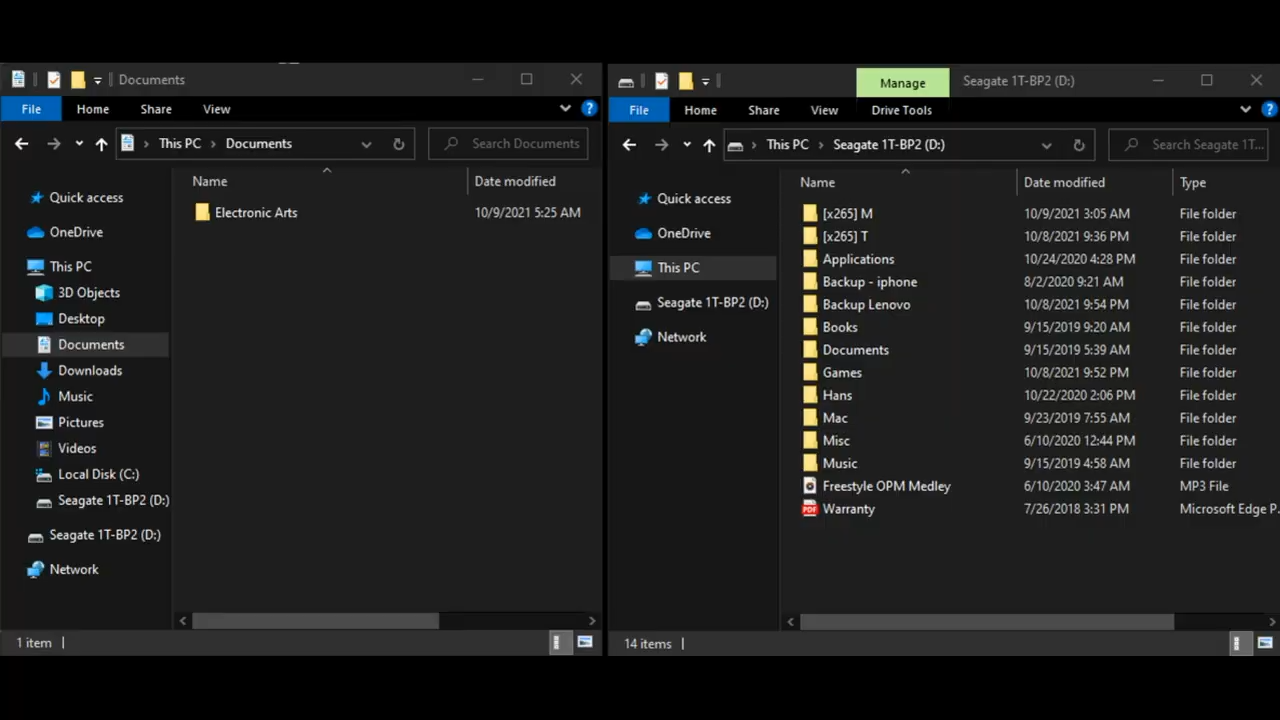
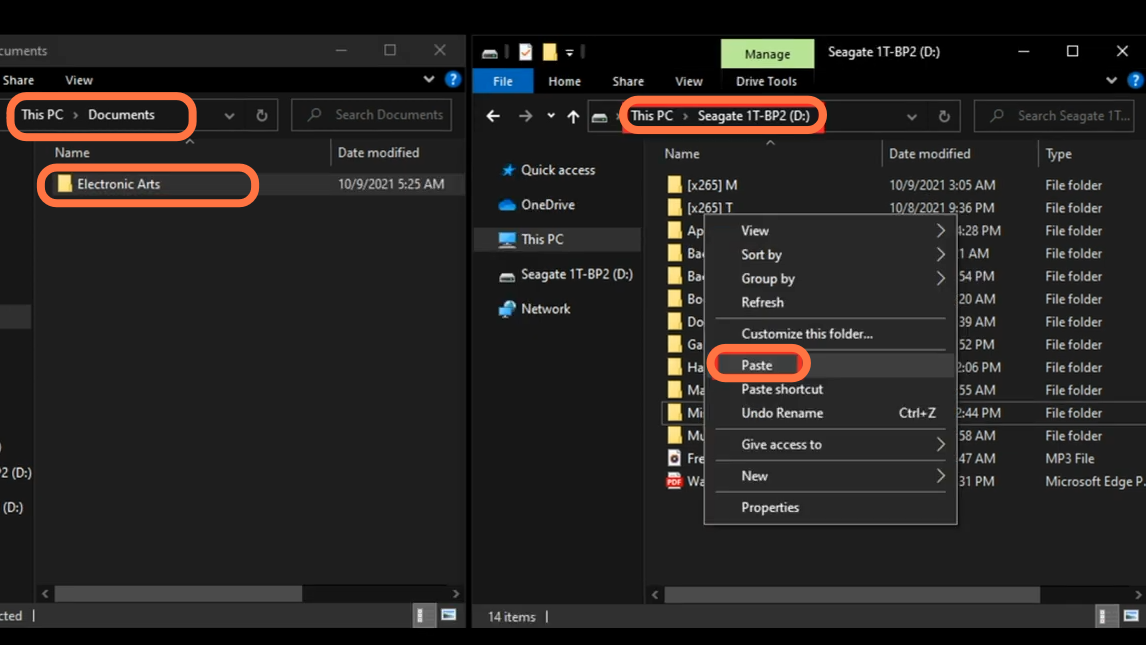
9. To move your Electronic Arts folder, you need to open Windows Explorer and find the EA folder on your computer. Position it on one side of your screen and then connect your external hard drive (HD) or USB flash drive. If Windows doesn’t automatically open a new explorer window for the device, then you need to do it manually. After that, find the external USB flash drive in that new window and position it to share the other half of your screen with the EA folder.
10. Now copy your electronic arts folder from drive C on your computer and paste it to an external/USB flash drive.
11. Open the Electronic arts folder on your computer and delete the “The Sims 4” folder. As you have already copied it to an external drive so it is safe to delete it now.

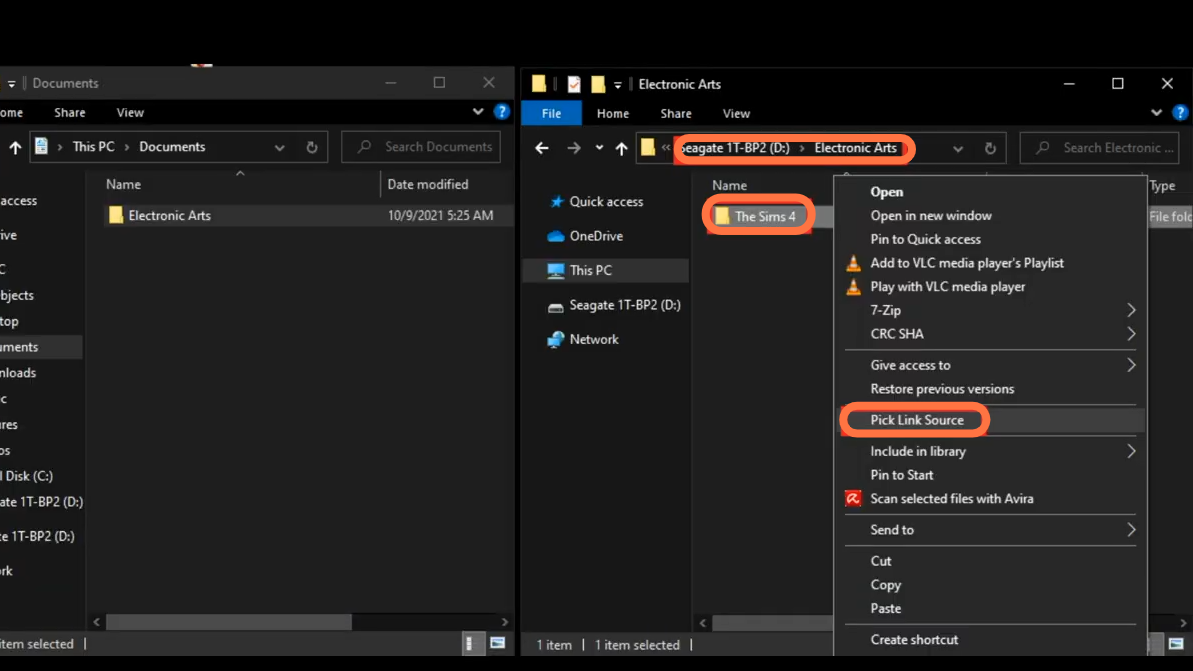
12. Now right-click on the Electronic arts folder that you have copied on your external/USB flash drive, and then select “Pick Link Source”.
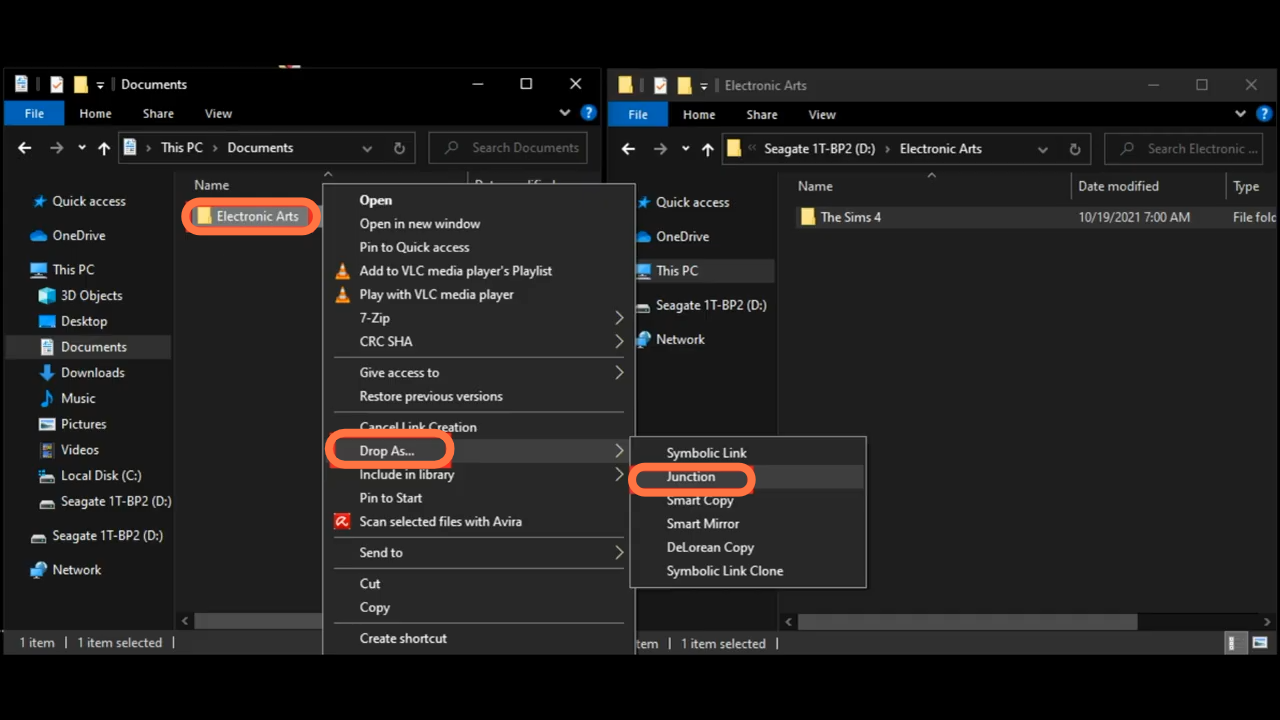
13. After that, right-click on your electronic arts folder on your computer this time and select “Drop As > Junction.
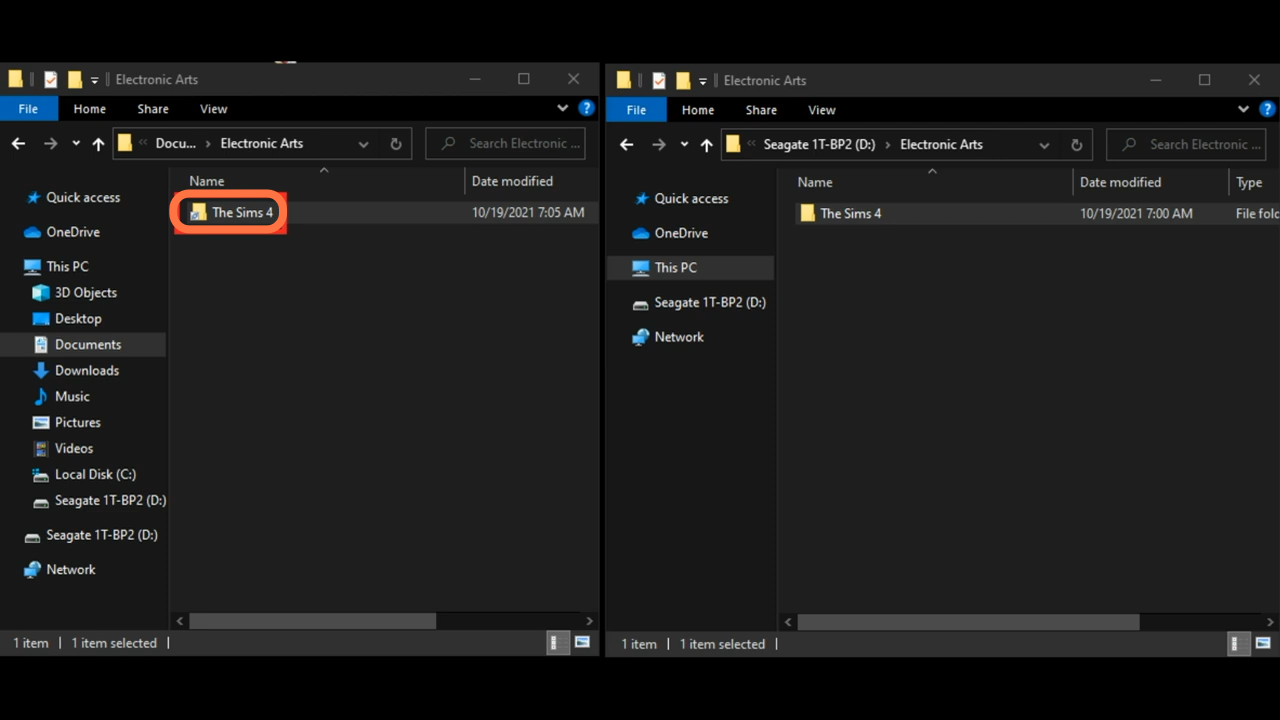
14. In the “Electronic Arts” folder on your computer, you’ll find a shortcut to the “Sims 4” folder. Double-clicking/opening it will allow you to access its contents, but it’s not a real folder. It’s just an icon that lets you know that the actual files are stored on your USB flash drive and aren’t taking up space on your computer.
15. When you run your game, it will load the files from an External/USB flash drive instead of your computer.