So here is how to play Please Donate on Roblox! You will find out how to claim a stand and have the donation buttons to initiate the acceptance of the donation on “Please Donate.”
Setting Up A Stand And Start Getting Donations
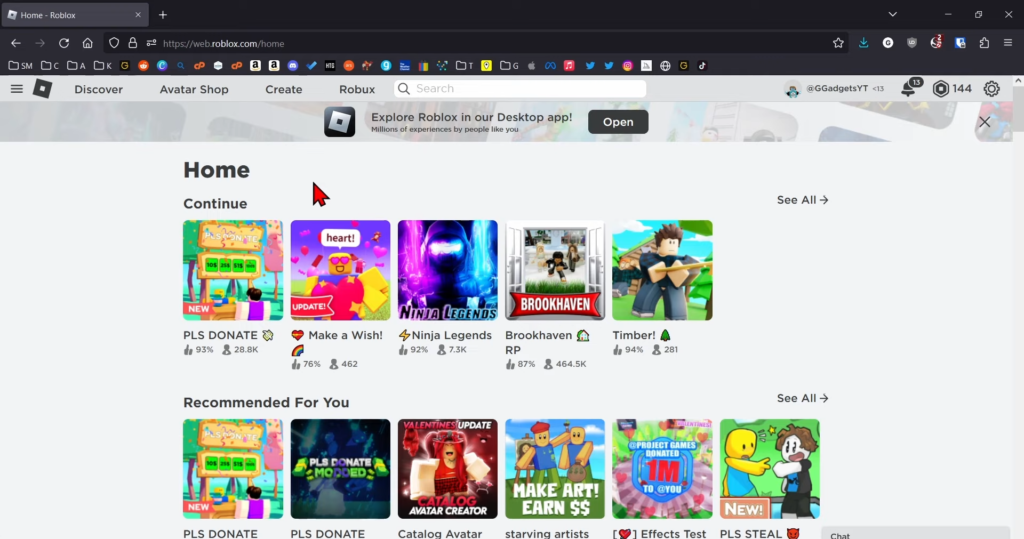
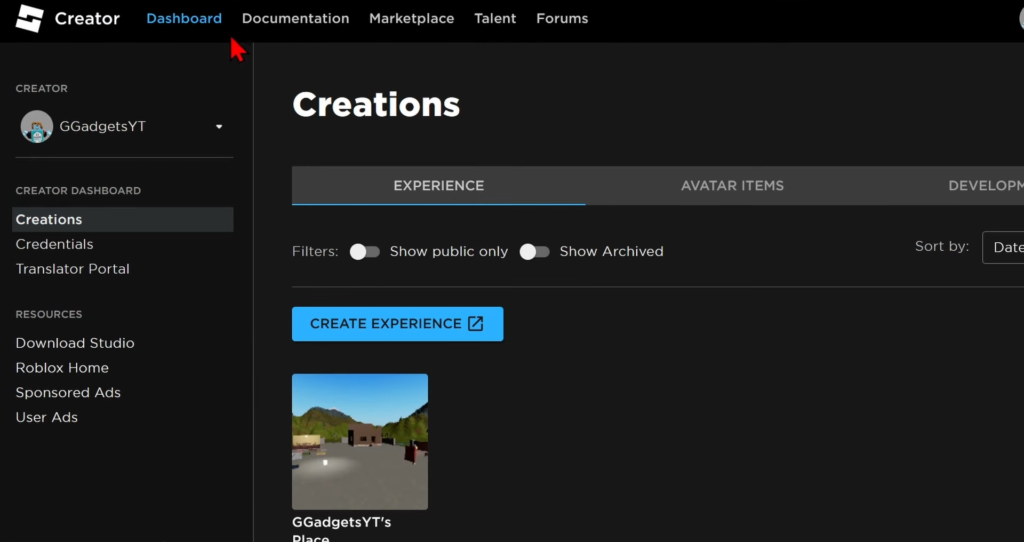
Thus, no buttons will be shown if you go up to claim a stand while playing. To earn donation buttons, It is essential to either make a T-shirt and hang it for sale or a Game pass and list it for sale. Itemizing a game pass for sale is free. To begin with, the first thing that you have to do is open a browser, steer to roblox.com, and log in. Once logged in, move to the menu on the top; you will find the Create Button. Clicking Create will take you to the creator dashboard and a tab called “Experience.” Go below it and scroll down to reach a small place having your username over it by default. Normally, all the users begin from here, but you don’t need to create anything. select your place and then select “Associated items” below “Details” in the left menu.
Game Passes
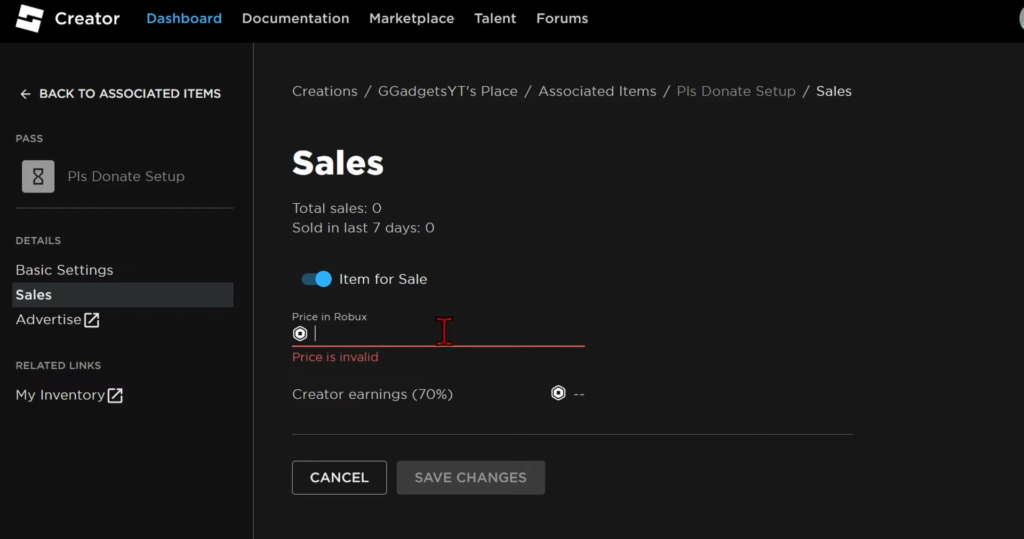
In the associated items, there is an option for “Passes” select “Create A Pass” in it and start creating your game pass. Select upload image and find an image you want to upload on your computer for your game passing. Remember, it will be exhibited on your stand and “Please Donate.” Also, it will be moderated and needs approval from Roblox for you to sell it. You can select a random picture as well, and you can also see the compatible picture formats there. GIFs or anything else cannot be uploaded. After adding an image under your name, give it a name. This name will also be exhibited on your stand, and Please Donate. When you have set up your name and put a description, the pass has been created, but initially, you will not see the image you have uploaded until it is approved by Roblox. Give it a bit of time, and it will be done. Now your pass has been created. Select the pass when it loads in the left sidebar owner details. Select “Sales” for the donation button to appear on your stand, and Please Donate.
What Is Next?
First, toggle the item for sale and give it a price; it is how many Robux you want to be donated to you. Remember that you will get 70% of the amount you write here. If you put the price of 10 Robux, you will get only 7 since Roblox takes 30% of it. After setting your price, select Save Changes, then go back to the associated items, and you will find your game pass with a Robux amount below it. It means that it will appear on your stand. You will also see some other game passes, but they are not for sale. Therefore, they will not appear on your stand, and Please Donate.

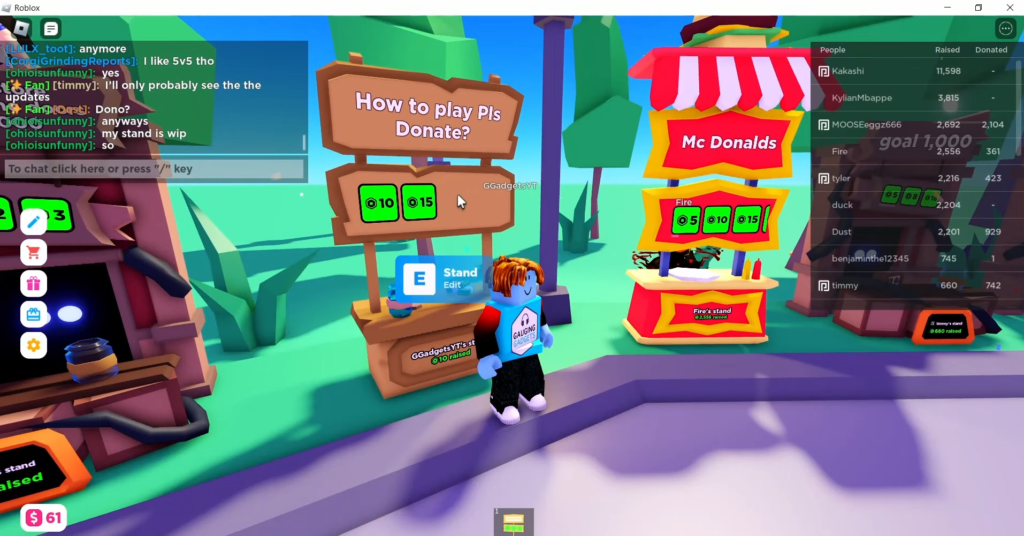
Finally, Claim A Stand!
Again, open the browser and go to roblox.com, and start Please Donate. Now, when you claim a stand, you will find the game pass up there that you created. If it does not appear initially, click your stand several times because reloading can help if you want to change the text on your stand. You must go to the left menu and select the pencil to edit the booth. Now type whatever you want and apply.