This guide will let you know how to put on Shaders in Destiny 2 for Armor and Weapons.
The first thing you will need to do is press the options button from your controller to open the menu option. You have to tap on the characters tab, and you will find all of your different weapons and armor. You will need to select your armor piece and press the triangle button on the Playstation.
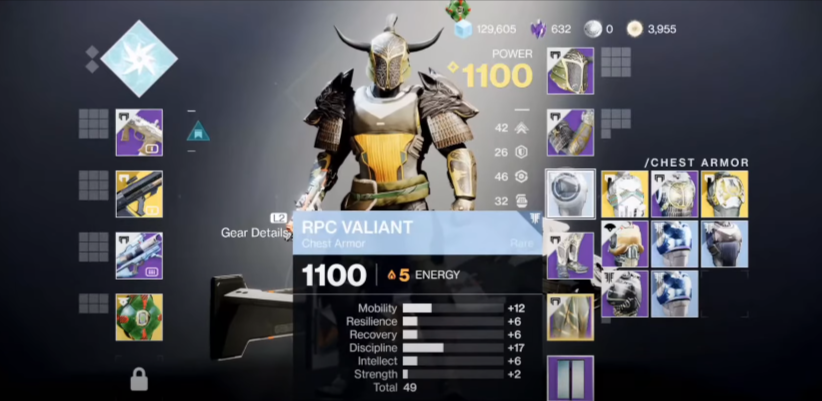
After that, go to the bottom of the screen to find the appearance option. To open it, you need to press the down button on the d-pad, then go to armor cosmetics, and you can find all the different shades. You have to press the triangle button from the controller to preview it, and from there, you can change the color of your armor.

You have to select the color and then press the X button from your controller to equip it. These shaders have unlimited uses, so you can always come to these options and change them if you make any mistakes. Now you need to head back and apply it to your weapon, and to do so, you need to choose your gun first.
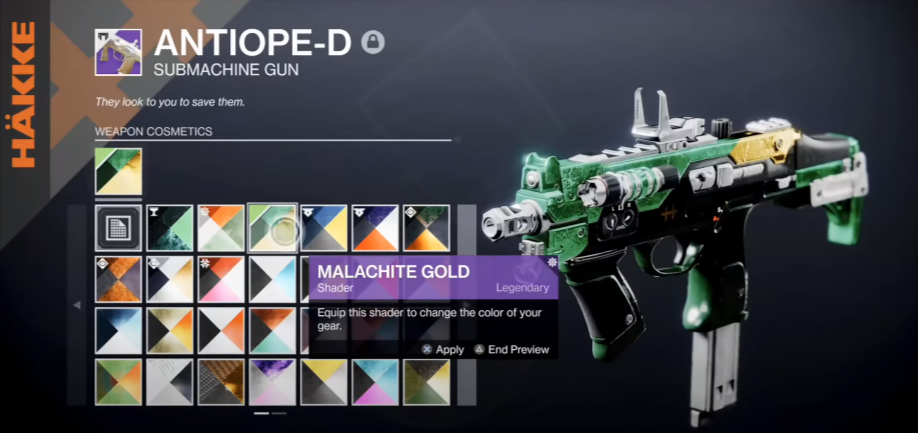
Then you have to press the details button and then press down on the d-pad. After that, go to weapons cosmetics, select one and press the ok button on the bottom right side of the screen, as shown in the image below.