How to Re-Open the DS4 Driver Setup PopUp - Installing Secondary Drivers
This guide will help you to re-open the DS4 driver setup popup by installing secondary drivers.
- First, open up the settings panel and look towards the right-hand side.
You'll find a series of little blue links that offer various functions. - Among the blue links, locate the Controller/Driver Setup button.
This is the option you're looking for to configure controller or driver settings. - Click on the Controller/Driver Setup button to initiate the process.
A pop-up window might appear, asking for administrator permission to proceed. - Confirm this action by clicking the Yes button.
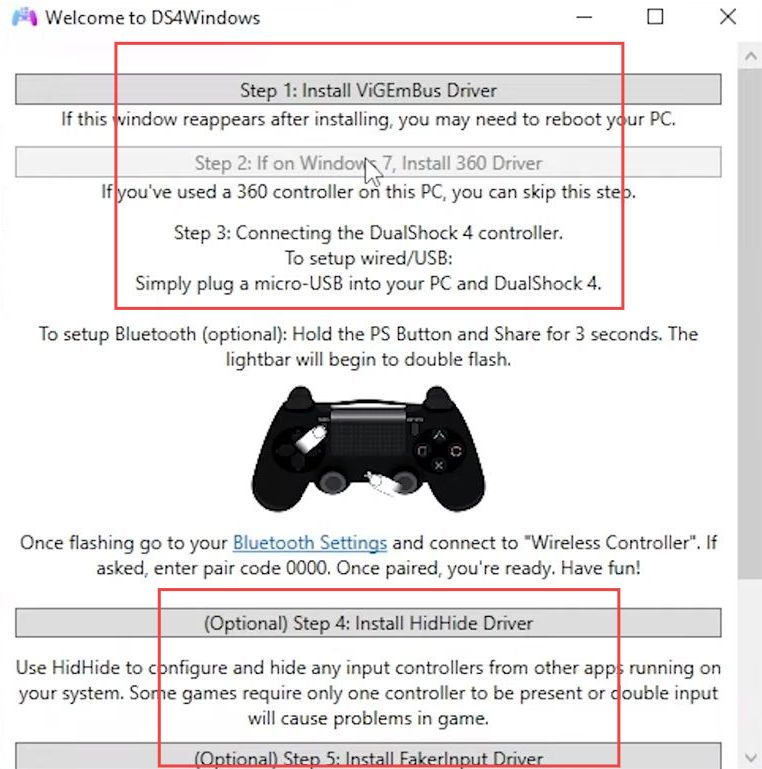
After confirming, a new pop-up window will appear. This window will contain the drivers or settings related to controllers.

This driver is essential for proper communication between your controller and your computer.
- If the Vision Bus Driver is required for your setup, ensure it is selected and proceed with the installation process.
This is a crucial step to establish proper communication between your controller and computer. - If you're using an older version of Windows that doesn't have Xbox 360 drivers pre-installed, there's an option for that.
Run step two to download the Xbox 360 drivers. However, if you have Windows 8 or a newer version, you likely won't need this step. - In the driver setup window, you might see other utility options. These are optional and might provide useful functions, but they're not required for the main functionality of your controller setup.
- Once you've reviewed the necessary and optional drivers, and potentially installed the required drivers, click on the Hide button to exit the driver setup window.
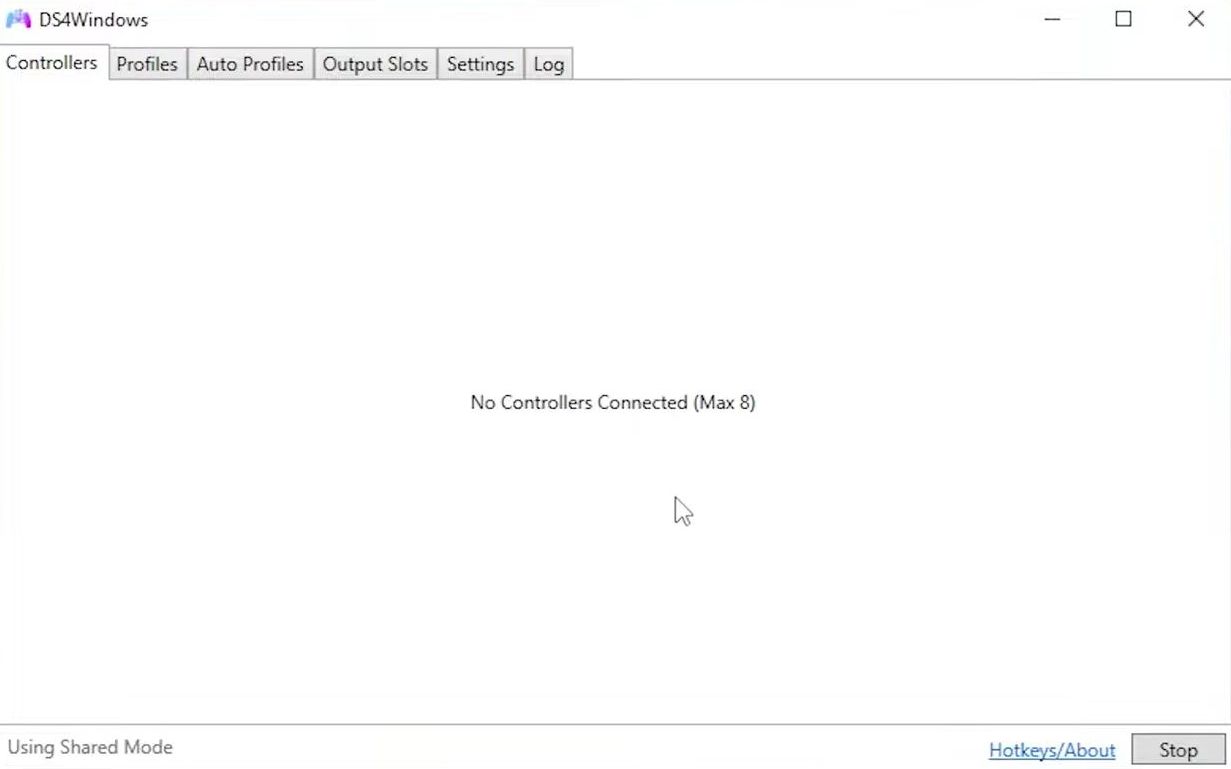
- Once the Vision Bus Drivers are installed, click on the Start button at the bottom corner of the window.
This action will open the controller settings and configuration interface. - Ensure that your controller is plugged into your computer's USB port. If properly connected, your controller should automatically appear in the list within the controller settings window.
- Look for your controller's name at the top of the list displayed in the controller settings window.
This indicates that your controller has been successfully recognized by the system. - With your controller recognized and listed, you can proceed to make adjustments as needed. This might include configuring buttons, sensitivity, input mapping, or other settings based on your preferences.
- Use the available options and settings within the controller settings window to test your controller and fine-tune its behaviour according to your preferences.