In this guide, you will find out how to Set up Ryujinx. You have to follow the step-by-step instructions below to set it up.
Download Ryujinx
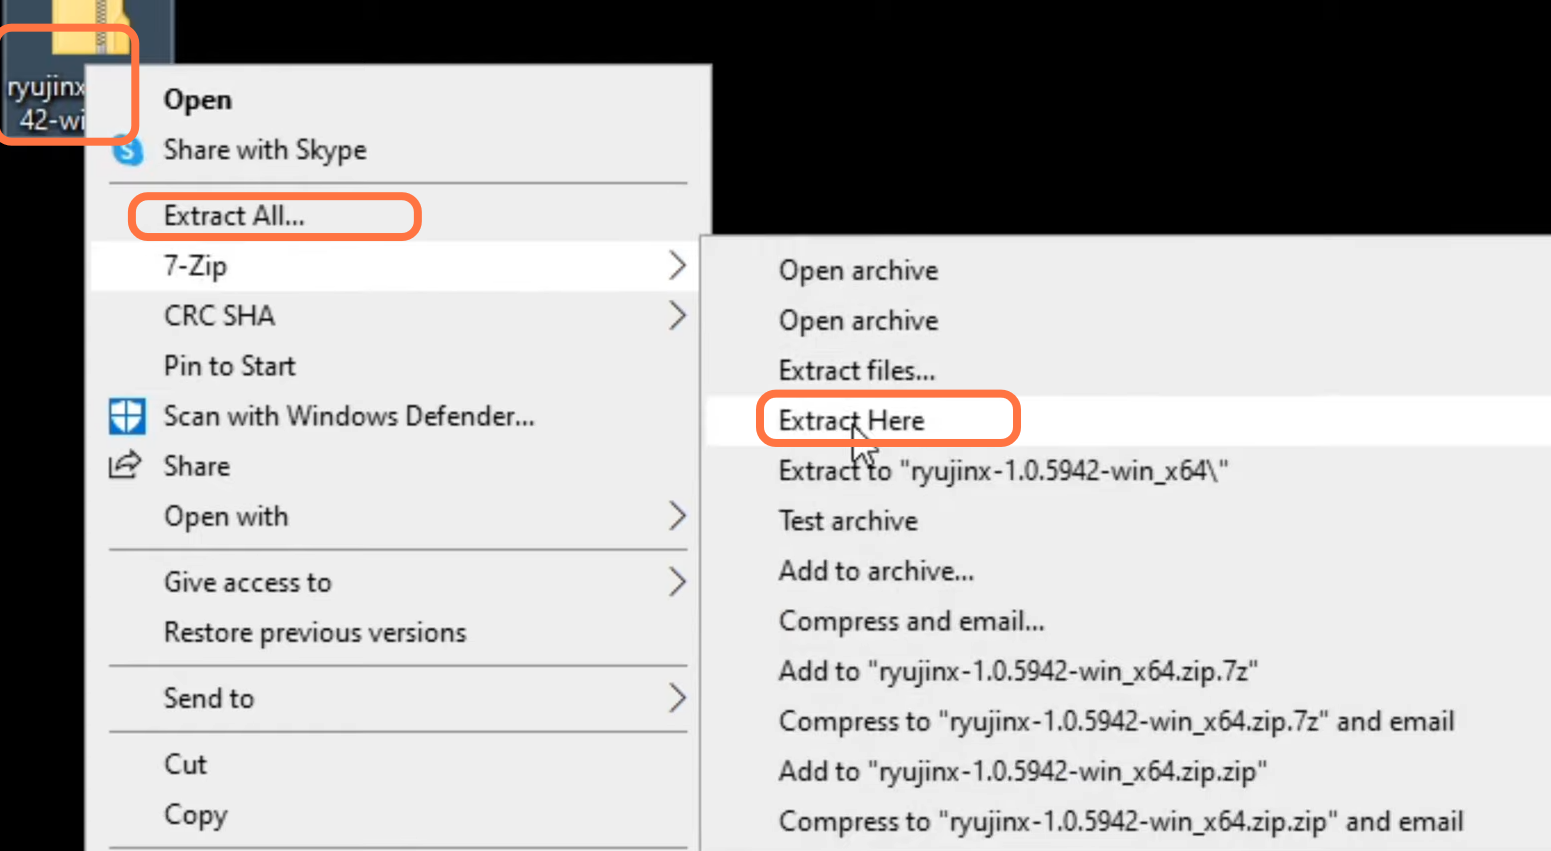
You have to download Ryujinx from the following link https://ryujinx.org/. Open the link, then scroll down a little bit and tap on Download the latest build. It will take you to the next page and you will find that the download is available for Windows, Linux, and MAC. Select the operating system you want and your download will start. Once the download is complete, you need to click on “show in the folder” and then drag this folder and drop it on your desktop. After that, extract this folder.
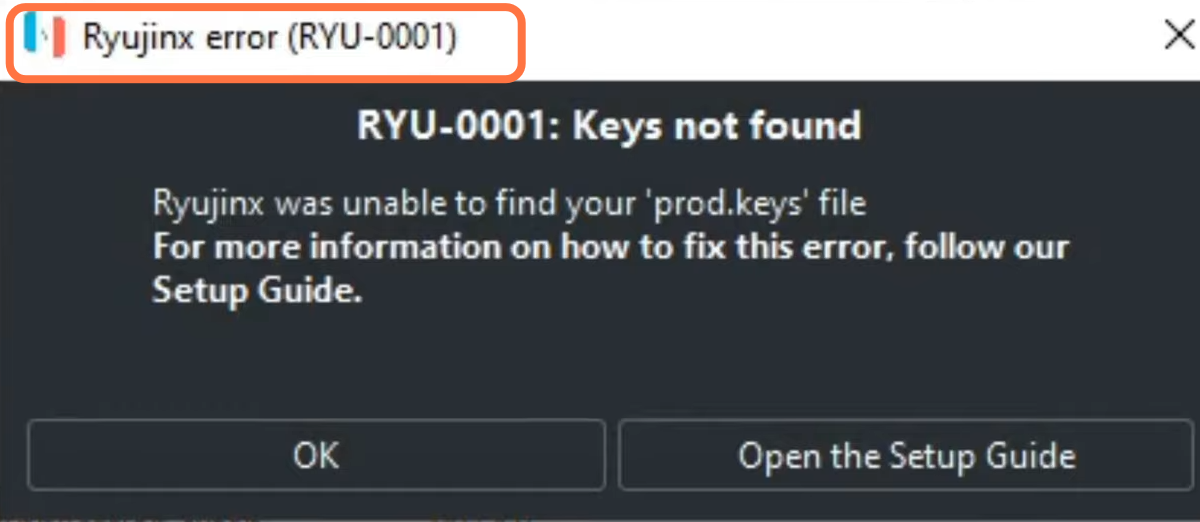
Now you have to open the extracted folder called Publish. Scroll all the way down until you find Ryujinx, click on it and an error will pop up saying “keys not found”.
Error Fixing
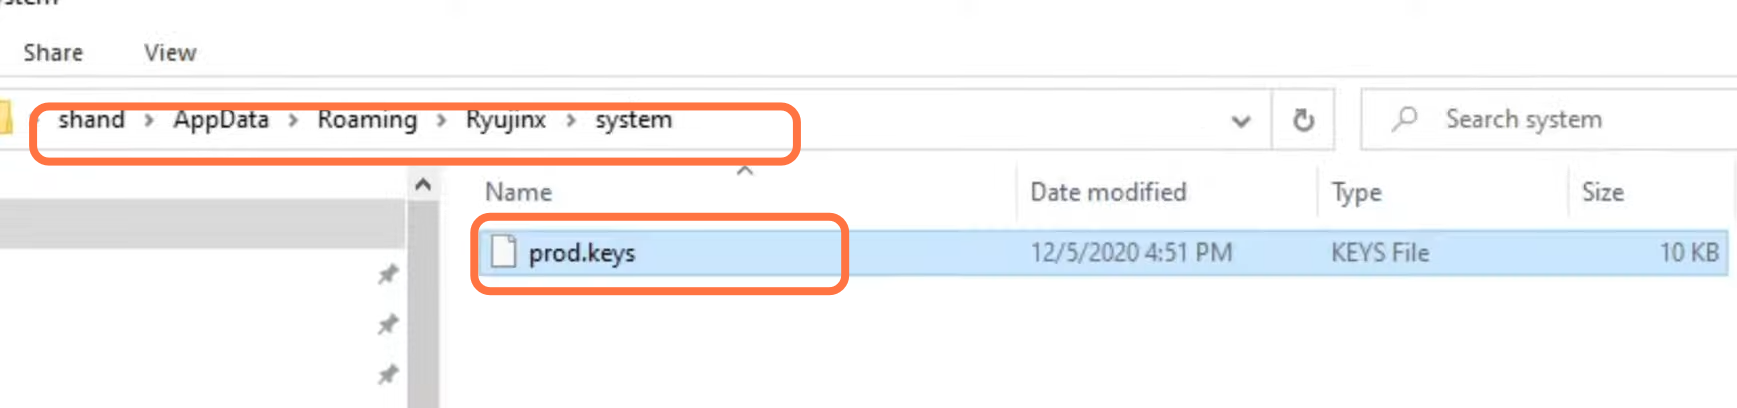
You will need to click on OK, then to add your keys, you have to go up to file and click on open the Ryujinx folder. You need to select the system folder where you have to put your product keys. Once you have your product key files you have to drag and paste them here.
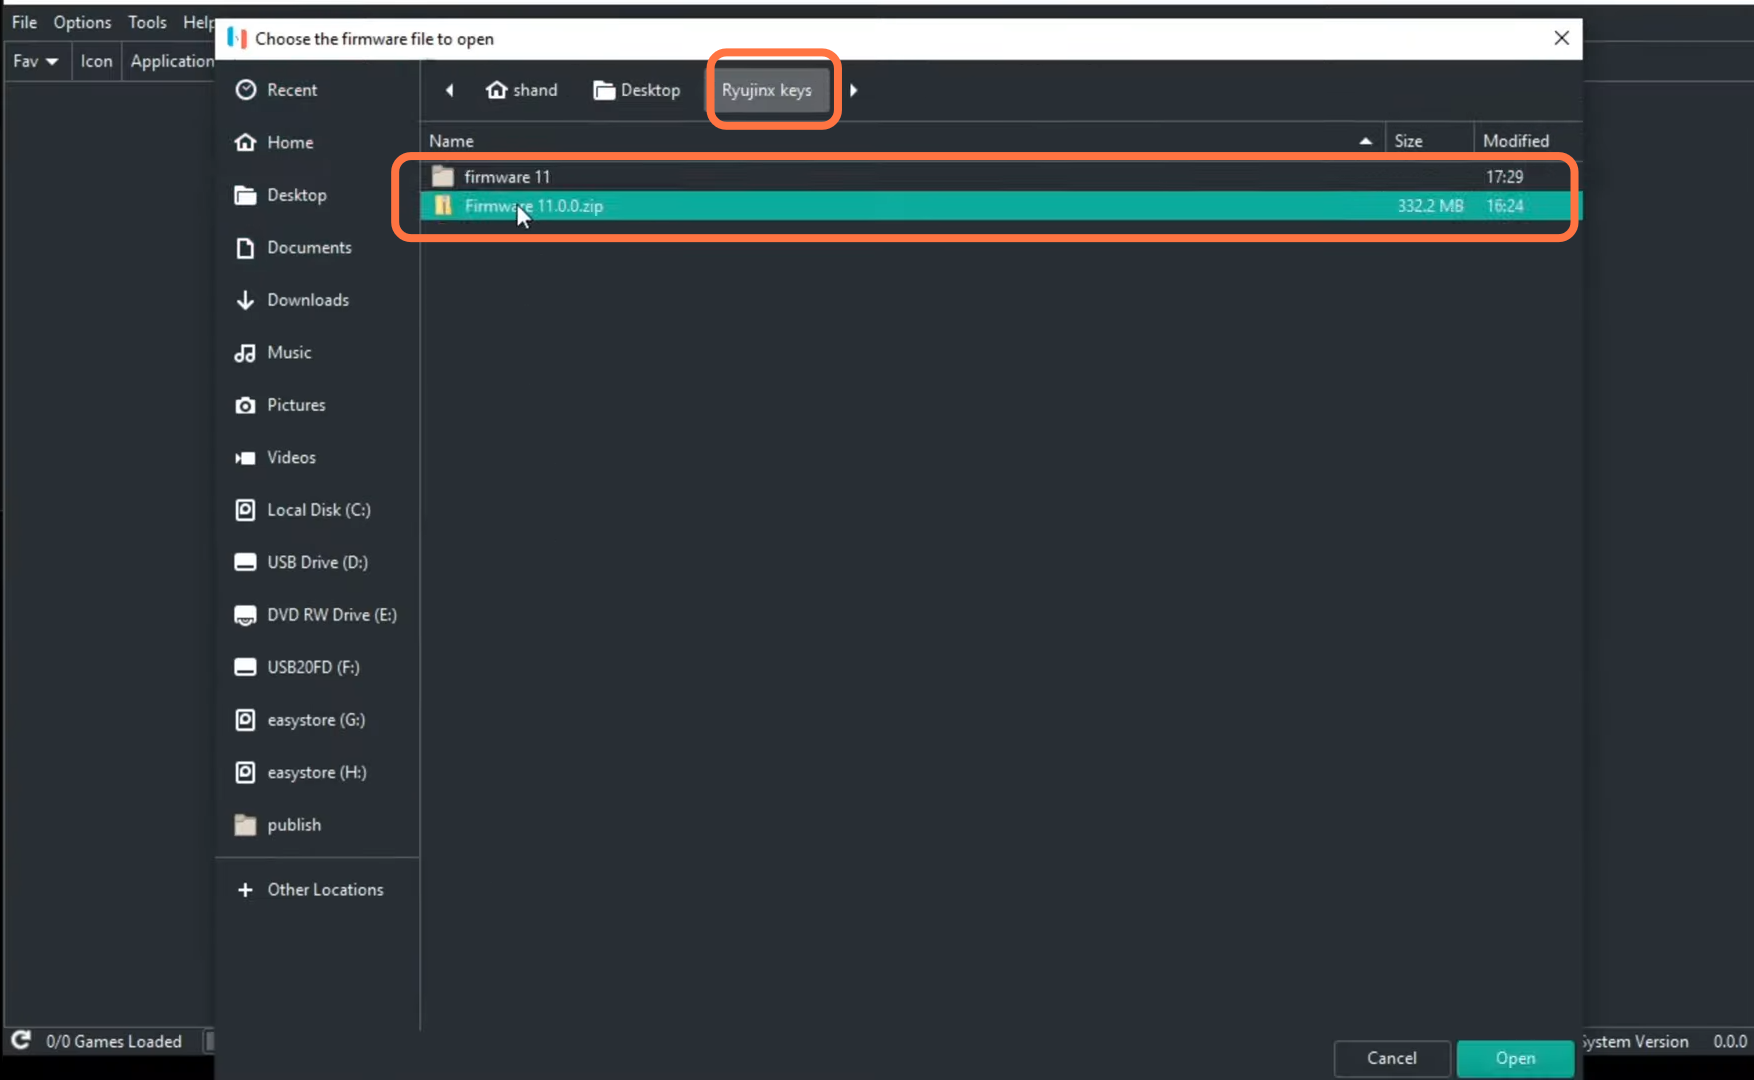
After that, install your Firmware by clicking on Tools on the top and then tapping on Install Firmware. You have to install the firmware on XCI or zip. Locate it on your computer, then click on yes and the Firmware will start to install.
Controller Set up
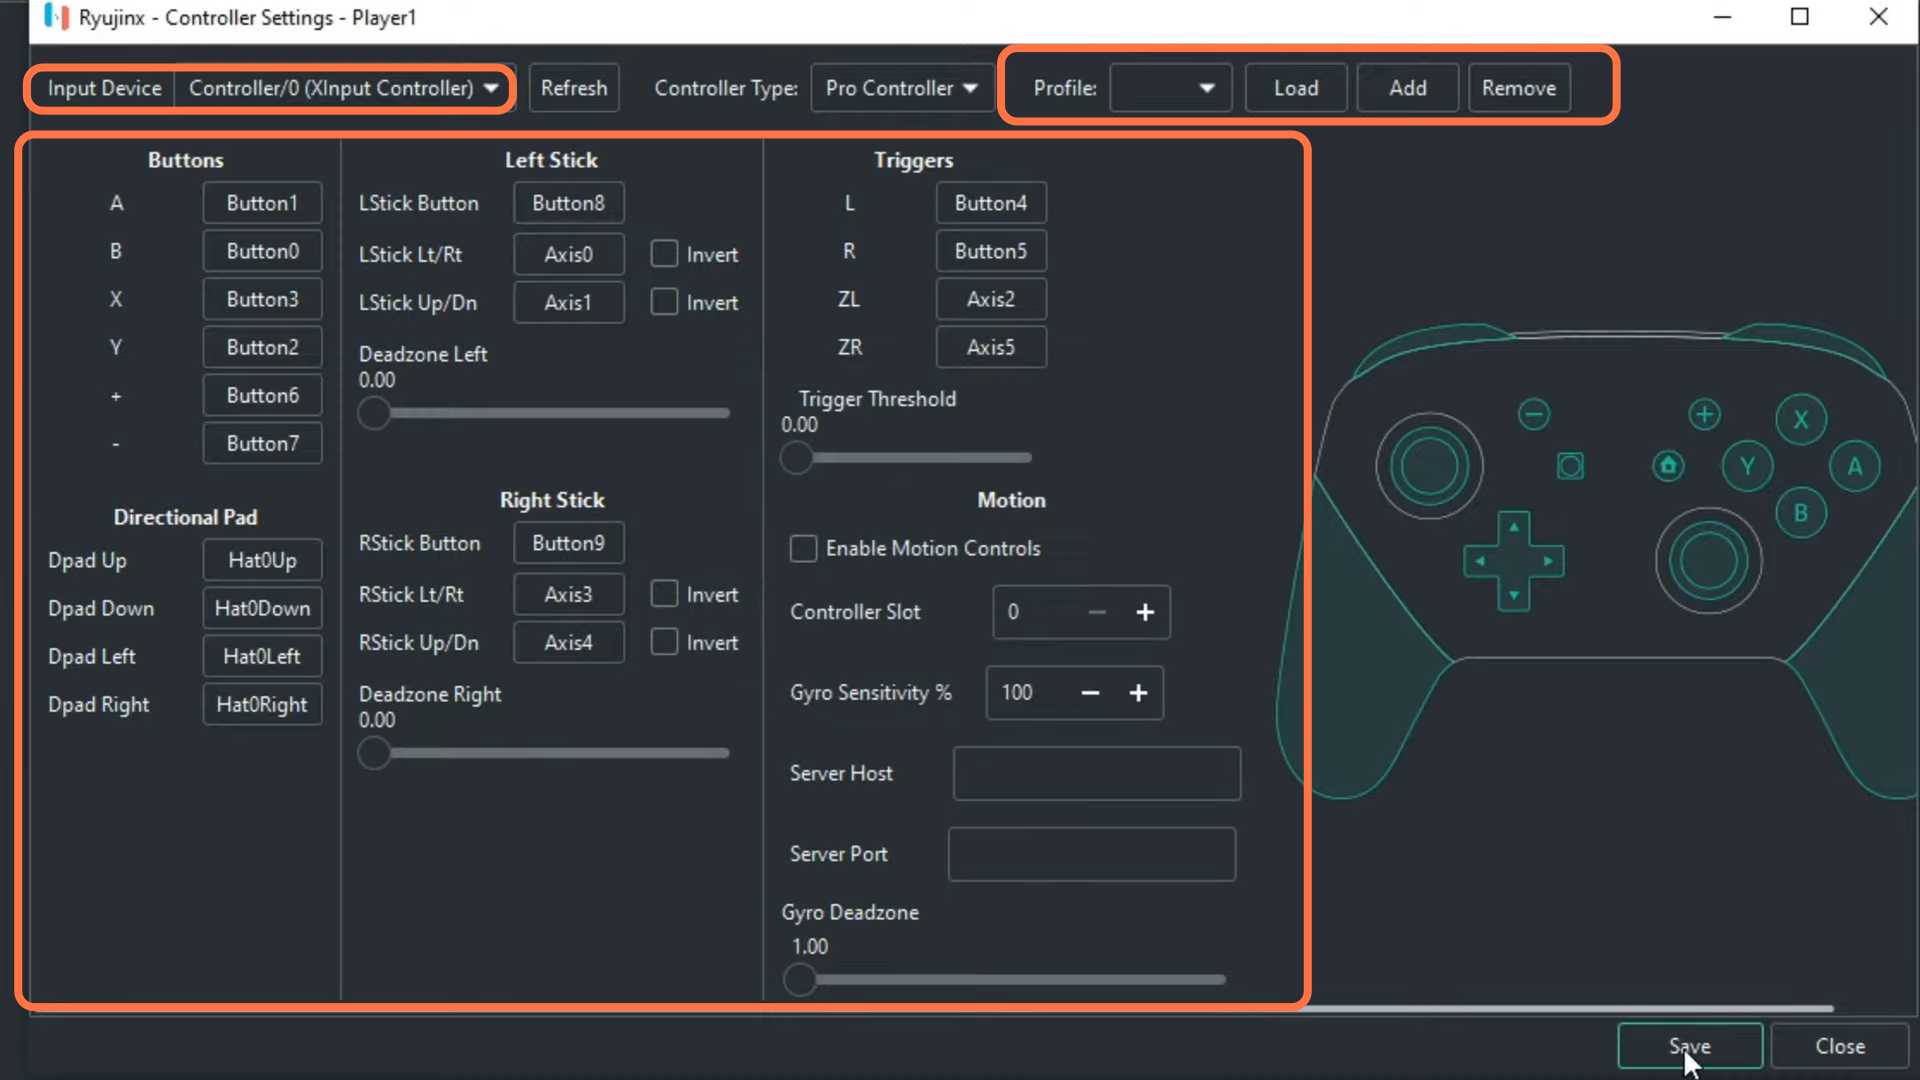
Now you have to set up your controls. For this, you need to click on Options, then tap on settings and navigate to Input. Make sure that you have enabled dark mode as it will improve your visuals. First, you have to click on configure player 1 and then select your controller from the input devices drop-down menu. Now to map out your buttons, you need to click on the button you want to map and then press the key on your controller/d-pad. After this, go to your profile, click on Add, and select the name for your controller profile. After that, press OK.
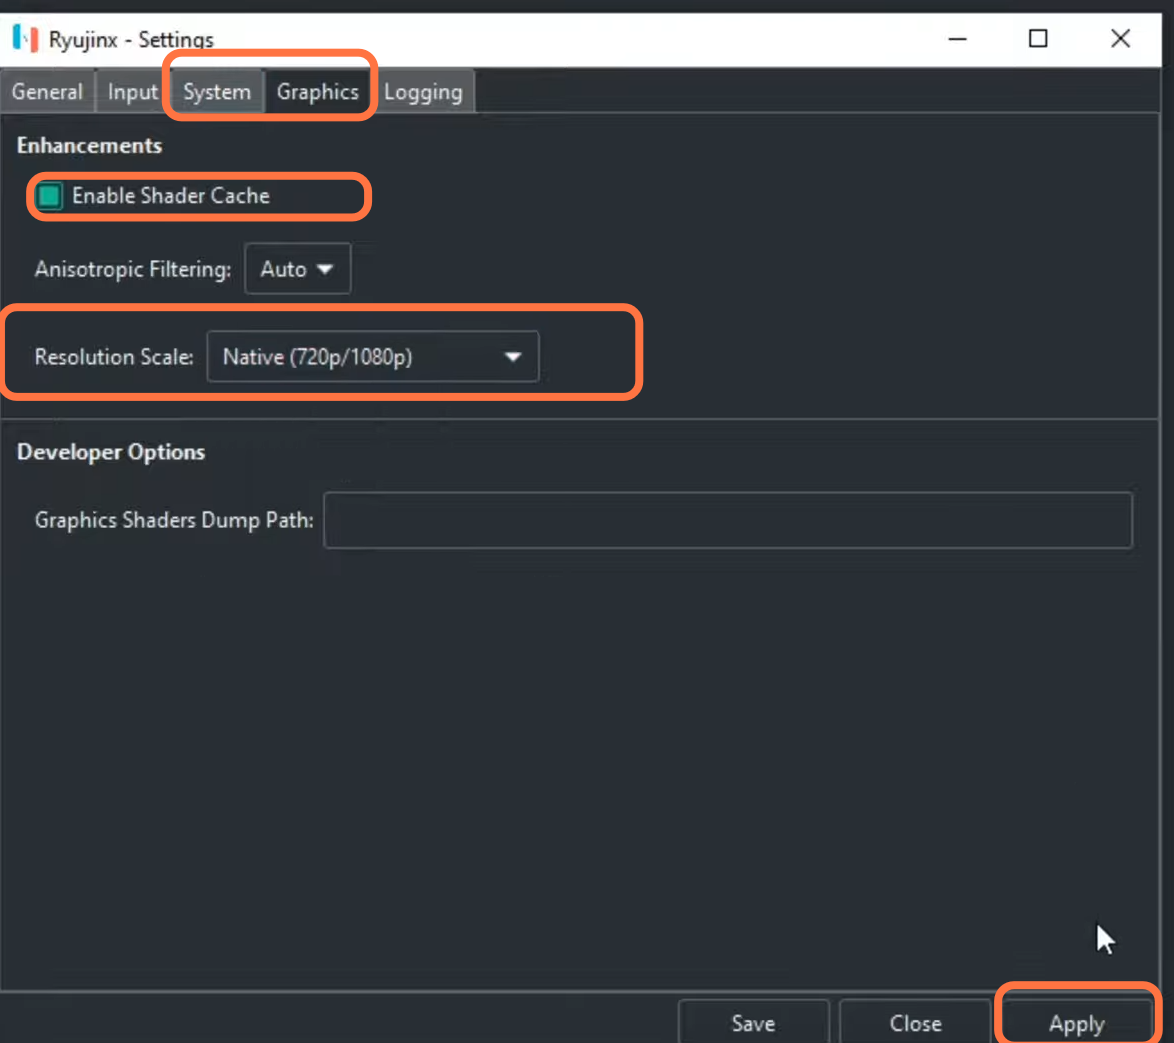
Now you need to click on system and make sure that V-Sync is enabled. After that, go to graphics and make sure that Enable Shader Cache is checked and the resolution scale is set to your monitor’s native resolution. After doing all this, click on Apply.