This guide explains to you the method about to “zoom in” in Minecraft 1.17.1. You will need to download the 1.16.4 release and then run the game.
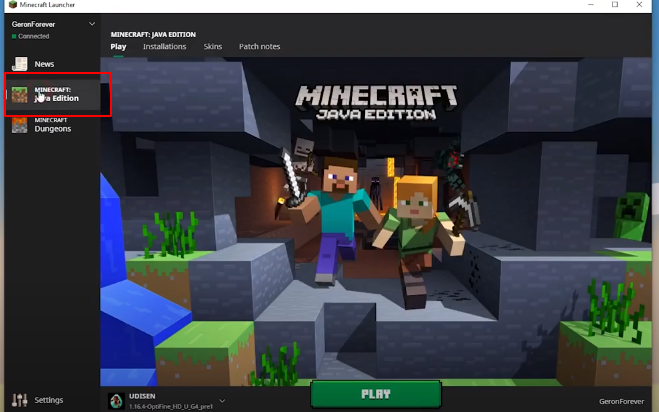
First of all, you have to launch the minecraft launcher and get logged in. After that, select the Java Edition.
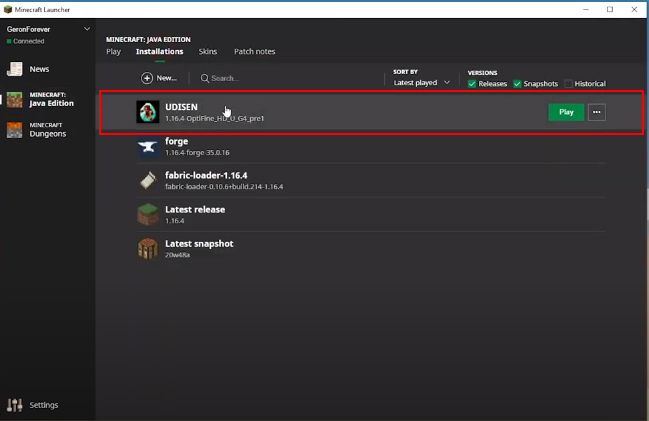
After that, head to the installation tab, find the Udisen Profile and Click on it.
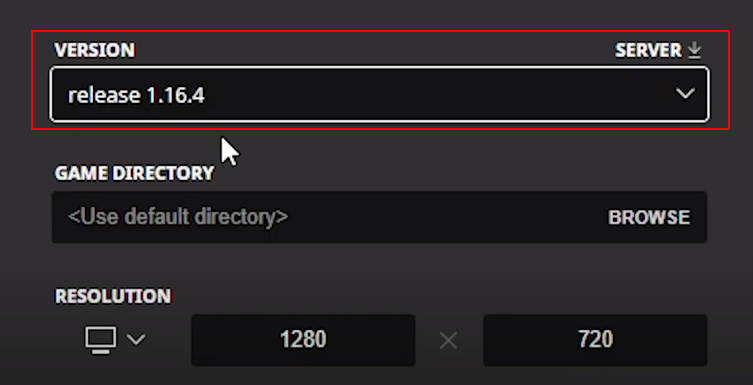
A settings window will be opened. In the versions option select release 1.16.4 and press the Save button.
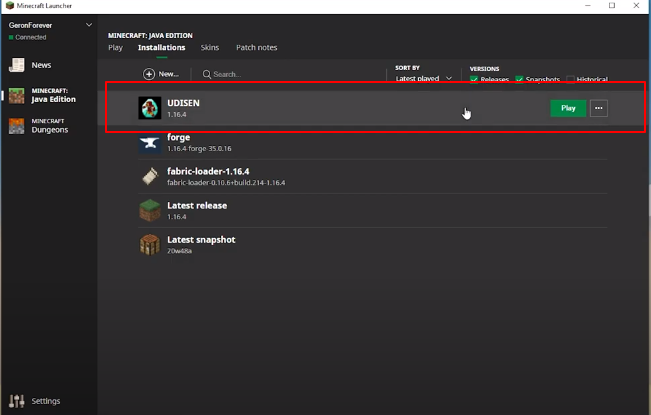
Now you will need to press the Play button just next to the Udisen Profile.
Now you will close the Minecraft and Minecraft launcher , Open the official Optifine website, go to the file in the last section and find the Minecraft 1.16.4 option. Then press the Mirror option.
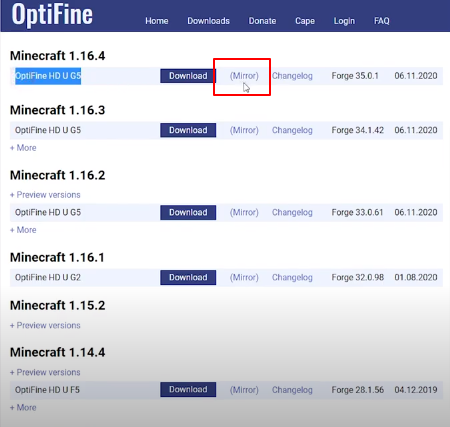
Now you will press the link as shown in the image below.
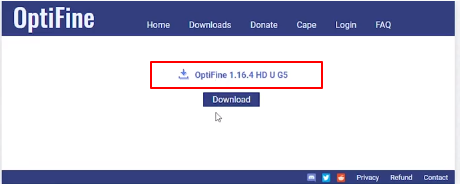
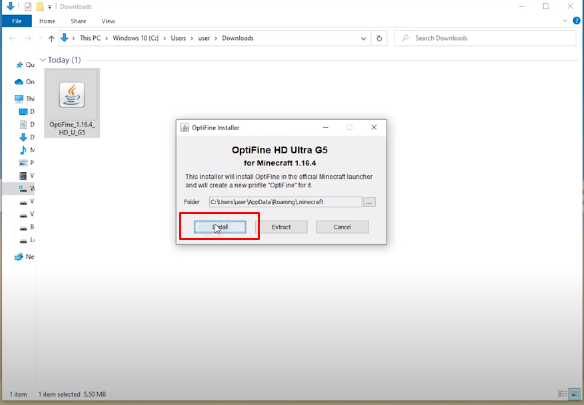
After that, you will get the .jar file in your downloads folder. Click on it and press the Install button.
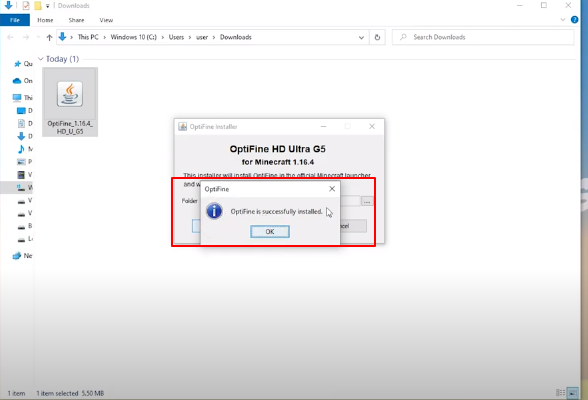
Once it gets installed then you will see this menu that Optifine is installed successfully.
Now you have to open your Minecraft Launcher again and in the Installation section, you will find a new profile named as Optifine and a Play button just next to it.
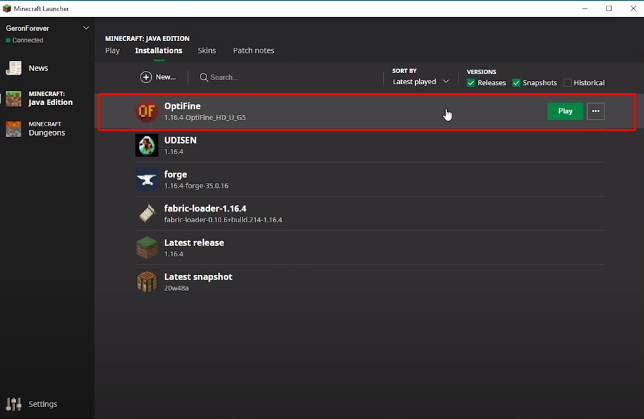
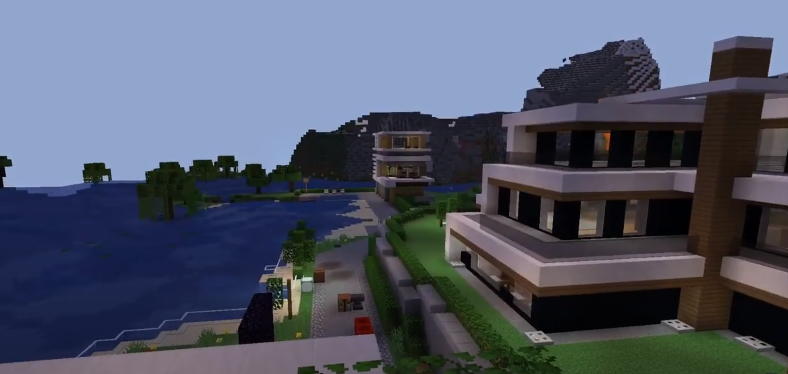
After clicking on Play, you will enter into the world which you want to use. In order to zoom something which is at a larger distance then press the C button. It will get zoomed in. Before pressing the C button the scene looked like this.
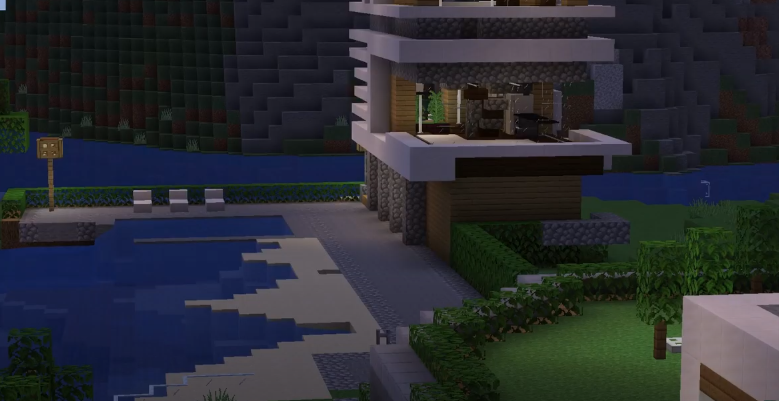
After pressing the C Button, you can see the result of the zoom feature.
It is quite possible that this button might not work for you as it is used for some other purposes as well. In this situation, you will press Escape->Options->Controls and find the C Button in the list.
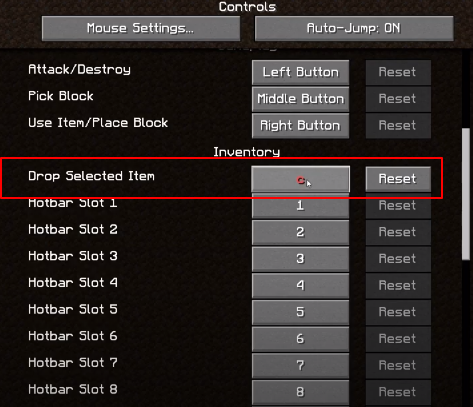
Press the left mouse button and choose another key from the keyboard for the action which is assigned to the C button.
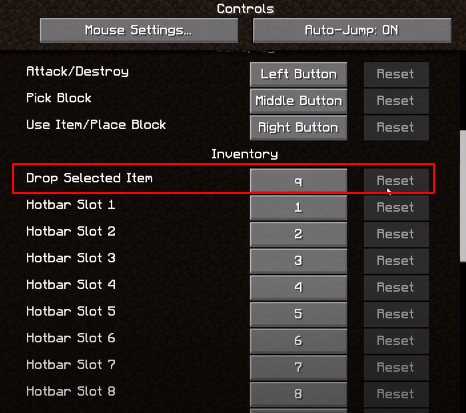
Now you will find the other C button in another mode like this.
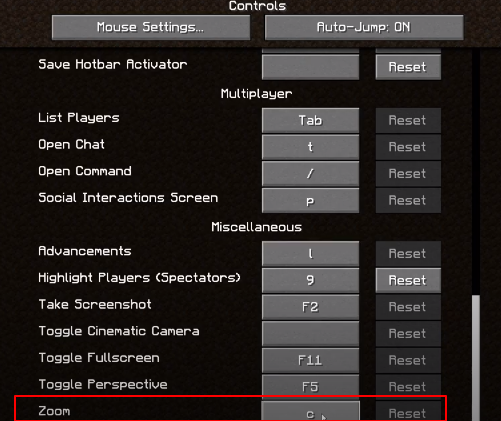
You can change this C button and can add another button which is not being used by any other functionality.
