This guide will learn the Janemba BnB combos and basics in Dragon Ball Fighter Season 3.5.
5L is a little short for Janemba’s size. 5LL might seem familiar to Bardock players, but it is not safe on the block

5LLL crosses up but is slow and can be interrupted or punished easily if not covered by an assist. 2L does NOT hit low but has excellent range and frame data. SM is also huge and safe, with good spacing. 2M has great range but is unsafe; you don’t need to end a block string on this.

SH is large too, but will always leave a gap on the block before using it. Also, all the buttons that use Janemba’s sword can deflect Ki Blast. Mostly, just a gimmick, though. 21 hits absurdly high up but has a pathetic horizontal range.

j2H launches horizontally and can’t be jump-canceled outside of sparking but is standard otherwise. iL easily hits people out of Super dash, and jM is your go-to cross up and jump-in button. jH forces a tech similar to Hit’s jH, so there is no way to combo off it.

It can be your main combo ender. j2M is an overhead that tracks anywhere on the screen and causes a sliding knockdown. 5S can be held to shoot up to 4 Ki Blasts that track anywhere on the screen.
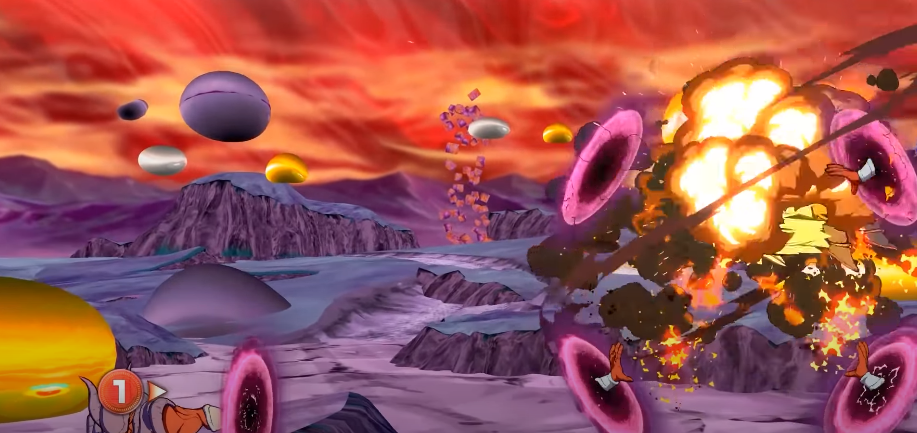
You can influence at which angle they appear by pressing 1 (down back), 3 (down forward), 6 (forward), or no direction. You can cancel 5S into 28 even on whiff.
These Ki Blasts are a great way to bait and punish Superdash, too, if you can Level 3.
Demonic Blade (236x, Air OK)

All versions are safe on block and deflect Ki Blasts, but this time it’s useful. The Light version hits slightly further than half screen and is mostly a block string ender. The Medium version has more range as Janemba takes a step forward. You can use 6S to nudge enemies into range or jS coupled with assists to convert it meterless. The Heavy version sits in between Light and Medium but can combo mid-screen.
Mystical Arm (214x)

A series of slow but far reaching command grabs. The Light version gives a sliding knockdown; it can only Super afterward. You can confirm the medium versions with Vanish or meterless in the corner.
Hell Gate (1214X)

It is mostly used for setups. It spawns a green orb without a hitbox that will bounce around the screen for a while before detonating. You can detonate the orb early by pressing the same button used to spawn it. You’ll only really use the Heavy version since it has more hits. You need to hold 8 (up) during startup to make it float higher.
Phantom Shift (236S or 214S, Air OK)

It will teleport Janemba a set distance into any direction held. You only get one teleport in the air, and it’s invincible after four frames.
Dimensional Hole (228, Air OK)
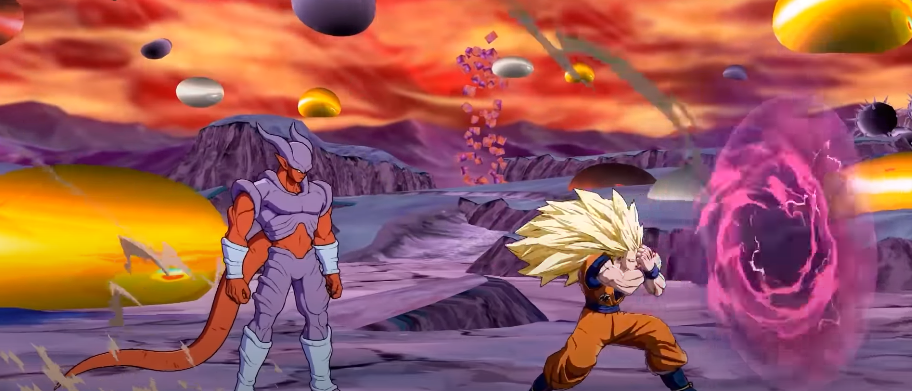
It counters all the projectiles and assists. On successful activation, it sends a projectile at the enemy, forcing them to block. It will also counter physical assists and become fully invincible when successful.
A Assist

4 Ki Blast that tracks anywhere on the screen. It is a great combo tool, but Ki Blast properties limit its use for blockstun.
B Assist

More standard assists with decent blockstun that will also reflect Ki Blasts.
C Assist

C Assist tracks on the ground and has lots of blockstun (50f), otherwise a classic C Assist.
Savage Skewer (236H+S)
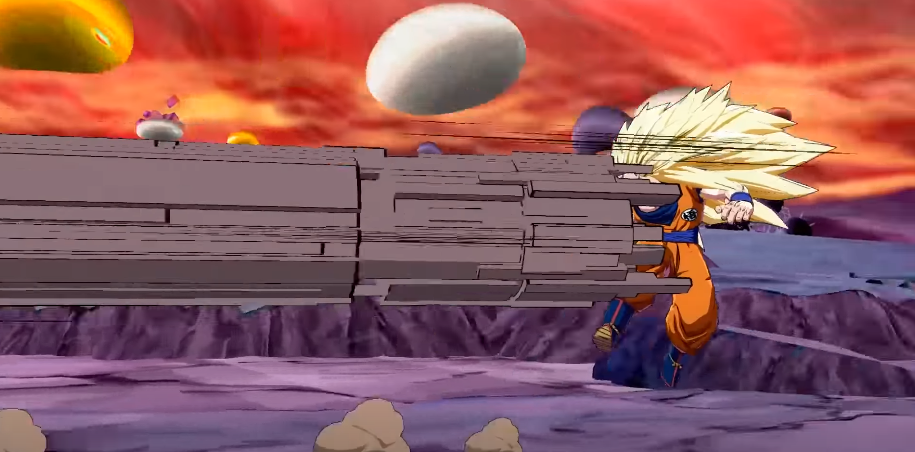
It will put the enemy in the corner, no matter your position.
Blockstrings
Basic Safe Gapless Blockstring

2L > SLL > 2M5M > 236L
Using 236M instead will frame the trap.
2L > SLL > 2M5M > 236M
Adding 55 and 5H will create additional frame traps.

2L > 5LL > 2M5M > 5S > 5H > 236LF
You can use the Ki Blasts more than once in your strings too.

2L> 5LL > 2M5M > 6S > 5H > 5S > 236L
2L is essential to stagger pressure.

2LL > SLL > 2M5M > 236M
Not only to catch mashing but also to create spacing for cross-ups. Depending on the distance, you might have to use iL and 1236H, though.

2L5LL > 2M5M > 96 (dl) İL> 1236H > …
In case you get reflected, Janemba has an anti-reflect string.

… > 5L5M5S(4) > 236M
Alternatively, you can use your grabs whenever you think they’ll reflect.

2L5LL > 2M5M > 5S > 214M
A simple but effective mixup is accessed with one assist and the teleport.

2L5LL > 2M5M > A1 > 236S[3 OR 6] >…
Off a blocked jump-in, you can get a similar mixup.

96 M > A1 > 236S[3 OR 6] > L/2M…
If you have an assist with lots of blockstun (40f or more), you can even 50/50 your opponent. The delay timing will determine the side.

2L5LL > 5M2M > A1 > 236S[9] > (dl) 66 jL > …
You can also get a solo 50/50 off a Level 3 in the corner immediately after they hit the floor buffer a teleport input to get it as soon as possible.
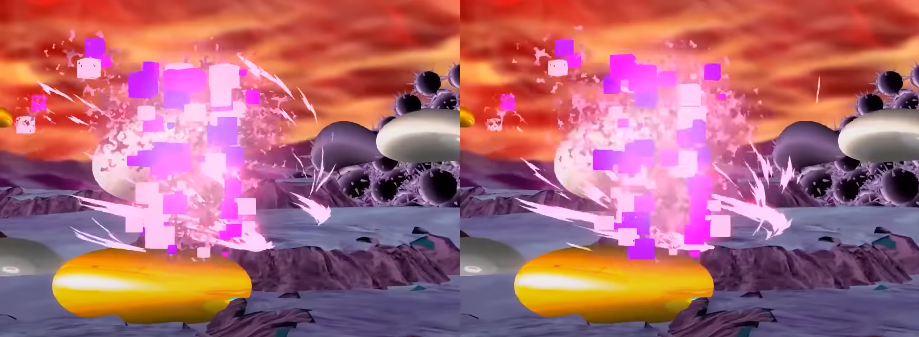
… > Level 3 > 236S[3 OR 6] > 5LL > …
And lastly, here’s a Hell Gate Two Touch Setup that results in a dead character if the Level 3 Mixup isn’t blocked.
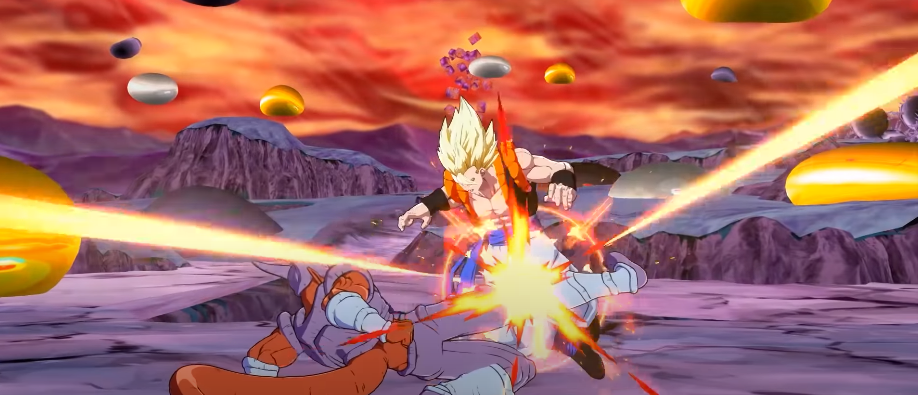
2M5M > j2H > j214H > 66 JULL> (H)>(Land) 66 5LLL > j214H > 66 JLL S(1) > J2M > Lvl3
From this knockdown, you can: Combo off of 6M solo.
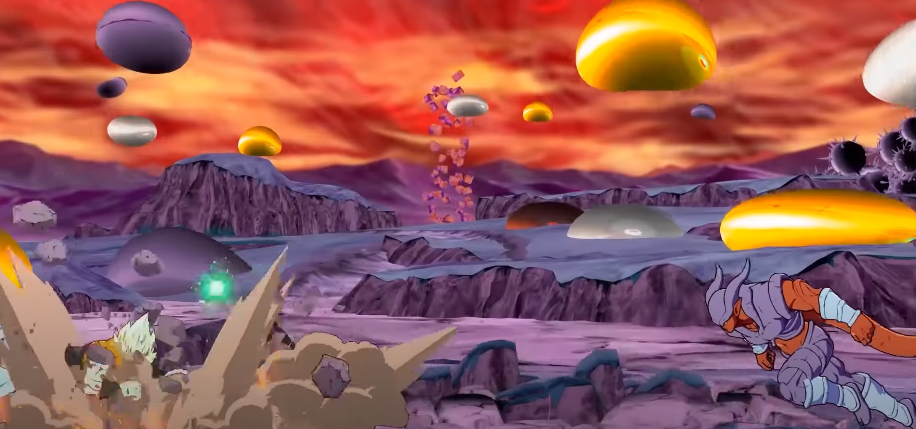
… > 66 2L5LL > 2M6M > (H) > 5LL > …
… get a left/right…

… > 66 2L5LL > 2M > (H) > 236S[3 OR 6] > 2M5M/5LL >
You need to go for grabs when they’re worrying about the orb.

… > 66 2L5L > DR
Midscreen BnB

4345 dmg/3657 scaled1.15 Bar
2M5M – jM2H – j236S[9] – jLLjcMLL2H – jS(4) – j2M
The Super dash works too but results in very less damage.
Vanish Extension

-600 dmg extra
… – Vanish – j236S[6] OR Superdash – jLL2H – jS(4) – j2M
You can use 2365[6] if you Superdashed before and vice versa. In long combos, you have to skip js(4).
5H Rejump

4410 dmg/3590 scaled I+1.25
… – Vanish – j236S[6] OR Superdash – jLL2H – jS(4) – j2M
The Bar works with 2M5M, too, doing LML(d)jcLL2H instead of the side switch.
Meterless Side Switch

3180 damages Past as possible No delays.
5LL – 5M – 5S(4)2S(4) – SD – jLM – (land) – jLLjcLL2H – SD – jLL2H – jS(4) – j2M
You will need to do it all as fast as possible.
EX Hellgate Route

5842 dmg/4385 scaled / -0.8 Bar
2M5M – jM2H – j214H – 66 jLLL – (H) – (land) 96 jM – (land) 5LL – 2M5M – 5H – 6S – SD – jLMjcLML2H – j2M
Scaled Route: jM – 5LL – 2M5M – jM2H – j214H – 66 jLLL – (H) – (land) 96 jM – (land) 5LL – 2M(dl)5M – jMLLjcMLL2H – j2M
The Scaled Route will be in the description. 96 Mis optional
EX Hellgate Route Corner
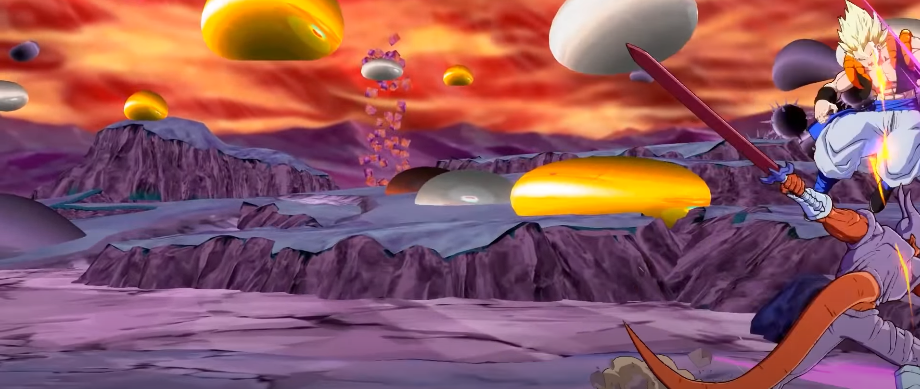
5647 dmg/4307 scaled/ +0.7 Bar
2M5M – j2H – j214H[8] – (H) jH – (land) 5LL – 2M5M – 5H – SD – jMLLjcMLL2H – jS(4) – j2M
(Skip jS(4) for scale.)
Corner BnB

4772 dmg/3742 scaled/+16 Bar
2M5M – 5S – 236M – 66 5LL – 2M5M – 5H – SD – jMLLjcMLL2H – jS(4) – j2M
(For scaled skip jS(4) )
Better Scaled Corner BnB
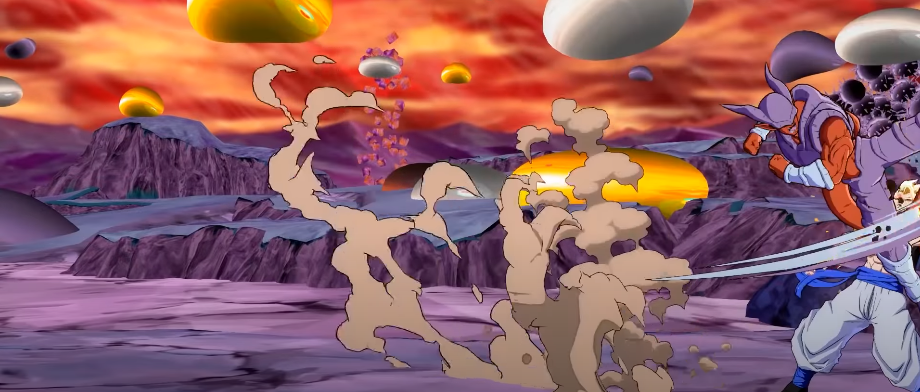
3840 scaled 205 Bar
96 jM – 5LL – 2M5M – 5S(4)2S(4) – j236M – 5LL – 2M5M – 5H – SD – jMLLjcMLL2H – j2M
Builds more bars and deals more damage, but off a 2M start use the previous one.
Corner BnB Advanced

5042 dmg/3895 scaled I-17 Bar
5M2M – 236M – 66 5LL – 2M5M – 5H – 5S – SD – jL(dl)M – (land) jLLjcMLL2H – jS(4) – j2M
(For scaled skip jS(4) )
Sparking Loops

4812 dmgl-3.9 Bar Incredible meter build and practical for anchor Janemba. You should learn this.
214M Confirm Corner
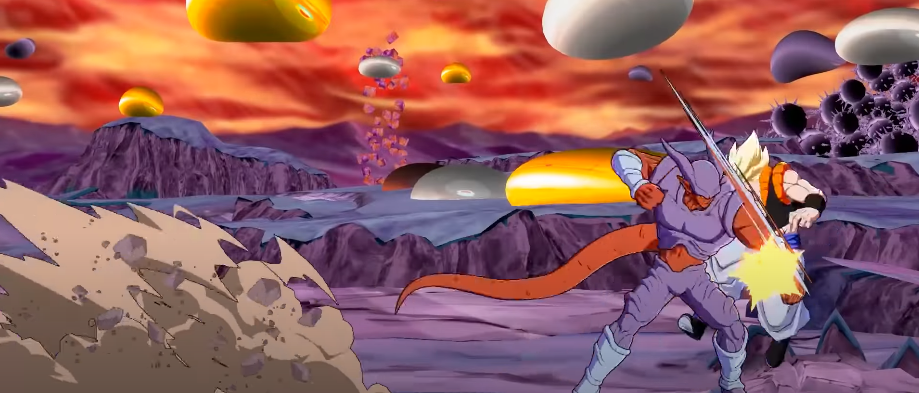
3490 dmg l-145 Bar
214M – 66 5LL – 2M5M – 5H – SD – jMLLjcMLL2H – jS(4) – j2M
(Can do the same rejump used in Advanced Corner BnB for 100 more damage.)
236H/214H Confirm Midscreen

Both confirms are the same, only damagevates
236H/214H – 66 5LL – 2M5M – jMLjcMLL2H – jS(4) – j2M
You can do Advanced Corner BnB rejump again here.
Vanish Confirm

3097 dmg
You can skip 2. for slightly less damage but it’s easier.
… – Vanish – 66 2L5LL – 2M5M – 5H – 6S – SD – jMLjcLML2H – jS(4) – j2M
(Skipping 2L is more consistent but does slightly less damage.)
2H Punish/DR Route
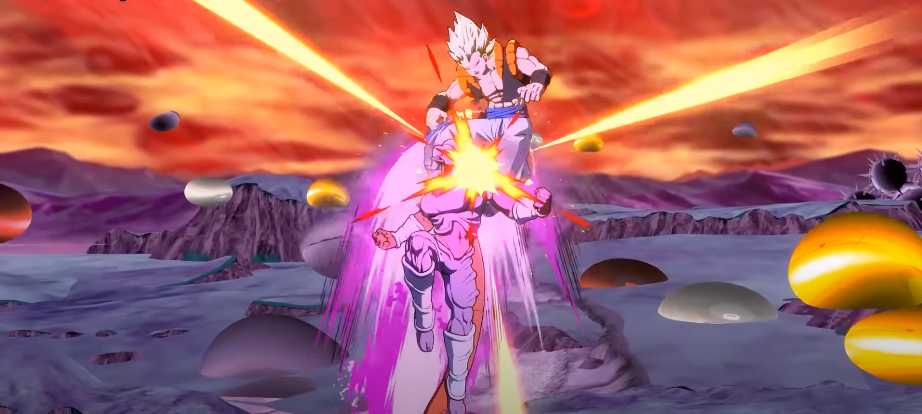
3790/3080 dmg l1/175 Bar
2H/DR – SD – jMLLjcMLL2H – jS(4) – j2M
Super dash Confirm
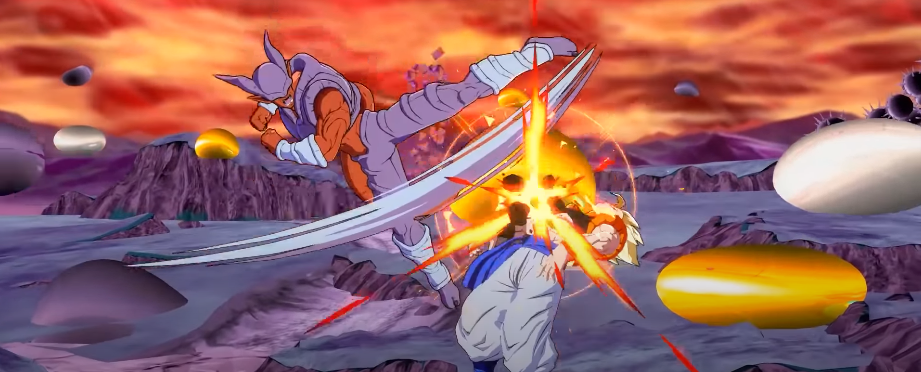
SD – jML2H – j236S[9] – jLLjcMLL2H – jS(4) – j2M
(Skip jcMLL if you don’t have a double jump.)
Skip MCL if you’ve already used your double jump. You can also use the j236H route from earlier here in a similar fashion.
Basic Assist Extension

4950 dmg l-1.5 Bar
Depending on the assist, you might not have to super jump.
2M5M – jMH – A1 – (land) sjMLL2H – j236S[9] – jLLjcMLL2H – jS(4) – j2M
Hell Gate Meterless Extension

5327 dmg l-1.6 Bar
2M5M – jMH – A1 – j214M – (M) – 66 5LL – 2M5M – jML2H – j236S[9] – jLLjcMLL2H – j2M
It is more specific but lots of easy damage.
Double Assist
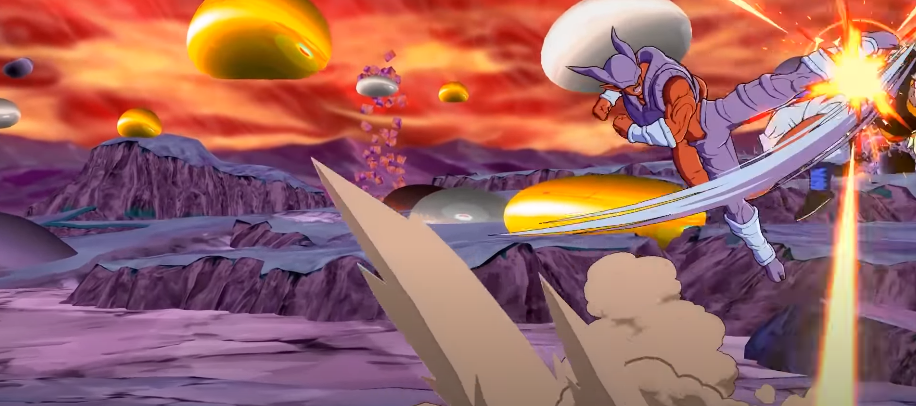
5646 dmg +175 Bar
2M5M – jMjcMH – A1 – (land) 2M5M jMjcMH – A2 – (land) 2M5M – jLLjcLL2H – SD – jLL2H – j2M
TOD’s
3 Bar 2H Midscreen TOD
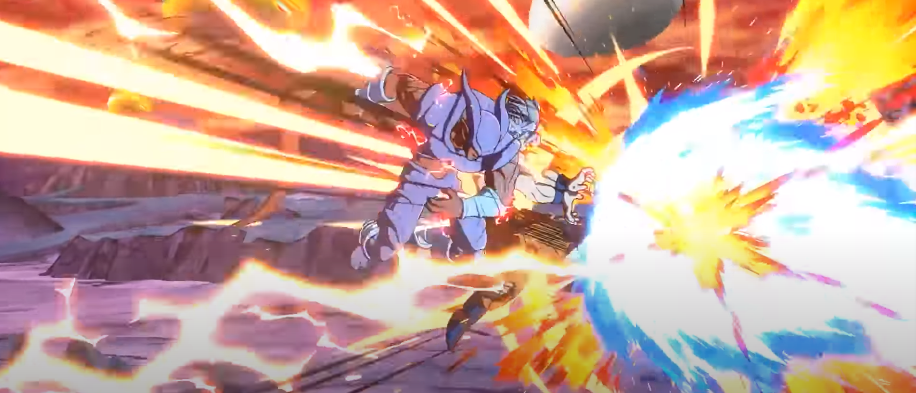
2H – Sparking – 5LL – 2M5M – jMH – (land) 5LL – 2M5M – jMH – A2 – (land) 669 jLL2HjcLL2H – j2M – Vanish – DR – Lvl1 Lvl1 Lvl3
1.1 Bar 2H Corner TOD

2H – Sparking – (whiff 5L)L – 2M5H – j2HS(1) – 66 jM – (land) 5LL – 2M5H – jMLL2HjcMLH – A1 – j2H – A2 – j214M – (M) – DR – Lvl1 Lvl 1 Lvl