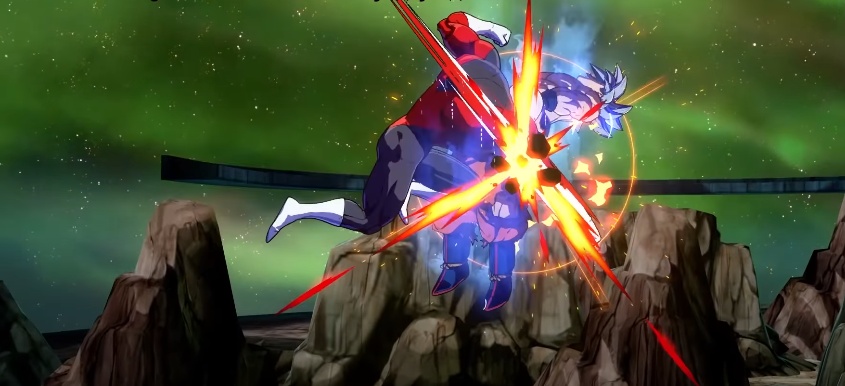
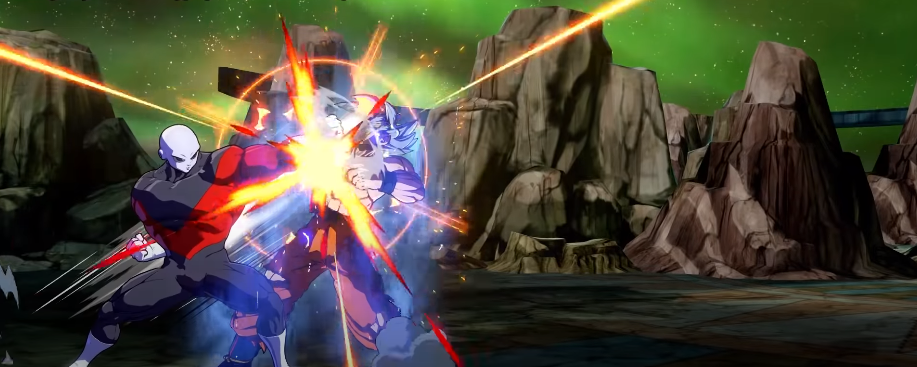
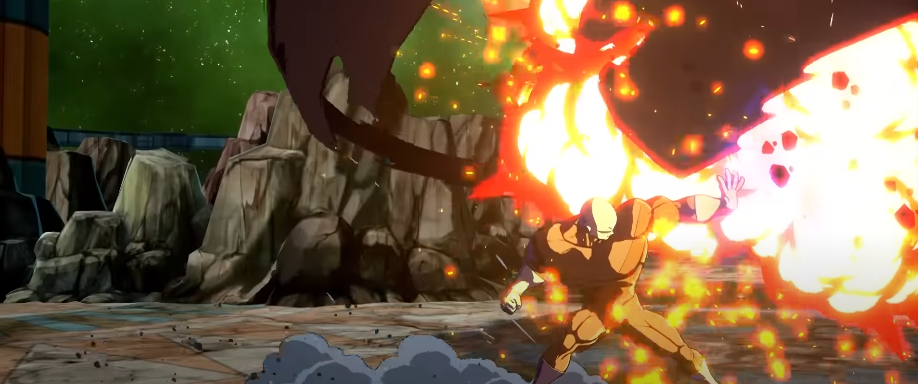
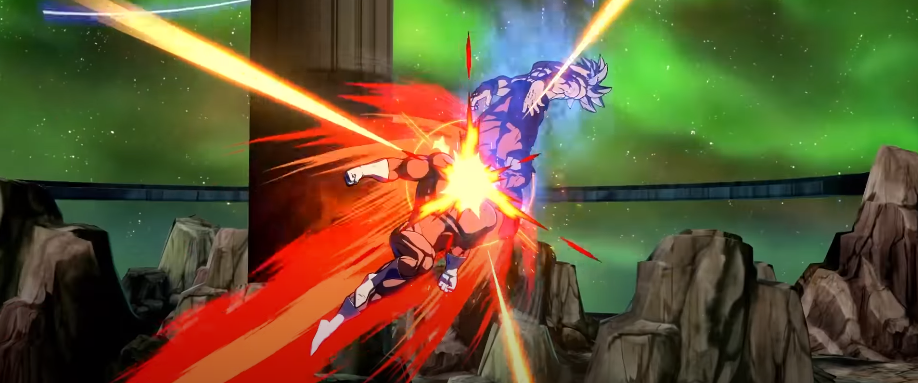
This guide will provide you with Jiren BnB combos and basics in Dragon Ball Fighter season 3.5.
Jiren’s 5L is pretty large and has a good stagger (-3); it pairs well with his 2L. His 2L doesn’t hit low, but it has amazing range and is -2 on the block. Unlike most characters, Jiren can use his 2L after 5LL. It can also be jump canceled and is a medium starter. Yes, you can TOD off of it.
SLL has a decent range but is unsafe. 5LLL shoots a Ki Blast, so you can super dash it. Nothing fancy. At least it looks cool, safe on block.

SM’s range is good, but is barely unsafe. Characters with a 7 frame 5L cannot punish it.
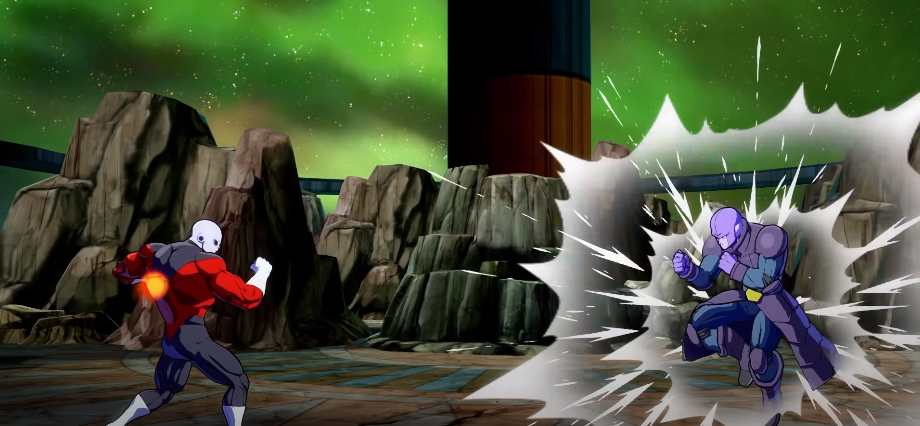
Jiren’s 5H is a grab; he does not have a regular 5H. It is very reactable and should be used sparingly. You will need to spend resources to combo off of it midscreen, but you can confirm meterless in the corner.

Apart from switching sides, his 2H is pretty average. 5S is a beam property projectile, beats Superdash and jails into Vanish. You can be make it safe with 236L on block.
It also reflects basic Ki Blasts, and since it’s normal, you can Vanish out at any time. Not safe on block if too close. 2S is a 2H on steroids. Better head-invuln, doesn’t side switch, better range, and it reflects Ki Blasts. Still unsafe on block.
You’ve probably seen this happen before. 2H’s air-invuln is active, but the actual attack isn’t, so the enemy slides past. iS shoots a regular Ki Blast straight across the screen. Great for combos and allows for easy tags-outs. j2H is a dive kick that can be held. It gives sliding knockdown and must be blocked high and held to knockdown on a grounded enemy.
iL is quite big, and jH is standard, but iM hits twice, and its hitbox extends downwards. It gives him super fast overhead airdashes at the cost of a poor cross-up game.
Infinity Rush (236X, Air OK)

It reminds of a certain Italian man; all versions are safe on block. The light version has short-range and is mainly a blockstring ender. Medium has significantly more range and is mostly seen in combos. Heavy has even more range and can combo anywhere on the screen, making it useful for Superdash confirms. pemily Rush (236x, Ar Ok.. cuma.
Shock Tornado (214X)

Physical counters that deal a lot of damage and build 0.75 bar. It doesn’t work against Supers. It won’t counter projectiles or assists, but it is invincible to them and still builds half a bar.
The light version counters any physical hit. You can use it to punish enemies trying to take their turns.
Medium only counters low attacks. Unlike the other two versions, it’s not immune to projectiles. The advantage is that it recovers a lot faster than the other versions, allowing you to do some niche combos.

The Heavy version is an enhanced Light counter. It is active instantly instead of frame 4, but all damage will be recoverable. The advantage is that it recovers a lot faster than the other versions, allowing you to do some niche combos. You can either immediately go for a Super or Vanish after any counter, depending on the situation.
Grand Charge (236S)

The Half screen lariat that has non-super projectile immunity. It always leaves a gap on the block and is a medium starter meaning this is a frame trap that can TOD on hit. The Half screen lariat that has non super projectile immunity. It always leaves a gap on block and is a medium starter meaning this is a frame trap that can TOD on hit. And you can still fit a counter at the end since it’s-2 on the block.
Counter Impact (214S)

Another counter. It can be held to extend active time and will teleport to the enemy on activation. Activation builds half a bar, and the attack builds another 0.25 for a total of 0.75 bar. The issue is that the teleport can be interrupted by just Vanishing. Jiren can always Vanish the Vanish, though. Many characters can also beat the follow-up for free; it doesn’t even have to have invincibility as long as they react in time.
A Assist
236M on demand. Huge range, plenty of blockstun (43f), and causes a wall bounce, making it great for combos and block strings alike.
B Assist
A fast lariat-type assist that keeps the projectile immunity of 236S. Decent blockstun at 29f. Easy to combo with.
C Assist
Beam-like C-Assist is also projectile invincible but has less blockstun than the other two assists (25f).
Colossal Slash (236L+M/R1, Air OK)

His regular Super that will work anywhere and anytime, solid Super overall.
Colossal Uppercut (236H+S/R2)

Short ranged and only grounded, but has slightly better-scaled damage and has Spirit Bomb synergy anywhere on the screen.
Blazing Magnetron (214L+M/R1)
Level 3 hitbox is all of the red VFX, including a little bit of area behind Jiren. It has good minimum damage and gives a safe jump.
Basic Safe Gapless Blockstrings

2L5LL > 2M5M > 2H > 236L
Staggers

A major part of Jirens pressure is centered around his 2L. Being a Medium starter, you do not want to get hit by this, or Jiren will delete your health bar.
5LL2L > 2M5M > 2H > 236L
The enemy has to be actively mashing Light or reflect to get out of the staggers. Reflect has to be baited, but Jiren has lots of frame traps to deal with mashing.
5L2L > 5LL2L > 5LL2L > …
You can also use 5M to reset the blockstring after conditioning the enemy not to mash first using frame traps and counters but it is pretty risky.
2L5LL > 2M5M > 214L
Frametraps

The easiest way to frame trap is to delay the next button in your blockstring.
5LL2L > (dl) 2M5M > …
Alternatively, 236S is always a frame trap. Confirm with an assist, Vanish or Spark. Any Medium after 5L will also leave a gap, acting as more frame traps.

5L2L > 236S > A1 > 669 jLL(2)S > SD > …
But as always, frame traps carry the risk of being reflected or reversals.
2L5L > 5M > 236S
Counters
At any time, Jiren can still use his counters. Particularly after 236L and 236S he can use 214H and 214L respectively to punish the enemy for trying to take their turn.
2L5LL > 2M5M > 2H > 236L > 214H
The only time you HAVE to use 214H is after 236X, and against safe jumps because frame four counters aren’t fast enough; otherwise, you can save the bar and use 214L.
Once they are scared enough, you can start trying to steal turns by resetting the entire blockstring.
2L5LL > 2M5M > 2H > 2365 > 5LL > 2M5M > 2H > 236L > 214H
Some characters don’t even have the Lights to mash after 24, forcing them to use slower buttons.
214M is used when people need to use their lows to reach Jiren. It’s great for baiting buttons due to its fast recovery too.
5L2M > (dl) 214M
5H Grab

5H is slow and easy to see, so just using it mid blockstring will rarely work. Instead, use
it when people would usually reflect, like after assists or Vanish.
2L5L > 5H
High/Low Mix

Jiren doesn’t have a particularly strong mix. After assists you can 2M or IAD ¡M and sometimes 5H.
2L5LL > 2M5M > 2H > 236L > A1 > 2M5M > ..
If you go for iM, though, Jiren gets a gapless 50/50 between 12H and 2M. Both options hit on the same frame and are unreachable, making it a pure guess.

96 jM(2) > j2H
The issue is that unlike 2M the uncharged j2H cannot combo at all, so it’s only really good for low health enemies or to chip away –800 HP.
2L5LL > 2M5M > 2H > 236L > A1 > 96 M(2) > j2H
Left/Right Mix
Similar to Vegito, Jiren can move left/right using either cross-up iM or same side j2S.
5L2L> 7 6+SD > (dl) M(2) > 2L5LL > …
Make sure to jump BACK and airdash. Use the airdash macro to dash fast enough.
Miscellaneous Tips

When cornered, you can frame trap with 5S. If the enemy has a 6f jab and is mashing, you will trade hits, but Jiren can still combo. 7f jabs won’t trade, so go for 236M.
5LL2L > 5S > 5LL > …
Okizeme

Jiren’s Oki is pretty basic. After a j2H knockdown in the corner, you can hold up and delay a jH to cover all recovery options and safe jump reversals.
… > j2H [8] (d) JH > 2L5LL >…
After a cornered Level 1, time an airdash jH to cover all tech options and safe jump again.
> 236L+M > 96 jH>
And lastly, another safe jump off his Level 3. This one works anywhere on the screen.
> 214L+M > 96 jH > …
Midscreen BnB

4340 dmg/3795 scaled | 1.3 Bar Requires SLL to get the right height.
2L5LL – 2M5M – sjM(2)LLjcM(2)LLS – SD – jLL(2)2H
(Requires 5LL to get the right height. In the corner, you can add a j2S – [j2H] after jLL(2), but at high hitstun decay, don’t hold j2H.)
3770 dmg11.1 Bar Off a 2M starter or against small bodies do 2M5MjM(2)LcM(2)LS. Instead
Midscreen Tag
-4700 dmg / -4000 scaled | <1.5 Bar You can tag your other characters in anytime you use Sor j2S as long as you’re not hugging the corner. Damage varies on the assi
Near Corner Ender

4733 dmg/4019 scaled | +175 Bar DR stops connecting pretty early. For scaled either end in SDM(2)Sj236MDR or do jLL(2) > j236M j$1236MLvllif you’re going to Super anyways.
2M Starter/Small Bodies Version
2M5M – jM(2)LjcM(2)LS – SD – jLL(2)2H
Midscreen Tag
2L5LL – 2M5M2S – SD – jM(2)LS – Z-Change – …
Near Corner Ender
2L5LL – 2M5M – sjM(2)LLjcM(2)LLS – SD – jLL(2)S – j236M – DR
(For the scaled end in SD – jM(2)S – j236M – DR or skip jS before j236M. If you plan to Super, do jLL(2)S – j236M – jS – j236M – Lvl1 instead.)
Corner BnB 1

2L5LL – 2M5S – 236M – 2M5S5H – 2S – SD – jM(2)LjcLL(2)2S – j2H
Corner BnB 2

5125 dmg / 4274 scaled -1.8 Bari Very slightly less damage but more meter
2L5LL – 2M5S – 236M – 2M5M – jM(2)jc7M(1)2S – jLL(2)S – SD – jLL(2)2S – j2H
(More meter for slightly less damage.)
Corner BnB Advanced

5290 dmg/4374 scaled 1.95 Bar
2L5LL – 2M5S – 236M – (dl) 2L5LL – sjM(2)LLjc7M(1)2S – jLL(2)S – SD – jLL(2)2S – j2H
Corner BnB Optimal

5548 dmg +1.85 Bar
2L5M2M – 5S – 236M – 2M5S5H – SD – 66 jM(1) – (land) 2L – jM(2)jcM(2)S – SD – jLL(2)2S – j2H
Out of Corner Side Switch

5080 dmg/4295 scaled +1.55 Bar For scaled route, don’t hold j2H.
2L5M2M – 5S2H – 214M – jLL(2)S – SD – jM(2)jc7M(1)2S – jLL(2)2S – [j2H]
(For scaled don’t hold j2H)
236H Route

5178 dmg/4251 scaled For scaled do …” SDjM(2) M(2)2H.
2L5M2M – 5S – 236H – 66 6M – 2L – jM(2)S – SD – jM(2)LjcLL(2)2H
(For scaled do SD – jM(2)jcM(2)2H.)
j236H Route

5214 dmg/4266 scaled 60.6 Bar
2L5LL – 2M5M – jM(2)jcM(2)2S – SD – jM(2) – j236H – (land) 66 2L(dl)5M2S – SD – jM(2)jcLL(2)2S – j2H
5H Corner Confirm

3180 dmg l-1.2 Bar
5H – 5S2S – SD – jM(2)jc7M(1)2S – jLL(2)2S – [j2H]
214S Confirm Corner
214S – 5L – jLL(2)S – SD – jM(2)jc7M(1)2S – jLL(2)2S – [j2H]
2H & 2S Confirm/DR Route
3110/2725 dmgl.07/1.4 Bar All routes are the same.
2H/2S/DR – SD – jM(2)LjcLL(2)2H
SD Confirm

SD – jM(2)LjcLL(2)2H
SD Confirm with 236H

3293 dmg
SD – jM(2) – j236H – (land) 2M5M – sjLL(2)jcM(2)LLS – SD – jLL(2)2H
SD Confirm Tag
-2400 dmg1+1 Bar
SD – jM(2)LjcLL(2)S – Z-Change – …
Vanish Confirm
2595 dmg Dash slightly further and don’t whiff the first 5L to switch sides
… – Vanish – 66 (whiff 5L)LL OR 5LLL – SD – jM(2)LjcLL(2)2H
(Can side switch depending on dash length.)
Optimal Vanish Confirm

2955 dmg
… – Vanish – 66 (whiff 5L)L – 96 jM(2) – (land) 2L – sjM(2)LLjcM(2)LL2H
Sparking Loops

5183 dmg +1.95 Bar Can also end in empty Vanish j2H. Whiffed jL isn’t necessary but helps with timing
236S – Sparking – 66 2M5M – {jM(1)2S – 66 (whiff jL) 5L}x3 – (5L)LL – Vanish – DR
(Can also end in empty Vanish j2H.)
Assist Extension 1

5117 dmg l-1.95 Bar Works with many assists
2L5LL – 2M5M – jM(2)LjcLL(2)2S – SD – jLL(2)L – A1 – (land) 2S – SD – jM(2)LjcLL(2)L
Assist Extension 2
5585 dmg l-1.9 Bar Works with basically any assist
2L5LL – 2M5S – 236M – 2M5S – 236S – A1 – jLL(2)jc7M(1)2S – jLL(2)S – SD – jLL(2)2S – j2H
Assist Extension 3
3060 dmg I +135 Bar. Works with any beam or beam-like assists, like 21A or Kefla A and any C-Assist
5H – 5S – A1 – 66 2L – jM(2)LjcLL(2)S – SD – jLL(2)2H
Assist Extension 4

6695 dmg l-1.25 Bar Works with any C-Assist.
2M5M – jM(1)jc7M(1)2S – jLS – j236M – (land) 2M5M – sj4LLM(2)jc7M(1)2S – jLL(2)S – SD – jLL(2)L – A1 – 44 5H5S – 236H+S
2.5 Bar 2L Starter TOD

Beerus B/Base Goku A. Spirit Bomb isn’t required, you can do it with Blue Gogeta)
2L5M2M – 5S – 236S – Sparking – 2M5S – 236M – 2M5S – 236M – A1 – 2M5S – 236M – A2 – 5S – 236M – 236H+S/R2 – Lvl 1 – Lvl3.
0 Bar 236S Starter TOD (SSJ4 Gogeta B/Z Broly A)

236S – Sparking – 2M5S – A1 – 236S – 5S – jLL(2)L – A2 – jM(2)S – jLM(1)S – j236M – jSjcLL(1)L – A1 – 5S – 236M – Vanish – DR – 236L+M/R1 – Lvl1 – Lvl1.