Minecraft Has Not Started Because Of An Unknown Error – TLauncher

This guide will let you know how to fix “Minecraft Has Not Started Because Of An Unknown Error”. You have to follow step-by-step instructions to fix it.

1. Open file explorer, click on ‘This PC’ and go into (C:Drive) to choose program files and then further find & open java folder

Open file explorer, click on ‘This PC’ and go into (C:Drive) to choose program files and then further find & open java folder

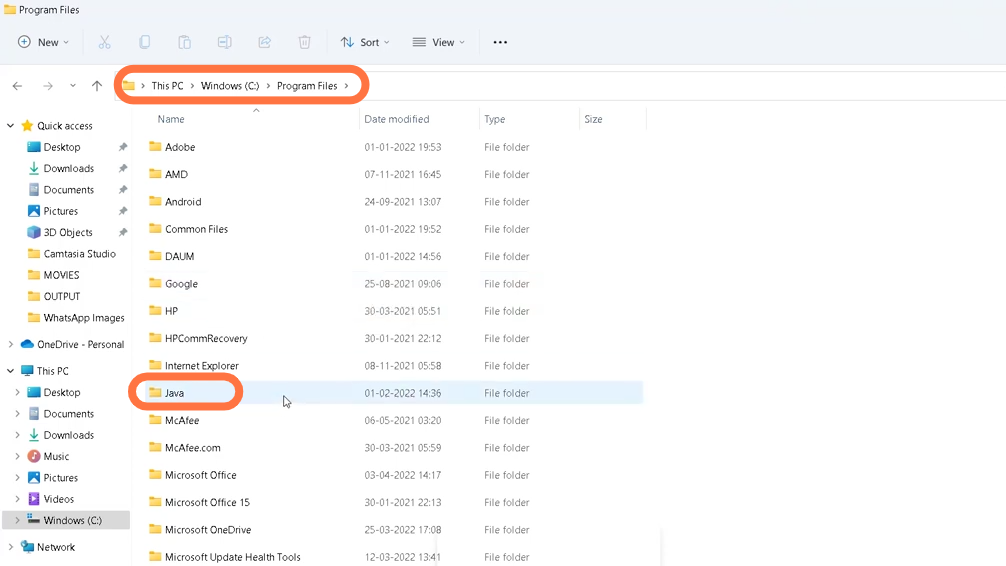
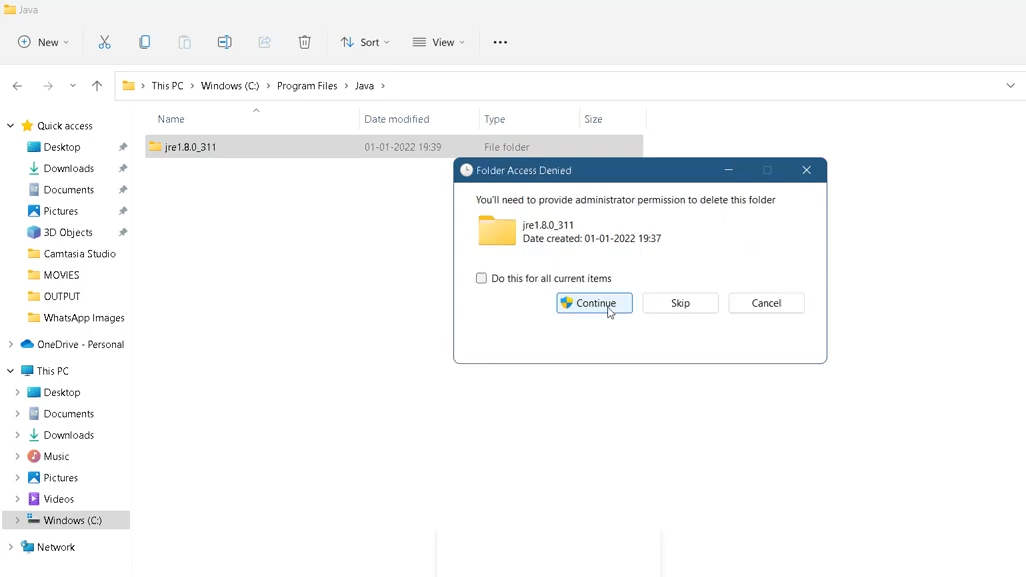
2. Now select the jre1.8.0_311 folder inside this java folder to delete it

Now select jre1.8.0_311 folder inside this java folder to delete it

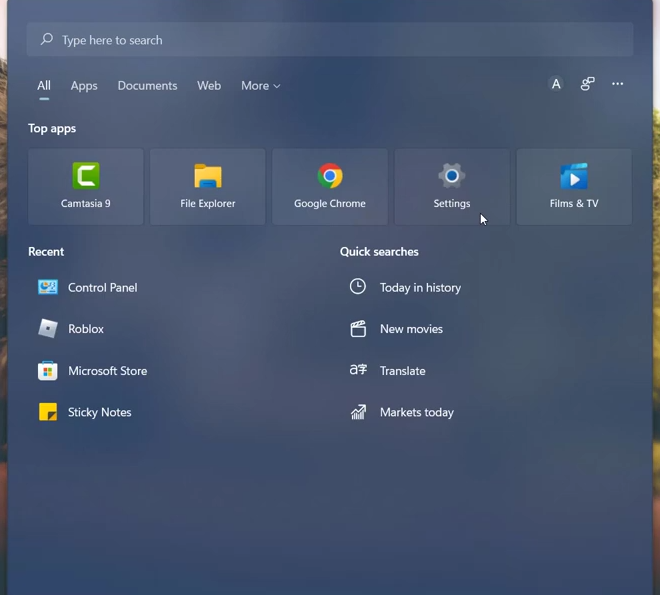
3. Now open settings

Now open settings

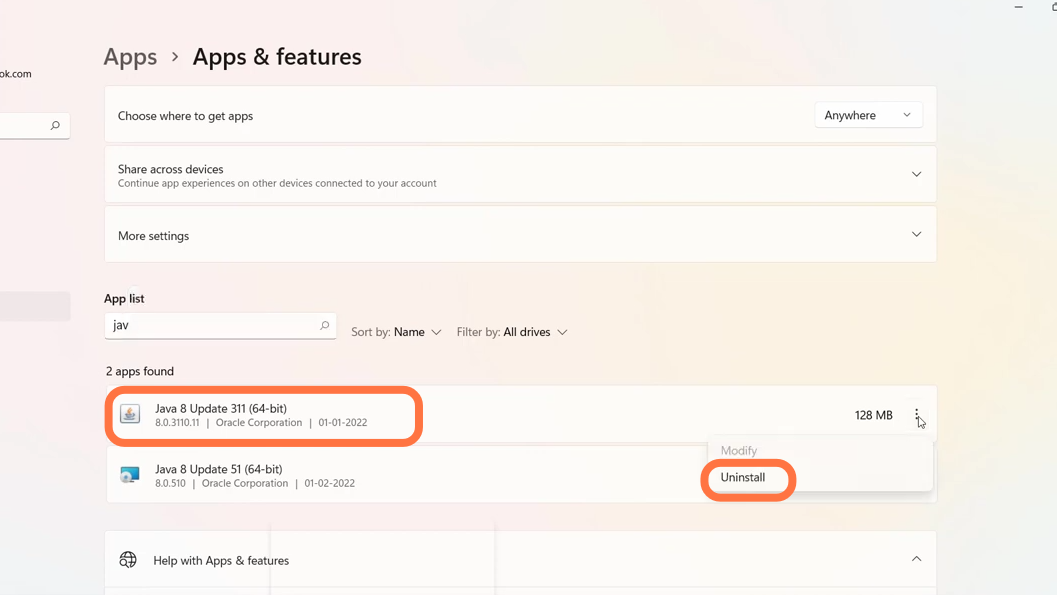
4. Enter into apps and then choose apps and features and search ‘Java 8 update 311 (64-bit)’ to uninstall it

Enter into apps and then choose apps and features and search ‘Java 8 update 311 (64-bit)’ to uninstall it

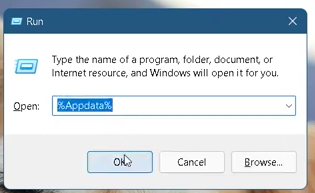
5. Now press Windows + R keys to open the Run dialog box and enter %Appdata% in the input field and press ok

Now press windows + R keys to open Run dialog box and enter %Appdata% in the input field and press ok

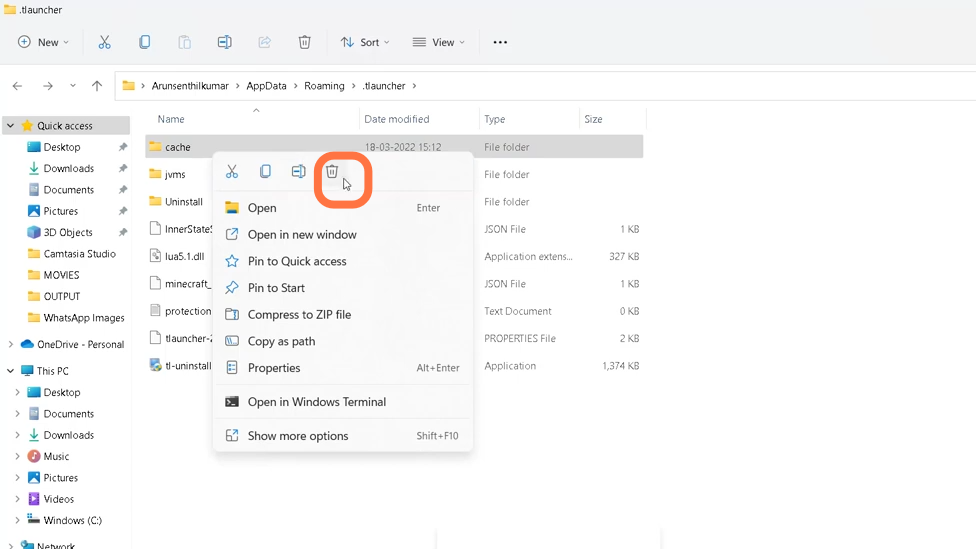
6. Once this folder opens enter into .tlauncher

Once this folder opens enter into .tlauncher

7. Find the Cache folder inside .tlauncher and right click on it to delete it

Find the Cache folder inside .tlauncher and right click on it to delete it

8. Now it’s time to restart your PC. After that open google chrome and download java for Minecraft

Now it's time to restart your PC. After that open google chrome and download java for minecraft

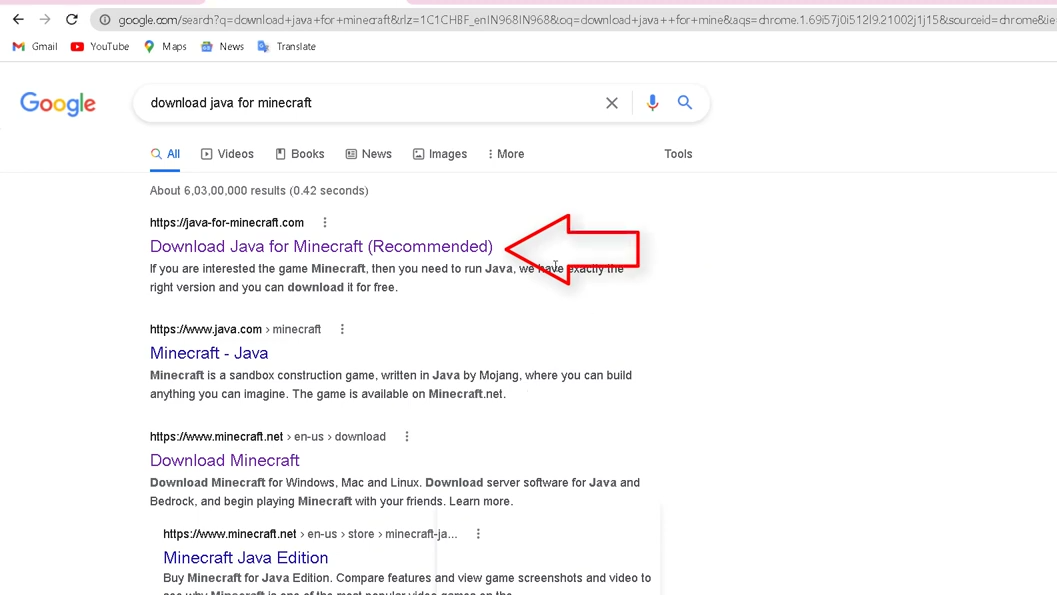
9. Choose the java version which is compatible with your operating system.

Choose the java version which is compatible to your operating system

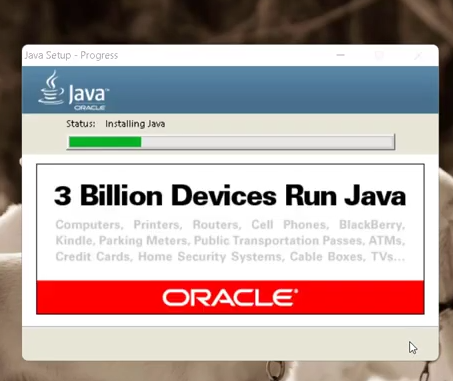
10. Once downloaded, Open java for windows (x64) and install it.

Once downloaded, Open java for windows (x64) and install it

11. Now after installing the java Exe file, open Tlauncher and enter into settings at the bottom right of the screen, click on the change tab, and then on browse.

Now after installing the java exe file, open Tlauncher and enter into settings at the bottom right of the screen, click on change tab and then on browse

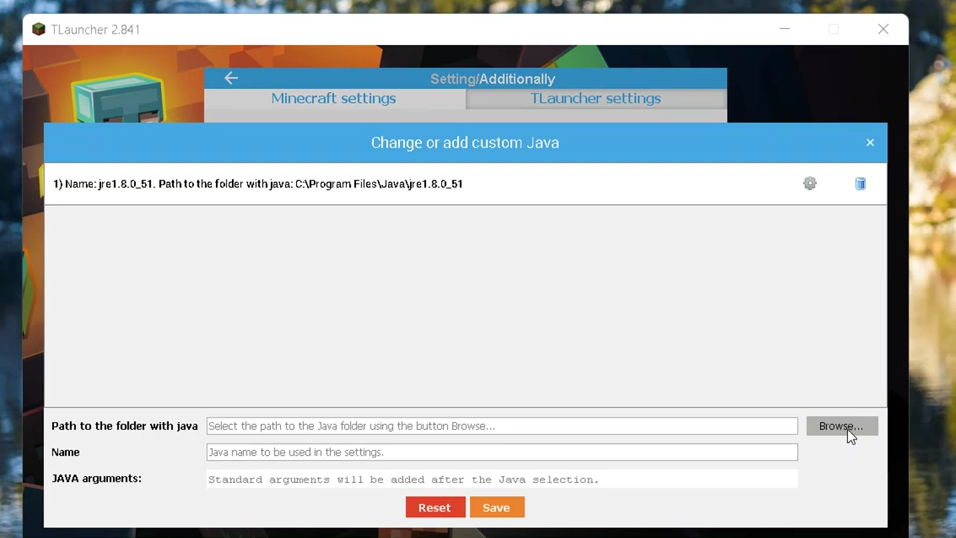
12. Now select the folder named ‘jrer 1.8.0_51’ and open it then click on save. After that restart your PC and hopefully, the issue will be resolved.

Now select the folder named ‘jrer 1.8.0_51’ and open it then click on save. After that restart your PC and hopefully the issue will be resolved.

Leave a Reply

Your email address will not be published.