The Room of Requirement is one of the fascinating things to invest your time in Hogwarts Legacy. The “Come and Go” room is quite limiting early on in the game. But once you follow its specific questline, other sub-quests appear, and the possibilities stack up; the Room of Requirement mechanic is super fun to play with. You will need 20+ hours of game time to fully master the room. Let’s dive into this complete guide for the Room of Requirement.
Prerequisites
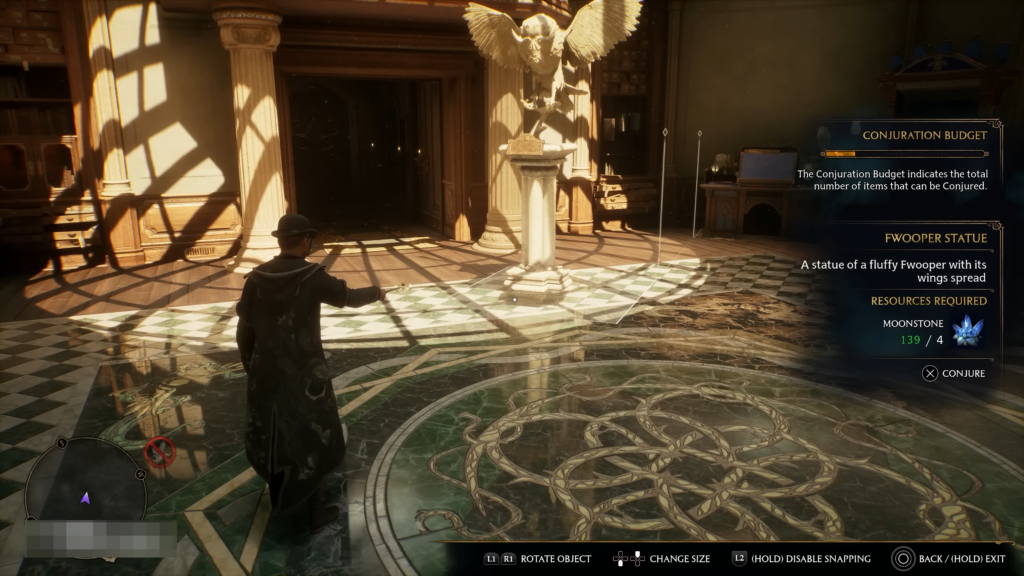
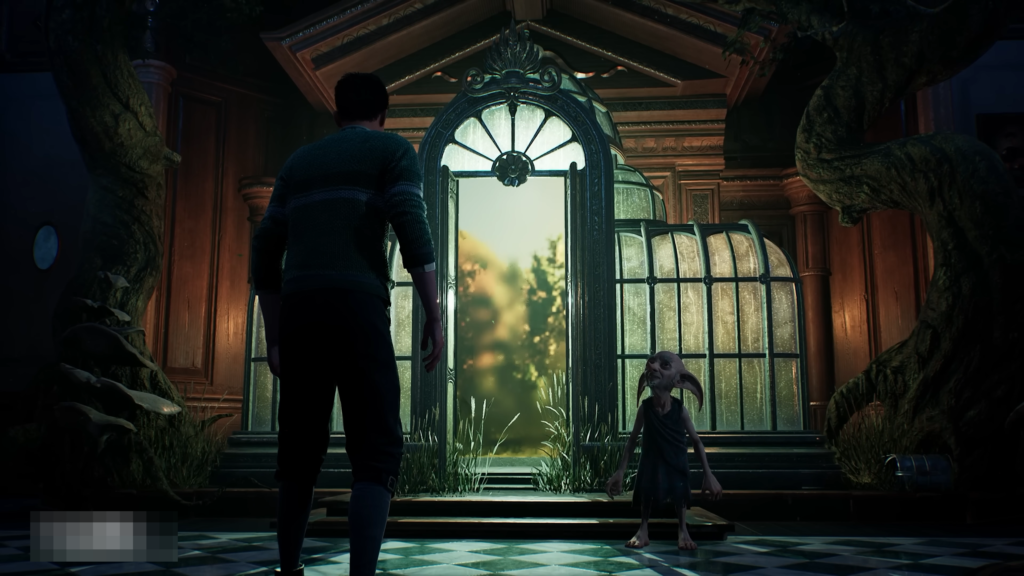
The Room of Requirement is unlocked by completing the main storyline named “Room of Requirement.” If this quest isn’t showing up, try completing the other available yellow quests. Professor Weasley introduces you to the room and teaches Evanseco, Conjuring, and Alteration spells in several sub-quests. Make sure that you complete these quests to progress further. The Evansco spell allows you to remove all the items in the room, and the Conjuring spell allows you to summon items in the room. Lastly, the alteration spell allows you to alter the appearance of objects in the room.
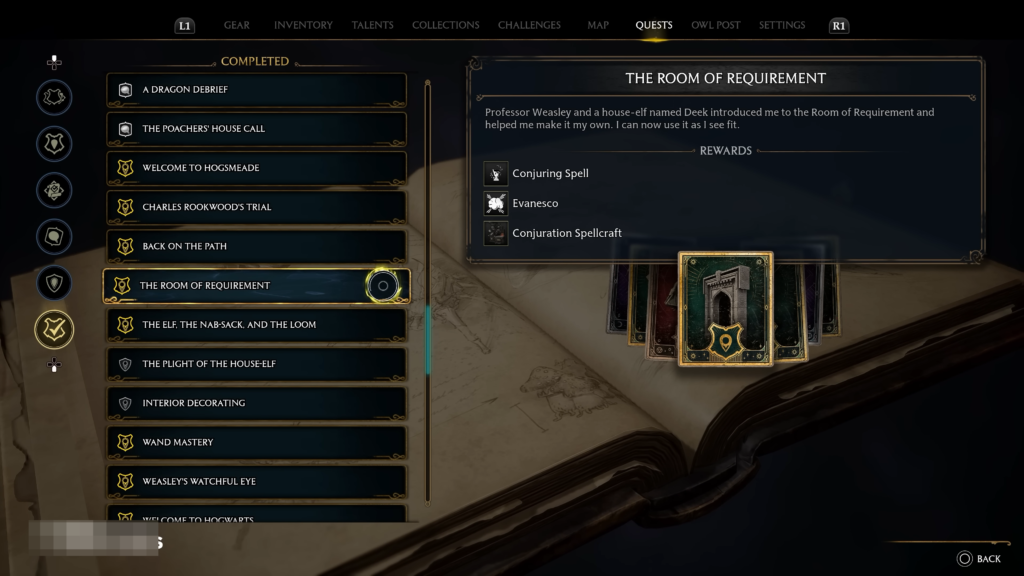
These 3 spells are essential for this room. Moonstone is the resource that allows you to conjure and alter everything in the room. It is found in many places in Scottish Highlands. An easy way to harvest Moonstone is by using the Evanesco spell on the pre-loaded items in the room. It will give you a blank canvas and hundreds of Moonstones. Cosmetic rewards need to be looted from collection chests worldwide to conjure things. There are also 4 different vivariums, unlocked by completing the sub-quests, allowing you to keep and breed beasts.
Gear Upgrades & Traits
After attending your first magical beasts class, the quest “The Elf, The Nab-sack, and The Loom” appears. This quest appears in Chapter 2, after the autumn cut-scene of Hogwarts Castle. Deek, the house elf, teaches you how to capture magical beasts. Upon completing this quest, you’ll unlock the Enchanted Loom and Desk of Description. The Desk is useful for finding information on unidentified new gear you acquire, and the Loom allows you to upgrade your gear.

There are three upgrades, each increasing your offensive and defensive stats. You’ll need resources from different beasts to unlock gear upgrades. The Enchanted Loom also bewitches your gear with different Traits looted from collection chests. These traits imbue your gear with magical properties, enhancing the effect of any particular spells. Level 3 traits are the highest and most effective and can only bewitch legendary gear. This is effective because it increases the damage from your spells and decreases the damage from enemies. Traits can also be unlocked by completing combat challenges.
Potions and Plants
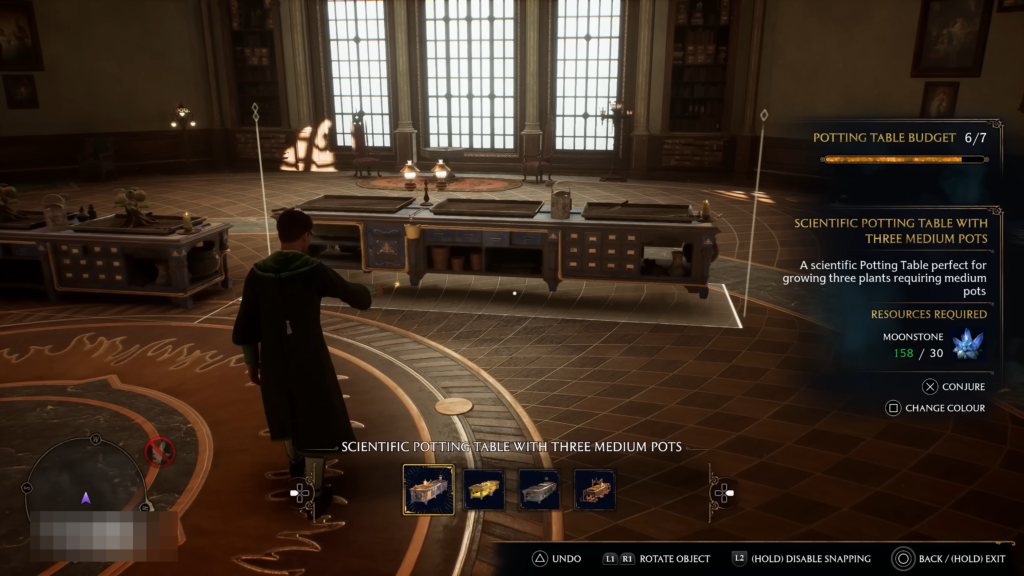
The Room of Requirement allows the player to harvest plants and brew Potions. Potions play an important part in combat, so it’s vital to keep your tool wheel filled for easy access during combat. Early in the game, potions and plants are quite restrictive until you can get specialized tables from Toomes and Scrolls. The equipment available early on is restrictive and sufficient production can’t be provided with single slots. The specialized equipment costs around 8500 gaellons. The equipment in question is a 3-slot medium pot table, a 2-slot large pot table, and a T-shaped potion table. Organize the tables in a production-line row to help save time when collecting the Harvests and Potions.
Players can loot Disillusionment chests using the Disillusionment spell to gather gaellons. These chests are scattered around Hogsmeade and Hogwarts, each containing 500 gaellons. Use Revelio in Hogsmeade to locate these chests and use the disillusionment spell to loot them. If you’ve enough gold, other purchases from Toomes and Scrolls include the Hopping Pot, the Material Refiner, and the Chopping Station. The Hopping Pot brews a random Potion, the Material Refiner produces moonstones, and the Chopping Station produces a random plant. These are to be bought when you’ve progressed enough and have excess galleons. This specialized equipment helps players to brew vital potions in sufficient amounts.
Remember to buy seeds for your plants from the Magic Neep Shop, fertilizer, and other items from Dogweed and Deathcap. These items are important for your plants, so remember not to skimp on fertilizer and seeds.
Beasts and Breeding
Rescuing beasts and placing them in a Vivarium will be the next section of this guide. Vivariums are specialized in different ecosystems for different types of beats, and each vivarium can hold up to 12 beasts. There are 4 vivariums, so the total number of beasts a player can keep is 48. Beasts offer valuable resources for upgrading your gear and as an additional revenue stream. Keeping and breeding beasts is repetitive as it involves feeding and petting them to extract the required resources from each beast.
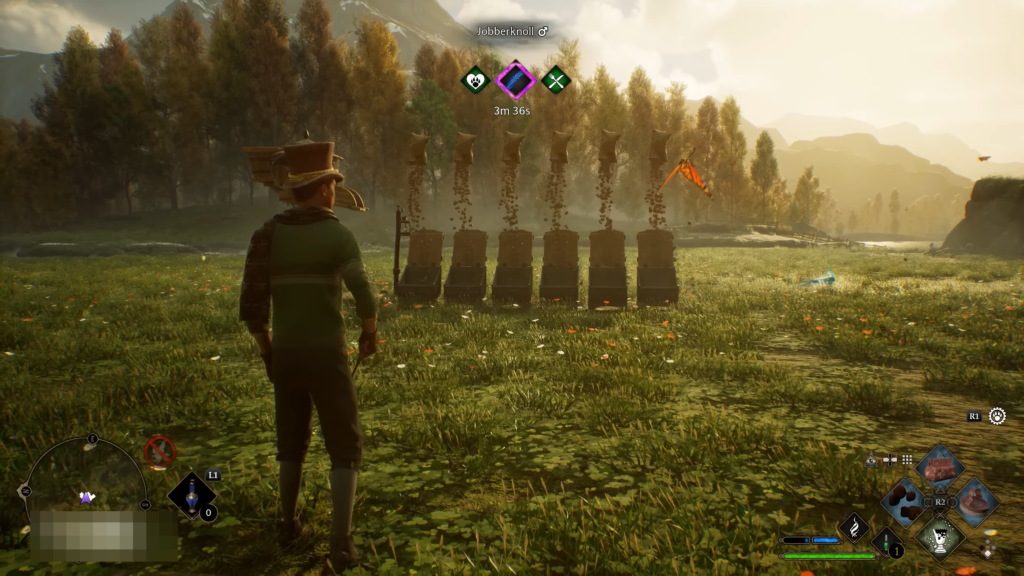
After completing the quest “The Elf, The Nab-sack, and The Loom,” players can ‘rescue’ magical beasts using the ‘Nab-sack‘ and the Capture spell. After completing your first magical beasts class, magical animal dens will pop up on your map when zoomed, and you can visit the dens to capture beasts. When capturing a beast, use the Leviosa spell to suspend them in the air and press the Square button when the icon blinks. Remember to capture both the female and the male of the species so you can breed them. Both genders are visually different, so a closer look will help you to discern the gender.

After placing them in their vivarium, you’ll need to feed them with a Feeding spell and pet them using the Grooming spell. Doing both successfully turns the two icons above the beast’s head green, signifying that you can collect the resource from the beast. For ease, get the Feeding and Toy boxes from Toomes and Scrolls. It automates the feeding processes, but the player must manually pet each animal using the grooming spell to get the required resource. It saves time in the long run. Each beast provides a specific resource crucial for upgrading your gear, meaning having a diverse variety of beasts for your gear needs is important. To capture Unicorns, head to the Forbidden Forest at night, and you’ll find a Unicorn den on your map, just northwest of Hogsmeade.
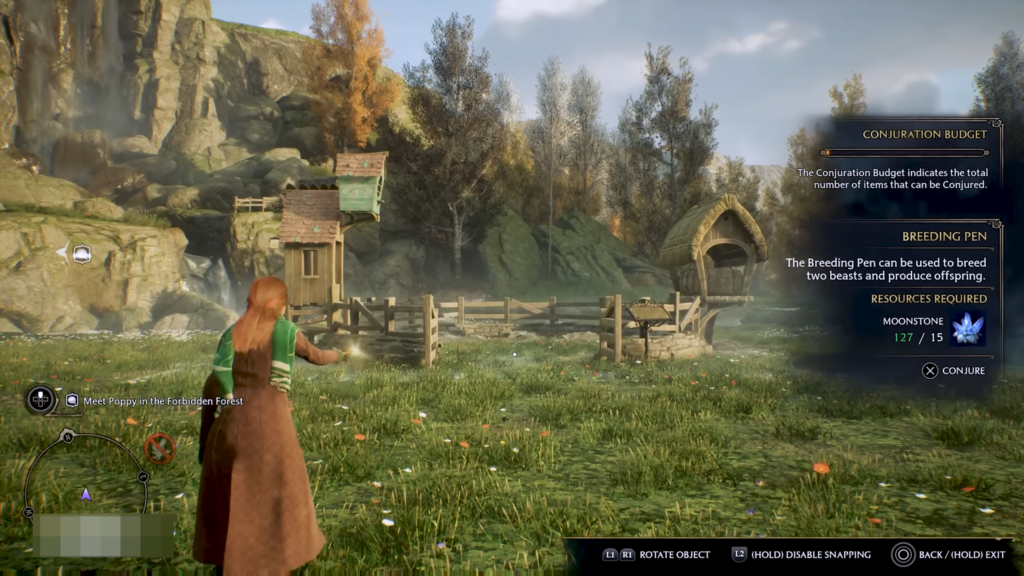
After completing the Room of Requirement quest “Foal of the Dead,” you can breed magical beasts after Deek asks you to rescue Thestrals. If this quest isn’t appearing, complete all other Room of Requirements quests and check your Owl Post for a post from Deek. Buying the Breeding Pen spell from Toomes and Scrolls would be best. Breeding requires you to conjure Breeding pens in the Vivarium using Moonstones, and after conjuring a Breeding pen, you can select which species you want to breed. Each breeding pen houses one species; you can have 4 breeding pens inside a single vivarium. Breeding takes 30 minutes, and the benefit of breeding is that you can sell the offspring to Ellie in Brood & Peck, located in Hogsmeade. Ellie offers 120 gaellons per pet, an excellent method to earn money passively.
That’s all for this Room of Requirement comprehensive guide. The Room of Requirement opens up after spending 20+ hours of play-time, and it’s a really fun mechanic to manage your resources, upgrade gear and brew Potions efficiently. After completing the main storyline of Hogwarts Legacy, completing questlines from the Room of Requirement ensures that players have a range of possibilities and options.