This guide is about installing and using the Rubidium 1.19 mod in Minecraft. It includes step-by-step instructions to download, install and activate it on your Minecraft game.
Rubidium 1.19 is a gaming tweak that increases the number of frames per second (FPS) in the game world and reduces microlags. It’s perfect for those who want to make their games run smoother. This tweak improves the graphics quality by simplifying fragments that are out of the player’s field of vision.
You will need to follow the instructions below to download and install these mods in Minecraft version 1.19.
1. To download Rubidium 1.19, you have to open the following link, scroll down and download the 1.19 files from Recent Files.

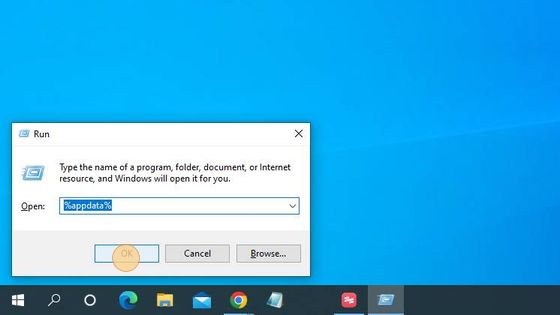
2. After that, press Window+R, type %appdata% and tap OK to save the downloaded Rubidium 1.19 file in Minecraft.
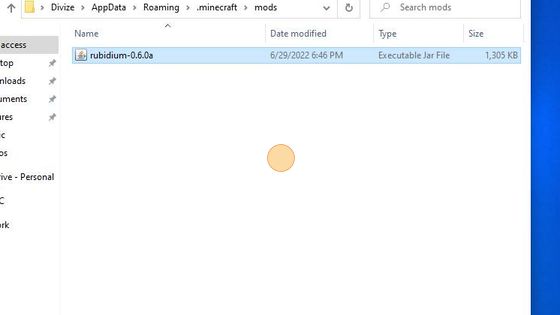
3. Then you have to double-click on the .minecraft folder to open it up.

4. And navigate to the mods folder.

5. You have to paste ya move or move the downloaded Rubidium 1.19 file in the mods folder.
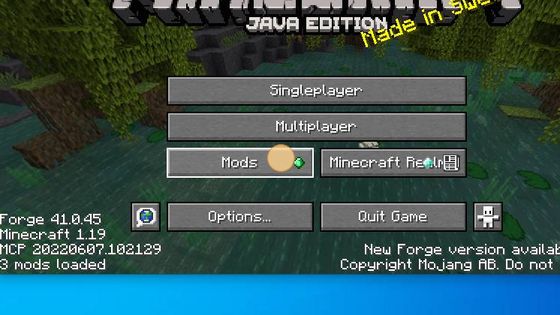
6. Launch the Minecraft game to check the Rubidium 1.19 files.

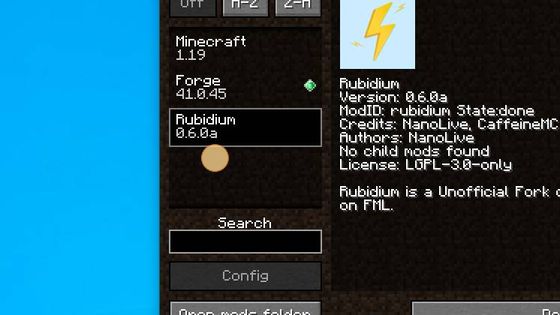
7. Select Forge 1.19 and click on the Play button.

8. Then you have to tap on the Mods option.
9. You have successfully installed the Rubidium 1.19 file in Minecraft.