In this guide, you will find out how to fix Saints Row Crashing on PC. You have to follow the step-by-step instructions to do so.

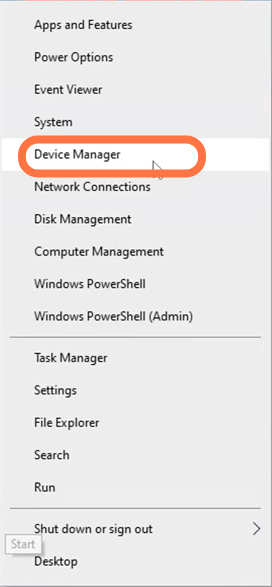
2. Once the computer is restarted, the next thing you need to ensure is that you have the latest driver installed for your graphics card. If you’re not sure that the graphics card you have on your computer, then you can find this out by right-clicking on the start menu icon and then going to device manager.
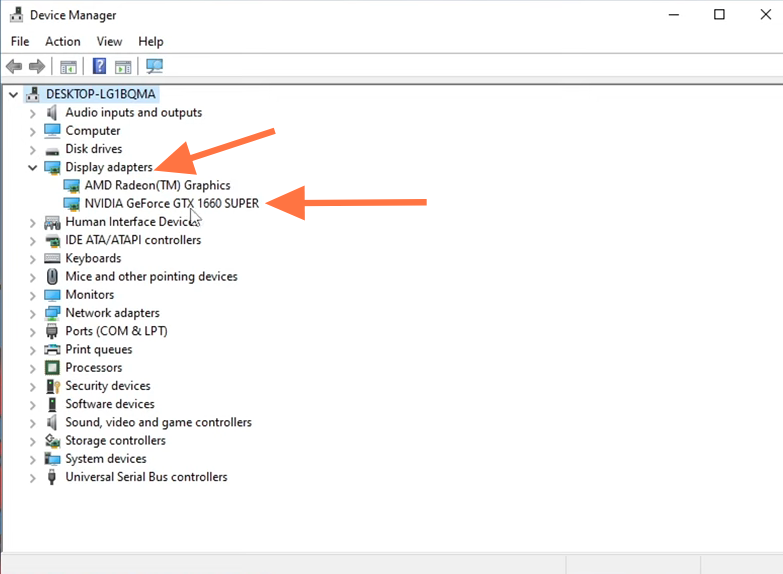
There, you’ll find which graphics card adapter you have, and then you need to update that driver.
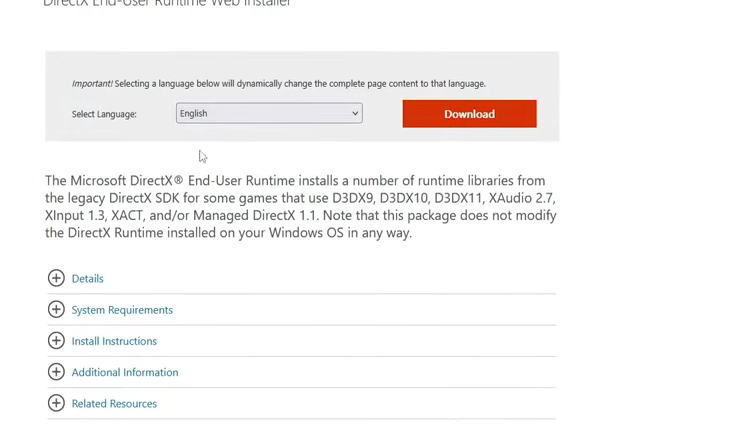
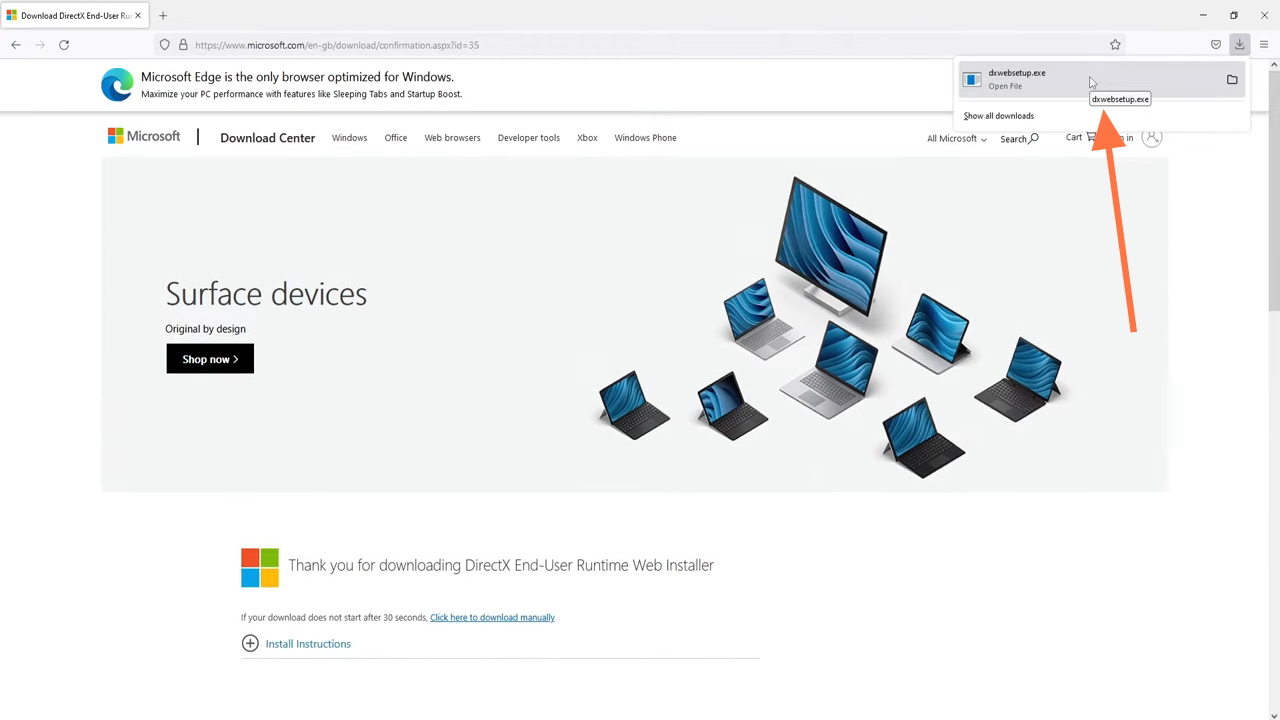
3. After updating the driver for your graphics card, you need to go ahead, launch the game and see if that helped to resolve the issue that you’re having. If the issue is not resolved yet, then the next thing you have to do if you’re using the DirectX 11 version of Saints Row, you need to install the latest file for that you need to go to the following link.
https://www.microsoft.com/en-gb/download/details.aspx?id=35
4. On the website page, you need to select your language and press download. You can then go ahead and run the setup file.
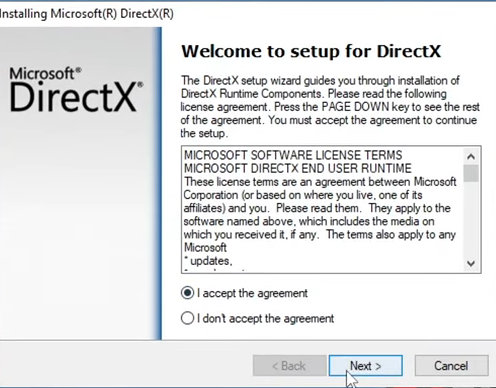
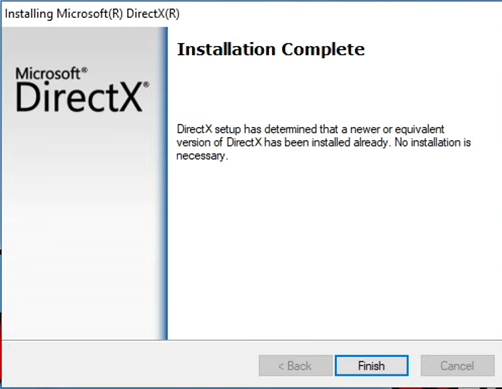
5. Next, you need to agree to the terms, select “I accept” and then tap on Next. If you want to install the bing bar, then you can select it but If you don’t, then deselect it and press Next again. It will now check if you have the latest files for DirectX and if not, then it will install it for you.
6. If that didn’t help, then the next thing that you want to do is just ensure you don’t have any programs running in the background while you’re trying to play the game. These could be conflicting with the game causing it to crash.
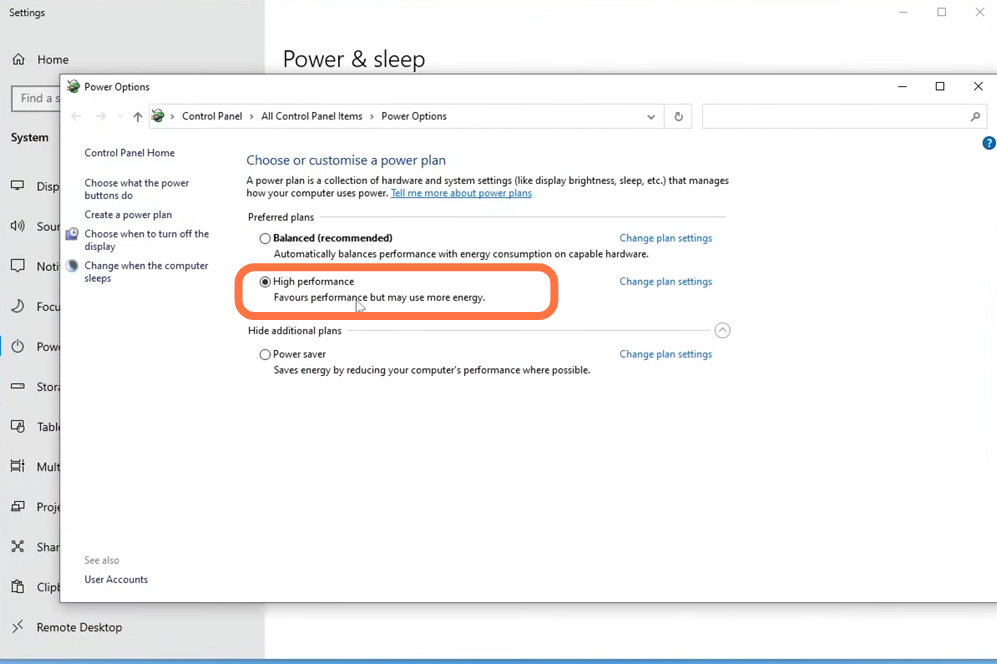
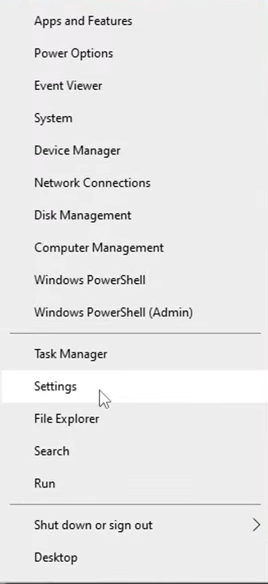
7. If the issue is not resolved yet, then you have to ensure you’re using the high-performance power plan and you can do this by right-clicking on the start menu icon again and then going into power options.
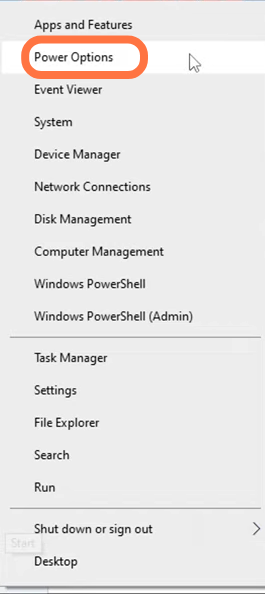
Next, you need to select the additional power setting and then select the high-performance mode.
8. If that didn’t help resolve the issue, the next thing you want to do is try playing Saints Row in a different version. So if you’re using DirectX 12, you can try DirectX 11 but if you’re using DirectX 11, then try DirectX 12 version.
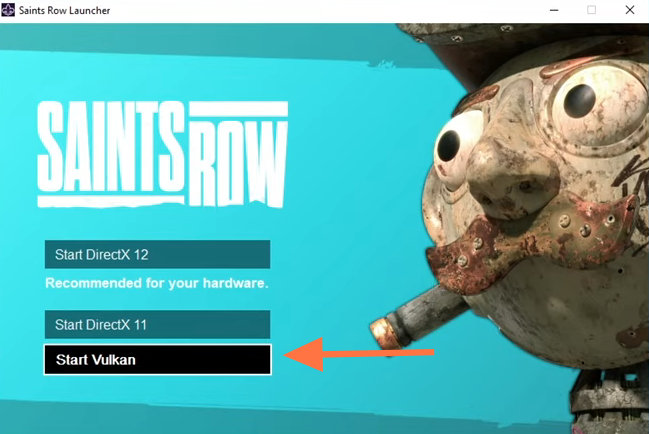
9. If neither of those is working, then you need to use Vulcan. When you first launch Saint’s Row, there will be an option to select Vulcan.
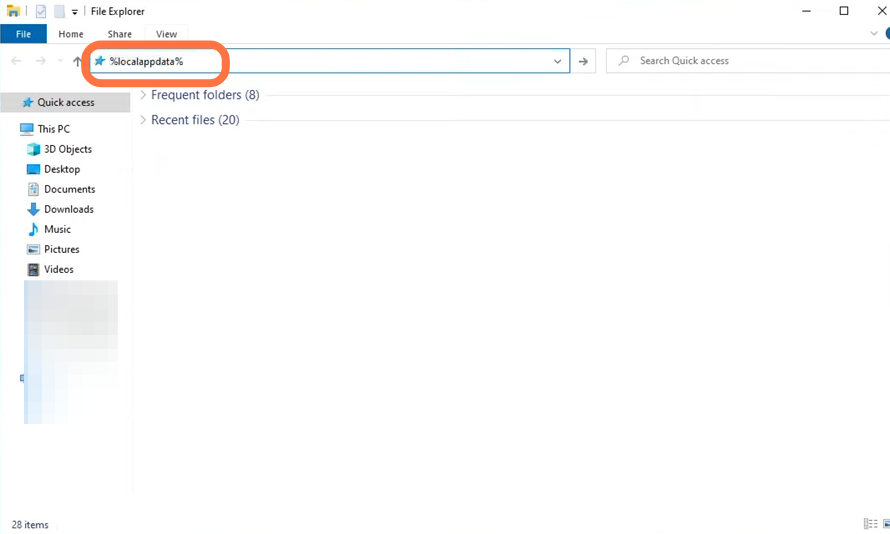
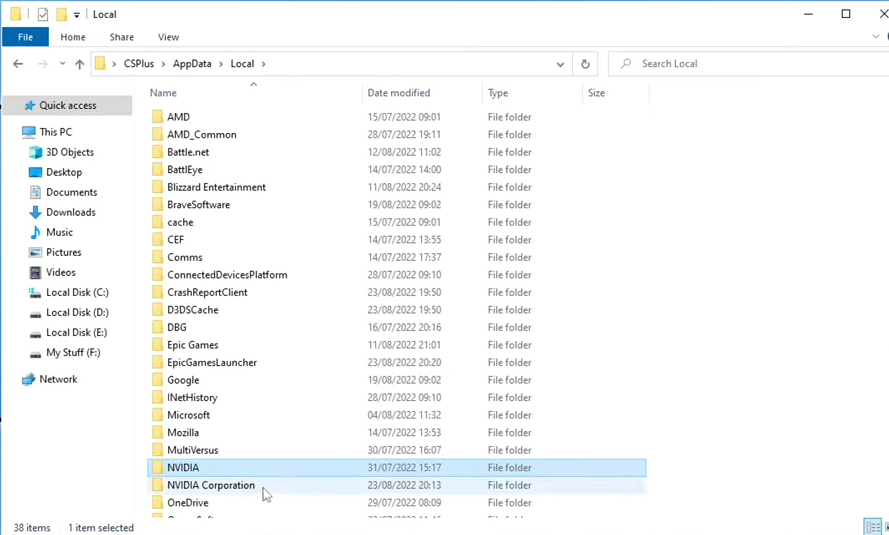
10. If none of that worked, then the next thing you will need to do is clear the cache for your graphics card. If you’re using an Nvidia graphics card, you will need to open up file explorer, click on the address bar and type in ”local app data” and then press enter.
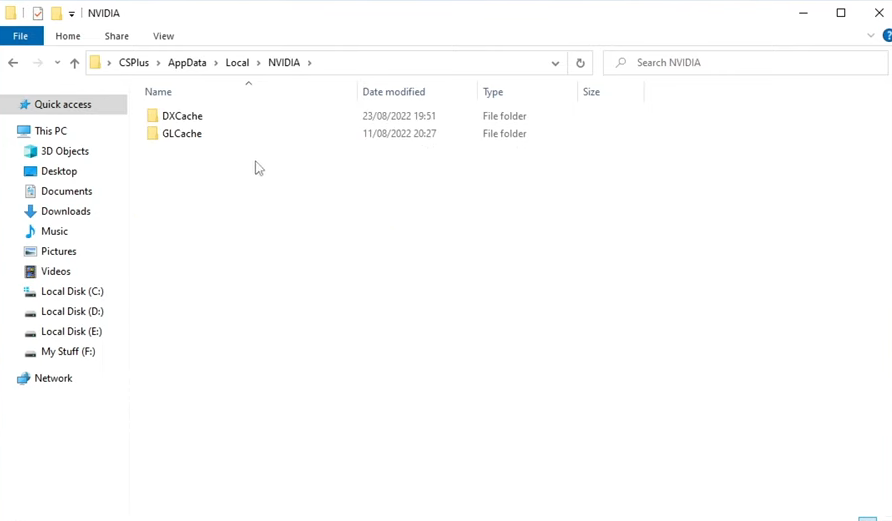
11. Now you need to find the Nvidia folder and open this. You will find two folders dx cache and gl cache, you need to go into both of these folders and select all the files. Then just simply delete all the files within the folder.
12. Once you’ve done that, you need to go ahead and select local. You then need to go into the Nvidia corporation folder if you see an NV_Cache folder, go into this folder and delete any files that are in this folder as well.

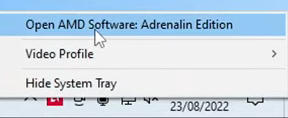
13. If you’re using an AMD graphics card, then you need to go ahead and open up the AMD software by going down to the bottom right-hand corner in the system tray and right-clicking on the AMD icon, and then its going open amd software.
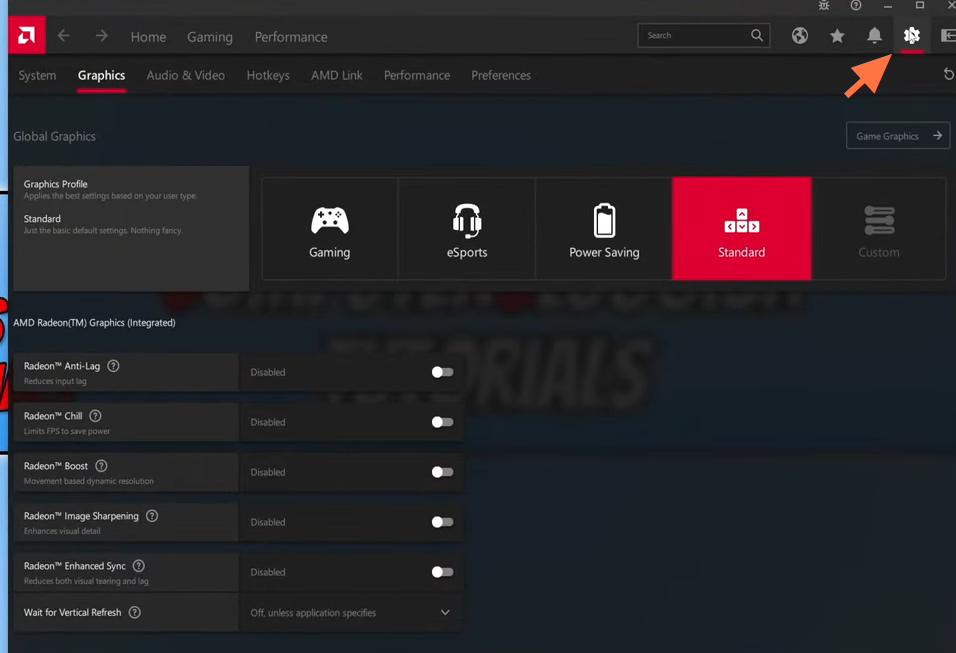
14. Next, in the AMD software you need to click on the settings cog in the top right-hand corner and click on the Graphics tab. You need to scroll all the way down, expand Advanced and then scroll all the way down to the bottom. There, you’ll find the reset shader cache, you need to select it to reset.


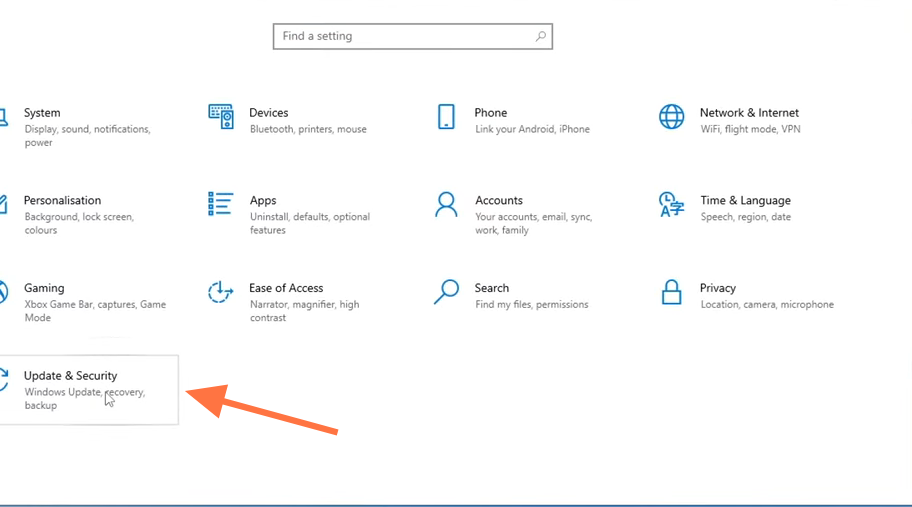
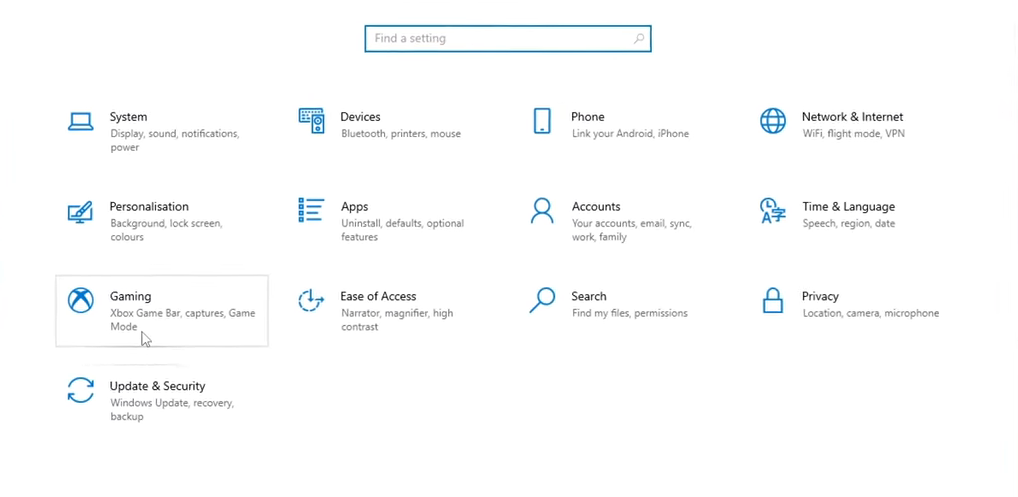
15. If you’re an AMD user and resetting the cache didn’t help to fix the game, then the next thing that you want to do is right-click on the start menu icon and go to settings.
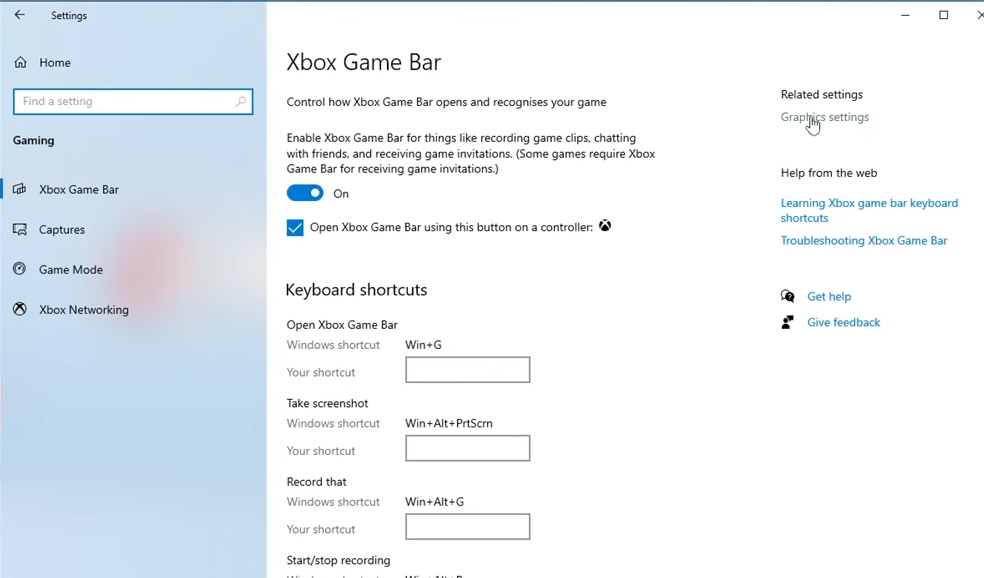
16. Next, you need to go to Gaming and open the Graphics settings. Under the related settings, you will find an option for hardware accelerated GPU scheduling if your graphics card supports it. You need to toggle it on.

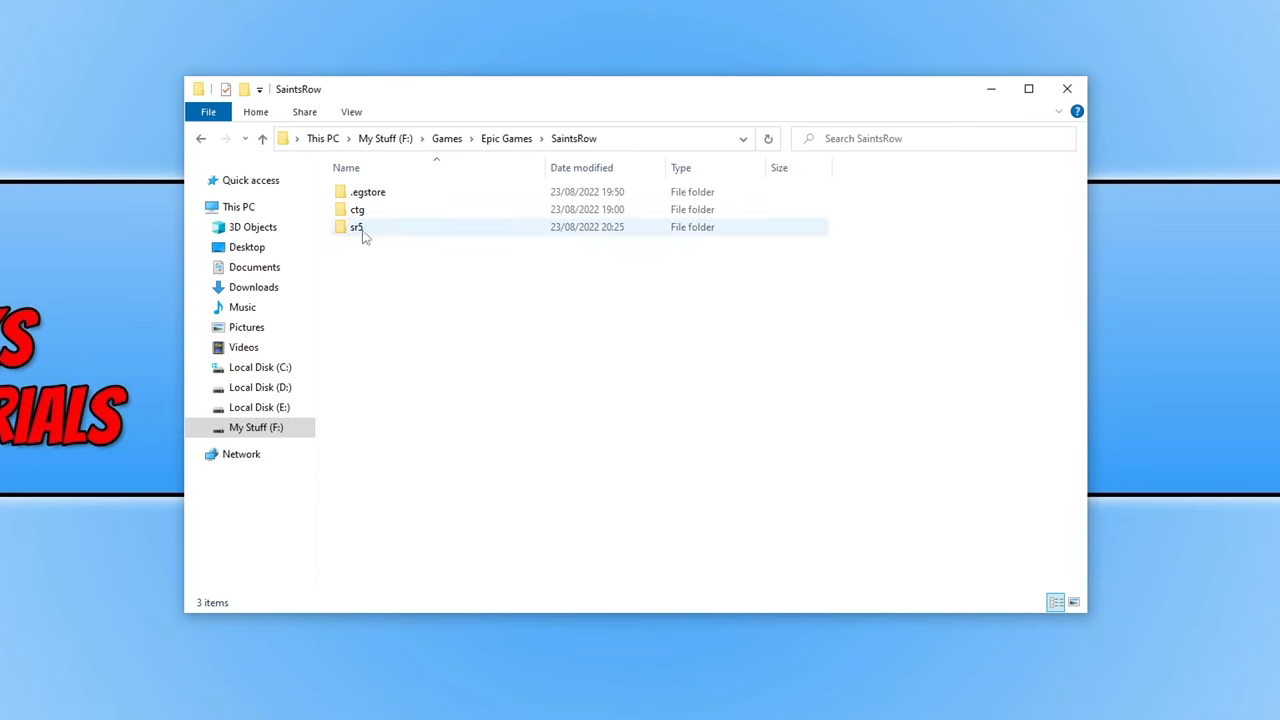
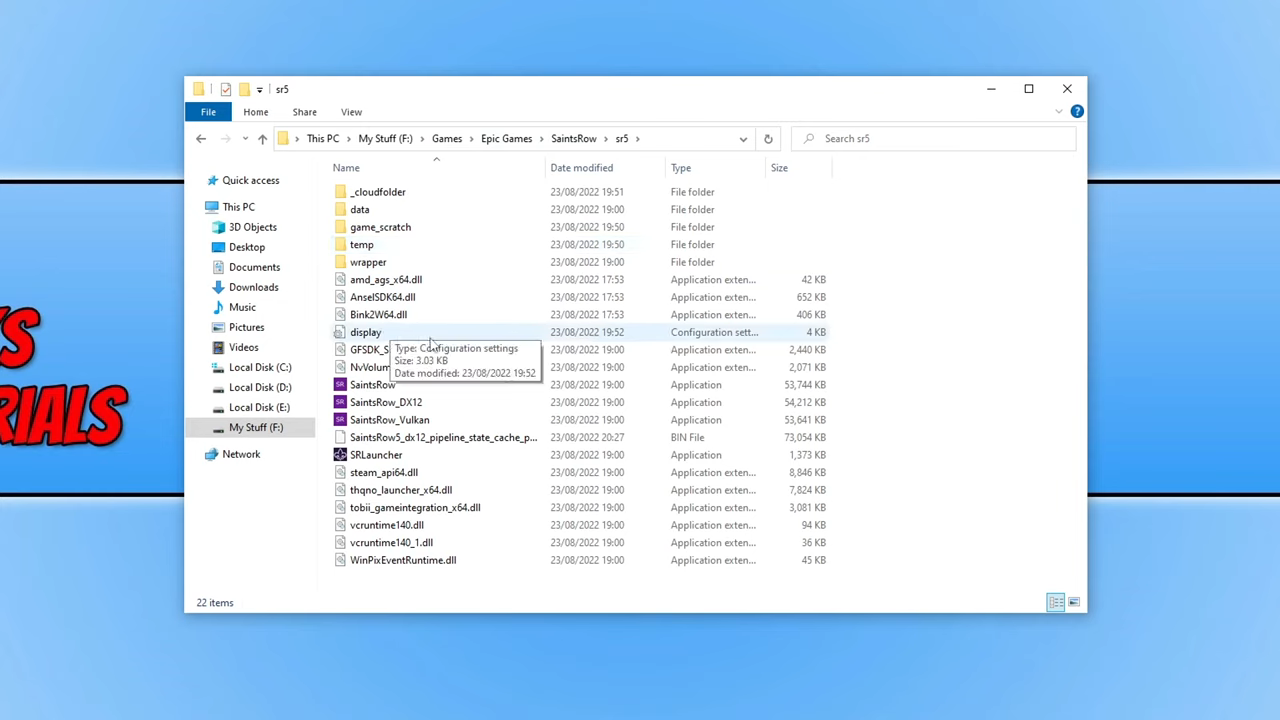
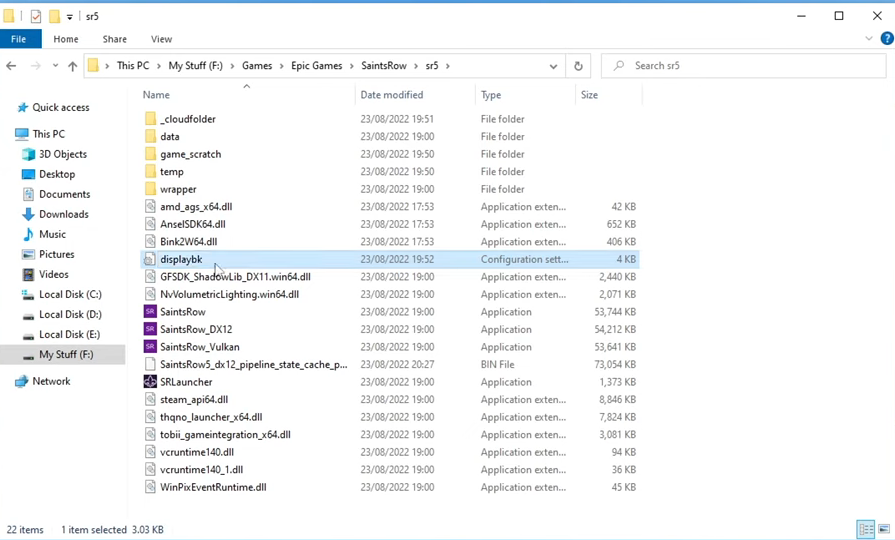
17. If changing the hardware-accelerated GPU scheduling didn’t help then the next thing you’re going to want to do is to reset the settings that you have made within the game back to the default. To do this all you need to do is open up the file explorer you then need to go to the location where you installed saints row and once you’re in the saint’s row folder you then need to open up the folder called sr5 and you will then see a file that says display go ahead and right click on this file and go rename and then just add bk to the end and press enter now go ahead and launch the game again and that will change all the graphic settings within the game.
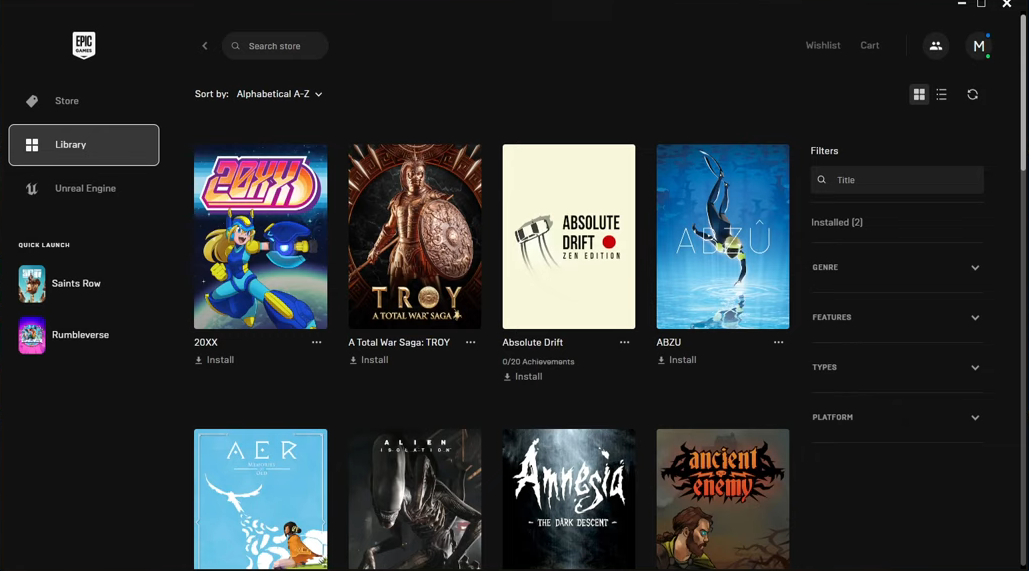
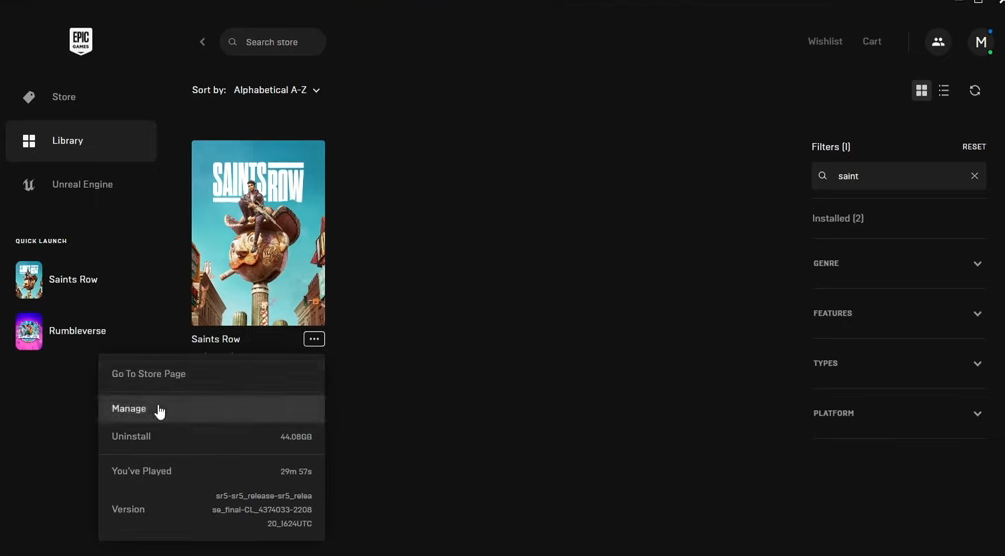
18. If that didn’t help then the next thing that we need to do is open the epic games launcher once you have the launcher open you then need to select your library and you now need to search for the game saints row once you’ve found the game go ahead and select the three dots and you now need to click on to manage and you will then see the option to verify the files go ahead and select this button here and it will now check to see if any of the files have become corrupt or missing once that’s finished go ahead and launch the game.

19. If that didn’t help then you will need to, unfortunately, try reinstalling the game which will hopefully help resolve the problems that you’re having if you do have the option to install the game to a different hard drive then do that.