This guide will tell you how to BOOST FPS and increase Performance in Ark Survival Evolved. First, you have to make sure that your Windows are fully up to date and make some basic changes in the Windows game section. Also, you have to make a few changes in the GPU settings, and in the Windows graphic settings. You have to set the Windows power plan to the ultimate level and ISLC also needs to be fixed. Then you need to make changes to the game graphic settings and the launcher and also in the config file to achieve the best FPS and ultimate performance.
Windows Update/Settings
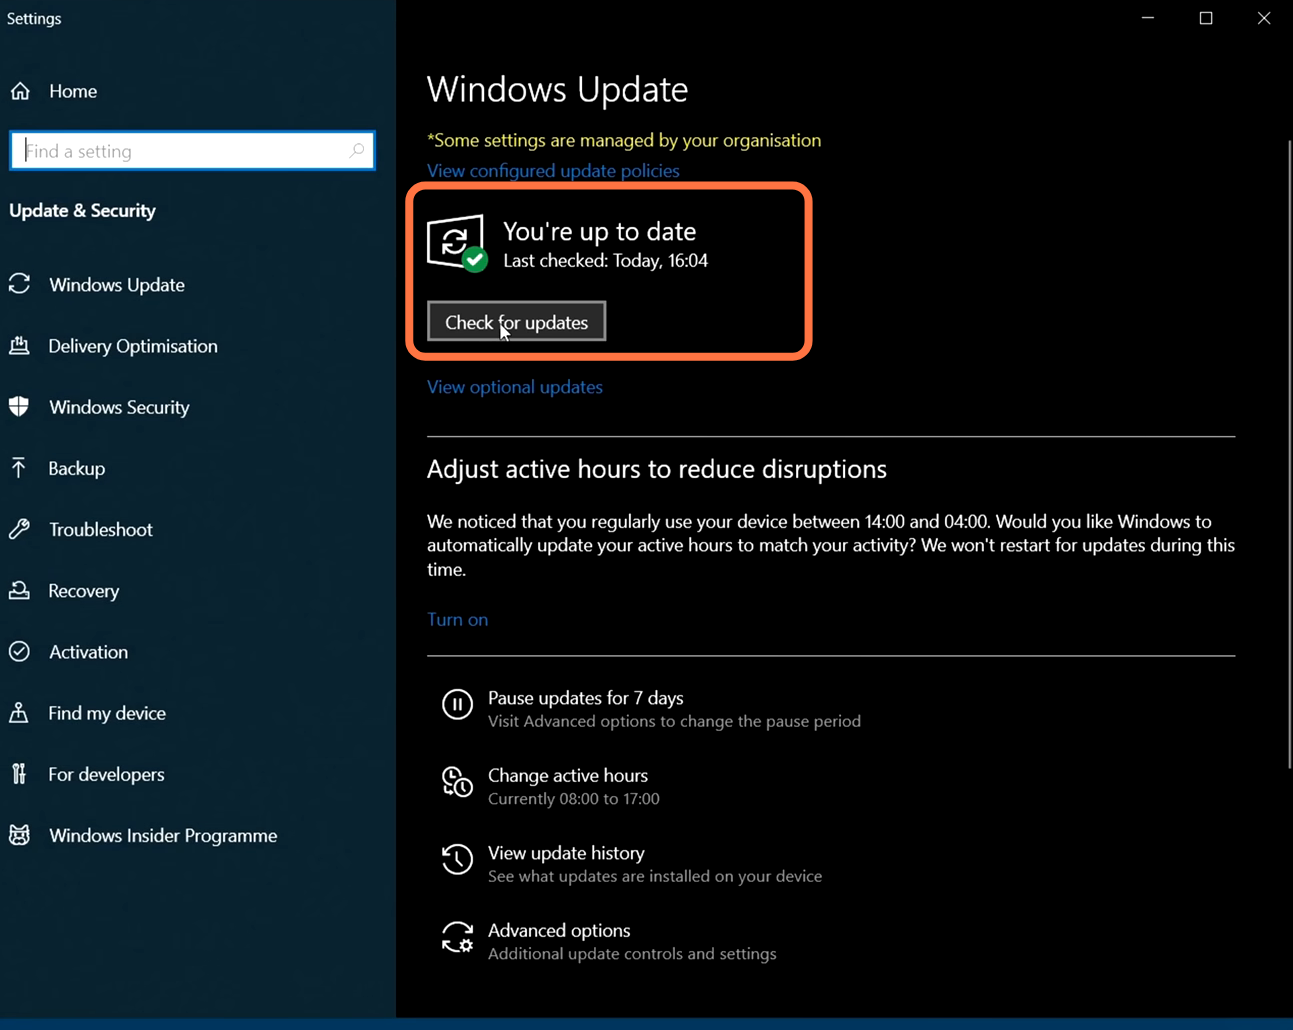
First of all, you must ensure that your window is fully up to date. It is a very important step, as it will give you a phenomenal increase in your game performance.
1.1- For this, you first need to go to the bottom left side of your screen to the search button and write “update” on it and then click on check for update. A new window will pop up, navigate down, and click “check for updates”. It will scan your machine to see if there are any updates available.
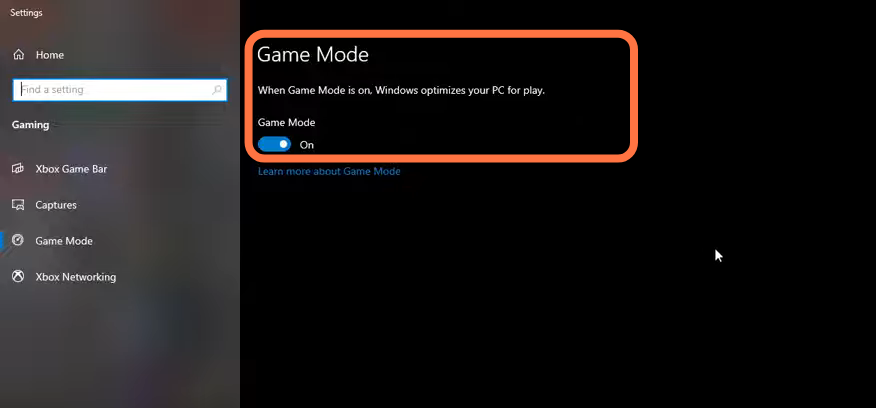
1.2- Search game mode in the search bar and press enter. Make sure that the game mode is activated. By this, you will get decent performance, you have to make sure that all your resources are focused on the game that you are playing.
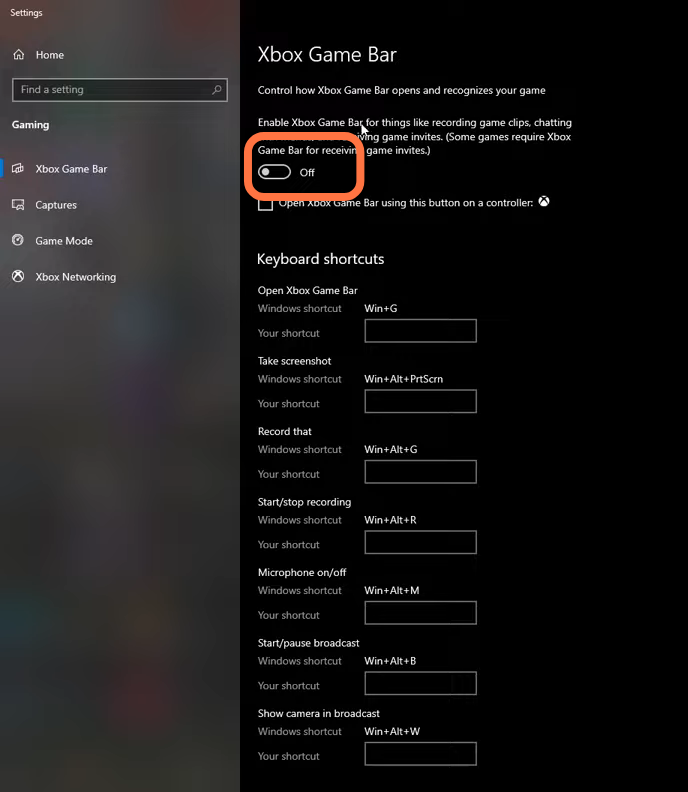
1.3- After that, go to the Xbox game bar under Gaming and you have to deactivate this one as it is causing stuttering and crashing in some games.
1.4- After this, you have to click on the captures tab here you have to make sure that the background recording and also the recorded audio both should be turned OFF.

1.5- Make sure that the auto-upgraded GPU setting is turned on. For this, you have to search graphic settings, you will need an NVidia card of 1000 series. It will really help with bottlenecks you can expect a 2 to 5 percent boost in the FPS.

Updating GPU Drivers
You will need to update your GPU drivers or any other outdated drivers. There are two ways to do this.
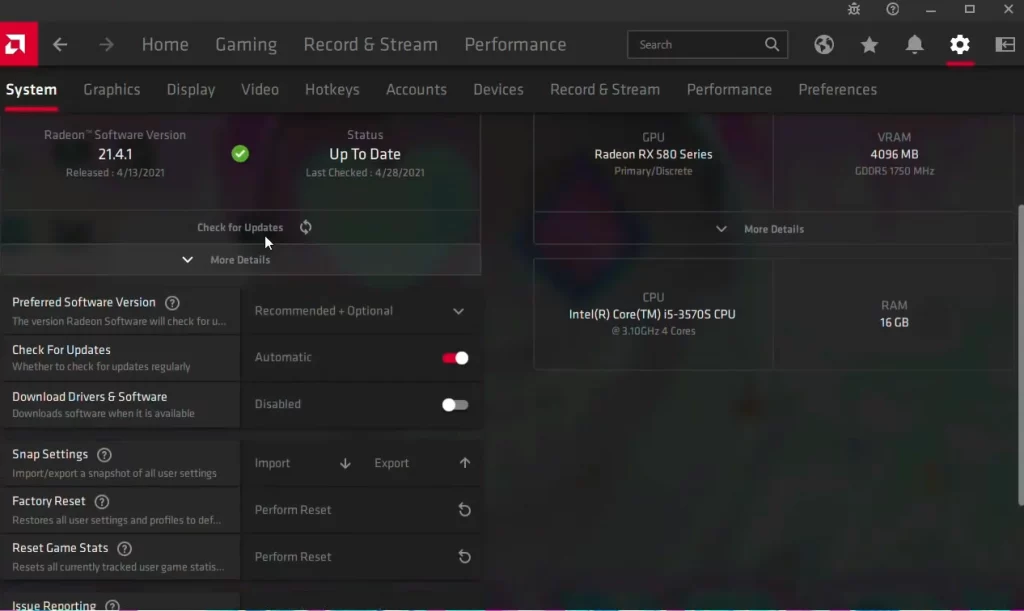
2.1- Check for updates in the GPU control panel.
If in case if your GPU is running on an older version, then you will not be able to boost your FPS. So do check for updates
2.2- Download from the GPU manufactures website.
You can also Download the GPU software to update it from the link below. https://coderbag.com/product/quickcpu
Power Plan Settings
This is a great and easy way to enhance the performance of your system, as they are highly customizable and effective for disabling some sleep and low-power modes.
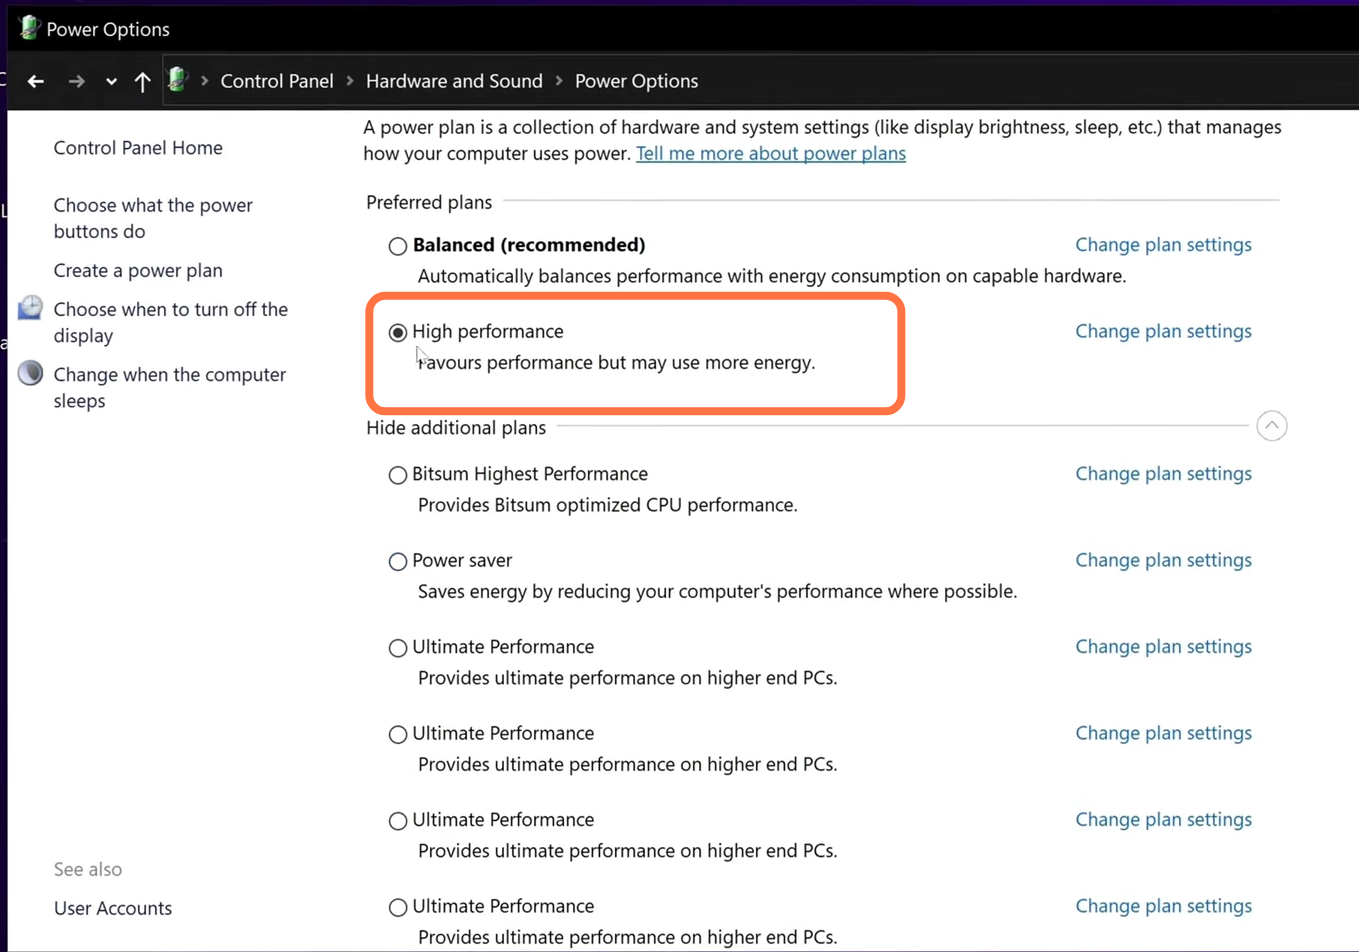
3.1- You must write edit power plan in the search column and press enter. Now inside this menu go to the power option which you will find on top, click on show additional plans and scroll down to select the high-performance power plan.
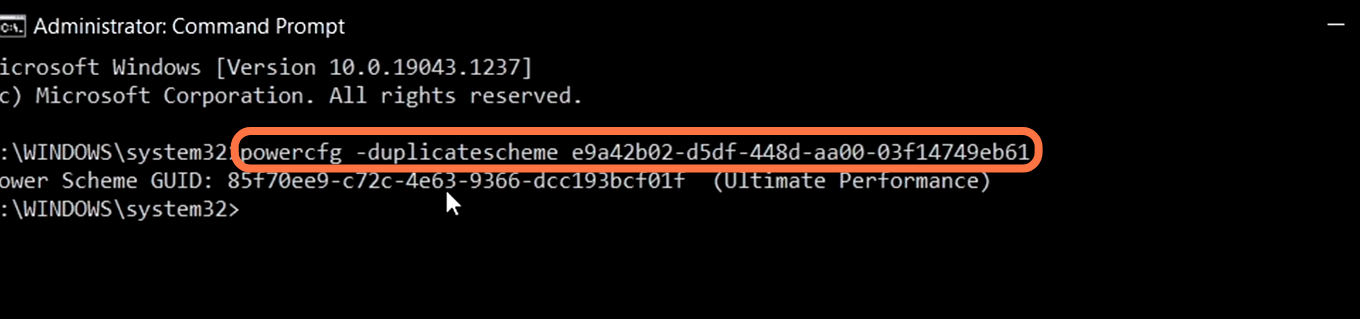
After this go to the bottom left-handed side of your screen to the search bar and write Command prompt and right click on it and run this as an administrator. Now here you have to paste this command: powercfg -duplicatescheme e9a42b02-d5df-448d-aa00-03f14749eb61 after this then press enter and now you can exit.
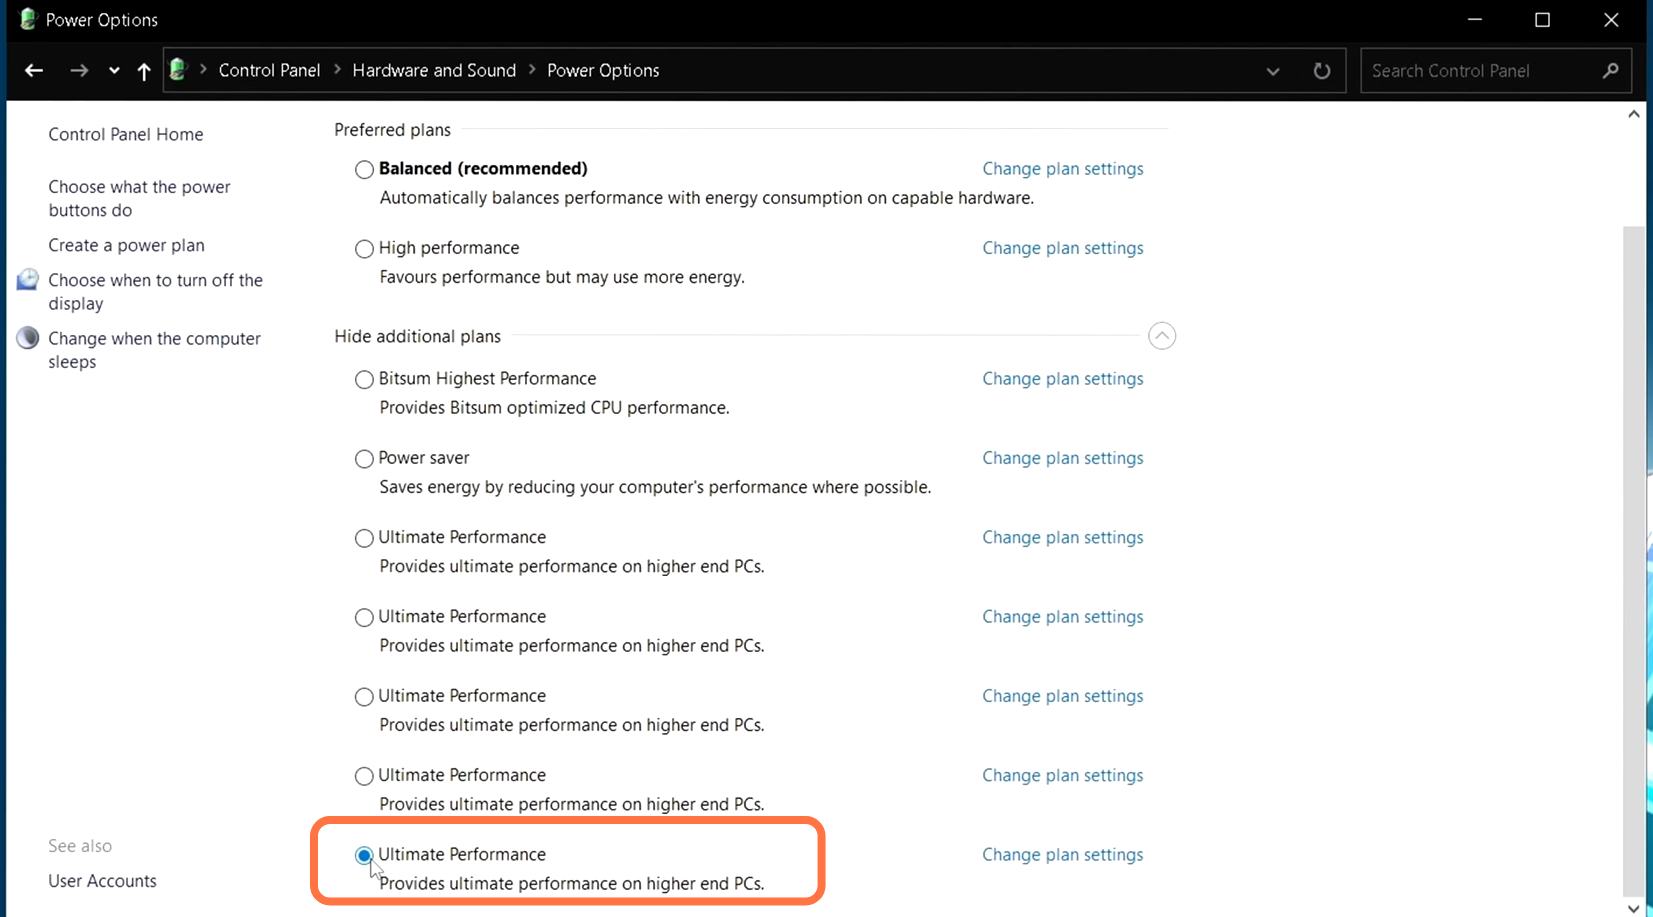
Now again go to the power play menu and press the refresh button on the top right corner. then you will see the ultimate performance power plan select this option.
ISLC Set Up
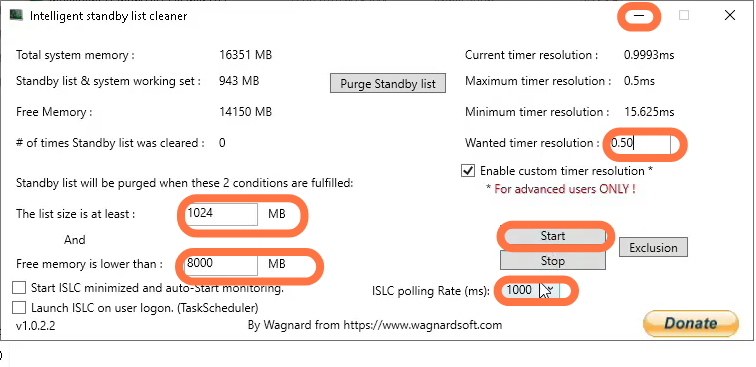
You have to download this by clicking on the link: https://www.wagnardsoft.com/forums/vi… after downloading save it. Now navigate to the ISIC folder that you saved earlier and run it as an administrator. You need to set the least size to at least 1024 and free memory lower than half of your Ram. Set the custom timer resolution to 0.50 and the ISIC polling rate to 1000. Then click on Start and close it once it completes.
Launcher Settings
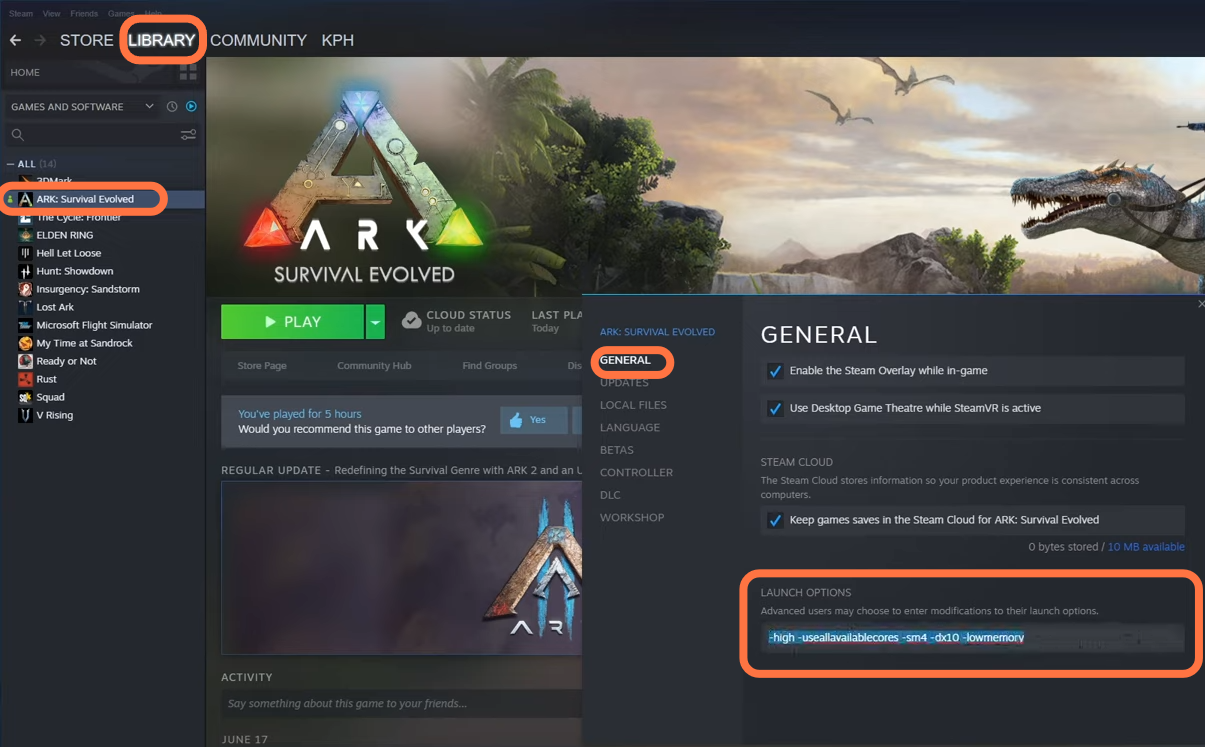
For this, you have to open Steam, then click on the library on the top of your screen, and find your game. After finding your game, right-click on it and then go to properties. Then under general, you will find your launch command column where you have to enter the command “-high -useallavailablecores -sm4 -dx10 -lowmemory”. It will help your game to run on high priority when you are playing the game and also it will make sure to use all available cores on your CPU.
In-Game Settings
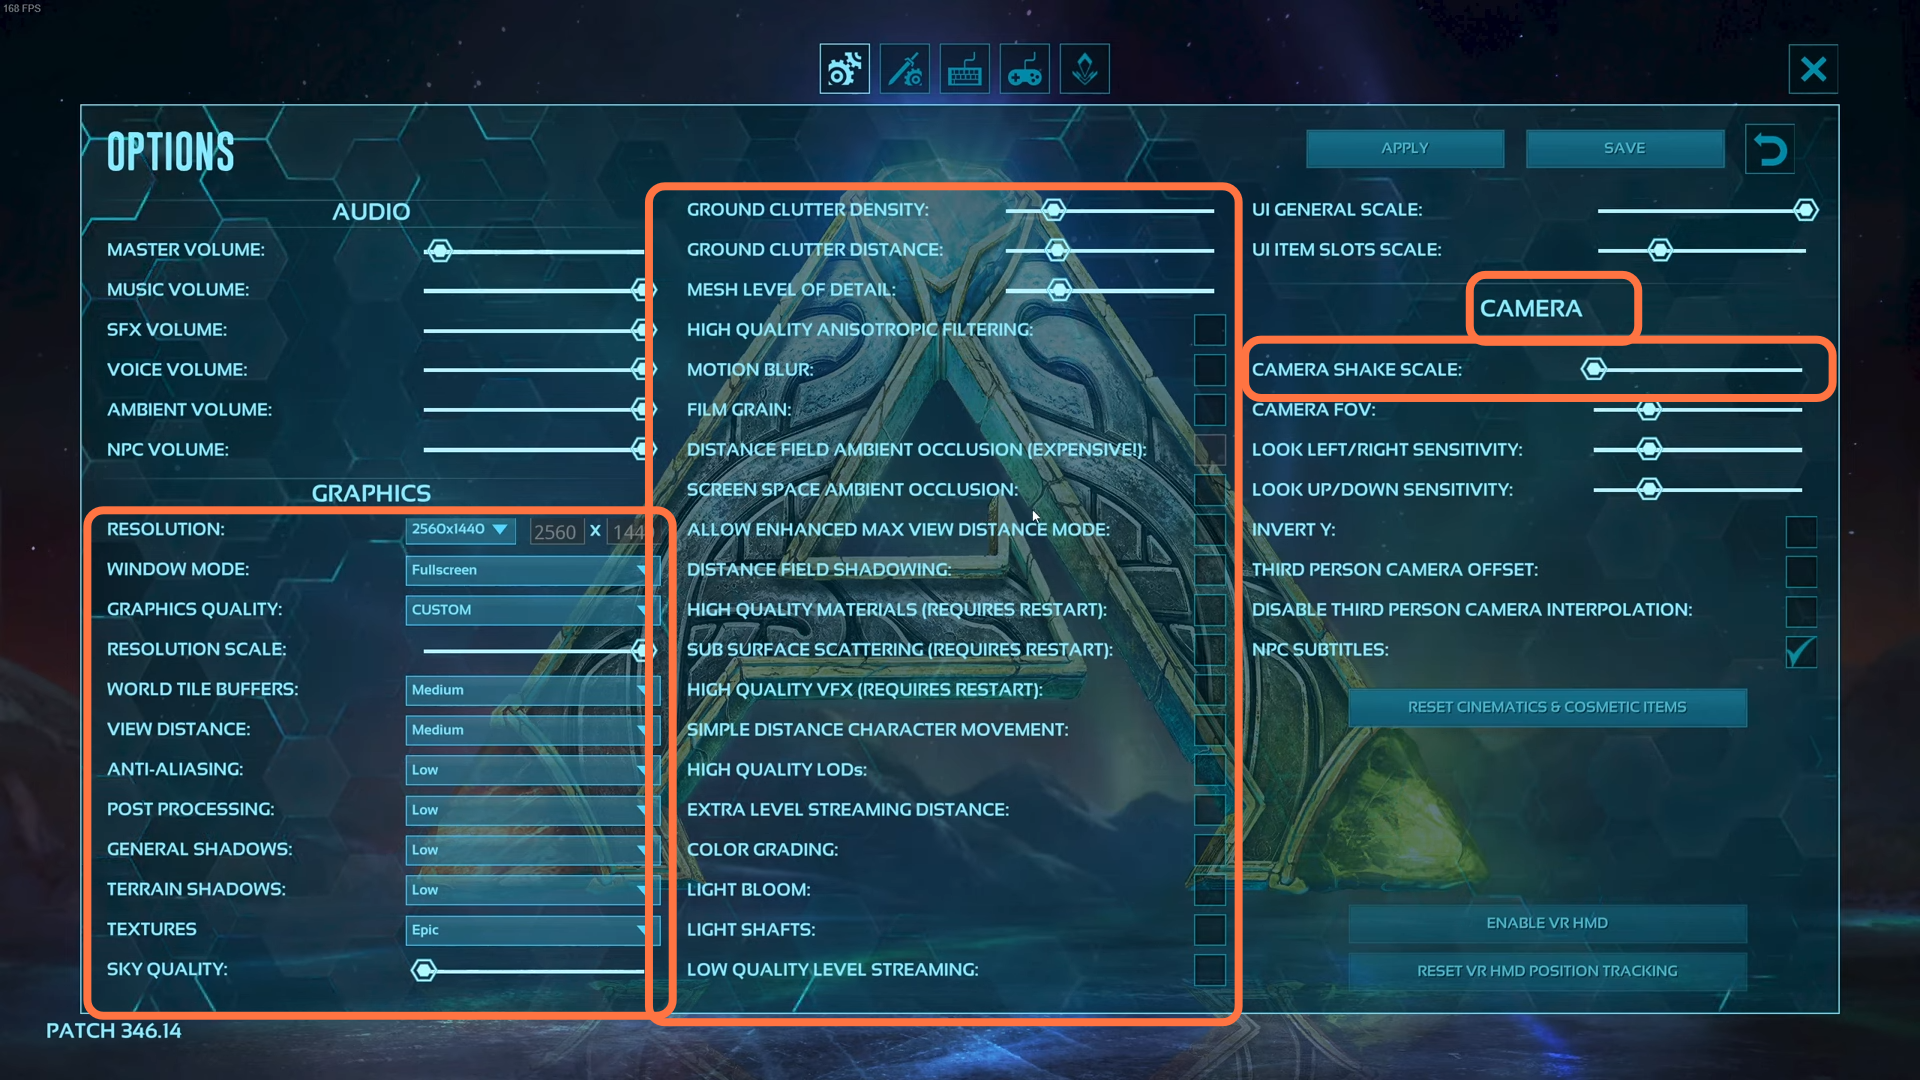
You will need to boot up the game, then go to options and click on the graphics settings. Set the Resolution to your monitor’s native resolution and the Display mode to full-screen. Graphics quality should be set to custom and you can set the resolution scale according to your choice. World tile buffers and view distance both should be set to medium. Anti-aliasing should be set to low as this will give an 8% boost in your FPS. After that, set Post Processing to low as it will give a nice 7% boost in your FPS. General and terrain shadows both should be set to low. Textures should be set to epic. Set the Sky quality to low as it will also help you in boosting your FPS. Ground clutter density, ground clutter distance, and mesh level of details all should be set to a 1 quarter of the bar. For the remaining options, you have to make sure that every option is unchecked as it will help you a lot for your FPS boost. Now under the camera, you have to put the camera shake scale to low.
Config Files
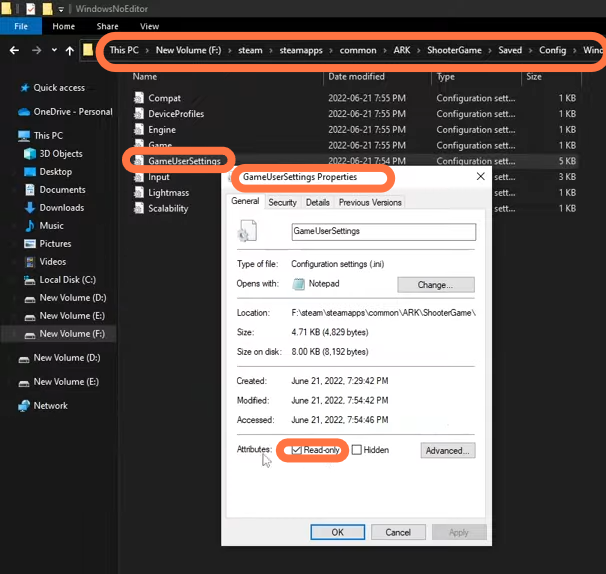
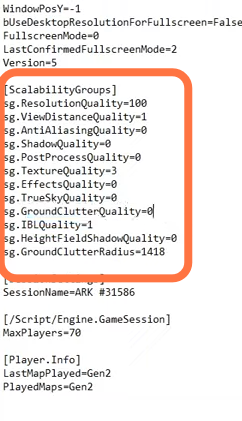
You have to go back to Steam, click on the library, and then right-click on the game. After that, click on properties, then go to local files and click on browse, it will take you to where you have installed your game. Now click on shouter games then go to save, and navigate to the config folder. Go to the windows no edit folder, open the game user settings file, and scroll down to the end where you will see your effect quality and true sky quality. You have to set these settings according to the pictures given below.
After this, go to the properties of the same file and you have to make sure that read-only is selected. By doing this, no one will be able to change the settings.