


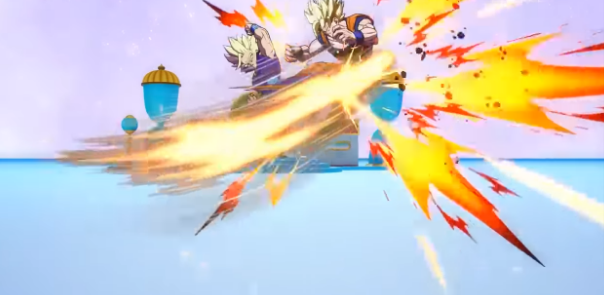
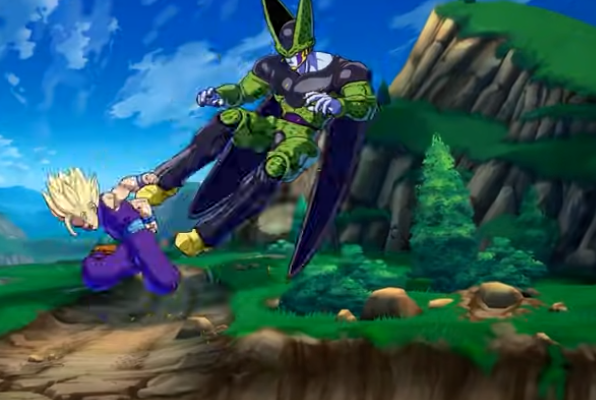
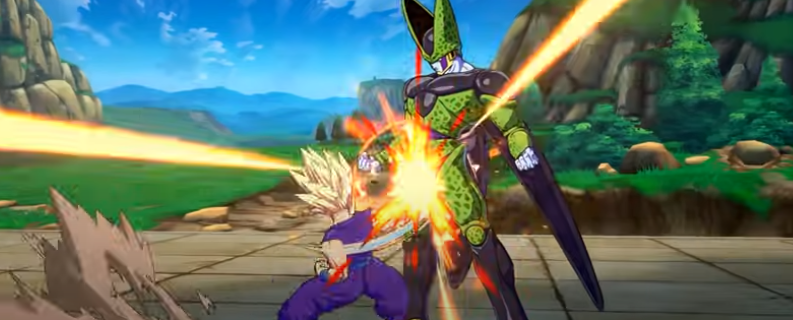
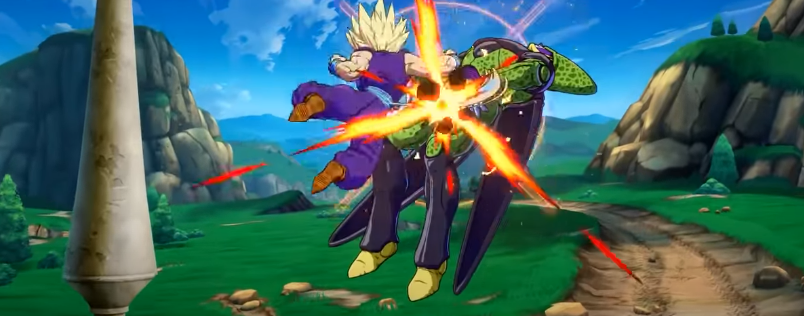
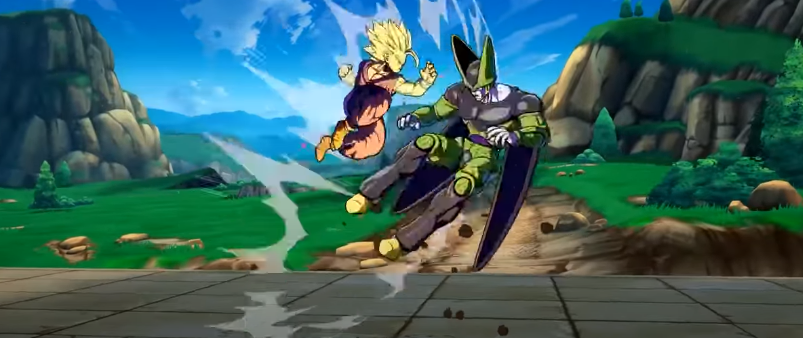
This guide will provide you with all the combos of Teen Gohan in Dragon Ball Fighterz season 3.5.
5L advances Gohan forwards, giving it decent range. 5LL recovers mid-air, allowing for simple cross up air dashes on the crouching enemies.

SLLL tracks to almost super jump height autocorrects on cross-ups, leads into mix-ups, and is safe on block. On a hit, slightly delaying the Superdash even lets you switch sides. 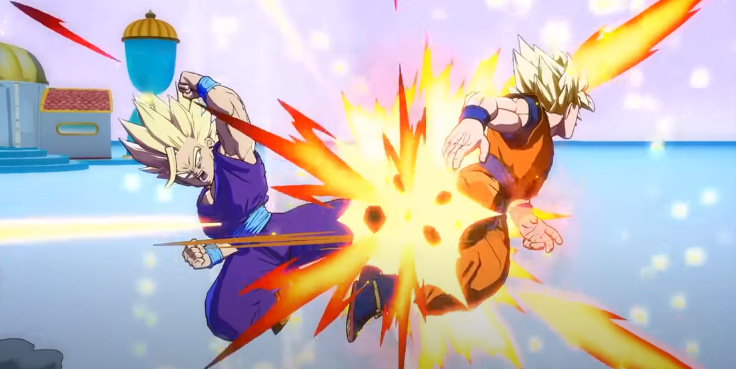 Next, Gohan has a low hitting 2L. A little short, but nothing special. 5M is short but great for staggering due to its frame data.
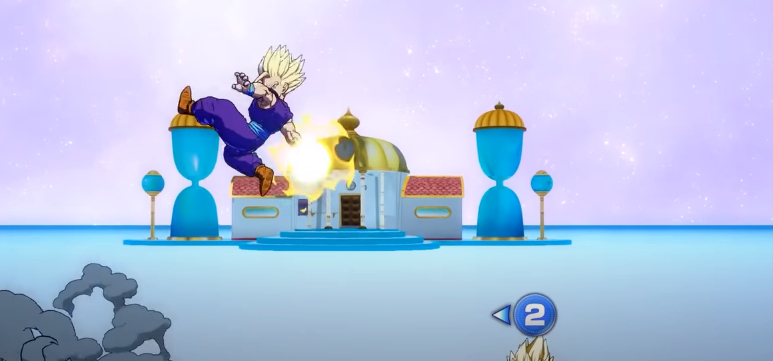
2M is sliding with long active frames can get more range with momentum. 5H and 2H are standard but beware of the horizontal range on 2H. Generally, you shouldn’t use more than 2 or 3 in neutral to give yourself enough time to react to Super dash. 28 is weird, it’s a Ki Blast that explodes when it hits the floor. 3S will move Gohan forwards, and he can be Superdashed. But you can also bait Superdashes and punish with Flying Kicks.
 it
it
Chains are 4 times, but the angle isn’t the best. You can use it to bait 2H. 
The rest of the air buttons are normal, but iL will be your go-to cross up tool. 5-Hit Combo (236X) Alariat can be followed up to 4 times using Light, Medium or Heavy.
5-Hit Combo (236X) The initial attack is not considered aerial. The frame advantage also becomes better when it’s blocked late. The light version covers almost half a screen and is safe on block. 
On a hit, it keeps the enemy ground. The medium version covers almost full screen and will cross over crouching enemies but can be made safe enough distance and steal a turn.

Other uses include punishing bad Vanishes or getting in when covered with an assist. On a hit, launches the enemy off the ground.

The Heavy version is the same as the Light with Medium range. On a hit, it will automatically do follow-ups and combo afterwards if used pre-smash.
Follow up 1-3 (236L-L), light follow-ups will keep a grounded enemy grounded.
Followup 1-3(236M-L) Aerial enemies will be slightly knocked back.
Followup 13 (236M-M) Medium followup will always yeet them away.

Follow up 4 (236X-XXXL), ending in Light sends the enemy behind Gohan.
Follow Up 4 (236X-XXXM) while Medium sends them forwards.

Follow up 4 (236X-XXXH) Heavy will immediately end the Rekka, dealing all undealt damage at once and combo if used pre-smash.

Combine Light and Medium follow-ups for a lot of corner carry. Flying Kick (1236X) Light version can be held until landing. Gohan keeps all the momentum he has. Flying Kick (1236) Medium version has a set amount of kicks and will always move in the same way. Flying Kick (1236X) Heavy version is the same as Medium except for extra kicks and frame advantage. It means you can sneak in A jil before landing.
Flying Kick (j236X) This il can be 2Ha, though.

Flying Kick (1236X) You get a massive wall bounce to combo off of a hit.
Super Dragon Flight (214X), a series of Dragon punches. The light version is air invincible immediately. Super Dragon Flight (214) medium version is fully invincible. Like Light, very punishable on block.

Super Dragon Flight (214X) Heavy is faster due to the initial gut punch. Less recovery on whiff than other versions, but still very punishable.
 A
A
Assist on demand 236M with decent blockstun. “A” Assist has invincibility, but extending with it is tricky.
B Assist tracks to the enemy and has good blockstun, but isn’t the best for Blockstrings due to Ki Blast properties.

C Assist since the recent patch, this now tracks anywhere on the screen. 
Basic Safe Gapless Blockstrings, there are multiple routes for Teen Gohan.
2L5L > 5M2M > 5H > 236L 
Basic Safe Gapless blockstrings ending in 5S can bat reflect since you could still 236L or 1/3 afterwards.
245L > 5M2M SH> 5S
Example Assist Blockstring
2L5L> 5M2M>2H > j236L > A1 > 2L5L > 5M2M 5H>236L > A2 > 5LLL > j236L
Cross Up Options.
You can use cross up airdashes after 5L, 5M or 5LL. Timing on non-standard bodies is tighter.
… >5L > 96 (delay) jL > j236MVH

50/50 with Assist
Probably why you came here. After a 236M or j236H, you can get a 50/50 high low with many assists.
2L5L > 5M2M > 2H > j236M > A1 > (delay) 66 jM

Don’t delay the airdash if you use j236H. 50/50 with Assist Problem is that there’s always a gap before j236M. You can spend half a bar for 236H to make it gapless, though.

You can spend Haya Tano Assist.
2L5L> 5M2M > 2H > 1236H > A1 > 66 M OR (land) 2L >…
Midscreen Basics
Midscreen BnB
4185 dmg/ 3577 scaled / +1.05 bar
2M5M > jMLL2H > SD > jMLL2HjcLLL
5H Route
4512 dmg/ 3937 scaled / +1.5 bar
The more you delay every hit, the more corner carry you get. To get a knockdown you need to assist or vanish > DR.
5M2M > 5H > 236M~LMLM > jLL2HjcLLL
Universal Bomb Loops Solo
5107 dmg/ 4040 scaled / +1.05 bar
For scale end in. SD>jLLL, delay the first SD until you can hear a bomb explosion.
2M5M > jMLLjcMS > j3S > (delay) SD > jMS > j3S > (land) 236M~LMLH > SD > jM2HjcLLL
(Using 236H instead is a lot easier but will reduce your meter gain.)
Universal Bomb Loops Assist
5107 dmg/ 4040 scaled / +2.2 bar
Builds absurd amounts of bar.
2M5M > jMLLjcMS > j3S > (delay) SD > jMS > j3S > (land) 236M~LMLM > SD > jM2HjcLLL > A1 > DR
Easier Corner to Corner
4919 dmg/ 4102 scaled / +0.9bar
2M5M > jMLLjcMS > j3S > (delay) SD > jML > j236M > (land) 236M~LMLM > Vanish > DR

5LL Starter Loops
3585 dmg |+2.1 bar
5LL > jcMLS > j3S > (delay) SD > jMS > j3S > (land) 236M~LMLM > SD > jML2HjcLLL

Mid-Corner Simple
5379 dmg/4250 scaled | +1.9 bar
2M5M > jMLLjcMS > j3S > (delay) SD > jMS > j3SS > jMLL2H > SD > jMLL2HjcLLL

Mid-Corner Advanced
5509 dmg/4521 scaled | +12.6 bar
2M5M > jMLLjcMS > j3S > (delay) SD > jMS > j3SS > jS(4) > j1S > (land) 5S(3) > 236L~MMMM > 66 DR
Scaled Route
jH > 2M5M > jMjcMS > j3S > (delay) SD > jMS > j3SS > jS(4) > j1S > (land) 5S(4) > 236H > DR
Corner BnB
5104/4132 scaled|+0.6 abr
2M5M > jMjcM > j236M > (land) 2L5H > 236L~LLLL > Vanish > j3SS > DR
Alternate Solo Corner BnB
5929 dmg/ 3982 scaled |+1.4 bar
2M5M > 236M~M(delay)MMM > 44 j3SSS > (land) 5H > 236L~MMMM > j236[L] > Lvl1

Corner BnB with 1 Assist
2M5M > jMjcM > j236M > 2L5H > 236L~LLLL > Vanish > j3SS > SD > jMH > j236[L] > A1 > DR
Optimal Corner BnB with 2 Assists
2M5M > jMjcM > j236M > 5M > jS > j1S > 66 5M > jMH > j236[L] > A1 > 1S > j3S > SD > jMH > j236[L] > A2 > DR > 214M > Lvl1
Corner Side Switch
2M(delay)5M > 236M~MMLL > 44 3SSS > (land) 5H > SD > jMH > j236[L] > Lvl1

2H Punish
2H > SD > jML2HjcLLL
2H > (delay) SD > jMLL2HjcLLL
Vanish Confirm
2903 damage
…. > Vanish > 66 2M5M > jM2HjcLLS > j3S > (delay) j3S > SD > jMH > j236[L] > A1 > DR
Superdash Confirm
3135 damage |+1.2 bar
Again no knockdown possible without assist or vanish
SD > jLL > j236M > (land) 236M~LMLM > jLL2HjcLLL
0 Bar 214L Punish TOD
214L > Sparking > 2M5M jMH > A1 > j3S > 66 j3S > (land) 236M~MMMM > 2M5H > jLMH > j236[L] > A1 DR > Lvl1 Lvl1 Lvl3

1 Bar 2M Limit Break TOD
2M5M > 214L > Sparking > j3SS > 66 j3S > 236L~MMMM > Vanish > 44 (delay) j1SS > (land) 5H5SS > 236L~LMLL > Vanish > DR > Lvl5