This guide will let you know everything about the lost contract in Solo Mode in GTA 5 Online.
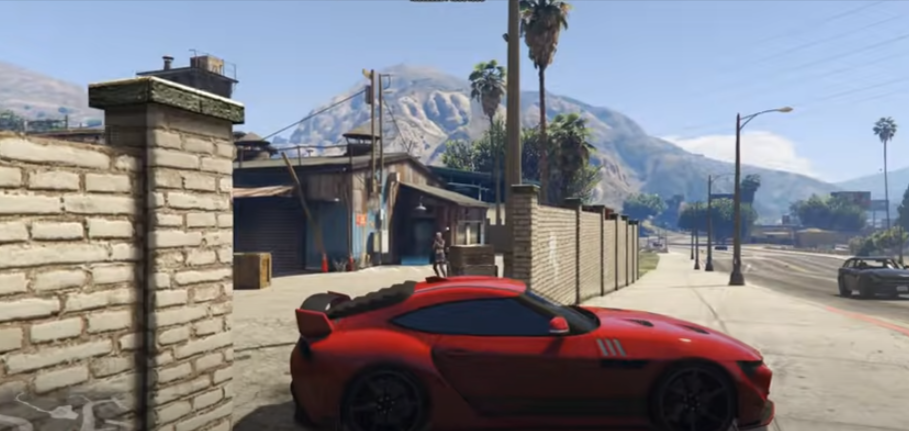
The first mission is Lab Location, and there are two locations for the Lab. You need to go to the Lost MC clubhouse for the first location and use the sticky bombs to clear the path. Kill all the enemies and enter the clubhouse, as shown in the image below.
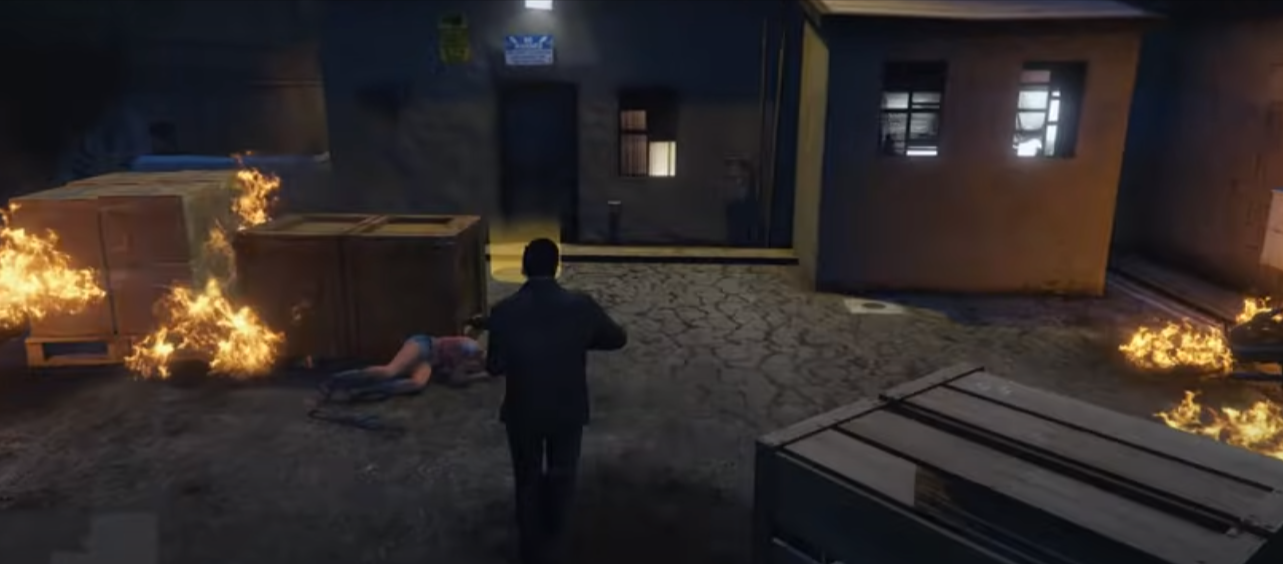
When you enter the clubhouse, you need to crouch behind the boxes and then use the weapon to kill the gang member. You have to be on the cover while you fire because these gang members have a lot of heavy weapons, and if you go openly and try to shoot them, they will kill you easily.
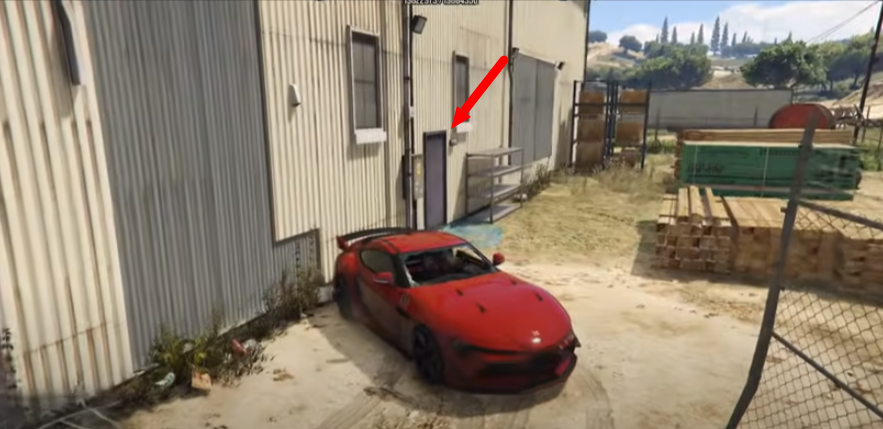
When you kill all the gang members from the ground floor, you need to go upstairs carefully and kill the members from there. You need to use an assault shotgun because it will give you a huge advantage and damage the members, as shown in the image below.

After that, move forward, and there you will find a bag which is the first piece of equipment; you need to grab it and then go downstairs. Then enter into the safe room, you will find the documents there, and it will complete your mission.

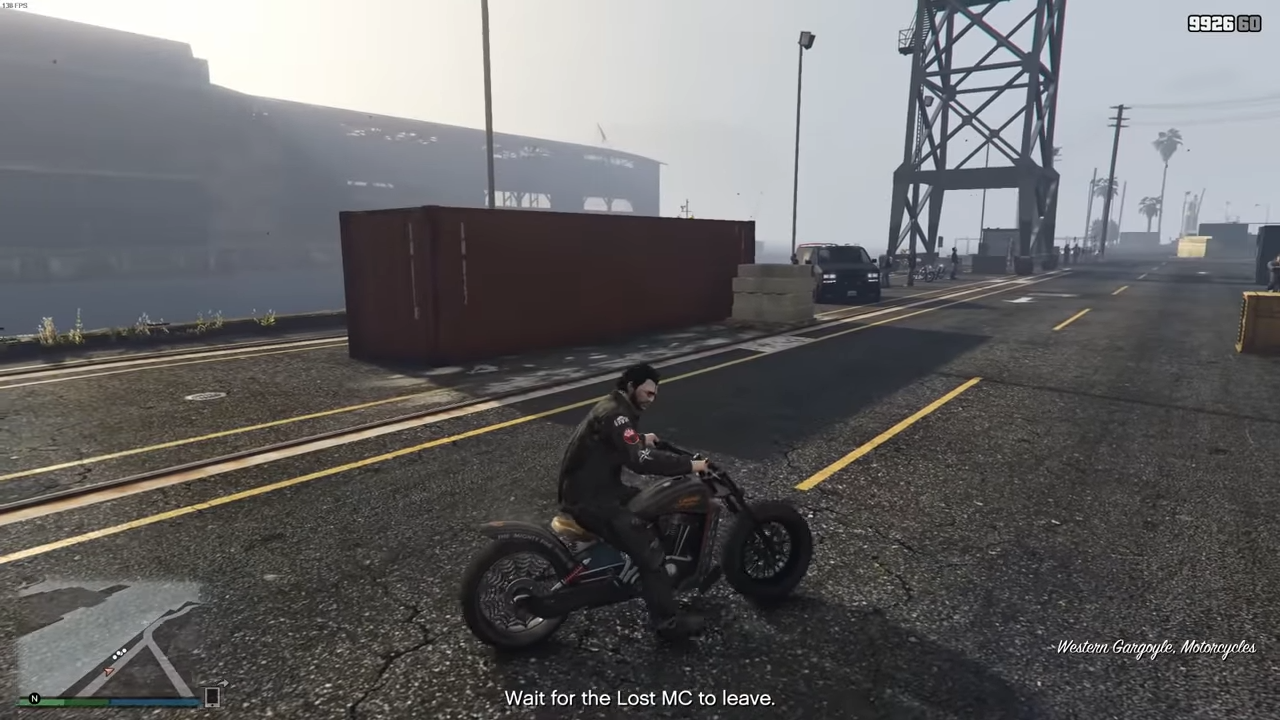
The next mission is the Cargo list. For this mission, you will need to go to Lesion Island, and you will get a task to wait for the last MC to leave.
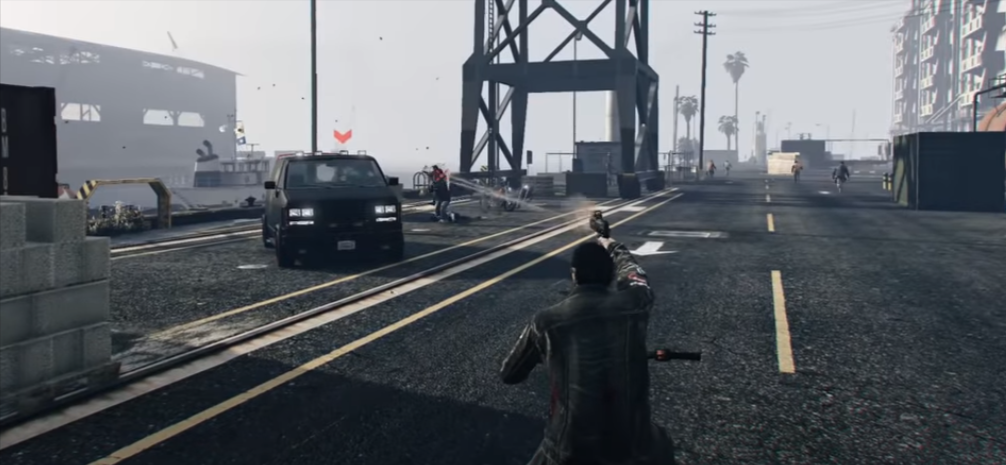
After that, you have to take out the dock foreman, kill all of his members and then kill him so that you won’t get killed by the gang members.
After killing the foreman, you need to take the photos of the dock lists next to him, which will complete your mission.
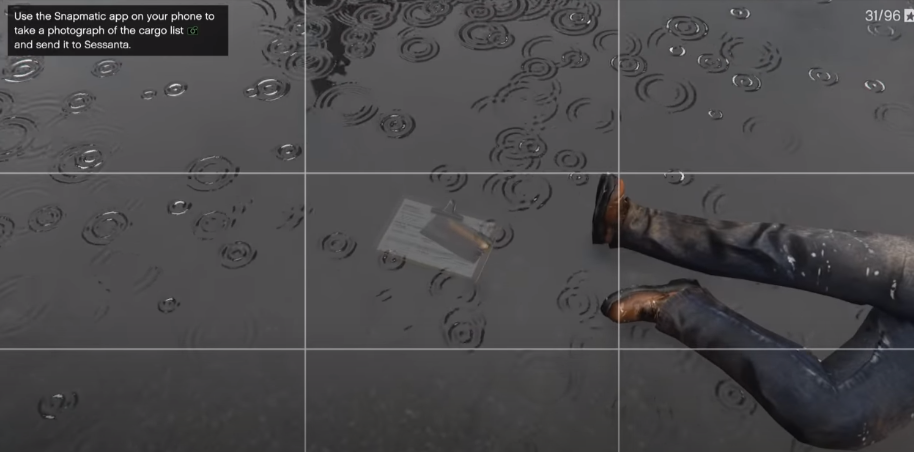
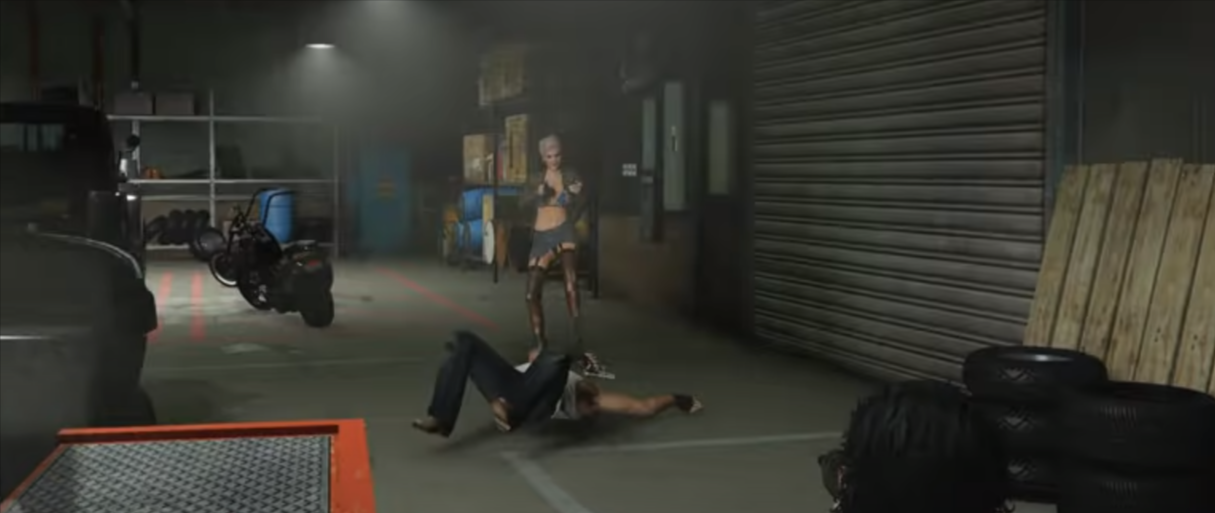
The other way to complete the mission is following the foreman until he gets to the quiet place where he is alone. Then you need to kill him and then take the photos of the cargo list, as shown in the image below.

You will have cops on you when you kill him instead of lost MC. You need to get a truck and go to Harmony Storage Yard to stack the truck cab.
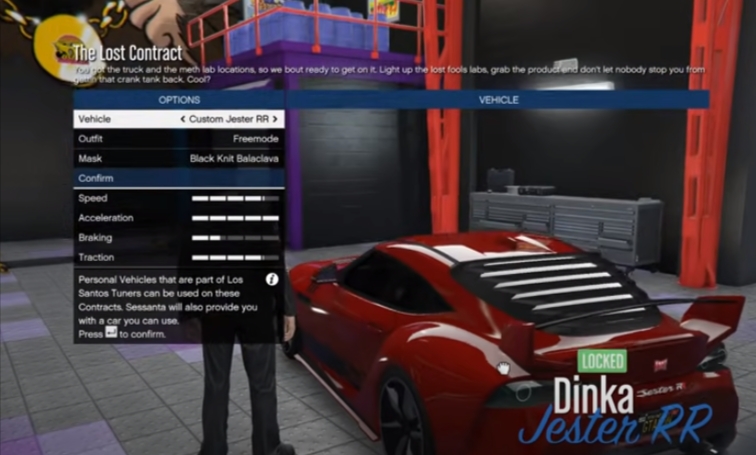
For the next mission, you will need to use the Hastler as a Weapon Loadout and Jester RR car, as shown in the image below.
You have to go to the four different meth labs and destroy them all in this mission. The best route for these meth labs is shown on the map below.
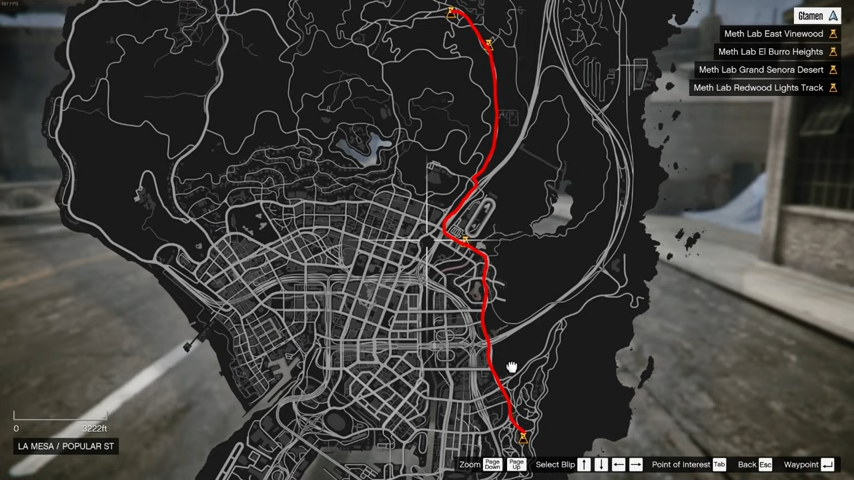
You will need to start from the south and then go upwards to destroy the labs one by one for the second stage of the mission. When you arrive at the first meth lab location, you have to stay in the car, reverse it to the Lab and kill all of the members while sitting in the car.
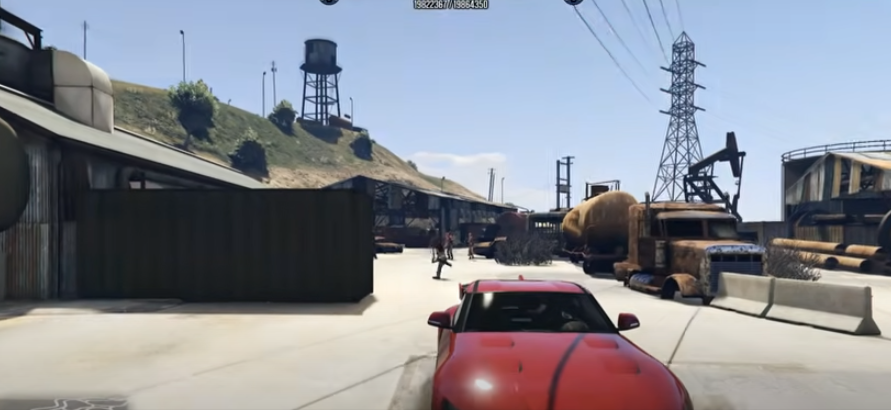
When you kill them, you have to go inside the Lab and plant a bomb inside that Lab on the control panel. After planting the bomb, you need to get back to your car and head towards the next location, as shown in the image below.

When you reach the second location, you need to stay inside the car, reverse your car towards the Lab and kill all the members. When they are killed, you need to get inside the Lab, and then you have to plant a bomb on the control panel.
Now for the next location you when you get there from the map, you will see that the meth lab is in the open area, so you need to park your car closer to the entrance door so that when you come back, you don’t have to run to your car, you have to sit and kill the other members. Inside the Lab, you have to plant a bomb on the control panel and move to the next location.
After blowing all of the meth labs, you need to go back to the truck location, where you must grab your truck and go to Stab city. The lost of MC will not be a threat to you. When you get there, you have to hand over the truck to the contractor, and then your mission will be completed, as shown in the image below
