This guide will provide you with all the details about the best launchers, Mojang, Curseforge, MultiMC, GDLauncher, and ATLauncher for Minecraft.
Minecraft Launcher
In the Minecraft launcher, you can play Minecraft easily. When you download your Minecraft game, you have to download this Launcher to play the game. You can play the Vanilla versions of Minecraft as it integrates with the Mojang ecosystem, and it has the Dungeons edition of Minecraft.

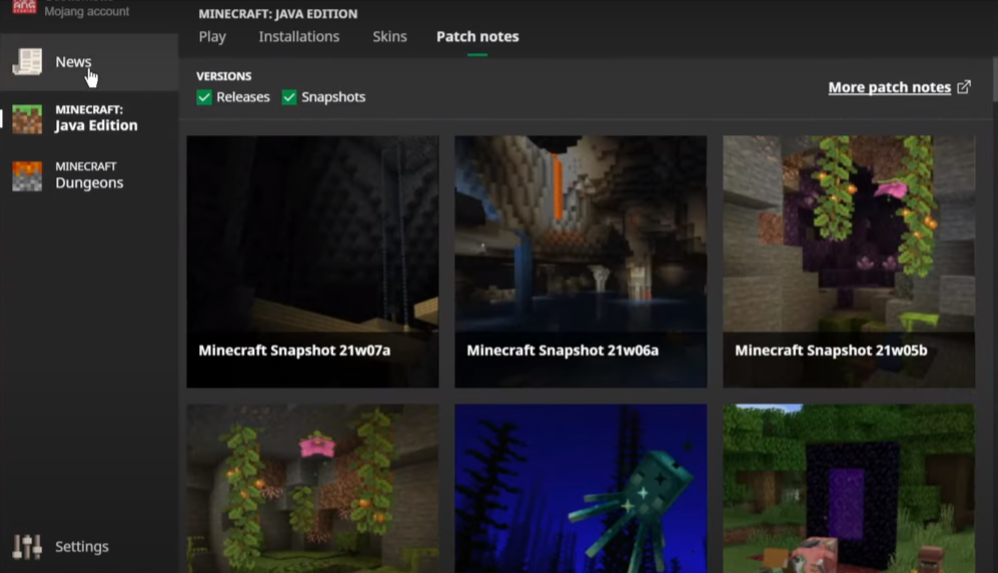
As you can see, it is a unified launcher, and you can play all of the Minecraft titles for Java edition, click on the installations tab from the menu bar, and you can browse any version of the Minecraft game. Minecraft is not available by Mojang, and you can also install them as Vanilla profiles. You can also place snapshots that will help you see embedded patch notes from which you can get the information about the Minecraft game.
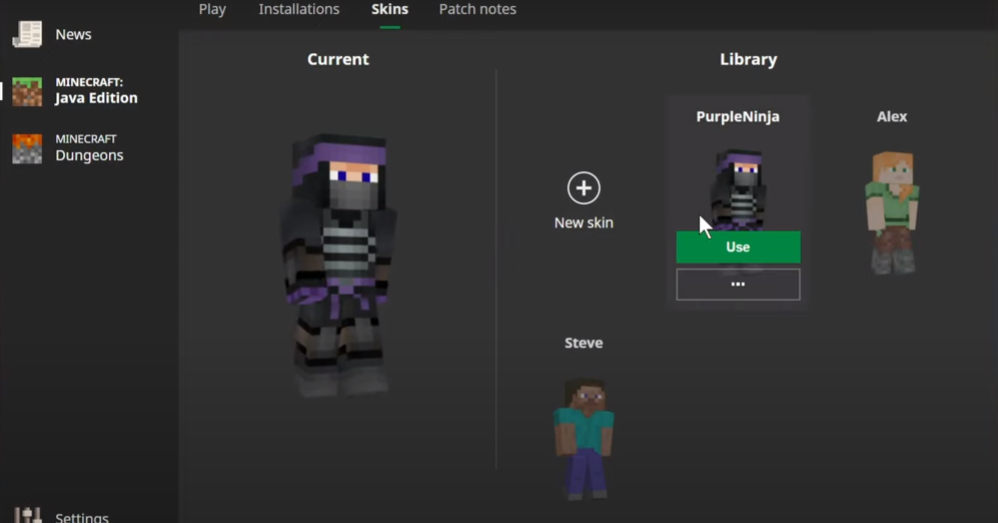
When you click on the Skins tab in the menu bar, you will manage your character skins easily. You can also select it from your system library by clicking on the new skin option.
You cannot use this launcher for the modded version because it has its java version inside, so you cannot use the system’s java. If you need to play Minecraft, you have to download the Launcher, and it will automatically install the Java and verify it as well in the Launcher.
If you want to play the modded version, you have to install Forge as a profile to make the profile in the Launcher and then add mods to that. But it will be tough to manage the profiles because this Launcher depends on your system Minecraft game folder, and to find all the profiles you created, you have to open your game folder, and there you will find all of your profiles.

If you install optifine, it will create its profile in the Launcher, but it will not run as a mod. When the optifine installs in this Launcher, it patches Minecraft itself, and it is not a good practice to do it. If you are using a modded version, you can check or uncheck the modded profiles in Minecraft, as shown in the image below.
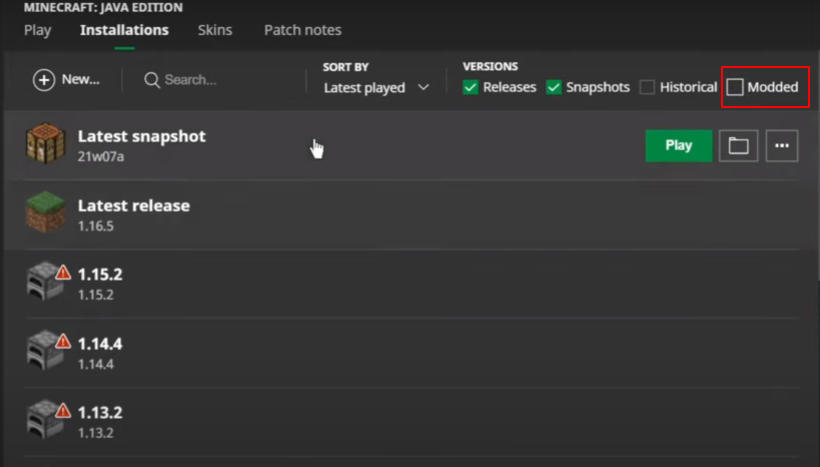
When you enable the snapshots button, you can play the latest versions released and put those versions in your Minecraft game folder. When you open the folder, you have to open the versions folder to find all the old versions. So if you want to delete the old versions, you can delete them from there.

You have to separate the game directories because it will save all of your game reserves in the global saves folder, which is not good if you play different Minecraft versions. When you open the mods folder in a game folder, you will find all your mods files there.

So you have to separate your profiles from each other, create a separate game directory and then click on the browse option. You need to select different guides, as shown in the image below.

This Launcher is smaller; it will take 99 MB of your RAM when running, and you can also log in through your Mojang or Microsoft account.
CurseForge Launcher
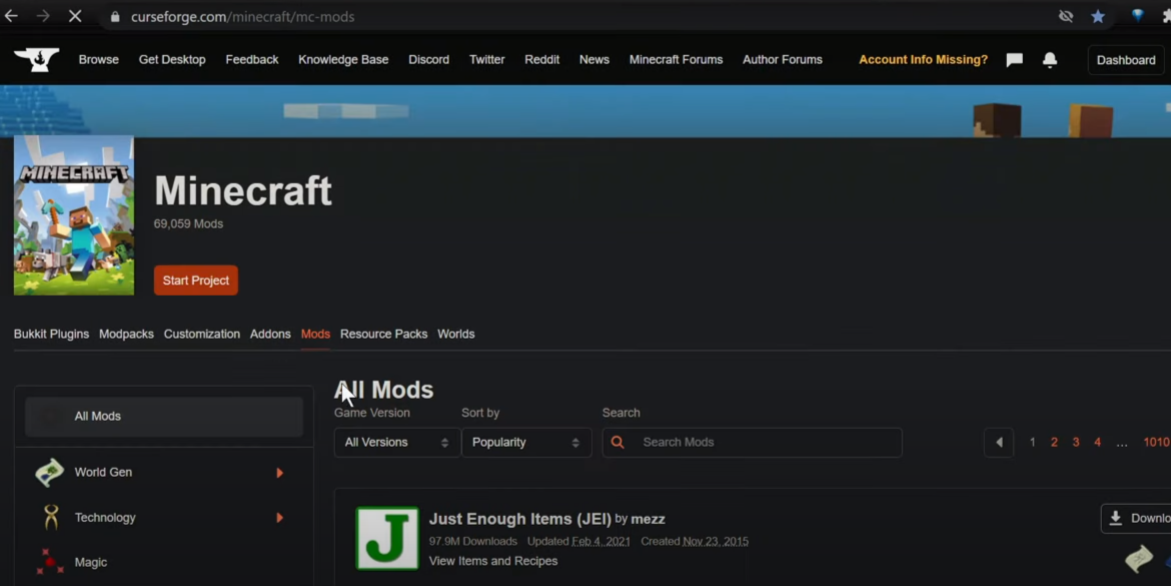
CurseForge Launcher also has the over wolf tray app, directly linking to its play store. When you click on it, a new tab will pop up, and you can search any other game as well because the forge launcher is not just a launcher for Minecraft; it is a multi-game launcher.
When you open the Launcher, you have to go to the settings, and you will find an exit course forge and OverWolf option, which means the OverWolf will only be active when the Launcher is active. This Launcher has its own embedded version of Java inside it, and you can also change the version of Java in the settings, as shown in the image below.

In this launcher, you can also create new profiles by clicking on the Create Custom Profile option in the right top corner, as shown in the image below. You can also import the zip files from your system.

This Launcher does not support fabric; you will find a few fabric mod packs if you search for fabric mod. You first have to download the jump loader to use it, which will skip the forge loading process and load fabric.
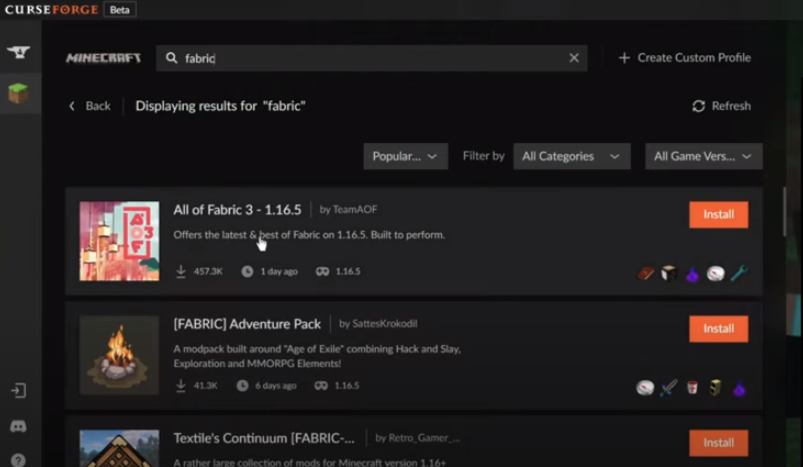
In this Launcher, you can also create your mod pack that you can directly link with curse forge. You can also select the different mods versions and read the mod content. When you select the mod, you have to add them to your pack and then export that pack on Curse Forge so that other people will also see and use it in their games.

When you launch it, it will open up the same Launcher as the Minecraft launcher, but it has a modded profile. You will need to log in through Minecraft with your Mojang account or use a Microsoft account.

The launcher obtains 99 MBs for itself, almost the same as the Minecraft launcher, but it has some additional programs running on your system and using 400 MBs of your RAM.

It also has the over wolf tray app, which directly links to its play store. When you click on it, a new tab will pop up, and you can search any other game as well because the forge launcher is not just a launcher for Minecraft; it is a multi-game launcher.

When you open the Launcher, you have to go to the settings, and you will find an exit course forge and OverWolf option, which means the OverWolf will only be active when the Launcher is active. This Launcher has its own embedded version of java inside it, and you can also change the version of java in the settings, as shown in the image below.

MultiMC Launcher
The MultiMC launcher has its pack folder, and you can use it in all systems like Windows, Mac, or Linux. It is a lower user launcher, and it is a portable application that doesn’t download anything in your system as it only operates and works on itself. You can also find multiplier versions of this Launcher set up with different profiles, which is why it is a power user app.
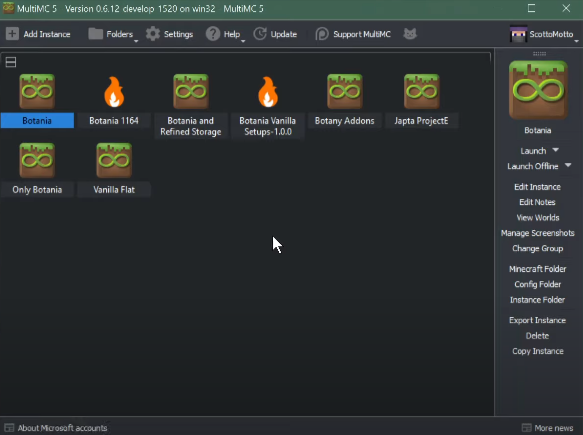
It is a powerful launcher, and the developer of this Launcher also works at Mojang on the official Launcher. Because of that, it is a stable and powerful launcher. So you must have the developer version to have the full features. To do so, you first have to open the Launcher and then go to its settings, choose the development option in the Update Channel, as shown in the image below.
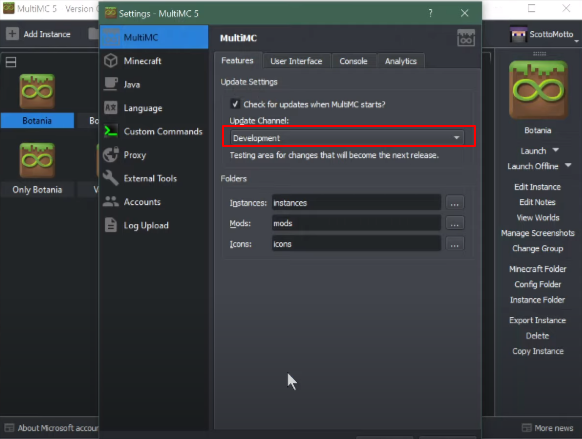
After that, you will need to click on the update option to update the Launcher, and then you will have the full version and full features. There are a lot of features in the development channel, not in the main channel, and when you click on the Add Instance tab, you can browse mod packs from significant services like twitch which is over the wolf, and search all the mod packs according to your need.

You can add any mod directly in MultiMC. If you go to the FTB, you will find the latest and newest mod packs. If you click on the Technic, you can also search for the packs, and you can choose any technic pack from there.
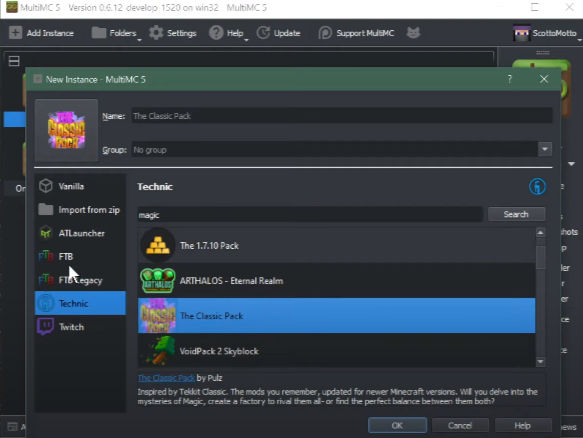
You can also import the zip file by clicking on the import from zip option. Multi MC has its pack format to export the Mod packs, but it will export with its format in the system, and that format is not importable by most of the launchers. You can also install Forge and fabric inside this Launcher directly.
If you want to create a new instance, you have to right-click on it and select the edit instance option, as shown in the image below.

When you click on it, a new tab will pop up, and you will spot two options, “install forge”, “install fabric,” on the right side. If you want to install the Forge, you have to click on the Install Forge option and if you want to install fabric, click on the Install Fabric option.
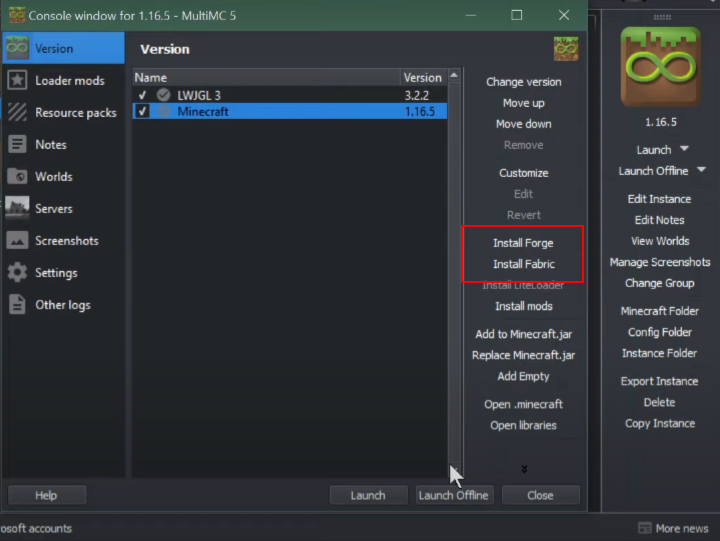
You have to remember that they both don’t run together in Multi-MC Launcher, and you cannot install and update the Mod directly. If you want to, you have to right-click on it and select the copy instance on the bottom of the screen.
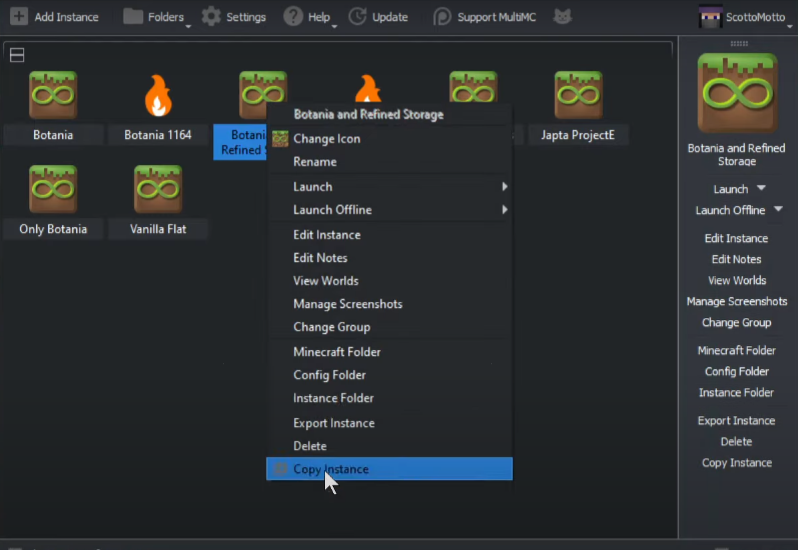
After clicking on it, you have to install the new version of the mod pack copy over your mods and settings system. In this Launcher, you can easily mod the old versions of Minecraft. It will not accept the Microsoft accounts, and it only accepts the Mojang accounts for now. The memory this Multimc Launcher uses is only 15.4 MBs, which is very slow and efficient compared to the above launchers.
GD Launcher
GD Launcher is available in Mac, Windows, and Linux, and this Launcher has the full features set in all of these. In this Launcher, you can also build your own Mod pack. When you open the Launcher, you will find an arrow sign on the bottom left corner. If you click on it, you can select versions of it, as shown in the image below.

You can also take snapshots of the fabric, which is very useful, and when you click on twitch, you will find the mod packs. You can install any of them directly by clicking on them, as shown in the image below.
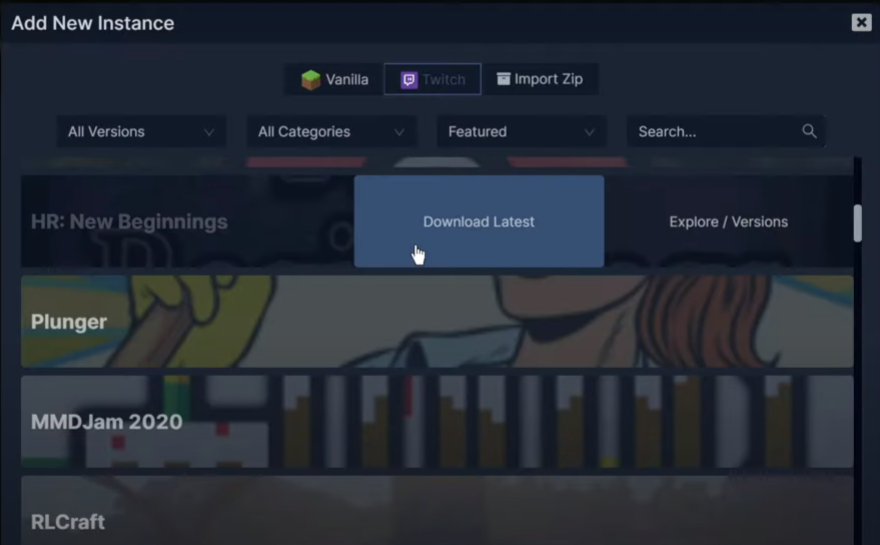
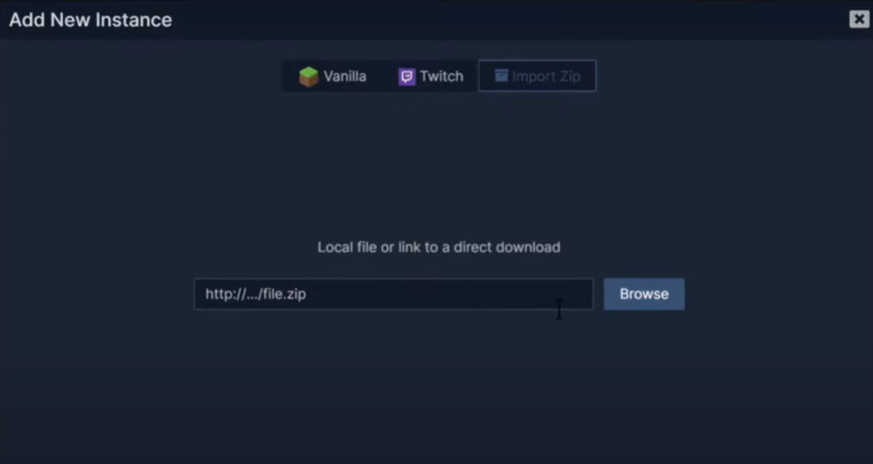
You can also import the zip files by clicking on the import zip tab and then clicking on the browse option. You have to browse the file you want to import from the system.
If you want to create a new mod pack, you have to go to the first tab and select the version forge. You have to select the version of Forge and then click on the arrow located on the right bottom of the tab. Name it, click on the Next button, and install it successfully, as shown in the image below.

This Launcher has the embedded version of java which is open JDK; go to the settings and then click on the Java tab. You will need to turn on the autoselect java path, and if you turn it off, you have to select any other java path for installation. After installing the mod pack, you have to right-click on it and choose the manage option. Now you can add the mods, click on the Add Mod option, and bring all the mods on Curse Forge.

When you run this Launcher, it will take almost 41 MBs of RAM. If you are using Linux, this Launcher is the best for it. You can export the profiles as well. Right-click on the profile and select the Export Pack option, as shown in the image below.
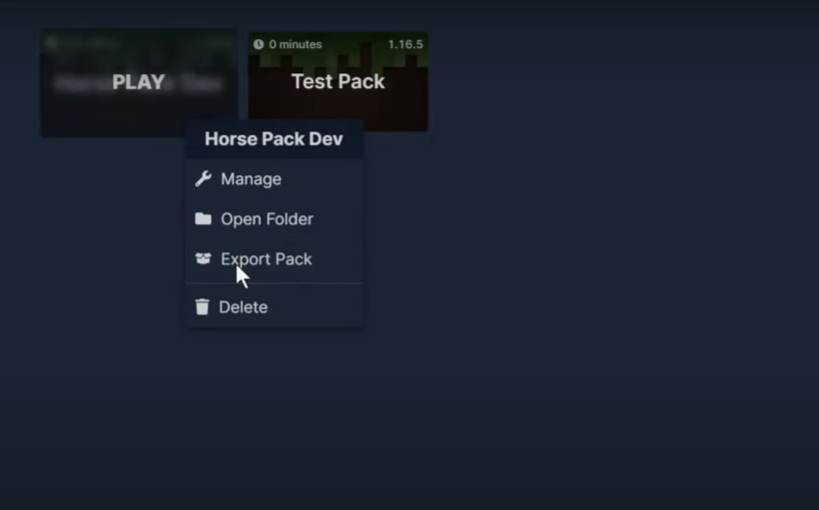
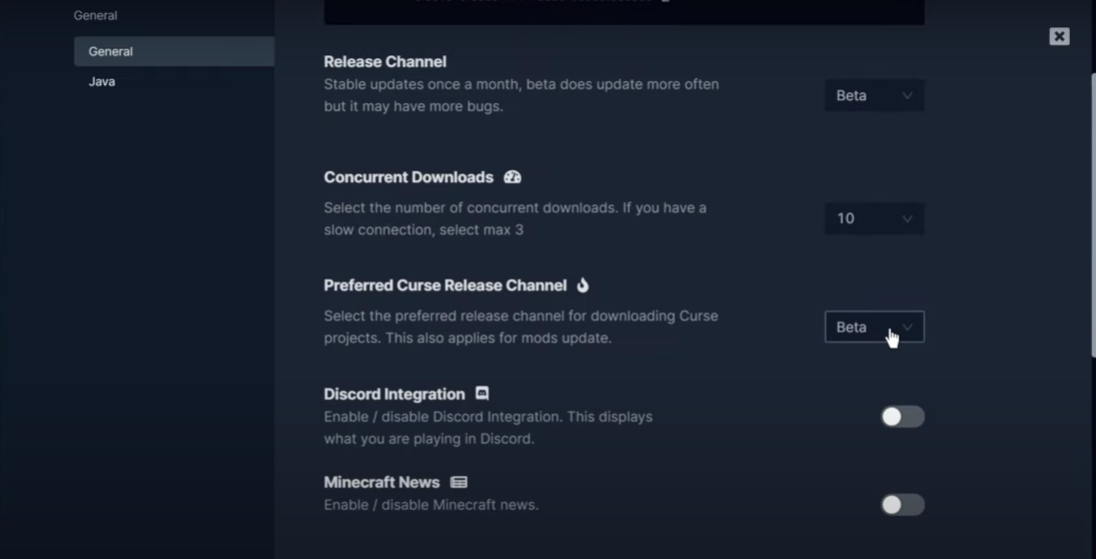
It will export in CurseForge format, and you can also upload the pack on the Curse Forge website so that other people can also download and install it. You can use the Microsoft accounts in the beta version of this Launcher. You have to ensure that you are in the beta channel at the bottom of the launcher settings, as shown in the image below.
AT Launcher
AT Launcher is a portable launcher because everything you install in the Launcher will be in its folder, not appearing in your start menu. When you open it, it will run server packs, etc., first, implementing the features. You can also use the Microsoft account to log in. In this Launcher, you can use the Vanella packs, forged packs, and material packs. It has its own set of rare packs to the Launcher, and you can also add the curse forge packs.
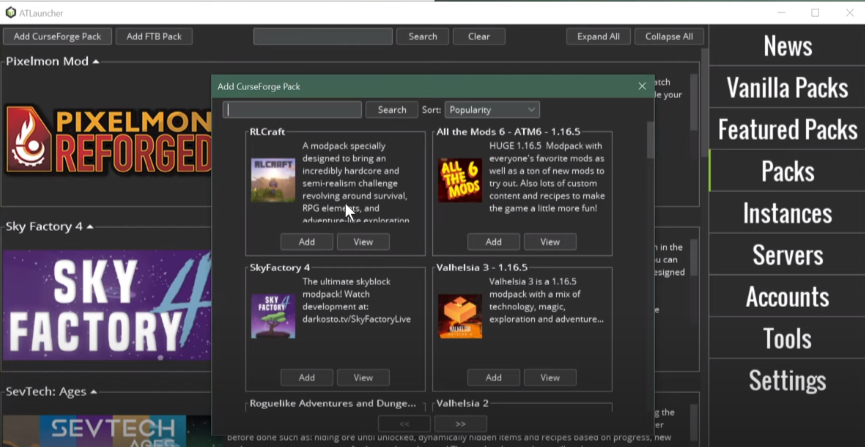
The great advantage of using this Launcher is adding and installing the server packs inside the Launcher. If you want to run local servers, you have to use this Launcher because you can play as a client or server version and connect to them.
It will also allow you to create your own packs very easily. When selecting the pack, you have to click on the new instance option, name it, and click on the Install button, as shown in the image below.

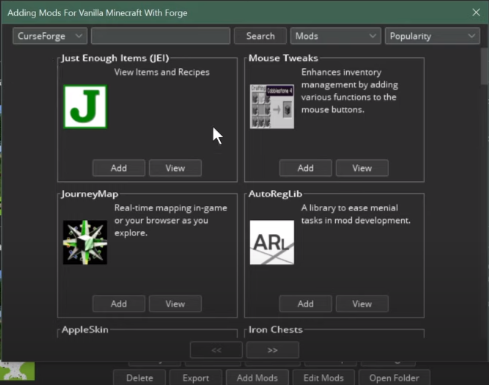
After installing it, you have to open the instance tab on the right side of the Launcher, and then you will find your pack. Click on the Add Mods option in that pack, and it will pop up in a browser. You can have two options curse Forge or Mod rent. You can use the mod rent for a fabric mod, and you can choose any mod from there and click on Add option to add the Mod in the pack. You can also view this Mod online by clicking n the view button, as shown in the image below.
This Launcher uses almost 500 MBs from the RAM, and it has the most significant memory usage compared to other launchers.