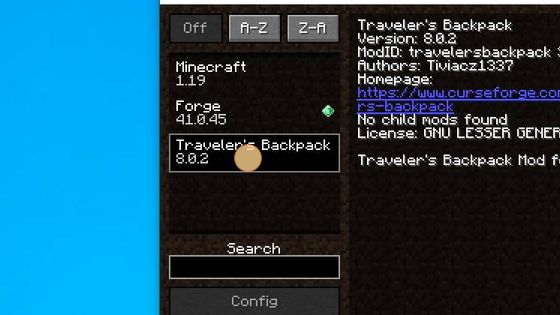
This guide will provide you with a detailed method to download and install Traveler’s Backpack 1.19 in Minecraft. You have to follow all the instructions carefully to install it.
Whether you are playing Minecraft on PC, Xbox or PS, Traveler’s Backpack Mod 1.19 is the perfect mod to add some extra storage space and versatility to your game.
You have to follow the instructions below to download and install this mod in Minecraft version 1.19.
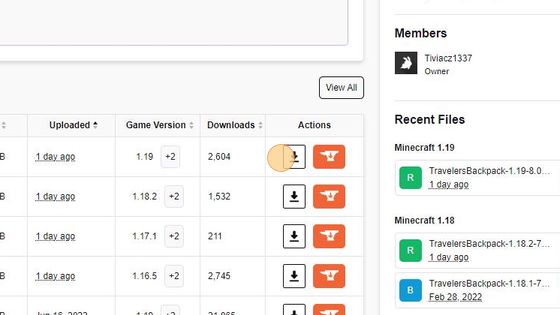
1. To download Traveler’s Backpack 1.19, you will need to open the following link, scroll down to Recent Files and download the top 1.19 files.
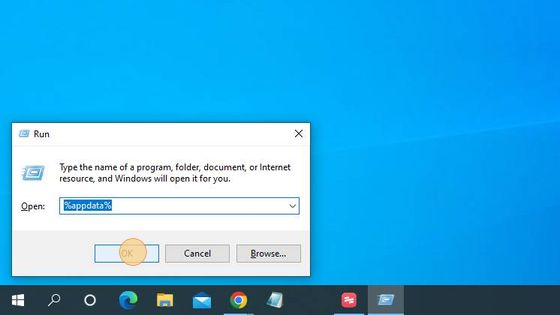
2. After that, press Window+R, type %appdata% and tap OK to save the downloaded Traveler’s Backpack 1.19 file in Minecraft.
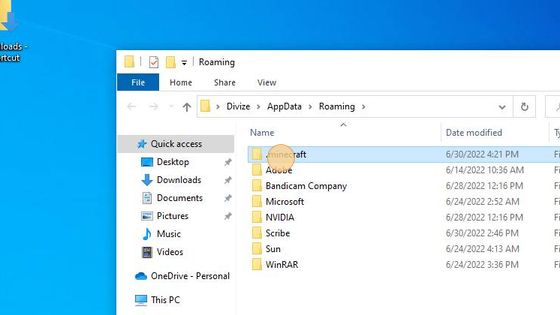
3. Then you have to double-click on the .minecraft folder to open it up.
4. And navigate to the mods folder.
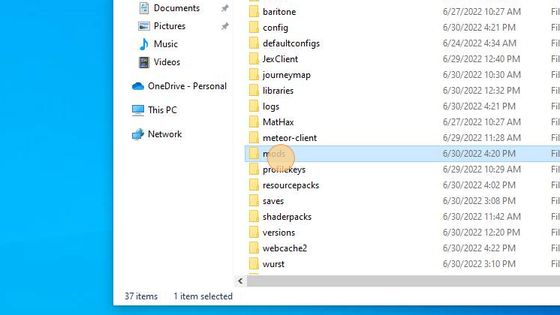
5. Now you have to paste or move the downloaded Traveler’s Backpack 1.19 file in the mods folder.

6. Launch the Minecraft game to check the Traveler’s Backpack 1.19 file.
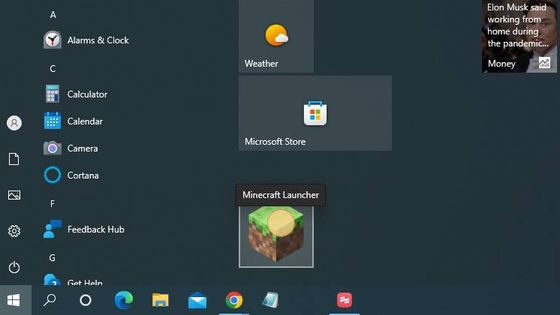
7. Select Forge 1.19 and click on Play.

8. Then you need to tap on the Mods option.
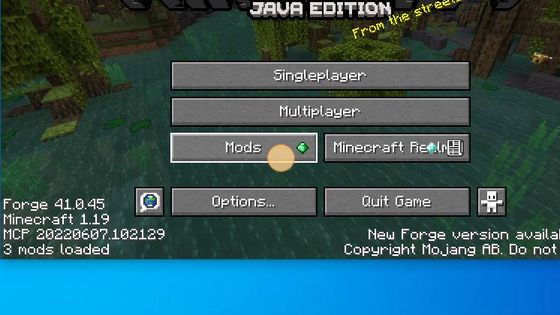
9. You have successfully installed the Traveler’s Backpack 1.19 file in your Minecraft.
