In this guide, you will learn the BnB combos and basics of Cooler in Dragon Ball Fighter Season 3.5.
The cooler’s 5L is small, but it is safe. 2L does NOT hit low but is pretty significant. 5LL is massive, but it is unsafe on the block.
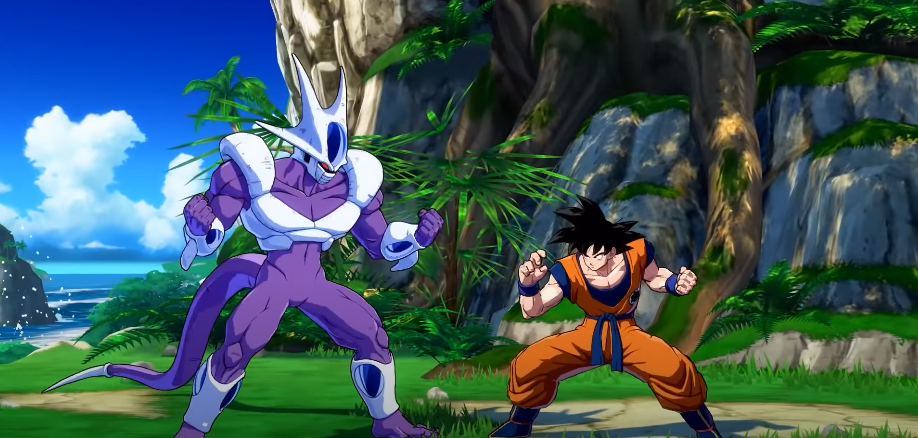
WAN 5LLL side switches on hit but will always leave a gap on the block, making it a frame trap. It is safe on the block. 5M is massive but unsafe if you’re too close.

And a 2M is even larger and unsafe but won’t always combo into 5M at a max range. Using 6H can help confirm the hit, but 5S5H will always work.

jNC 5H brings the enemy to the other side of the screen, resulting in great corner carry. 2H is standard, but Cooler has no tools to make it safe haplessly.
j2H moves Cooler slightly forward and launches sideways, otherwise nothing fancy.

6H is another safe low with a decent range, both used in block strings and combos. It is very similar to Cell’s 6H.

3H is the ultimate screw neutral tool. It goes almost full screen and is immune to all non-super projectiles.

NI Most hurt boxes extend when throwing projectiles, so it’ll hit at fullscreen too.
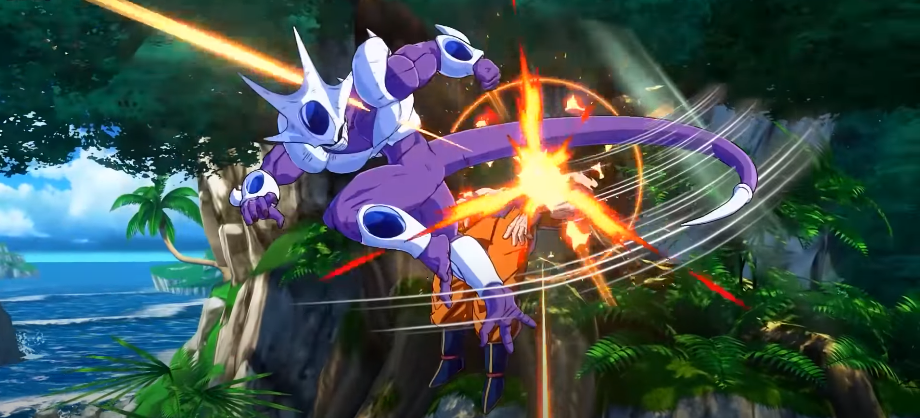
It has the same anti-air properties as 21 and is unsafe on block, but you can use 5S to make this one safe. 5S is a single Ki Blast. Not particularly good for neutral since it won’t hit at full screen, but it is incredibly important in block strings. jL and it is nothing special, but jM is colossal.
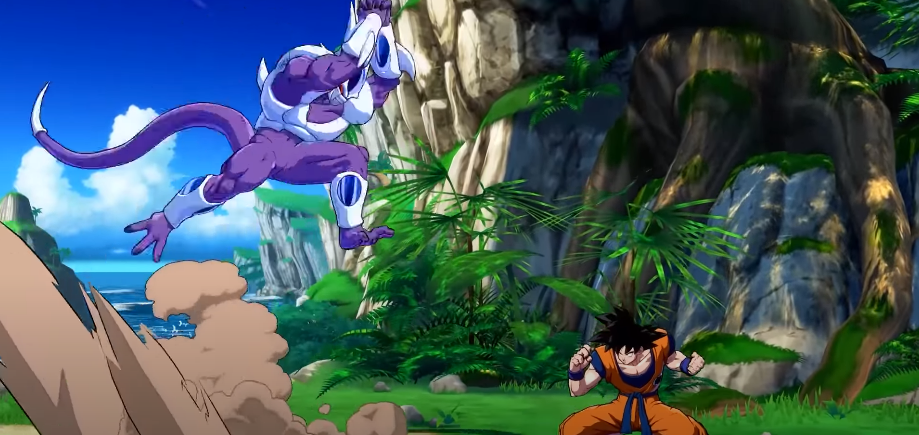
Death Chaser (236X, Air OK)

The series of overhead dive kicks, all of them safe on the block or better. The cooler cannot truly string into them on his own, though. Overuse can easily result in considerable punishment.
The AKTI Light version is mostly a combo ender and leaves Cooler airborne to continue your pressure if you’ve saved your double jump. The Medium is too slow to combo without assists, but it is a plus on block. It means if it is blocked, you will get another turn. The Heavy is a faster Medium version and recovers on the ground, allowing you to use Cooler’s ground Level 1.
Death Breaker (214X, Air OK)
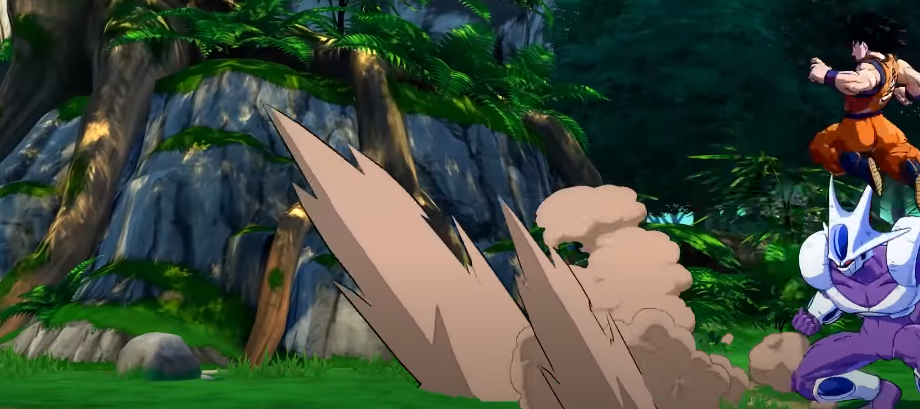
A series of air OK invincible DPs with one follow-up. As with every DP, it is extremely punishable if blocked. The Light version is only air invincible on frame one and is an unscaled TOD starter. The Medium version is entirely invincible but slightly slower.
Death Breaker Followup (214X-X, Air OK)
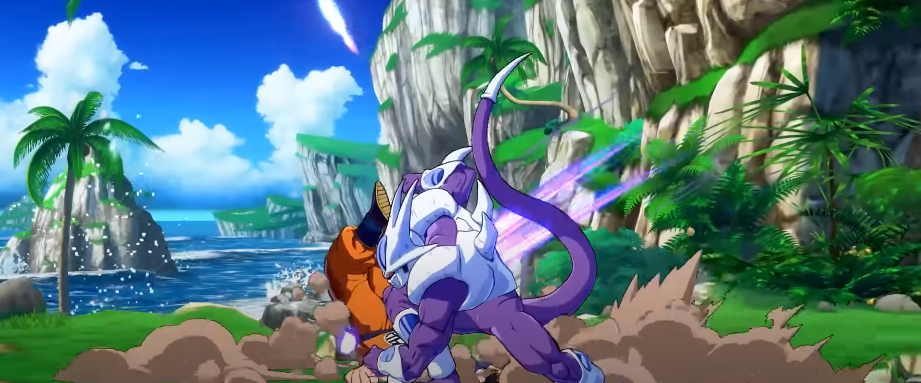
The Light follow-up will switch sides, and the Medium will keep sides. The Heavy switches sides and follows up with another dive kick, letting you ground Level 1 214H-H will deal extra damage with an additional kick.
Death Flash (236S, Air OK)

It is slightly slower but more significant than the average lemon-flavored beam.
Death Shaker (214S)
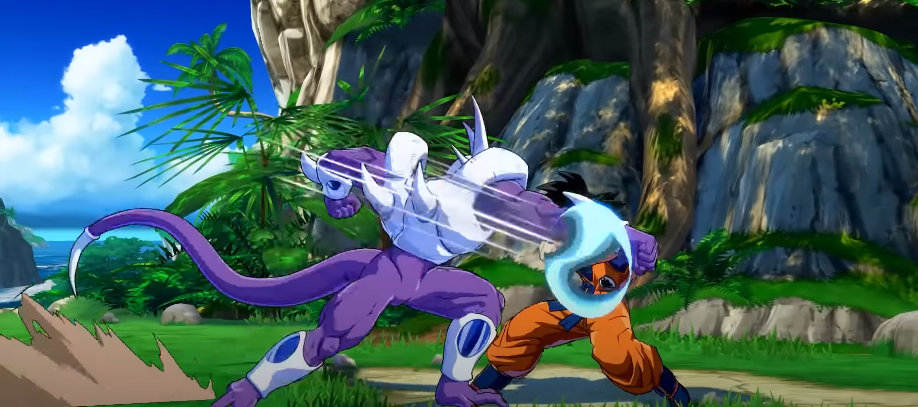
A fullscreen projectile is traveling across the floor that must be blocked low. It won’t clash with most projectiles, and it is often used to beat mashing.
A Assist

Medium DP on demand; it covers a large area and has a decent block- and hitstun.
B Assist

3H on demand, ignoring all projectiles for free neutral.
Death Crasher (236L+M/DR)
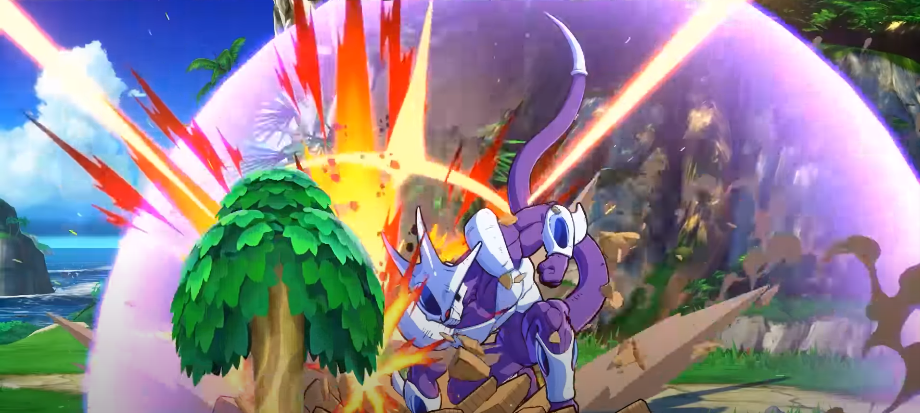
It will plant dumbass trees for big damage but switches sides. You can use it for max damage. It is the reason Heavy Special moves leave Cooler grounded.
Death Drop (1236L+M/DR)

His air super will do less damage but combos easily and keeps sides.
Atomic Supernova (214L+M/DR, Air OK)
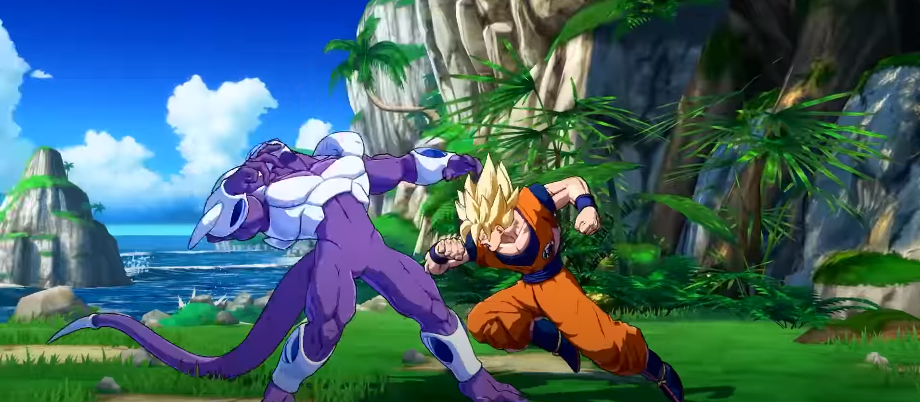
A counter super which will teleport to the enemy upon activation. It will not counter any grabs and will whiff on crouchers.
Atomic Supernova (214H+S/SD, Air OK)

Using the alternate version or doing it mid-air will instead go straight to the grab.
Atomic Supernova (214L+M/DR, Air OK)
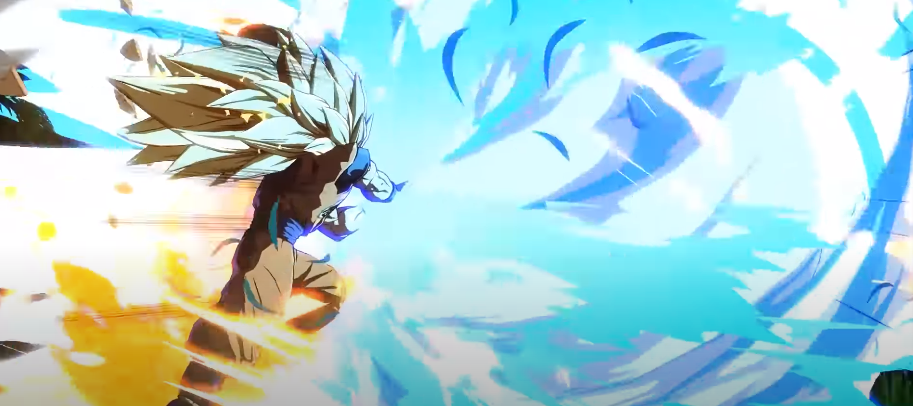
Lastly, it will completely negate the safe jumps.
Blockstrings
Basic Safe Gapless Blockstring

Cooler’s entire pressure is based on this.
2 L5LL > 2M5M > 6H5S
2L/5L Staggers

2L and 5L’s frame data combined with 2L’s size make them strong staggers.
2L5L > 2L5LL > 2M5M > 6H55 >
6H Pressure
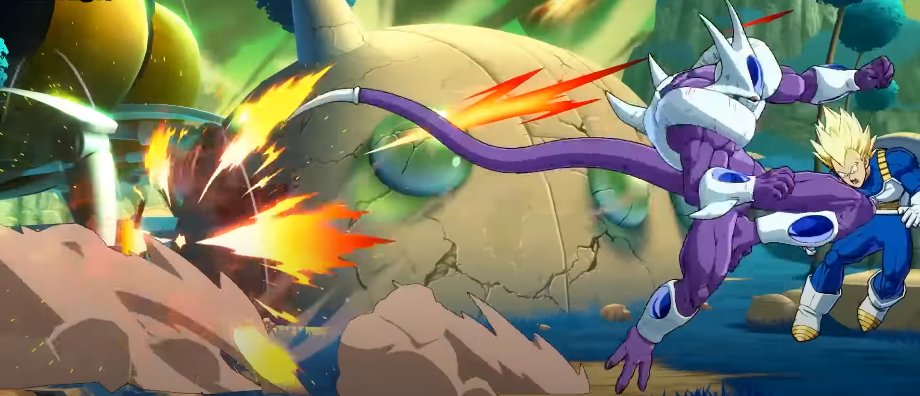
6H is barely safe on block, but the threat of the following 5H makes it risky to challenge.
2L5LL > 2M5M > 6H5H”> 6H
This turns 6H into a viable pressure reset point.

2L5LL > 2M5M > 6H > 2L5LL > 2M5M > 6H5H5S
You can save the 5H for after 5S, but there are better options, and you won’t have a guaranteed way to make it safe on block.

2L5LL > 2M5M > 6H5S5H > …
5S Options

Past those points, you can reset your pressure again at 5S. If they respect you, you get as many turns as they give you.

2L5LL > 2M5M > 6H5S >-66 2L5LL-> 2M5M >6H55 > 2M5M > 6H5H5S
This string will also space you far enough to get out of most character’s jab range, allowing for a punish.
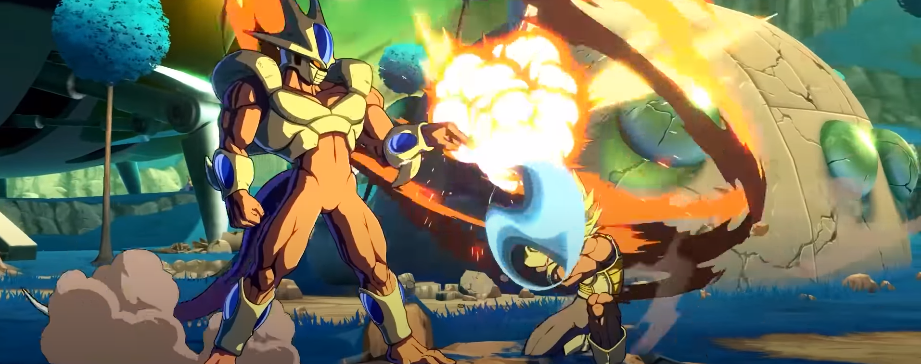
2L5LL > 2M5M > 6H55 > 2M5M > …
And as long as you pay attention, you can react to your enemy too.

2L5LL > 2M5M > 6H5S > 2H >
236X Resets
As mentioned previously, 236M and H are plus on block, meaning you cannot mash against them and expect to win.

2L5LL > 2M5M > 6H5H5S > 236M > 5LL >..
The problem is that they are very telegraphed and easy to punish if you are predictable.

2L5LL >2M5M >6H5H55 > 236M >
It is why you should use the Heavy version most of the time. It is significantly faster and harder to punish.

2L5LL > 2M5M > 6H5H5S > 236H
But you have to stay unpredictable while not overusing it.
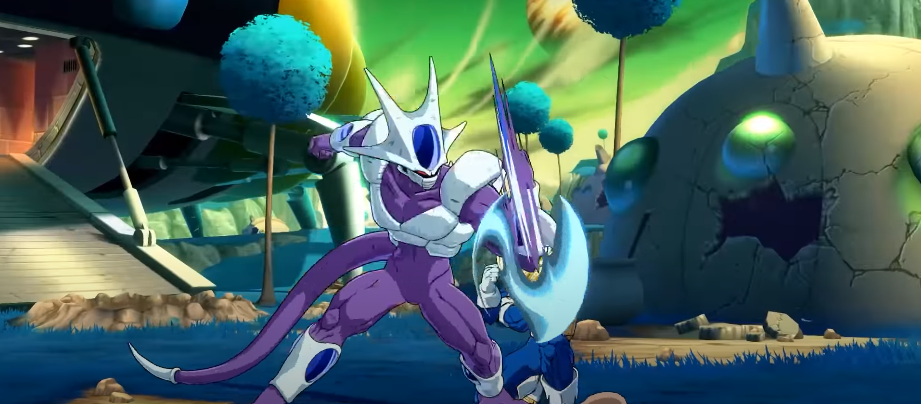
215LL > 5M > 236M > 5LL > …
214S Trapping
After 5S, you can go for an additional low using 214S, which will beat most buttons. On block, it will also jail into Vanish for another turn.
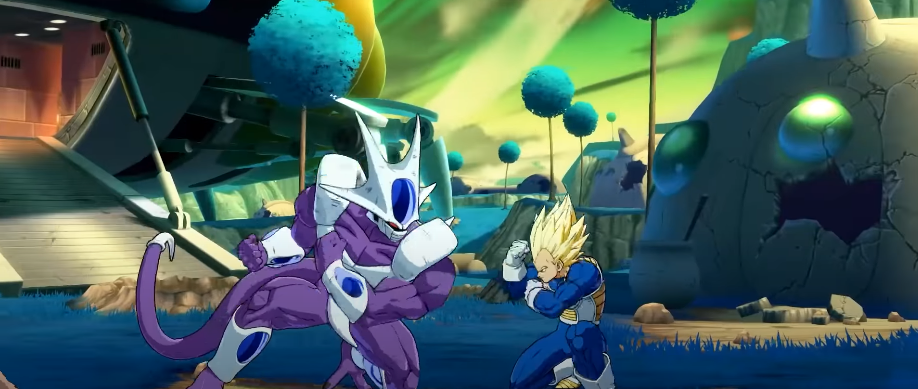
2L5LL > 2M5M > 6H5H5S > 2145 > Vanish > 5LL .
Emphasis on beats MOST buttons.
2L5LL > 2M5M > 6H55 > 2145 >
Other Mixups
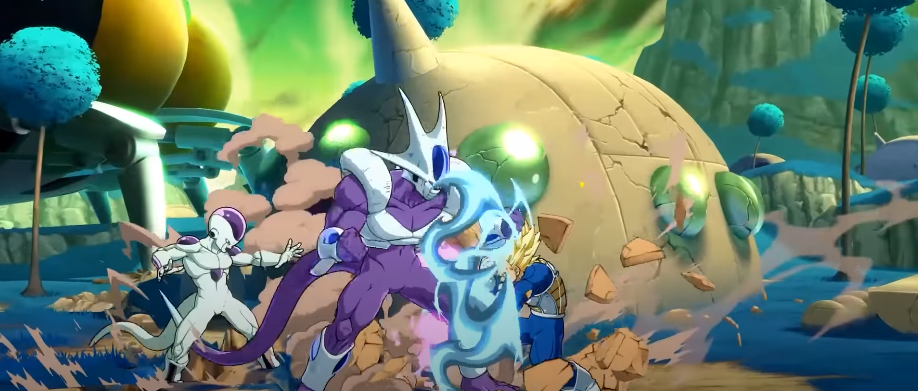
Outside of those options, there isn’t much Cooler can do on his own, so that you will be relying on universal mechanics and confirming stray hits a lot.
2L5LL > 2M5M > 6H55 > 236L > A1 > 96 (dl) jM > …
Getting in

3H and 236M can also be easy ways to get close to your enemy when covered with an assist. And lastly, you can access all of Cooler’s post-5S options off 3H.
BnB’s
Universal BnB
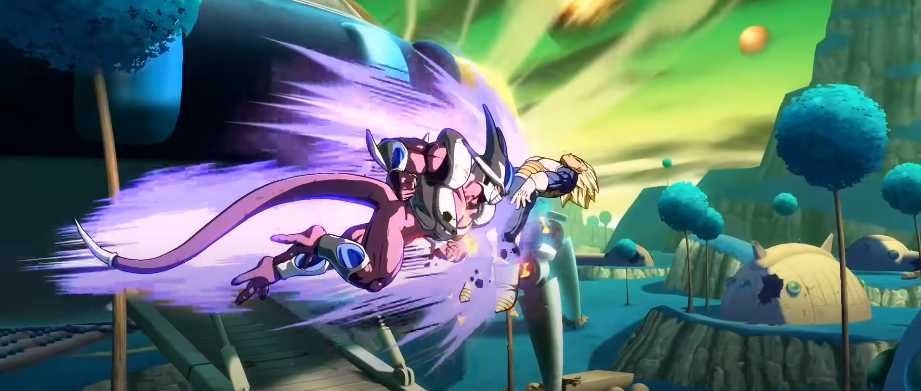
4162 dmg/3725 scaled +11 Bar
2M5M – jMLL2H – SD – jMLLjcLLS – j214M~M
In the corner, you can add a j2H before js.
Midscreen BnB

4367 dmg/3780 scaled | +1.1 Bar
2M5M – 6H5S5H – (dl) SD – jMLLjcLLS – j214M~M
It works the same off of 5M2M. At max range, you’ll have to skip 6H and Sometimes 5M. Delay Superdashto get consistent MLL
Midscreen Bruh Reset

3830 dmg/3605 scaled | +0.9 Bar
2M5M – 6H5H – SD – jLLS – j236L – 66 jM – …
68M will cover Up and Back tech for immediate pressure.
Mid-Corner BnB
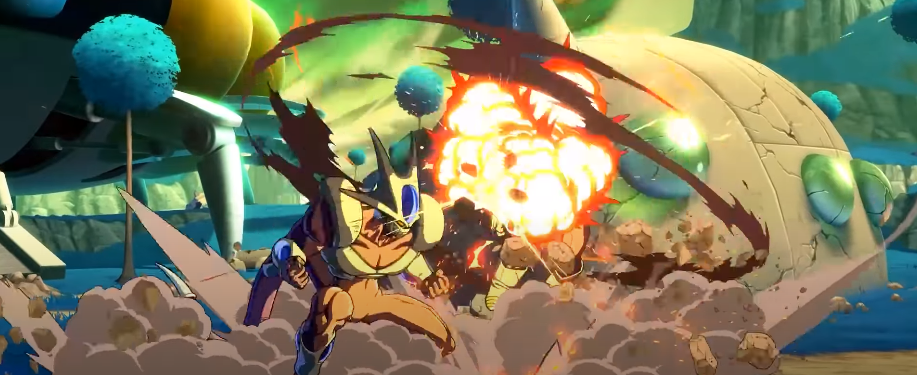
5047 dmg, 4169 scaled 18 Bar
2M5M – 6H5S – SD – 66 jM2H – (land) 66 2M6H5H – 5S(dl)3H – SD – jMjcM2H – jS – j214L~M
Mind the delay on 3H. For scale ends in … MCMLL 214L-M Sua led route is also the optimal SCALED Corner BnB
Corner BnB
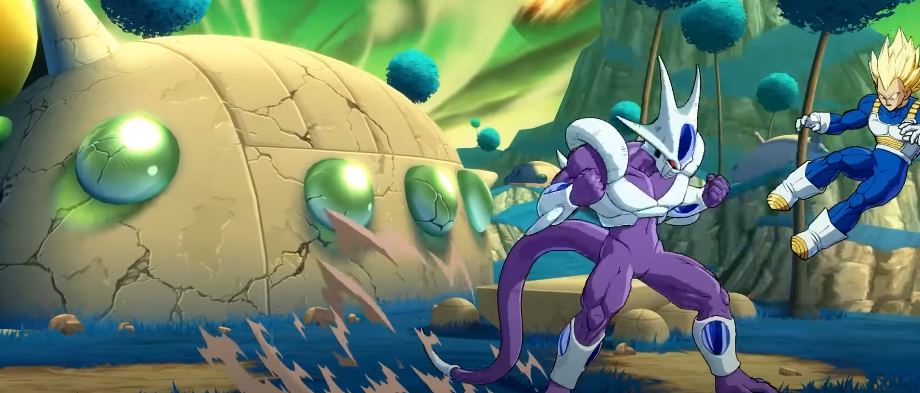
5082 ding. 4105 scaled .165 Bar
2M5M – 6H3H – SD – j2H – (land) (dl) 6H5H – 5S(dl)3H – SD – jMLjcLL2H – jS – j214M~M
(For scaled skip 5S(dl)3H, the delay is only needed for small bodies but get used to doing it.)
Corner Bruh Reset

4827 dmg, 3970 scaled l -165 Bar
2M5M – 6H3H – SD – j2H – (land) (dl) 6H5H – 5S(dl)3H – SD – jLL2H – j236L – jM/H
(jM will beat down & back tech, for up tech 66 jM. On big bodies, JH will cover every tech. Skip 3H for scaled)
3H Confirm

2680 dmg 1+07 Bar
3H – SD – jMLLjcLLS – j214M~M
DP Confirm Bruh Reset

2605 dmg 1 -0.7 Bar
214M~M – Vanish – 66 12M6H – 5S5H – SD – jMLjcLL2H – jS – j236L – jM – …
Superdash Confirm
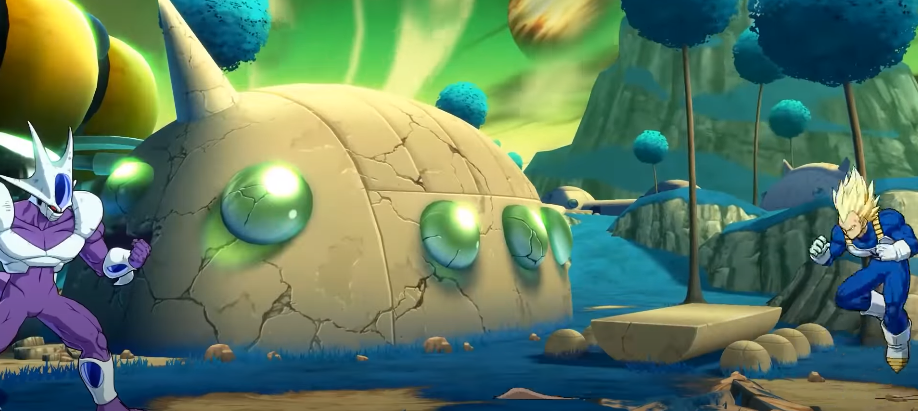
2315 dmg I60.55 Bar
SD – jMLjcLLS – j214M~M
Superdash Bruh Reset

2060 dmg1+0.6 Bar
SD – jLLS – j236L – 66 jM – …
2H Punish/DR Route

2H/DR – SD – jMLLjcLLL
Reminder Holding or results in more damage.
Vanish Confirm Damage

2880 dmg
… – Vanish – 66 2M6H – 5S3H – SD – jMLLjcLLS – j214M~M
Vanish Bruh Reset

2640 dmg
… – Vanish – 66 5LLL – SD – jLLS – j236L – 66 jM
Sparking Loops

6065 dmg l-1 Bar
2H – Sparking – 2M6H5H – 5S – j(dl)S – 66 jM – (land) 6H5H – 5S – jS – 66 jM – 6H5H – jM j214M~L – Vanish – DR – 214M – Lvl3
(Can be done midscreen, just remove every 5H.)
Assist Combo Example 1

5234 dmg I+1.7 Bar
2M5M – 6H3H – SD – jMH – A1 – jML2H – SD – jMLjcLLL – A2 – j236M
Assist Combo Example 2 (Krillin A/Gogeta C)
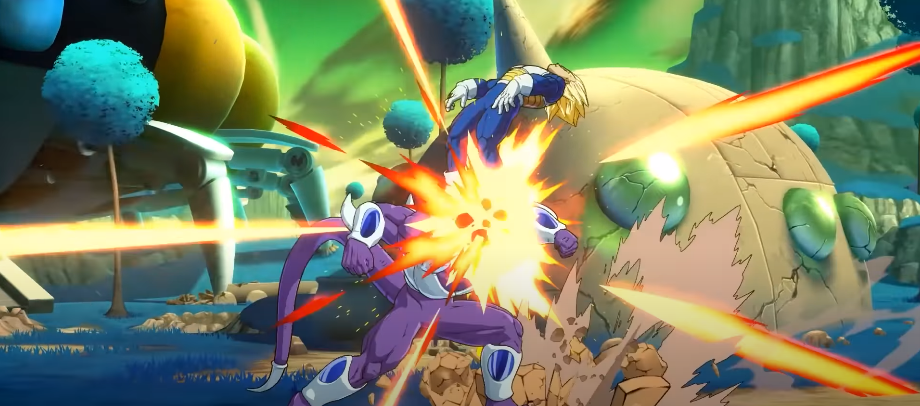
6347 dmg l1 Bar
2M5M – 6H5S – SD – 66 jM2H – (land) 66 6H5H5S – SD – jMLjcLL – j214L~M – A1 – j214L~M – A2 – DR – 214S – Lvl1.
Saiyan Breaker
Severe dmg 1-2 Balls
3 Bar 214L TOD (Android 16 A/Z Broly A)
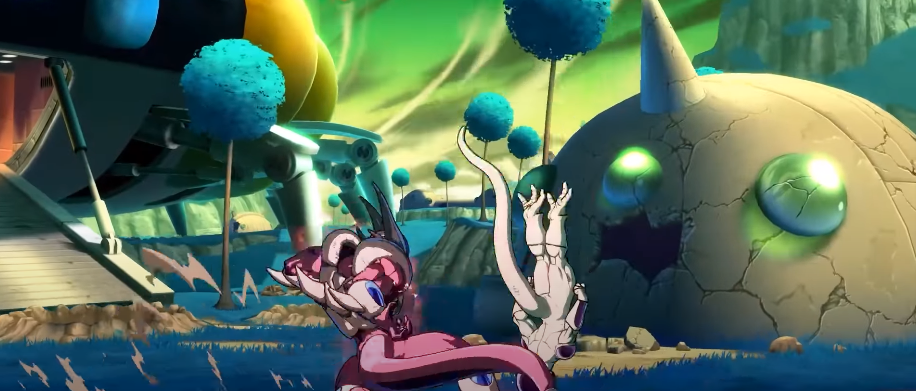
214L – Sparking – 2M6H3H – jMjcMH – A1 – (land) 2H – SD – jM2HjcM2H – jS – j214M~M – A2 – (dl) j214L~L – (dl) Vanish – DR – 214S – Lvl1 Lvl1 Lvl3.
0 Bar 2H TOD (Beerus B/Android 21 A)

2H – Sparking – 6H5H – j2HjcMH – A1 – 6H5H5S – jLL2HjcLL2H – jS – j214M~M – A2 – (dl) j2H – j214L~M – A1 – j214L~L – (dl) Vanish – DR – Lvl1 Lvl1 Lvl1.