Here are our recommended setup to take on Crash Fever’s Nobunaga Oda:

Recommended Units
-Euclid
-Mobius/ Summer Mobius
-Kenshin Uesugi
-Murasaki
-Lawrence
-Hempell
-Maria
-Antionette
-Fibronacci
-Leviathan
-Summer Freud
-Summer Euler
-Summer Schrodinger
Team Setup Examples
Euclid, Hempell, Mobius, Kenshin
Euclid, Euclid, Lawrence, Mobius
Euclid, Mobius, Maria, Kenshin
Hempell, Euclid, Maria, Kenshin
Stage Guide
Stage 1 – Dax/Garasha/Noel

In stage 1, you want to target the Right Minion and kill it as quickly as you can. This is because it can hit for 12k and make the 1st stage a bit difficult. When the right minion is dead, clear the Left minion and use a Skill to clear the Middle Minion. Make sure you have most of your skills ready for the next stage.
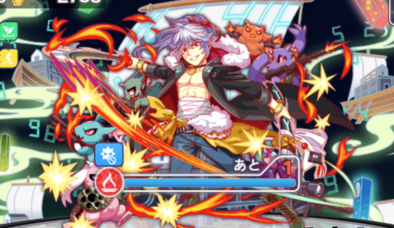
Stage 2 -Shingen Takeda
-1st Bar
During his 1st bar of health, you will want to kill him as quickly as possible because he hits like a truck. If you decide to endure his 1st hit, you will want to fever to recover. It is recommended to use Lawrence’s skill here for his counter, and if you didn’t use Euclid’s skill you can use it now. You will want to create crash panels with her skills crash panel generation and manually break any crash panels to bring his HP down to -60%. After that, use fever if you have it to clear his 1st bar of health.
-2nd Bar
During his 2nd bar of health, take your time to bring his HP down to -50% then try to finish him off in one shot with fever or skills.
-Note
If he reaches below –50% HP, the next attack he uses will deal 30k which will most likely kill your squad.
Stage 3 – Shadow/ Mori Ranmaru
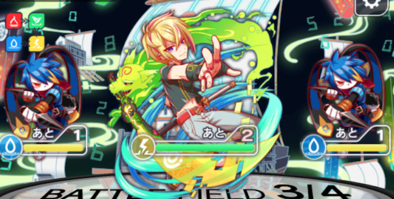
In stage 3, Ranmaru’s attacks will gradually start to hit harder so you want to kill his minions first and clear the stage as quickly as possible. His 2nd bar of health switches between defense up and attack mode so you want to burst damage him when its down, and save Fever for the next stage.
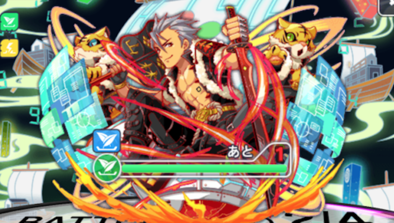
Stage 4 -Nobunaga Oda
-1st Bar
If you want to use skills on the 1st bar, make sure they’re up for the next bar of health. You want to look for when he says “Artillery Ready” when that happens he will use a strong attack. When this happens you will need to make sure you have more than 20k+ HP (20560 to be exact). This is where the unit Lawrence comes into play with his counter that let’s him one-shot Oda. If you don’t have Lawrence, you will want to take Oda down as quickly as possible with other units’ skill.
-2nd Bar
You want to take him down as quickly as possible. If you haven’t used fever, you should use it now. If not, then use skills first. Fever is highly recommended here because it provides healing and damage. However, another way is to get him down to -50% HP and use burst damage to take him down before he absorbs green to power up.
-3rd Bar
Build up your fever bar using skills. Once fever is ready, use it to finish him off, and do not take long to do this because in 6 turns he will instantly kill the squad.