This guide will provide you with all the Hit BnB combos in Dragon Ball Fighter season 3.5.
5L is pretty average. 5LL’s great range makes it reflect-proof. 5LLL will hit three times if it connects, with every hit being specially cancelable. It is also reflect-proof.
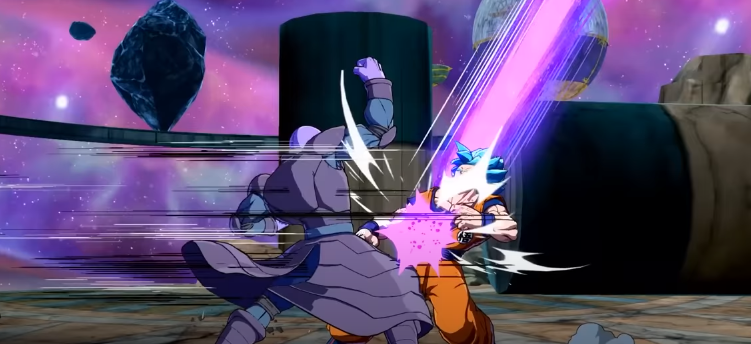
2L is a pretty fast overhead that forces a tech, so you can only use it as a mixup for resets or when already in a combo.

Hit is not invincible here! 5M goes half-screen and is fast. It allows you for a safe backdash on the block.
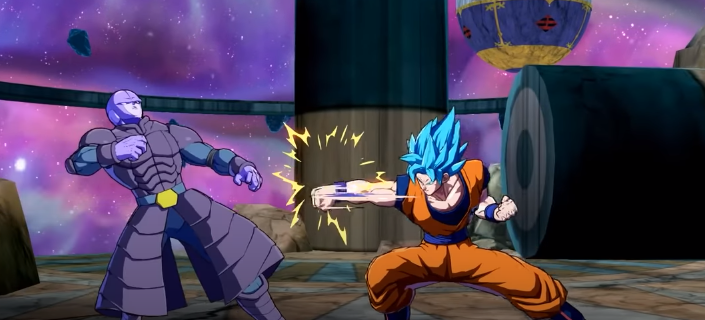
If you can react to Jiren’s grab, you can react to this. 2M is only low and it’s really slow. Hit can’t put a true string into it on his own.
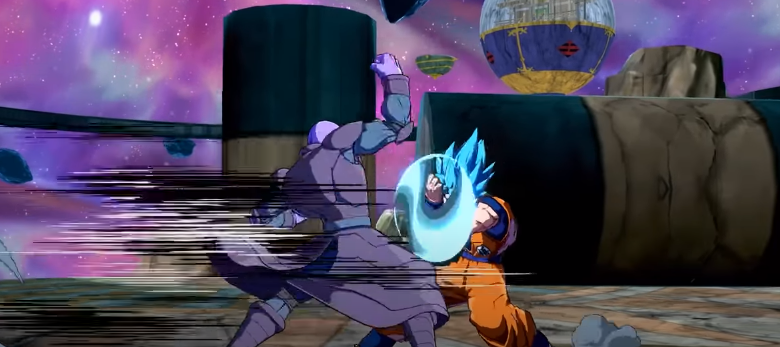
5H is 5M except with more range but unsafe on block.
2H is decent, and it does its job. 5S counters normal attacks, projectiles, and assists, but there are no grabs or supers.
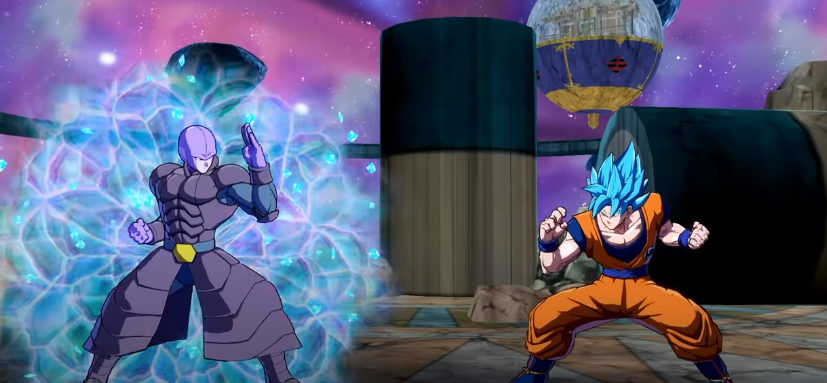
In case the punch is blocked, it’s unsafe. You can Vanish out on a whiff.
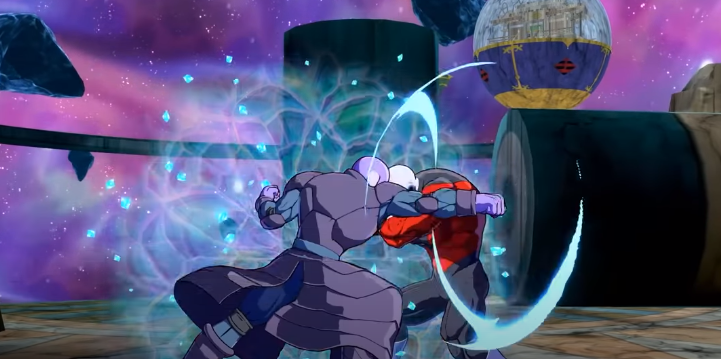
jS works the same, except it will only teleport behind the enemy. It’s best used as a super dash punishing tool.

jL is huge, and iM has a great cross-up angle. jH forces a tech like 2L, limiting its use as a jump-in. Use jM instead.
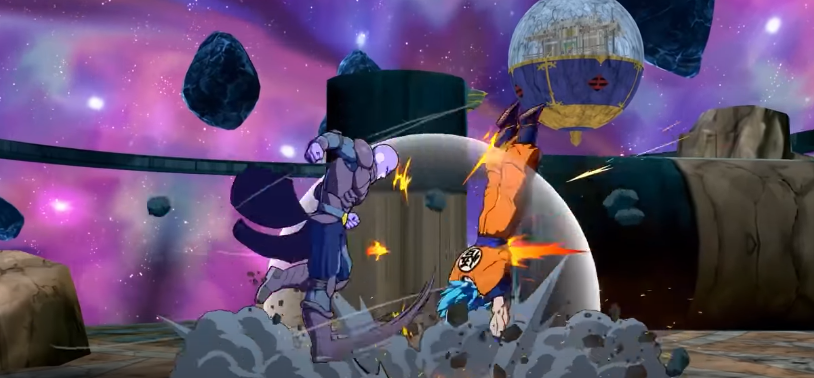
Lastly, a standard 12H for air combos.
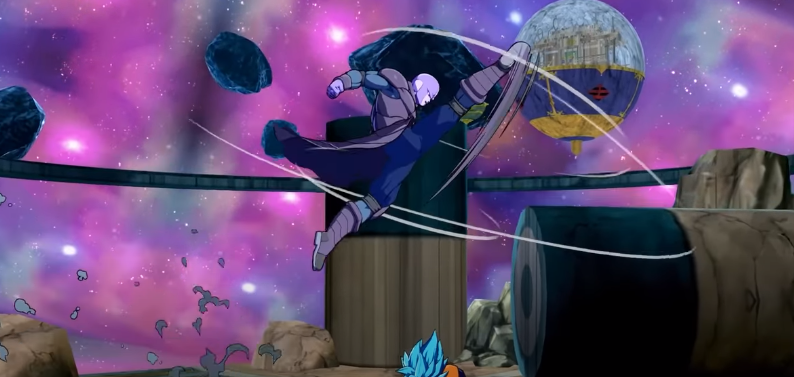
Stances (236L and 236M/H) Light version is different from the others. You can cancel all the stances by pressing Special.

Stances (236L and 236M/H) Medium and Heavy versions make Hit invincible and remove his collision box.
He can still be grabbed though.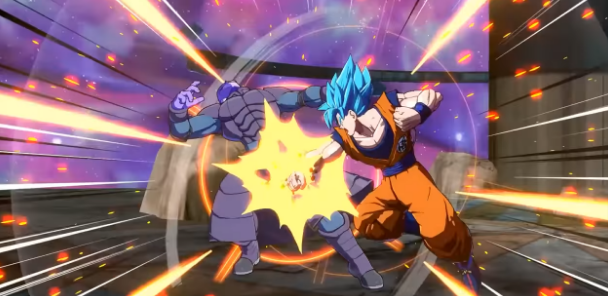
It looks like Hit teleports, but he can still hit out of the Light and Medium follow-ups.
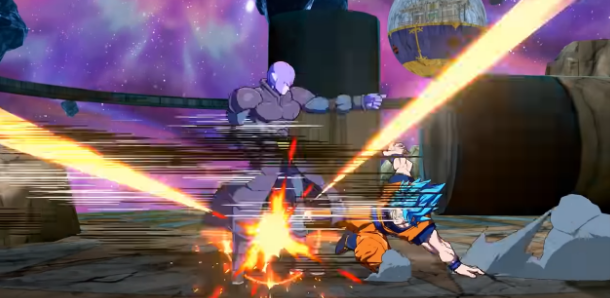
Direct Hit (236L-L) Light follow-up is mostly used in block strings as a frame trap or about 75% of the screen. Time Release (236M/H-LLL) Light follow-up after Medium or Heavy Stance will instead shoot up to three tracking physical strikes. 
Emphasis on physical. Time Release (236M/H-LLL), you can change their order by holding 2, 8, or no direction. The downwards-angled strike (2L) is an overhead.
Instant Blow (236L-M Medium followup after Light Stance is similar to Direct Hit, it only gives a Sliding Knockdown instead. Instant Blow (236M/H-M), if used after Medium or Heavy Stance, will instead go fullscreen and behind. 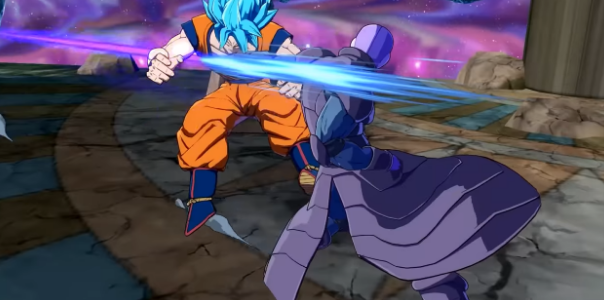
Guard Breaker (236L-H) The Heavy follow-up is fully invincible immediately, gives a full combo, and reaches about 75% of the screen.

Guard Breaker (236M/H-H) will go behind and full screen when used after Medium or Heavy Stance.

Icy Glare (214x), hold it to spread ice across the floor that acts as a grab.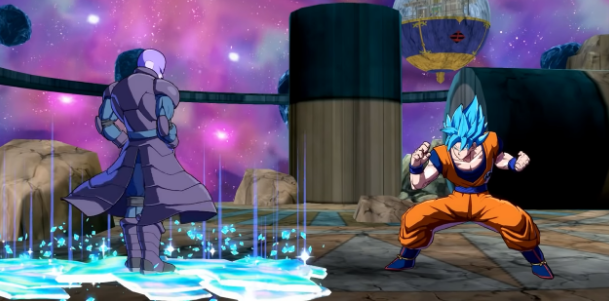
Icy Glare (214), the enemy has to be brain dead to not react to the held versions.

Icy Glare (214X) Light version spreads around Hit, Medium version almost one screen away.
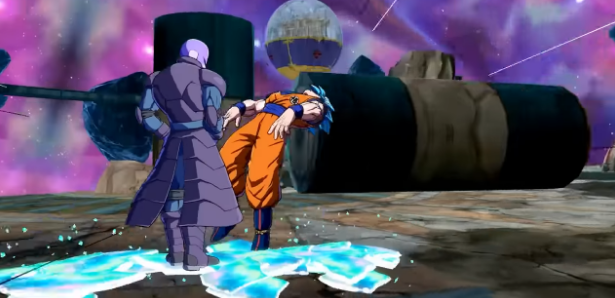
Icy Glare (214X) Heavy version originates slightly closer than Medium and can be combined off. Deadly Intent (236S) dashes forward three times, twice if the first dash crosses up. Then goes into the Light Stance.
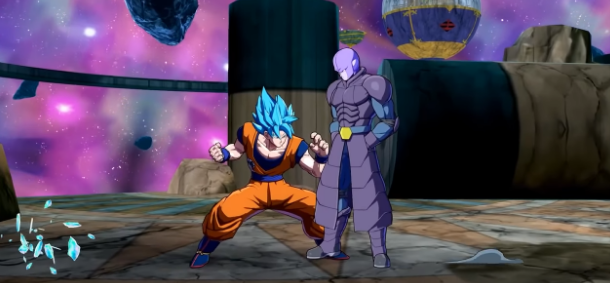
Deadly Intent (236S), Hold Medium or Heavy to go into other Stances or press Special again to cancel. Deadly Intent (236S), has full projectile invincibility similar to UI Goku’s flips.
Mark of the Assassin (214S), back dashes once, and also projectile invincible. It won’t go into any stances on its own but can manually special cancel.

An Assist on-demand guard breaker going half screen with some invincibility. Good combo and neutral tool with decent blockstun. 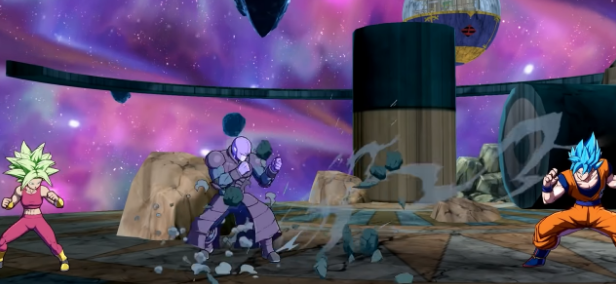
B Assist hits Instant Blow. Wall bounces and is slower than A assist, but it goes full screen.

C Assist Calls hit the Time Release. One of the excellent C assists for neutral and combos. 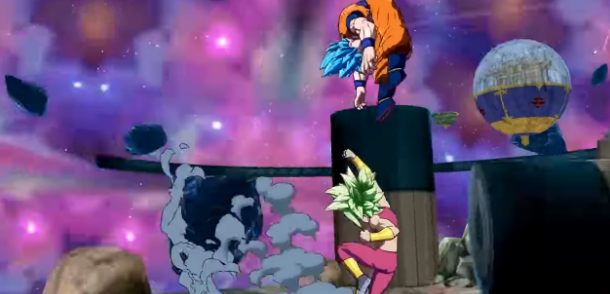
Lastly, his alternate Level 1 dumps all of Hit’s bar into one devastating attack.
Blockstrings
Basic Safe Gapless Blockstring
5LL > 5M > 5H > 2H > 2149 >214S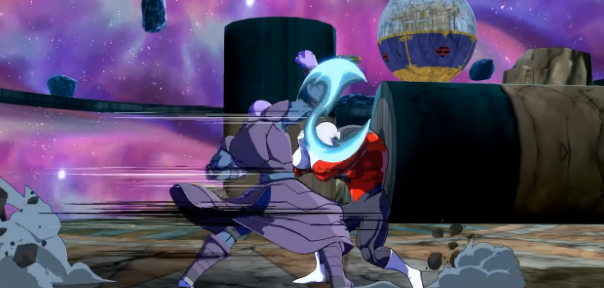
It will space you out perfectly for a Medium or Heavy grab.
5L > 5M > 5H > 2H > 214S > 214M/H 
With the right assist, you can combo the mid-screen too.
5LL > 5M > 5H2H15.2145 > 214M-s-A1 > 66 5M >. You can also try any other Stance and follow up to test your opponents’ reaction times. For example:
5LL > 5M > 5H > 2H > 2145 > 236M-M or 2LLL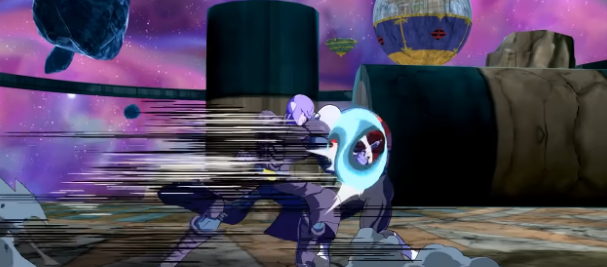
Ending in Direct Hit will frame trap any mashing instead.
5LL > 5M > 5H > 2H > 236L>L 
You have to call an assist afterward to continue pressure or to convert.
SLL > 5M > 5H > 2H > 236L>L > A1 >.
You can add 2L or 2M before 5M for a simple high/low mixup.
5LL > 2M > 5M > 5H > 2H > 2145
2M can be mashed out of, but 2L will beat mashing, so only use 2M after you’ve conditioned them not to mash. If they get hit by 2L, you can 2143 or 236S into grabs and Stances.
5LL > 2L > 2145 > 214M; you can use that same 2L/2M Mixup after an assist and retry the blockstring or try the 2.
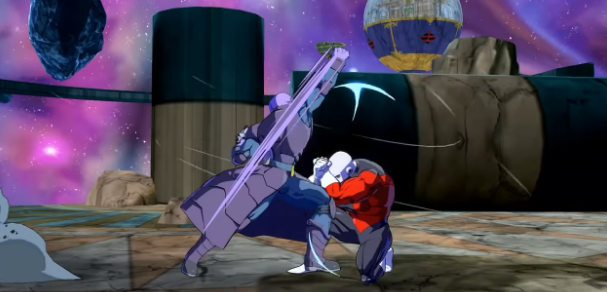
Mixups or you can mix left/right using 236S > Light or Medium Stance. Almost all of Hit’s kit is safe on the block. 5M and 236L-L, in particular, are -2 on the block, allowing for a backdash. 
The only unsafe things are 5H, 2H, and Time Release.
Lastly, Hit can only cross you up when the blue flames appear. If there are no flames, you don’t have to worry about your back.
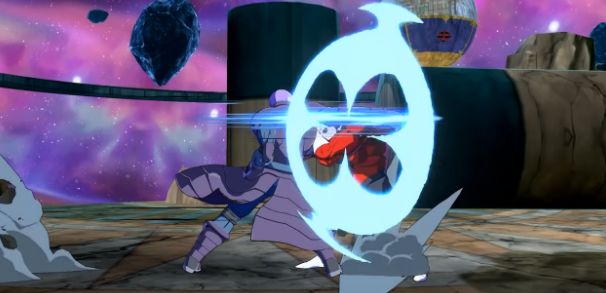
Quick Sidenote: Most of the following combos will end in 236L-M for Sliding Knockdown. All you have to do is react to it vanishing and then block the other way. It’s tough but doable online. 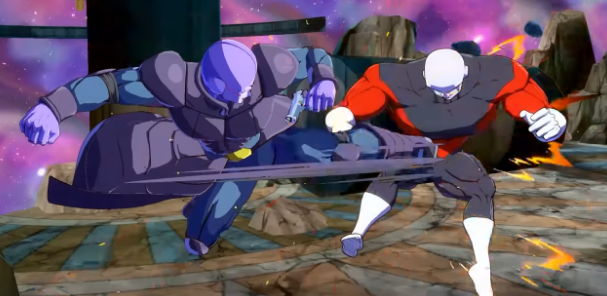
However, you can end most of them in a generic air combo and aerial level 1 for more damage.
Mid screen BnB
4155 damage scaled | +1.1 bar
Make sure to jump forward for the jcLMLH sequence.
2M5M > jLML2H > SD > (delay) jLL2HjcLMLH

Mid screen BnB with Assist
4947 damage | +1.6 bar
Might have to jLL2H instead, depending on assist and hitbox.
2M5M > jLLjcLMLH > A1 > 5M > jLML2H > SD > jLL2HjcLMLH

Side Switch off 5LLL with Assist
3530 dmg |+1.3 bar
5LLL(2) > 236L~L > A1 > 66 5M > jLL2H > SD > (delay) jLL2HjcLMLH
2H Route
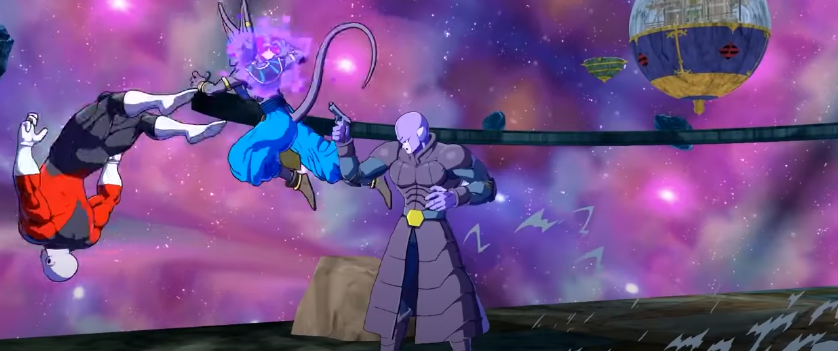
3755 damage / 3190 scaled | +0.8 bar
The same route is used for 2H punishment and DR confirmation.
5M > 2H > SD > (delay) jLL2HjcLMLH

2H Route with Assists
4762 damage/ 3740 scaled | +1 bar
Depending on your assist, you might have to forward dash after a1.
5M > 2H > 236M~2L > A1 > 5LLL > 236L~L > A2 > 5LLL > 236L~M

Alternative 2H Route with Assists
5084 dmg/ 3943 scaled |+1.3 bar
For full-screen assistance, you can super dash instead of 66 5M instead of less damage.
5M > 2H > 236M~LLL > A1 > 66 5M > jLL2HjcLLL > A2 > DR
5H Route
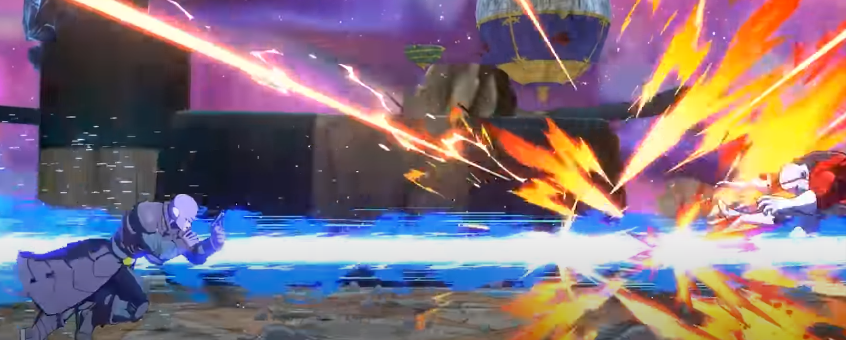
3710 damage/ 3167 scaled |+0.8
5M > 5H > (delay) SD > jLL2HjcLMLH

5H Route with Assists
4922 dmg /3840 scaled| +1 bar
5M > 5H > 236L~L > A1 > 5LLL > 236L~L > A2 > 5LLL > 236L~M

Solo Corner BnB
4285 dmg/ 3535 scaled | +0.8 bar
It’s easier to time the 5LLL, but you can get away with mashing it.
5M > 2H > 236M~LLL > 5LLL > 236L~M
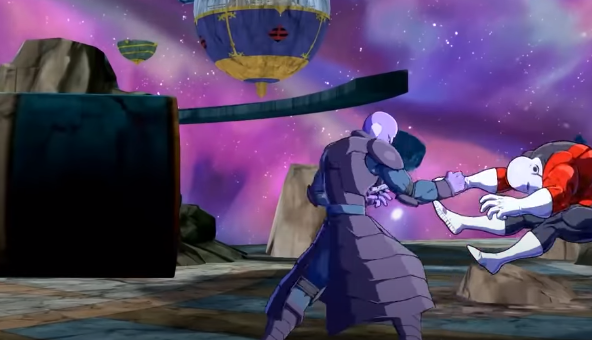
Corner BnB with Assist
5200 damage/ 3950 scaled | +1.2 bar
5M > 2H > 236M~LLL > 5LLL > 236L~L > A1 > 5LLL > 236L~M
(If your assist allows it does 2L before the 5LLL for more damage)

Corner Loops
5512 dmg /3992 scaled | >0.8 bar
5M > 2H > 236M~LLL > 5LLL > {236H~S > 5LLL}x3 > 236L~M
(For scaled only do 2 Loops)
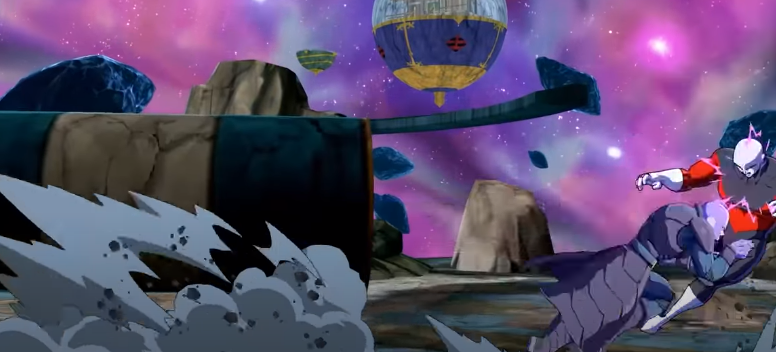
236M~2LLL Confirm Corner
2855 dmg | +1.1 bar
You can jLL instead of super jumping, but sjLML feels more consistent.
236M~2LLL > (delay) sjLML2H > SD > (delay) jLL2HjcLMLH

Guard Breaker midscreen
2780 dmg
You can use 236L>L> A1 instead to extend
236X~H > 2L5M > 236L~M
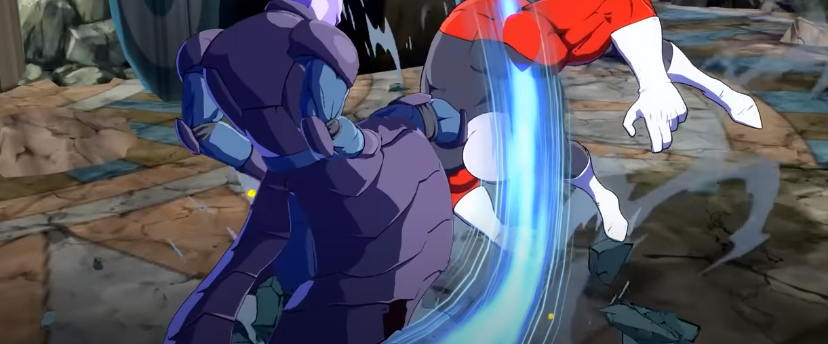
Guard Breaker with Assist
3365
236X~H > 2L5M5H > 236L~L > A1 > 66 5LLL > 236L~M

214H midscreen
2778 dmg
Use 236L>L > A1 instead to extend
214H > 66 5M > 236L~M

Guard Breaker/214H Confirm Corner
2990/3468 dmg
236X~H OR 214H > 2L5M5H > 236L~M

5S Confirm Corner
2500 damage| +0.5 bar
To extend, you can use 236L>L > a1 instead.
5S > (delay) 5M > 5H > 236L~M

jS Confirm
2970 dmg|+0.8 bar
Be ready. Otherwise, jLL will whiff. Mostly for super dash punishments.
jS > jLL2H > SD > (delay) jLL2HjcLMLH
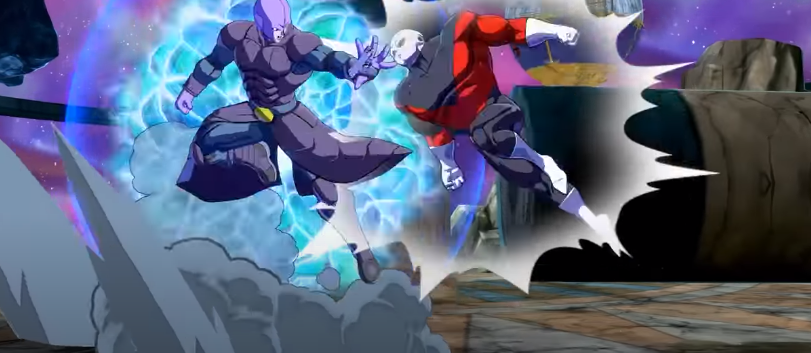
Super dash Confirm
2145 dmg |+0.5 bar
SD > jMLjcLMLH
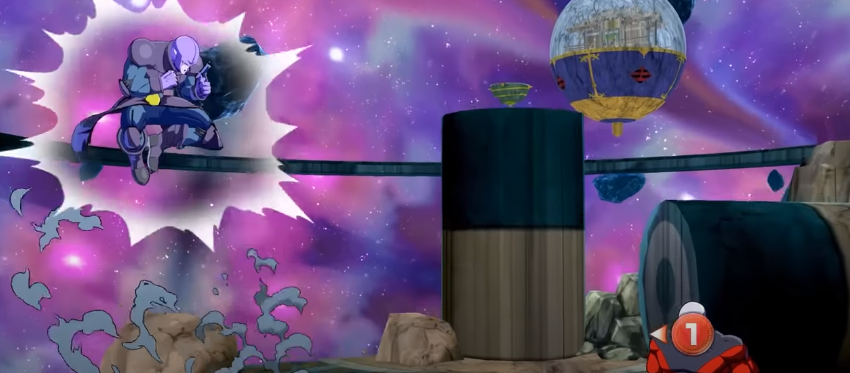
Vanish Confirm
2825 dmg
… > Vanish > 5LLL > 236L~M

4 Bar Solo Corner (not Limit Break!)
5M > 236L~M > (delay) 2L5M2H > 236M~LLL > 5LLL > 96 jM > (land) 5LL > jLL2HjcLLL > Vanish > Level 6
(Also works off 236L~M)

0 Bar midscreen
236L~L > Sparking > 66 2L > 5M > 236L~M > A1 > 5M > jML2H > SD > jLL2HjcLLL > A2 > (land) jLL2HjcLLL > A1 > DR > Lvl1 Lvl1 Lvl2
7 Bar Limit Break TOD
(In Sparking) 5H > 214M > Lvl7
