This guide will let you know how to fix Need For Speed Unbound Graphics issues on your PC.
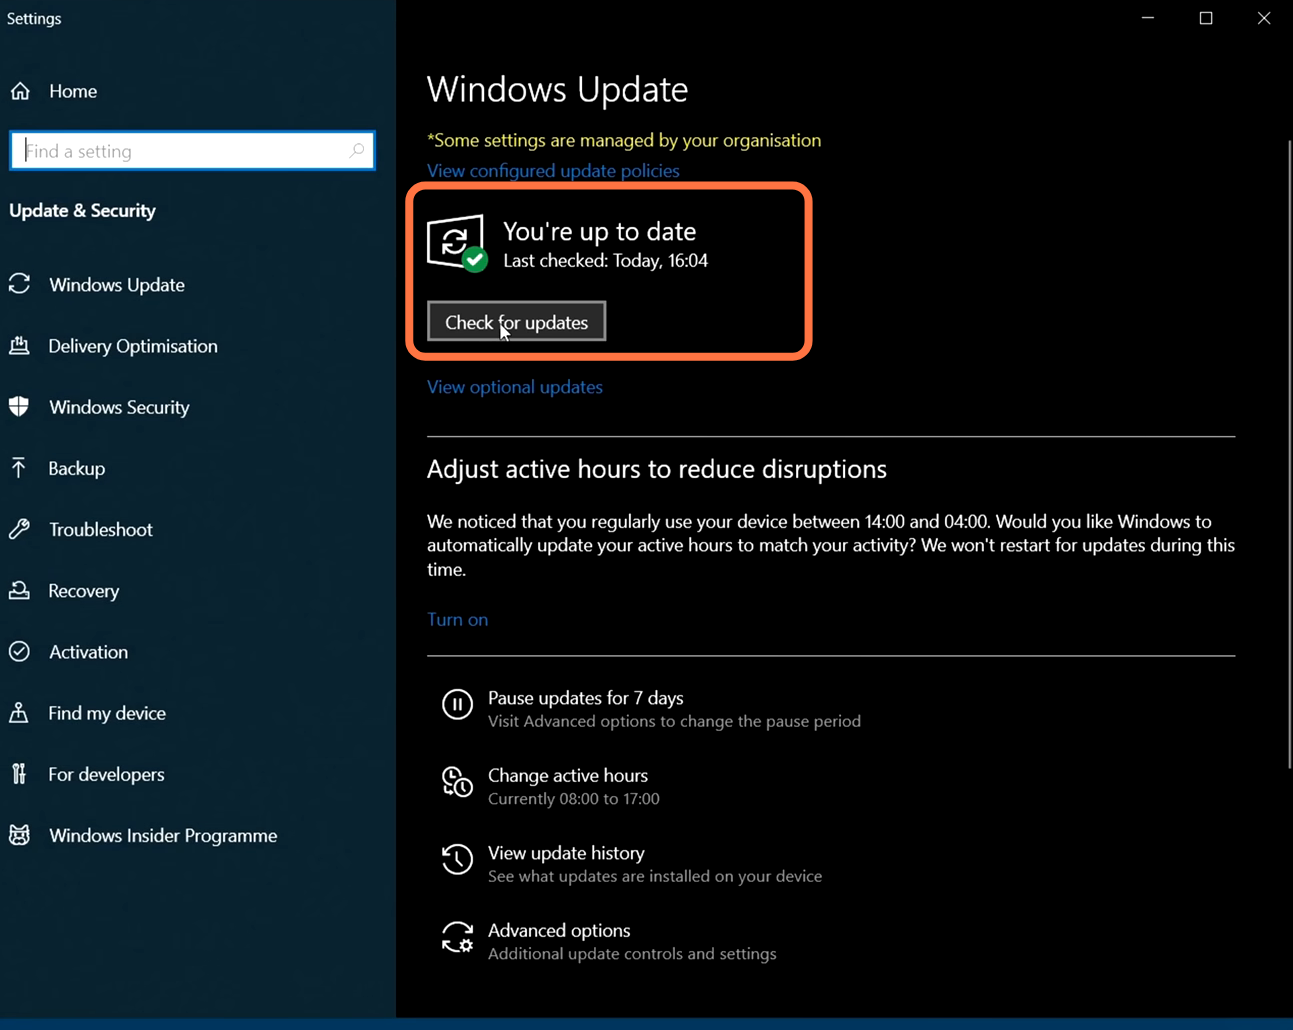
First of all, you must ensure that your Window is fully up to date. For this, you need to go to the bottom left side of your screen to the Search button, write an “update” on it and then click on “check for update.” A new window will pop up, navigate down, and click “check for updates”. It will scan your machine to see if there are any updates available.
2- After that, click on the following link https://www.microsoft.com/en-eg/download/details.aspx?id=35 and it will take you to the official page of the Microsoft Direct X download. After reaching this, you have to select your language, and then click on the Download button.

Once the download completes, you have to install this. You need to agree with the agreement and then click on the Next button to start the installation of Direct X on your PC.

3- Once the installation finishes, you have to make sure that you are running on the latest GPU drivers. To check which graphics card are you using, you have to right-click on the taskbar and then select Task Manager. After that, expand the Display Adaptors and you will find your graphics card.

4- To update NVidia drivers, you have to click on the following link https://www.nvidia.com/download/index… After reaching this page, select your product type, and then select your product series. Last, select your operating system and then click on Search.

It will take you to a new page and you have to click on the Download button. Once the download completes, you need to run the setup, agree to the agreement and then click on Next. It will start installing.

6- This is for AMD processer users. You have to start the menu, search for system information and open it up. Once this is open, you need to find the processor and you will find the number of your graphics card there.

7- After finding this, you have to click on the following link https://www.amd.com/en/support as it will take you to the AMD website. You will find a list of options there, you have to select graphics and then find your graphics card there. After that, select the version and once everything is selected, you need to click on the Submit button.

After that, select your operating system for download and then expand that operating system. Now you have to click on Download.

8- Once the downloading is complete, you have to open the AMD downloaded file and install the latest AMD drivers. You need to expand the advanced options and then select the factory reset option as it will install the fresh version of the drivers. After that, click on the Install button.

9- If you are still facing the issue, then you have to right-click on the desktop and tap on Display settings. Scroll down and then you have to lower your display resolution. After that, launch the game and see if this fixes your issue.

You have to go to the location where you have installed the game and then go into the shader cache folder. You need to delete all the files in this folder.

After this, go into the documents and then you have to find the game folder. You need to go into the cache folder and delete all the files in this folder.

Then you have to go into the settings folder and here you will see two profiles then you have to right-click on the first profile and then you have to rename it. After this, you have to launch the game. As this will reset all the in-game settings. Now, your issue will be solved.
