This guide will let you know how to install the Bounty Hunter Mod in GTA V. Go through the guide and follow the step-by-step instructions to install it.
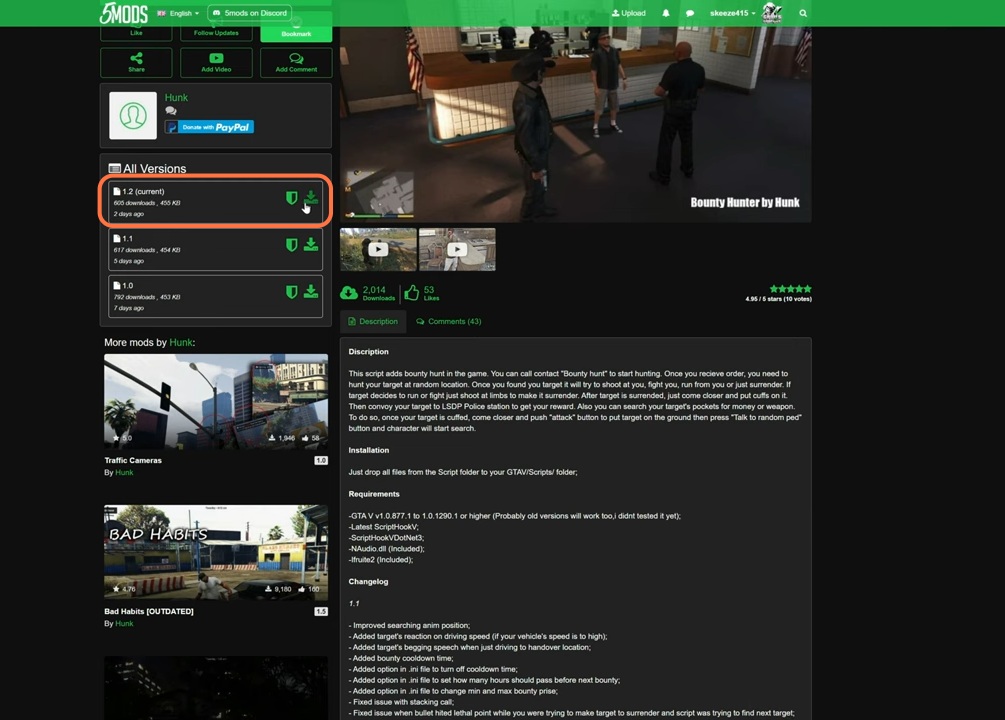
2. You will require a Library and an ASI plugin for this mod to work which are “Script Hook V” and “ScriptHookVDotNet” respectively. You can download the earlier one from “http://www.dev-c.com/gtav/scripthookv/“ and the later one from “https://github.com/crosire/scripthookvdotnet/releases“. Once you have downloaded the required files and the Bounty Hunter Mod, you have to go to the downloads folder to open the files.
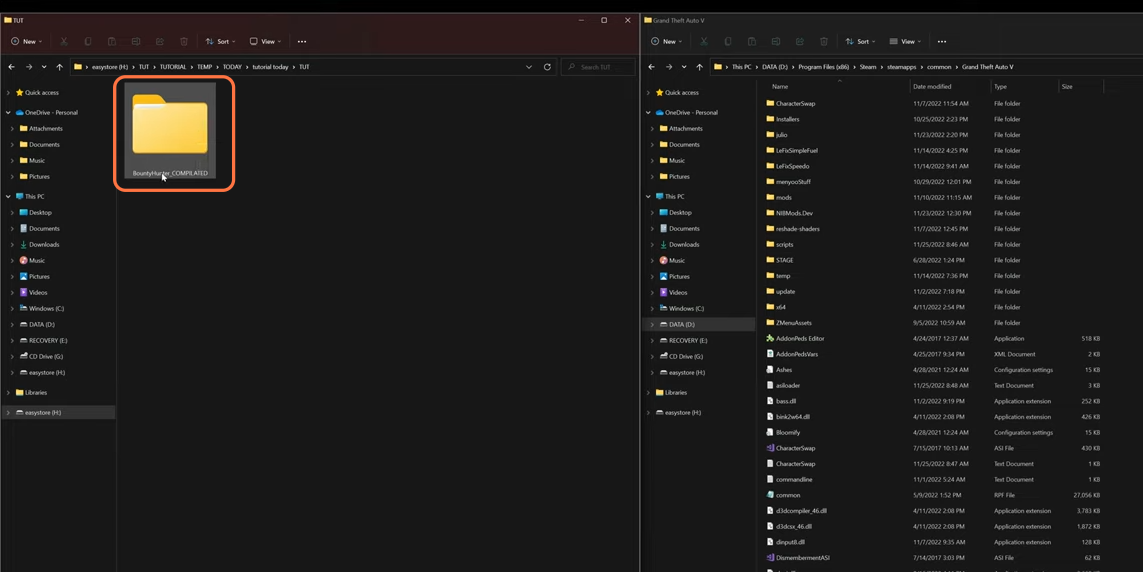
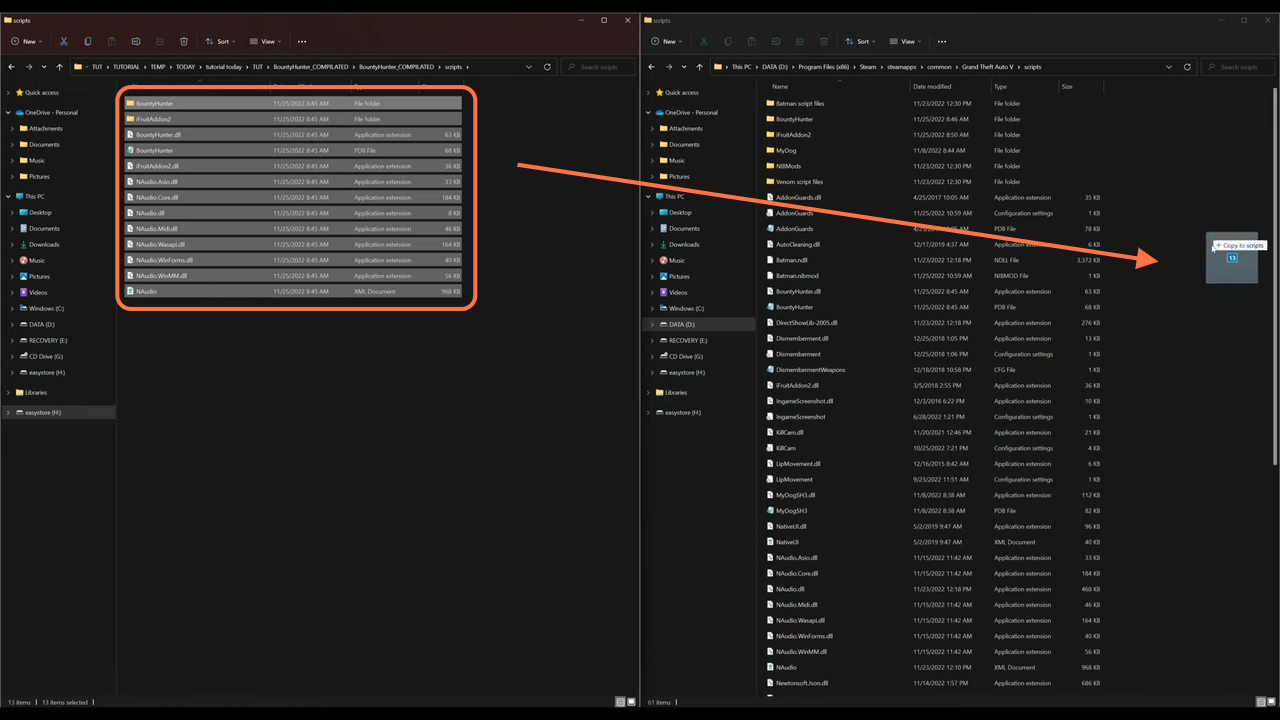
3. On the other hand, open the “GTA V” directory side by side with the downloads folder. Now open the scripts folder of the “GTAV” and if you don’t see a scripts folder here, then you need to create an empty folder and name it “scripts”.
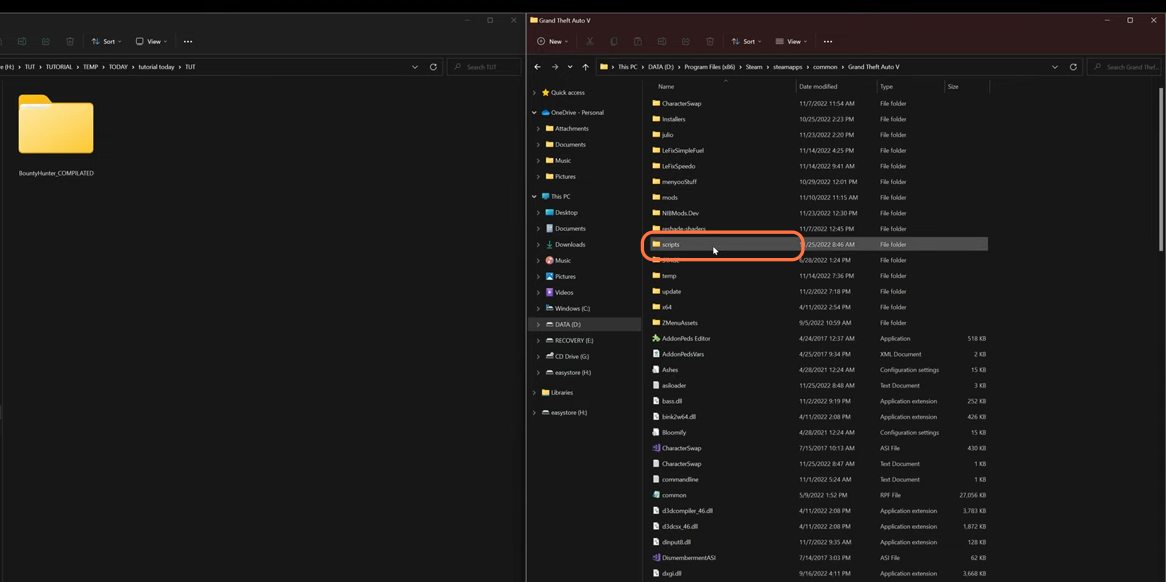
4. After that, open the “Bounty Hunter” folder from the downloads folder and you will find a script folder inside it, open it as well.

5. Inside this folder, there will be some files that you need to drag into the script folder of the GTAV.
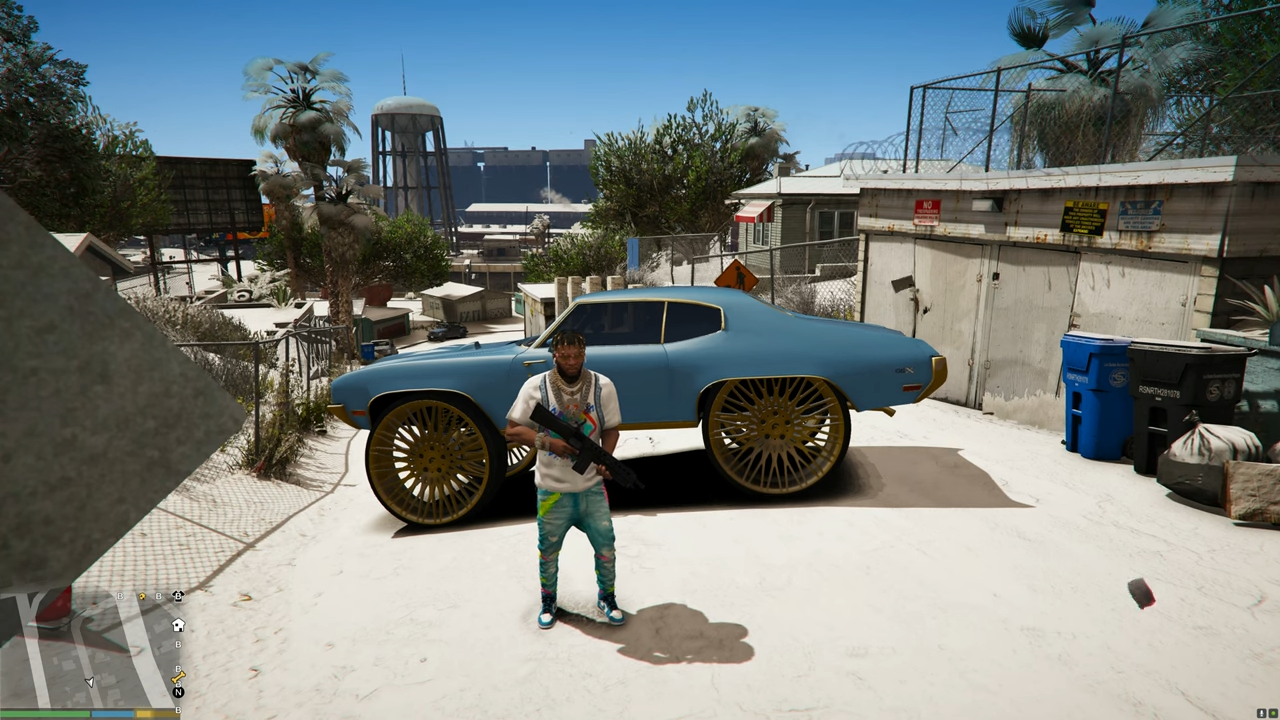
6. Now Mod has been installed so you can close all the windows and run the game. Once you spawn into the game, you need to have a gun & a car to pick up the bounty and take them to the police station.
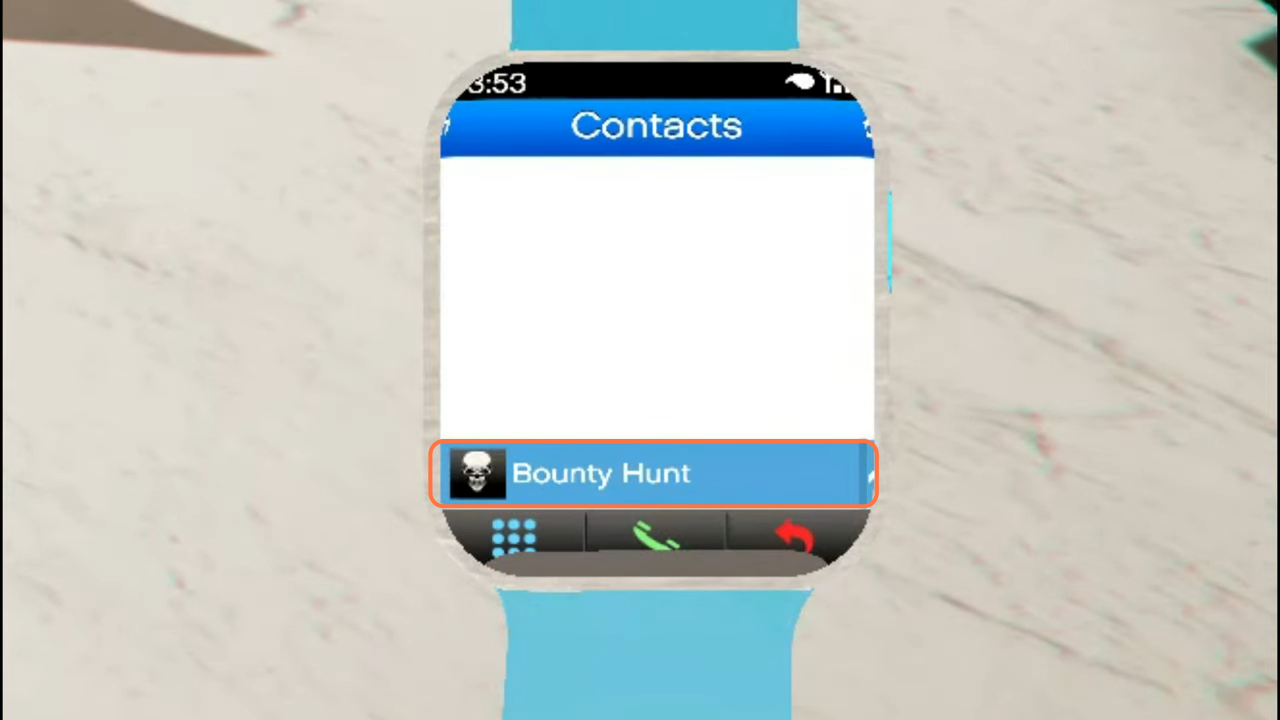
7. After that, open up the phone and go into your contacts, scroll all the way down to the bottom and you will get to see the contact of the Bounty hunt.
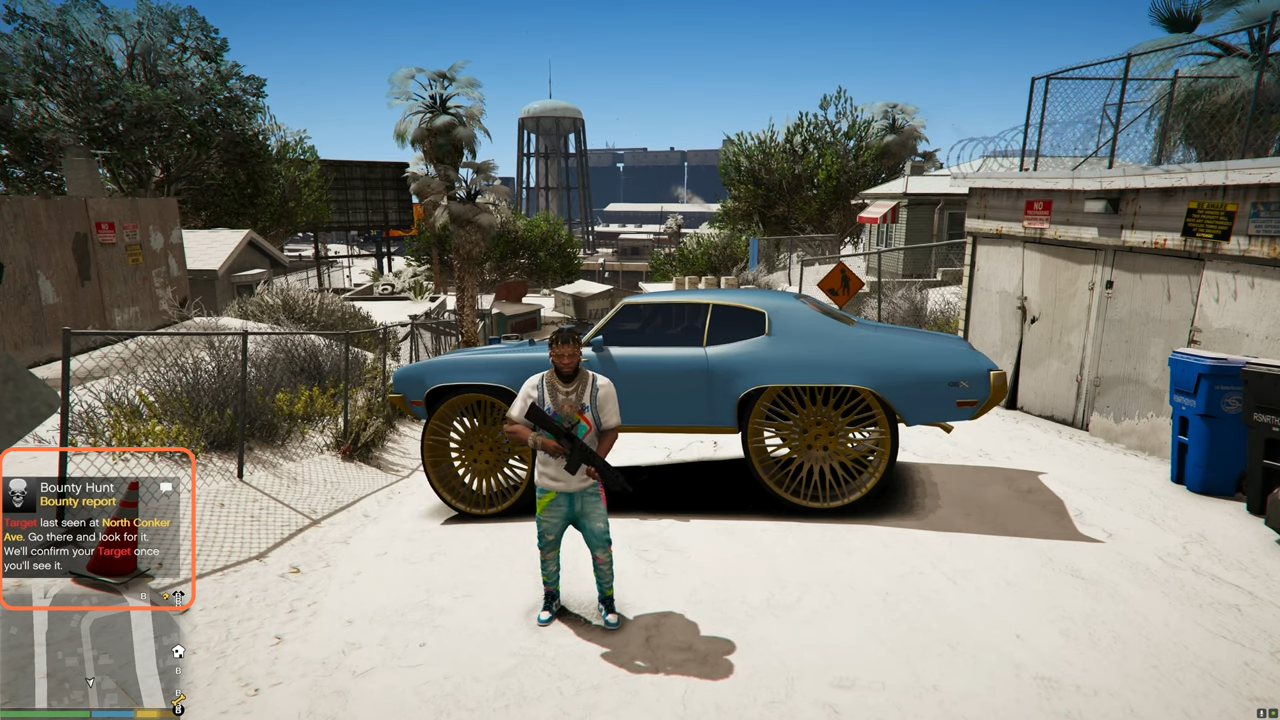
8. After that, you will get a message from the bounty hunt report about the target locations just above the minimap.
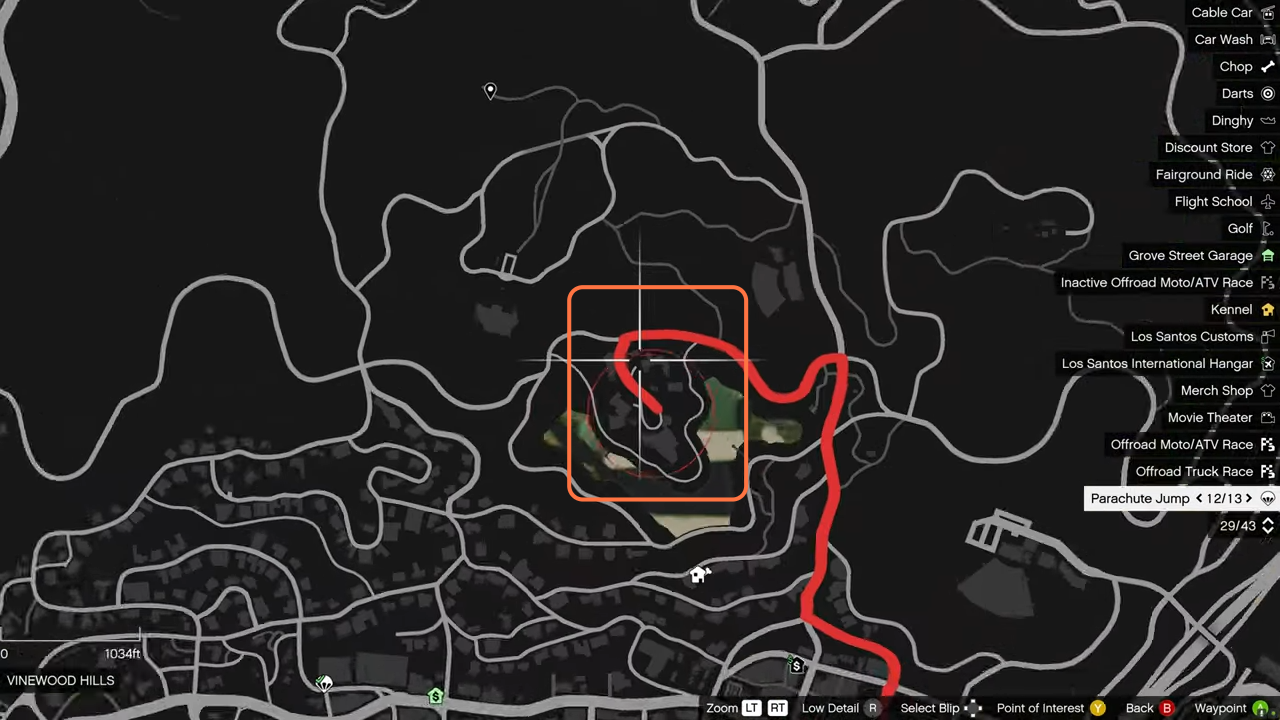
9. Now if you open up the map you will find a GPS and it will lead you to the target location.