In this step-by-step guide, you will get to know how to download and install the Head GoPro mod in GTA 5.
Step 1: Install Requirements
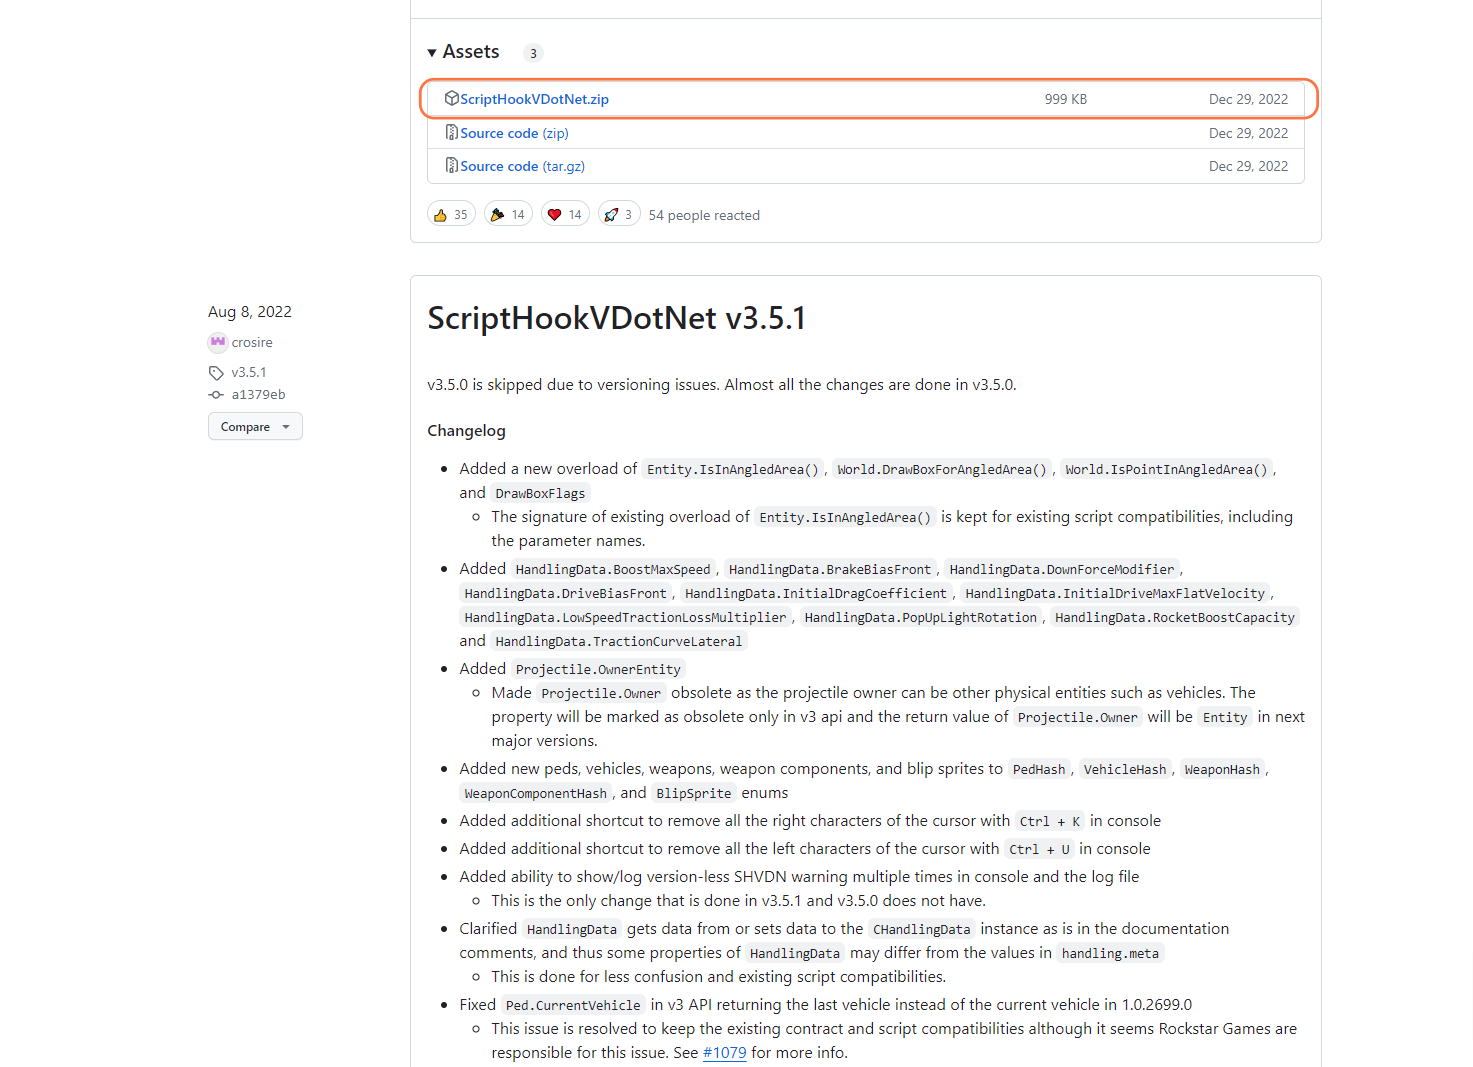
Firstly, ensure that you have Scrip Hook V and ScripHookVDotNET installed.
Step 2: Download the Mod
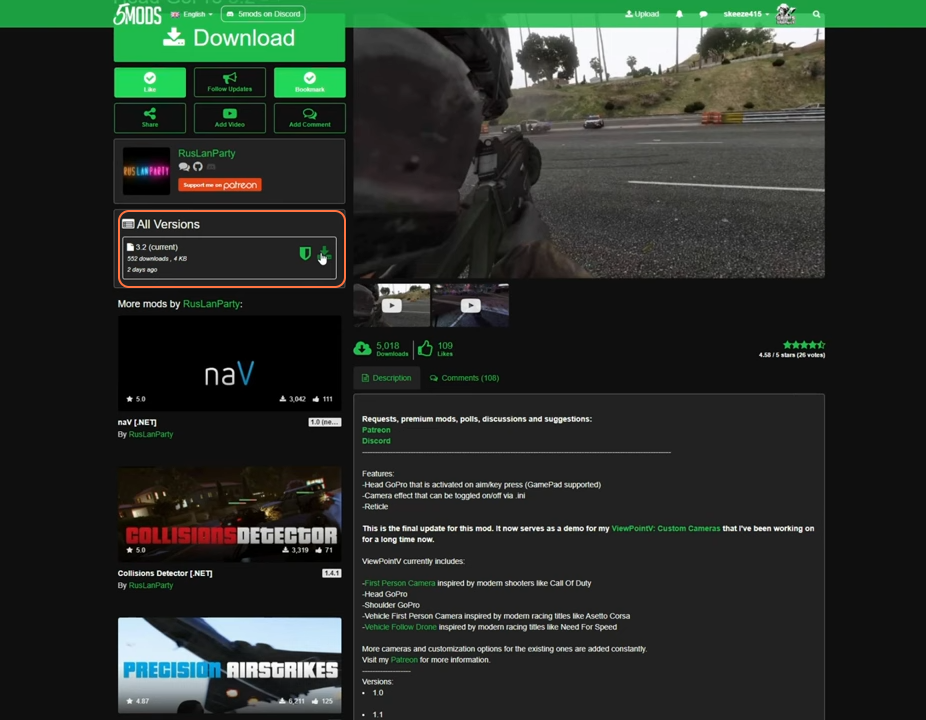
Now, download the Head GoPro mod. Once on the page, select the green arrow icon under the “Current” version to begin the download process.
Step 3: Prepare GTA 5 Directory
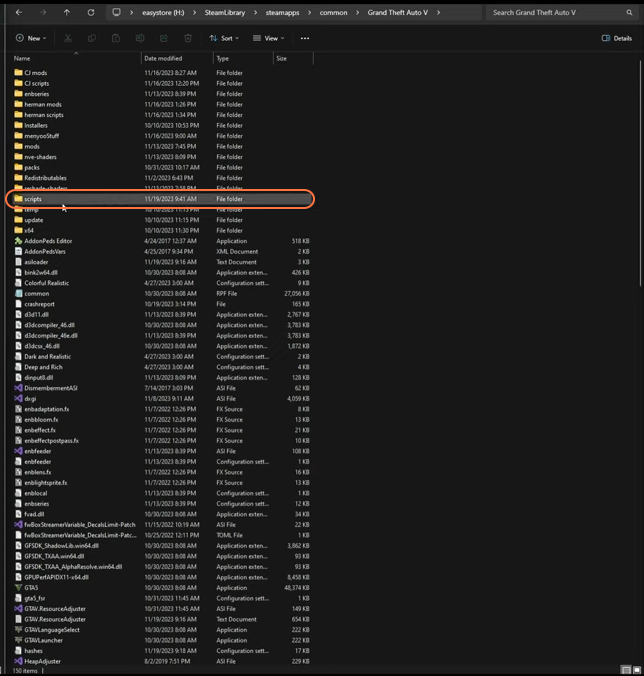
Open your GTA 5 game directory. Create a folder named “scripts” (all lowercase) if it doesn’t exist.
Step 4: Install the Head GoPro Mod
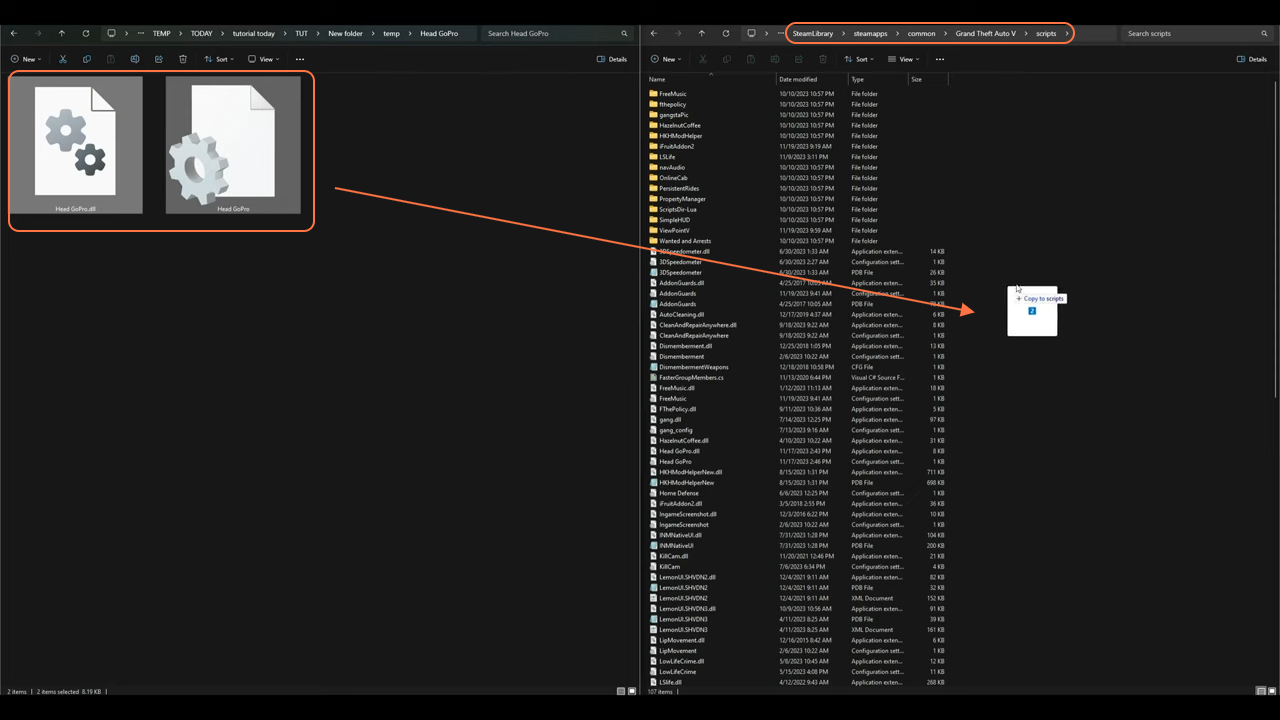
Now open up the Head GoPro folder, inside it, you’ll find two files. Copy these files into the “scripts” folder you’ve created in your GTA 5 directory.
This version is the public version of the Head GoPro that offers limited viewpoints. To access additional viewpoints, become a Patreon of the mod creator.

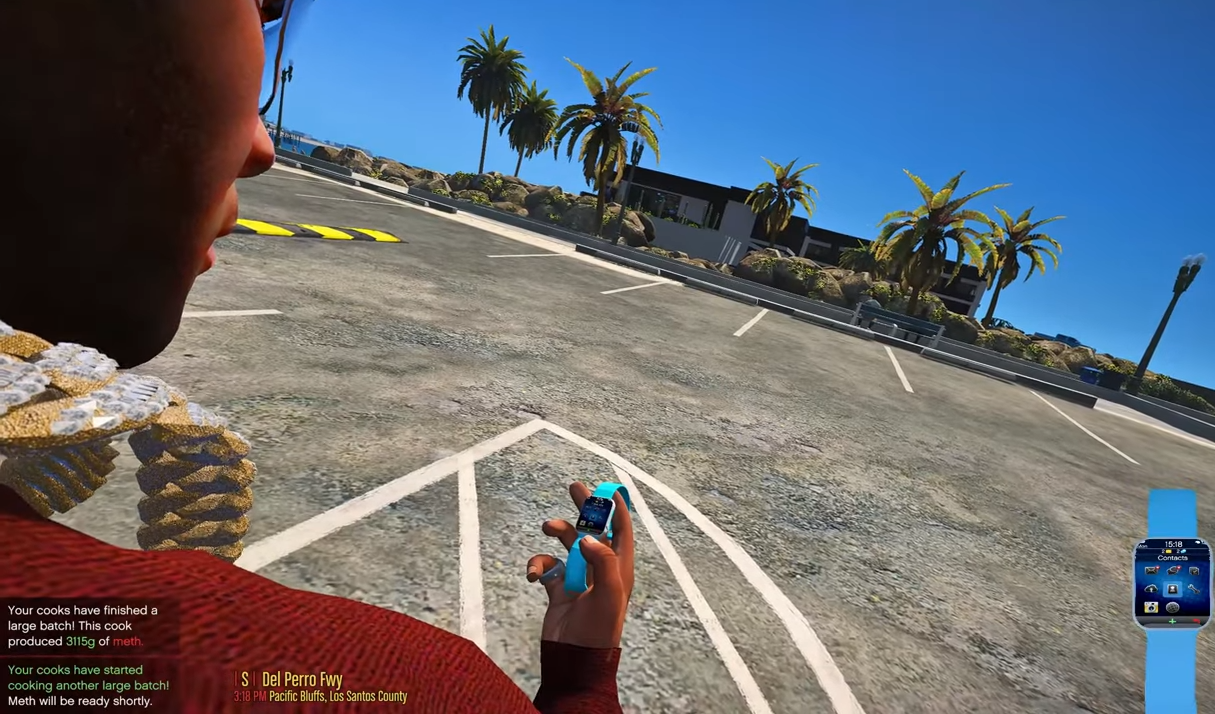
Step 5: Launch the Game and activate the Mod
Minimize any open windows and start GTA 5. When in-game, press the Up Arrow key on your keyboard to activate the GoPro mode. Ensure you’re in a third-person view for optimal functionality.
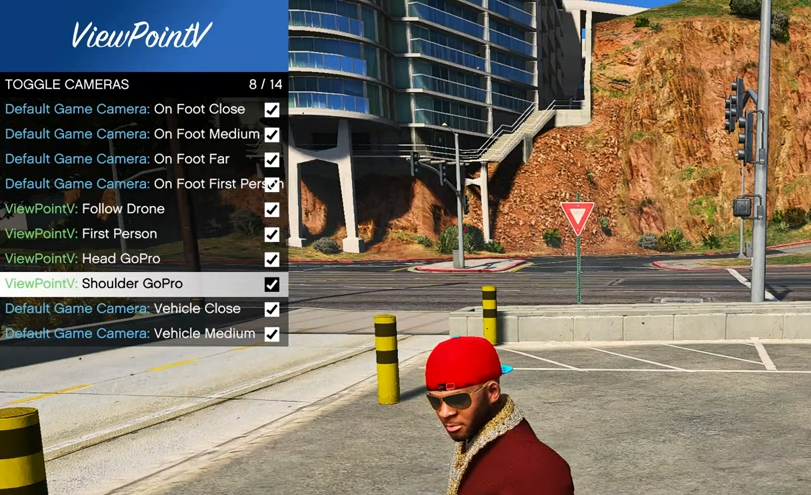
Step 6: Enhanced Camera Angles
For Patreon members, activate additional viewpoints using the ‘F9’ key. Explore and customize various camera settings and angles using the Viewpoint V menu that appears.

Step 7: Editing Camera Settings
Utilize the ‘Edit This Camera’ option in the Viewpoint V menu to adjust camera movement, and other settings for a personalized experience.
By following these steps, you should successfully download, install, and use the Head GoPro mod in GTA 5, and can enjoy enhanced camera perspectives and customization options.