This guide will let you know how to mod: Enter the Gungeon for Epic Games.
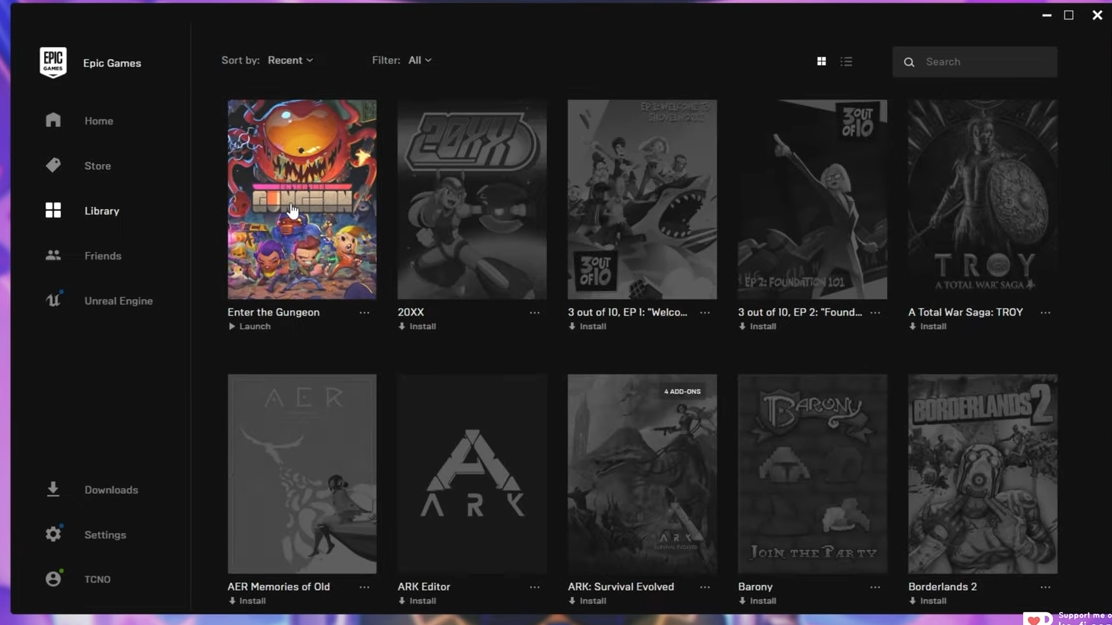
1. First of all, you have to install the Enter the Gungeon game.
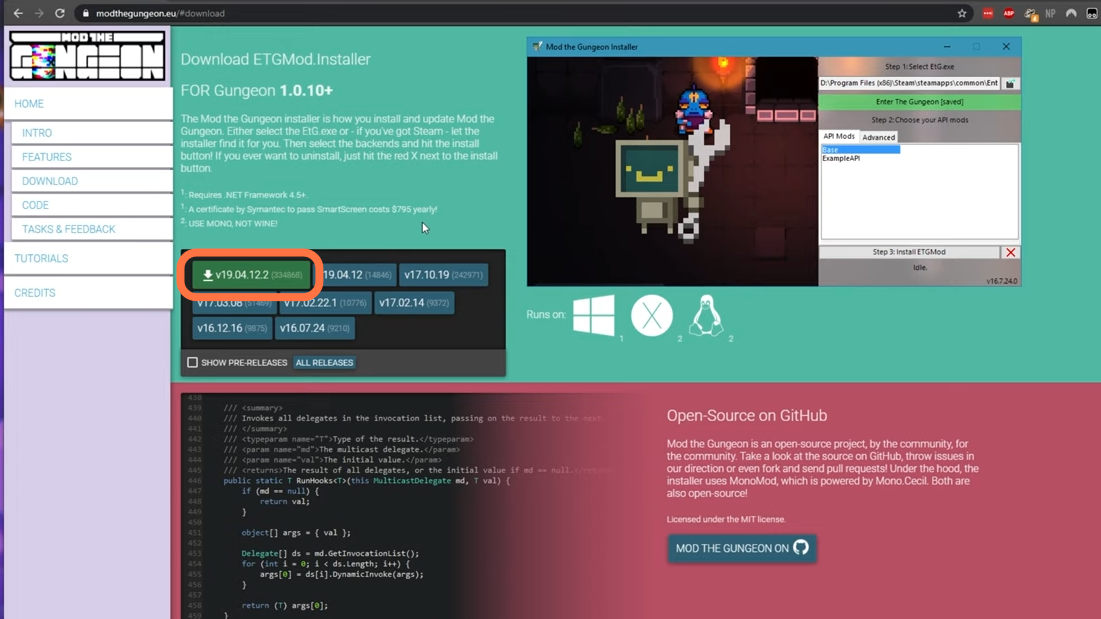
2. After that download the mod The Gungeon from “https://modthegungeon.eu/“. Scroll down the page a bit and click on the big green download button to install the Mod installer.
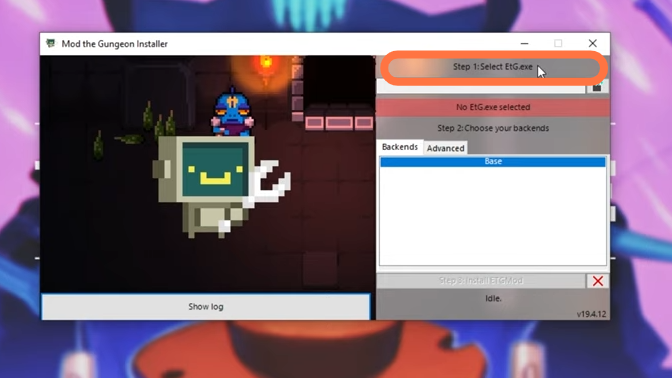
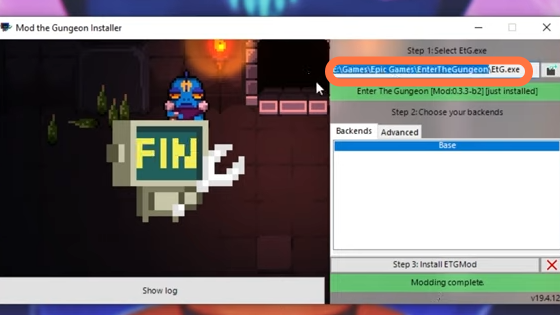
3. After downloading, simply open it up and you will find something like this.
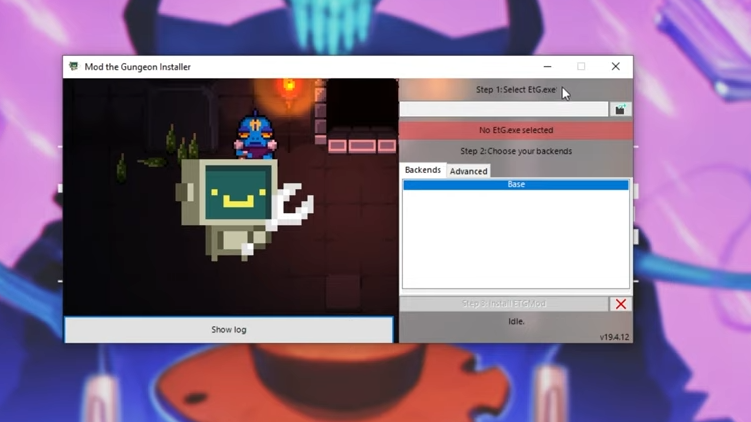
4. Now all you have to do is select where the game is installed from the top right of the program window.
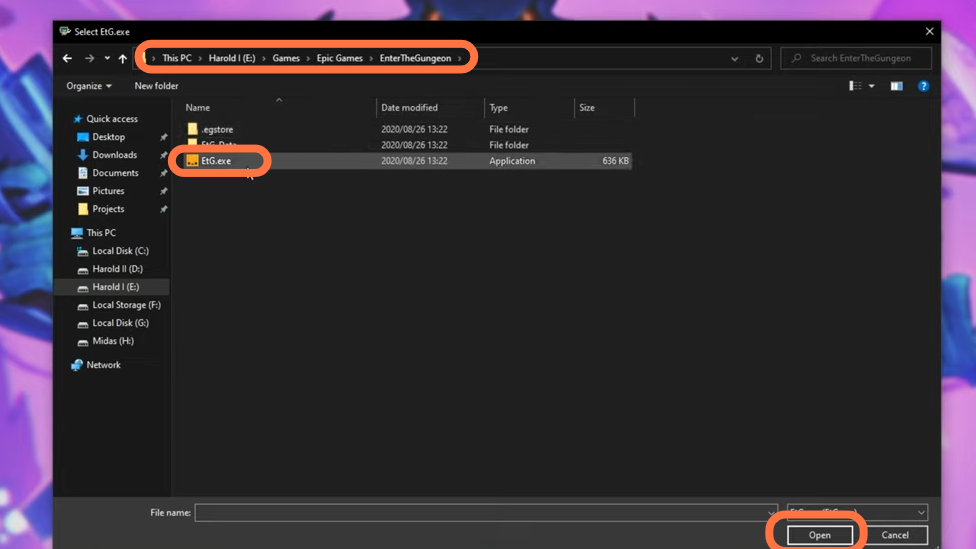
5. Then simply navigate where the game has been installed. By default, it would be in C drive > program files > epic games. You will see etg.exe file in your game directory, select it to open.
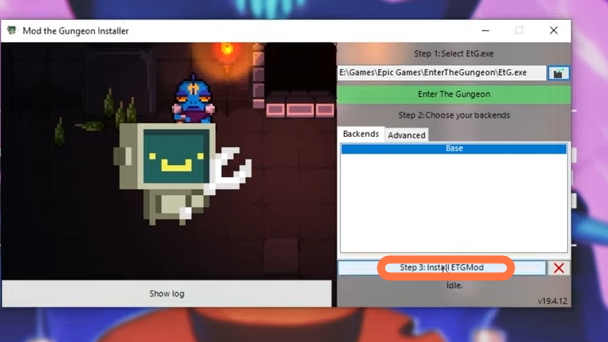
6. After that, click on “install the ETGmod” tab.
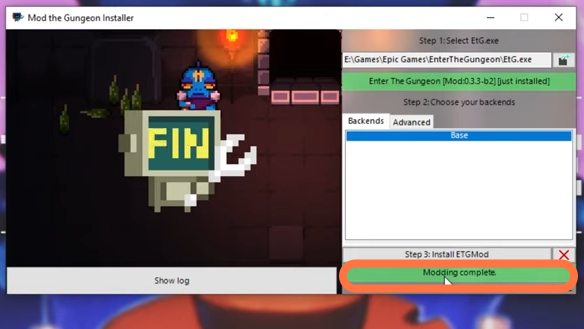
7. It will install the necessary files and you should have a modded version of enter the Gungeon game when it says modding completes.
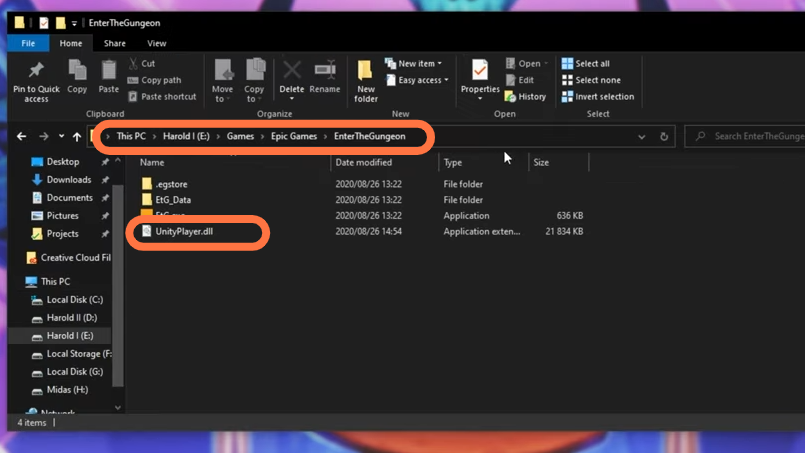
8. Now you have to navigate to where the program is installed and copy the path from very top. After that, open up a new file browser.
9. Then paste the path at the file browser to get to the Games > Epic Games > EnterTheGungeon and there we will have a modded version of enter the gungeon.
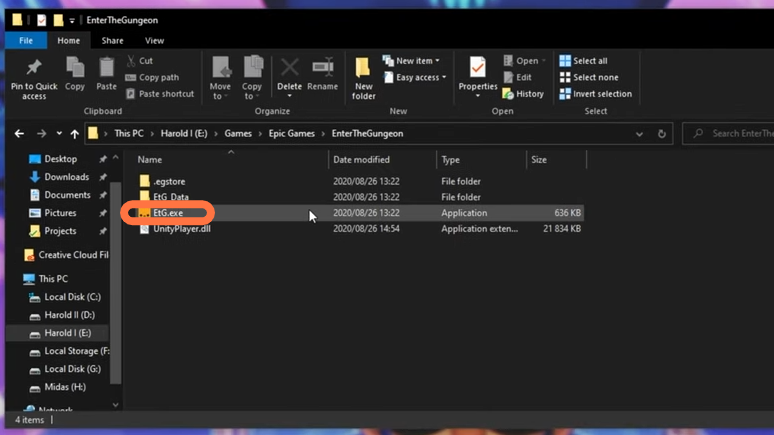
10. Now close the mod installer window and open the ETG.exe file.
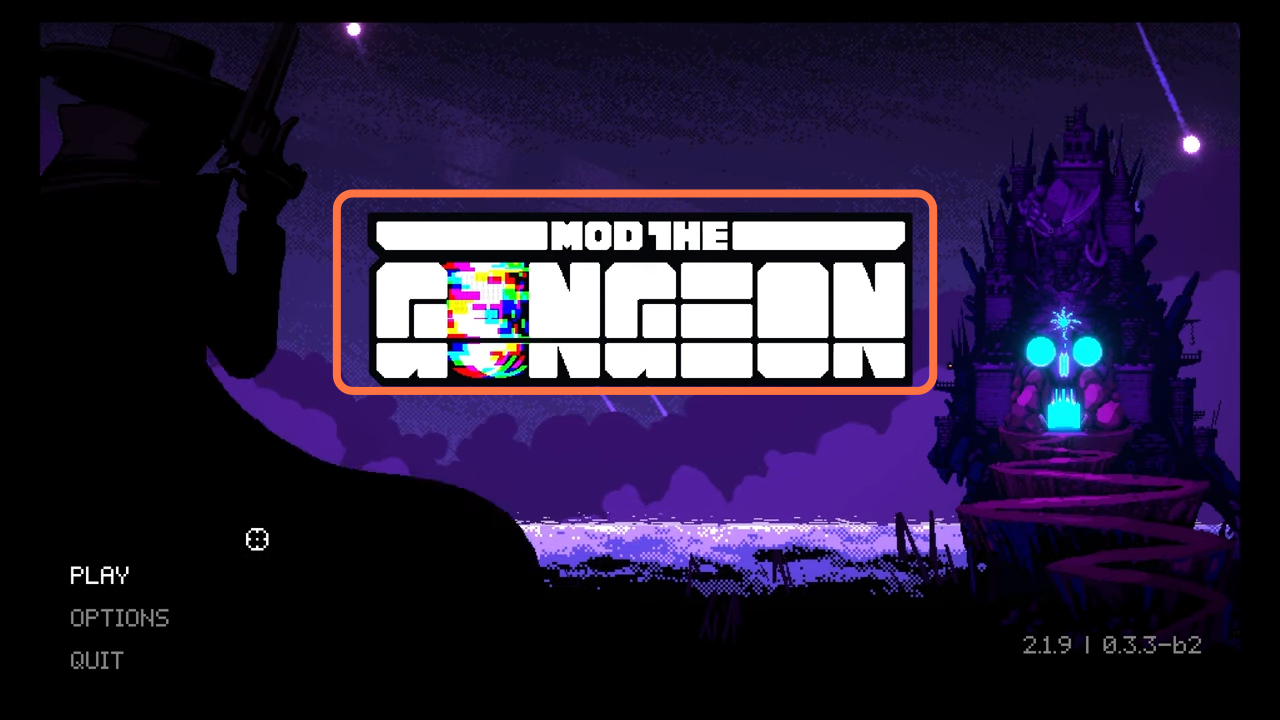
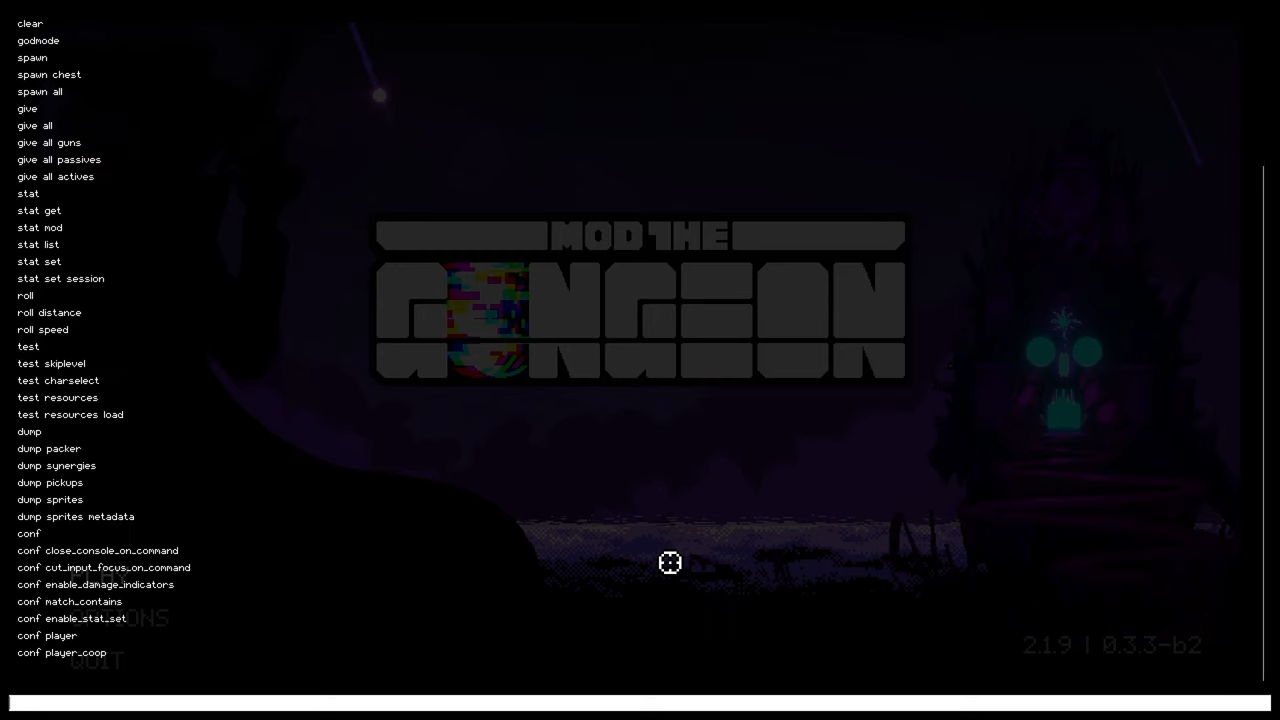
11. When the game launches, the main menu will be somewhat different. Enter the gungeon will be replaced with mod the gungeon at start.
12. If you press the F2 key, it will open the developers console to run different commands like help which will give us a list of all the helping commands and examples.
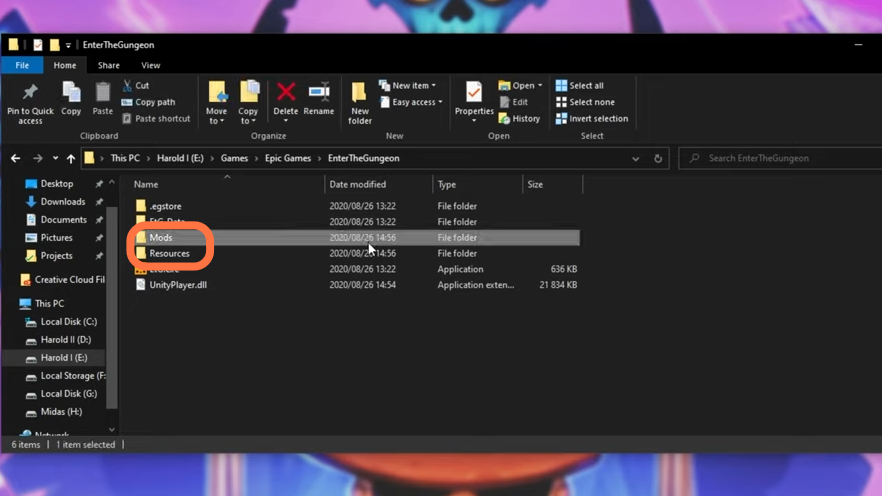
13. Now go back to the game directory and this time, you will find Mods and resources folders because you have launched the game already.
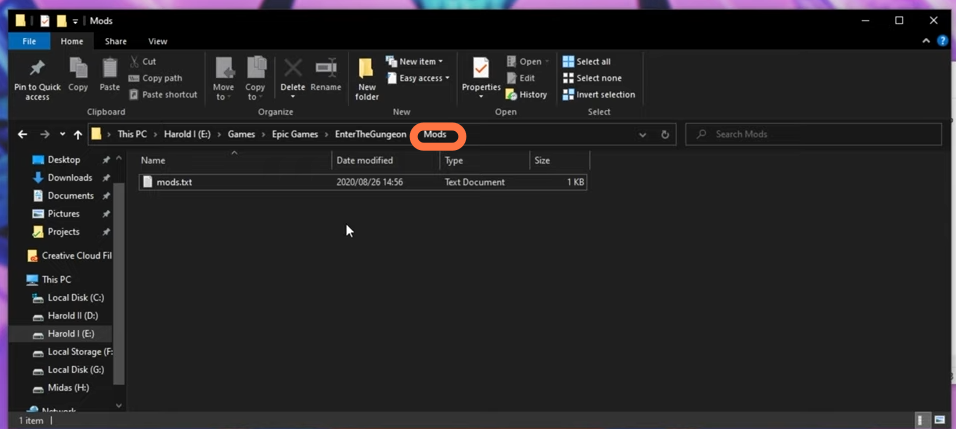
14. Now open the mods folder and you will find a mods.txt file. Open it to find the instructions. To install mods, you need to download all zip files of the mods into this folder.
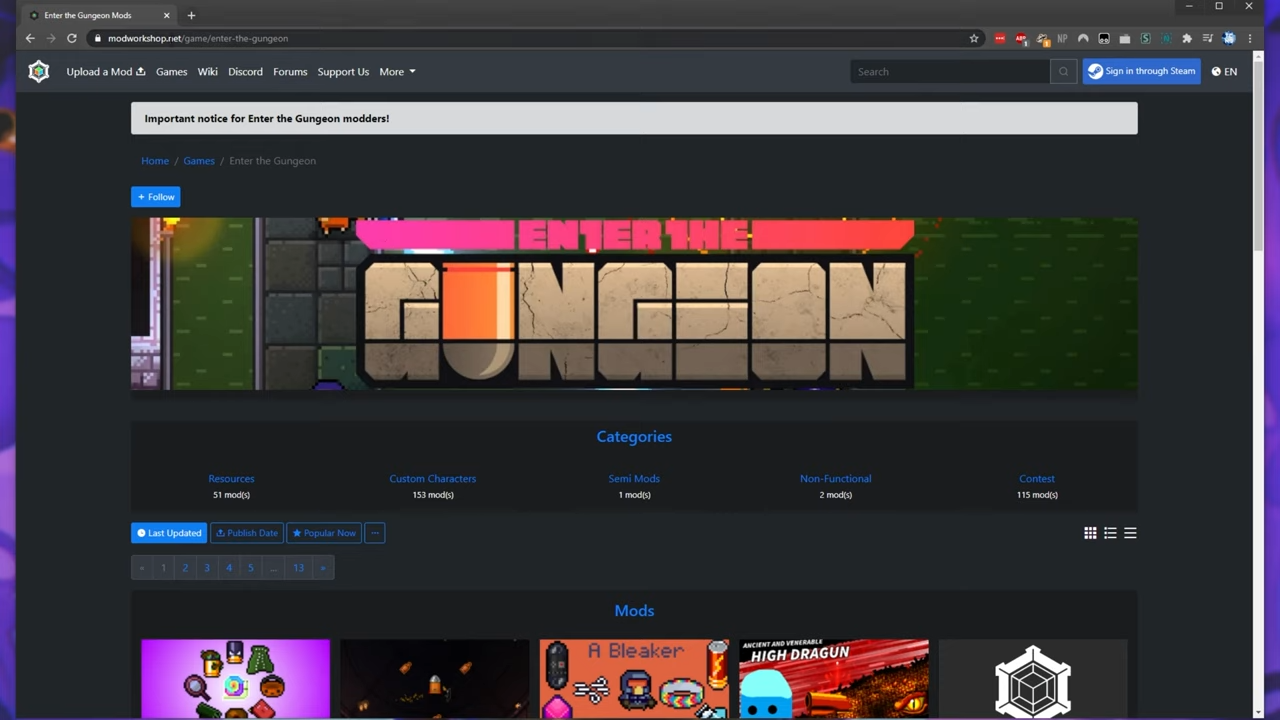
15. Now install a mod to find a demonstration of how it works. You can download the mods from “https://modworkshop.net/game/enter-the-gungeon”. You can choose a mod from different sections like “Popular Now”, “Last Updated” etc.
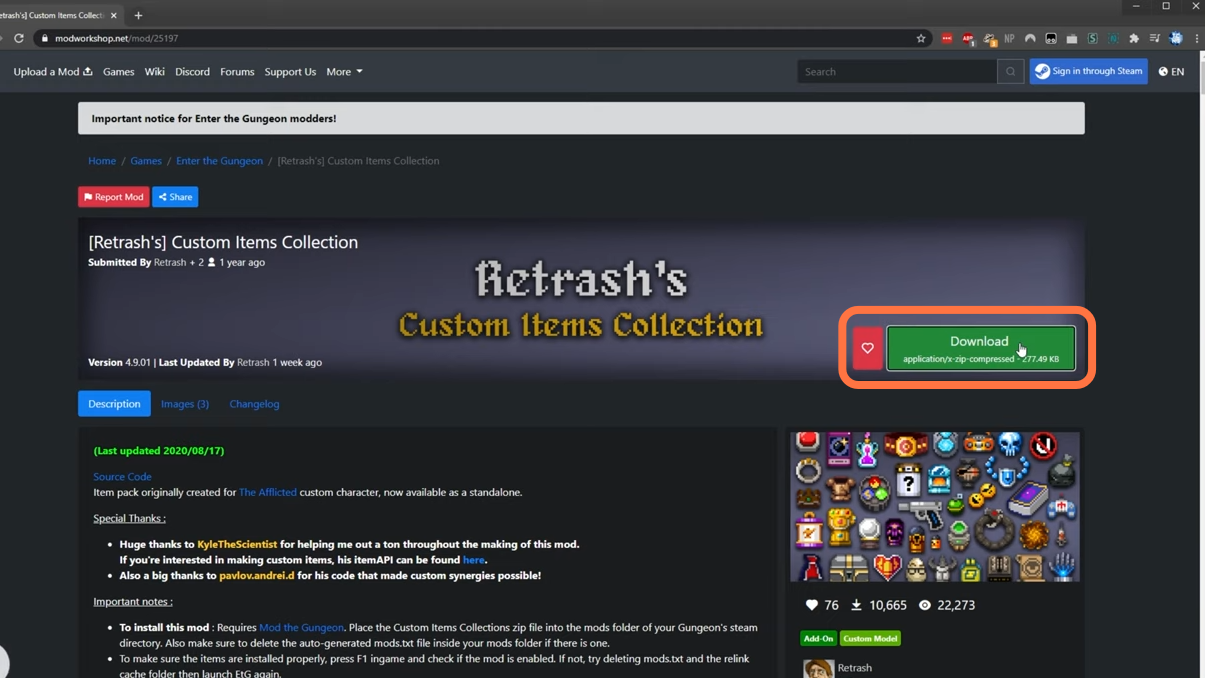
16. After that, click on the mod you want to download & it will take you to the mod info page where you need to click on the “Download Zip button”.
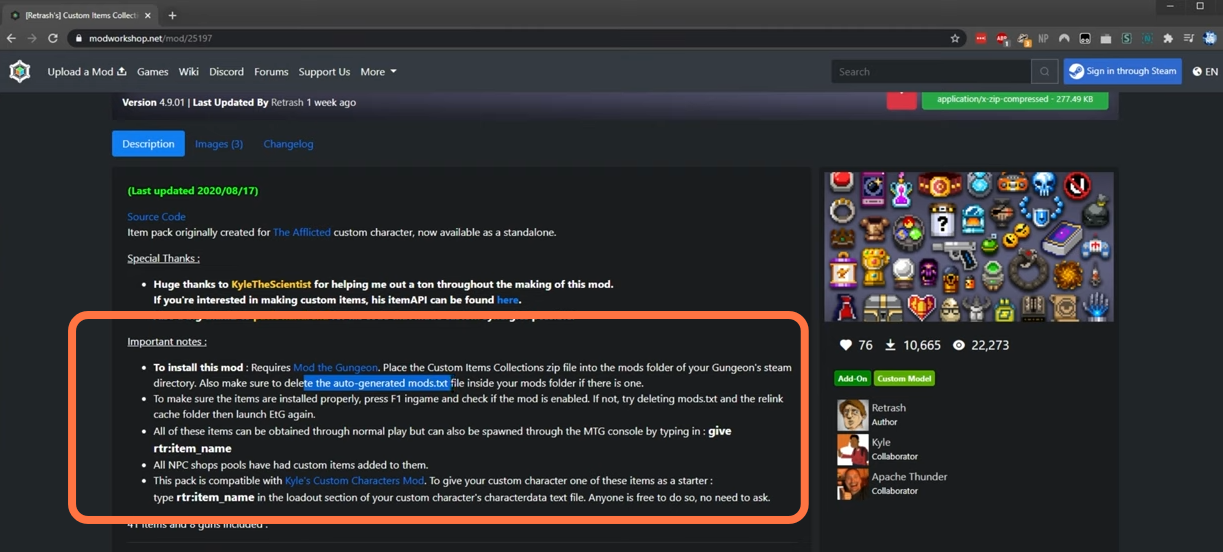
17. Remember some instructions before installing the mods like placing the custom items collection zip into the mods folder and also make sure to delete the auto-generated “mods.txt” file from your mods folder.
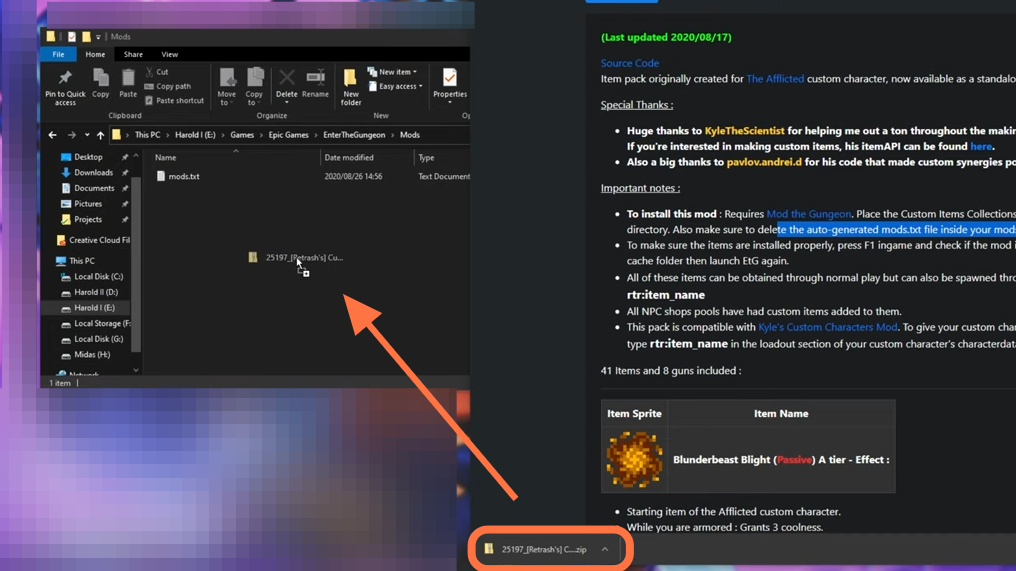
18. After downloading the zip file, you need to drag it to the mods folder.
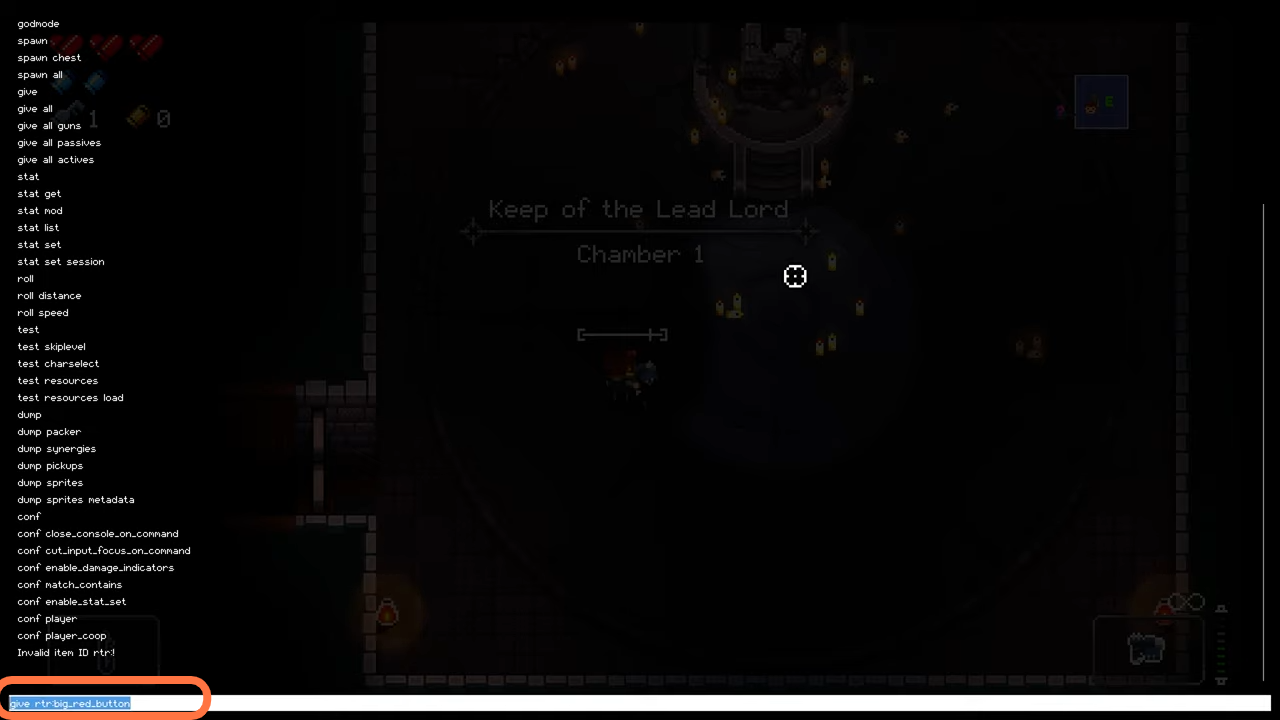
19. Now launch up ETG.exe file to see all these items can be obtained through normal gameplay but can also be spawned through mod the gungeon console by typing in: give rtr: item_ name.
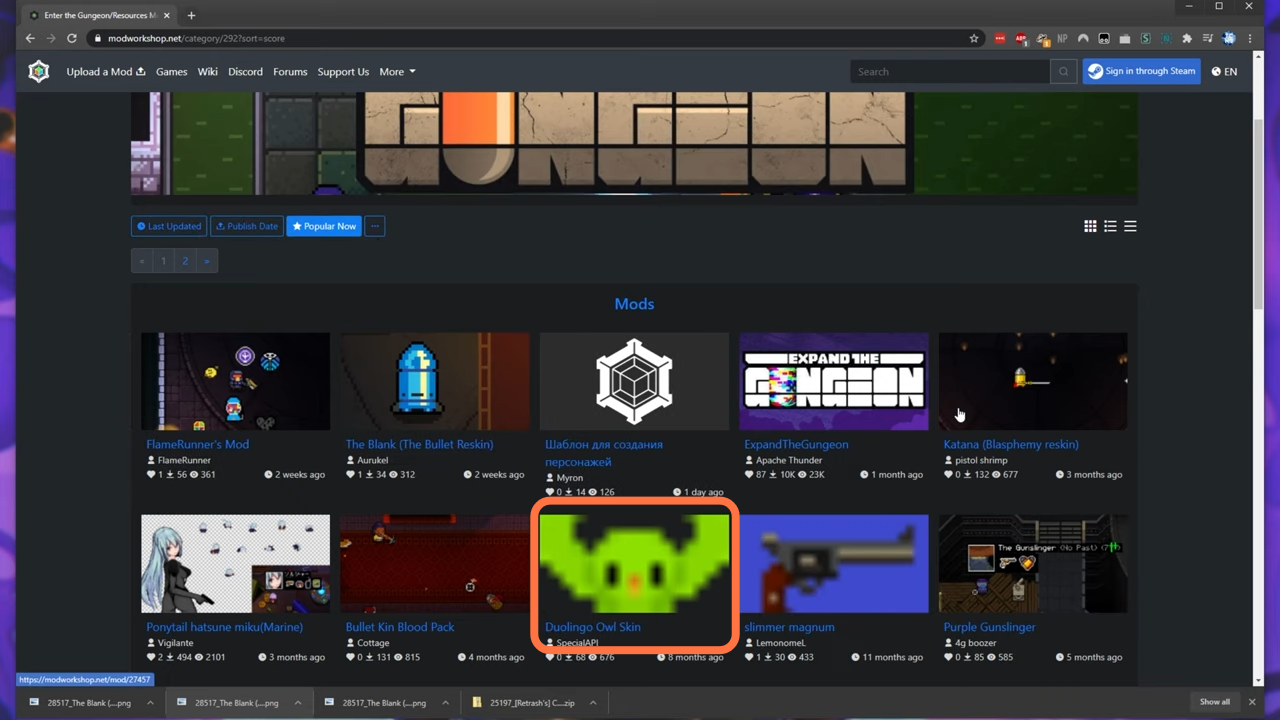
20. Now go ahead and install a custom skin mod i.e install sprites. You have to go to the mods workshop and click the resources section.

21. Now choose a skin from the “Popular Now” tab and download it by clicking on the Green “Download” button.
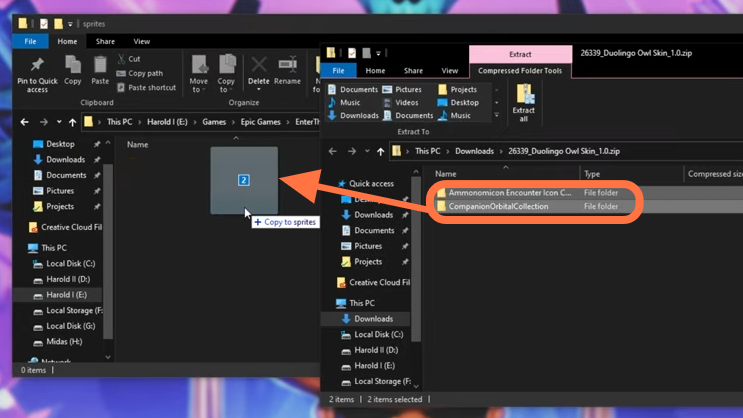
22. You need to unzip the mod and go to the game directory > resources > sprites and put the two folders (within downloaded skin) in there.
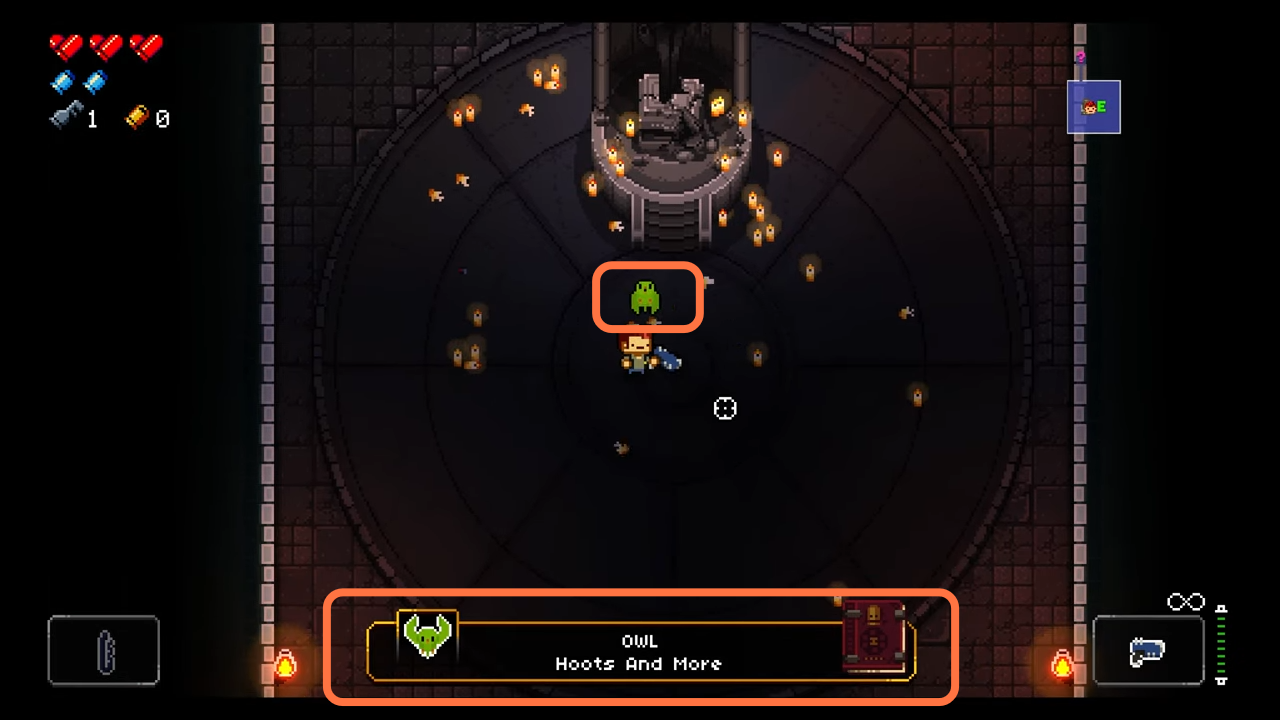
23. Now launch up the game once again and type in “give owl”. Now you will see the custom owl skin that you just installed.