This guide will let you know how to install mods on the cracked version of the Microsoft Flight Simulator 2020.
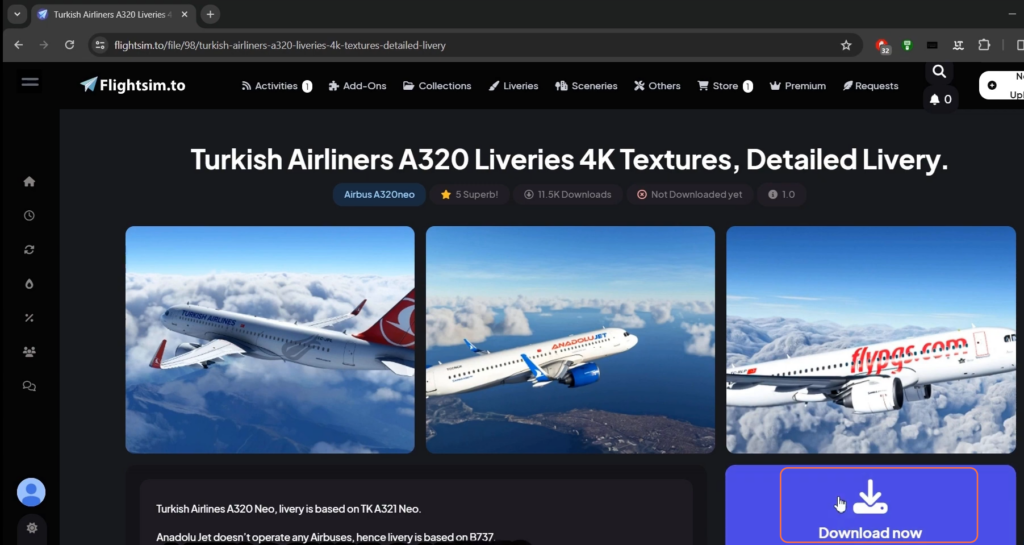
Step 1: Download the A320 Neo mod
Begin by downloading the A320 Neo mod for Microsoft Flight Simulator 2020. Ensure it’s compatible with the version you’re using.
Step 2: Locate the Microsoft Flight Simulator file
Navigate to the file location on your computer where the Microsoft Flight Simulator 2020 is installed. This is typically found in the primary installation directory.

Step 3: Access the “HLM packages” folder
Within the game’s folder, search for a folder named “HLM packages”. Once found, open this up.
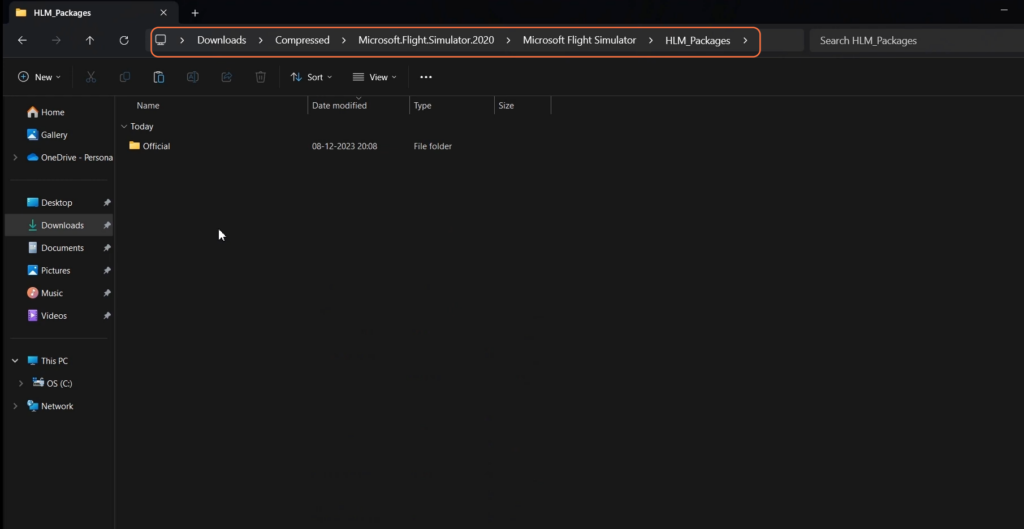
Step 4: Create a “Community” folder
Inside the “HLM packages” folder, create a new folder named “Community” if one doesn’t already exist. This folder will accommodate the mod files.

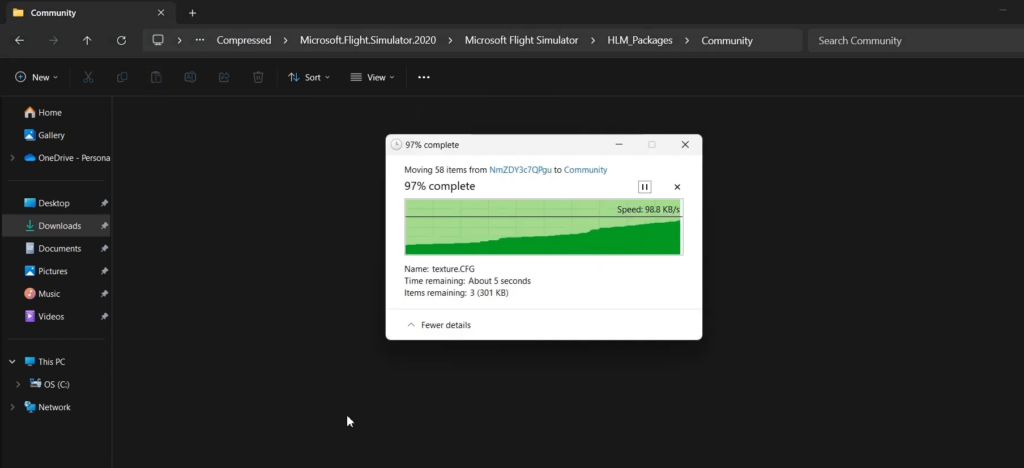
Step 5: Paste the mod file into the “Community” folder
Copy the A320 Neo mod file that you downloaded earlier and paste it into this newly created “Community” folder within the “HLM packages”.
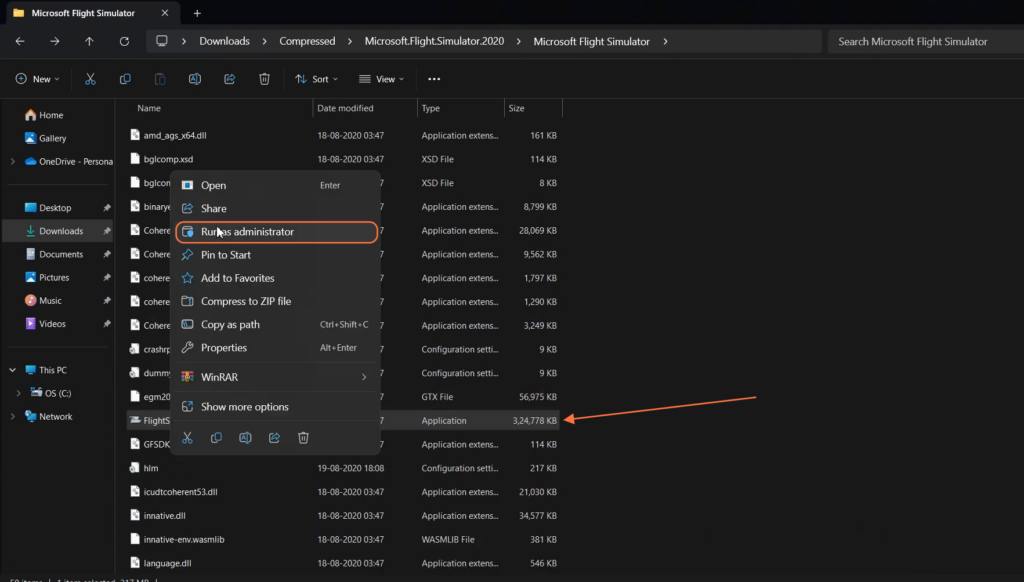
Step 6: Run Flight Simulator in administrator mode
Launch the Microsoft Flight Simulator 2020 in “Run as Administrator” mode from the game’s file location to ensure proper installation of the mod.
Step 7: Access your profile and change aircraft
Enter your profile within the game and navigate to the “Hangar” tab. Select the A320 aircraft from the available options.
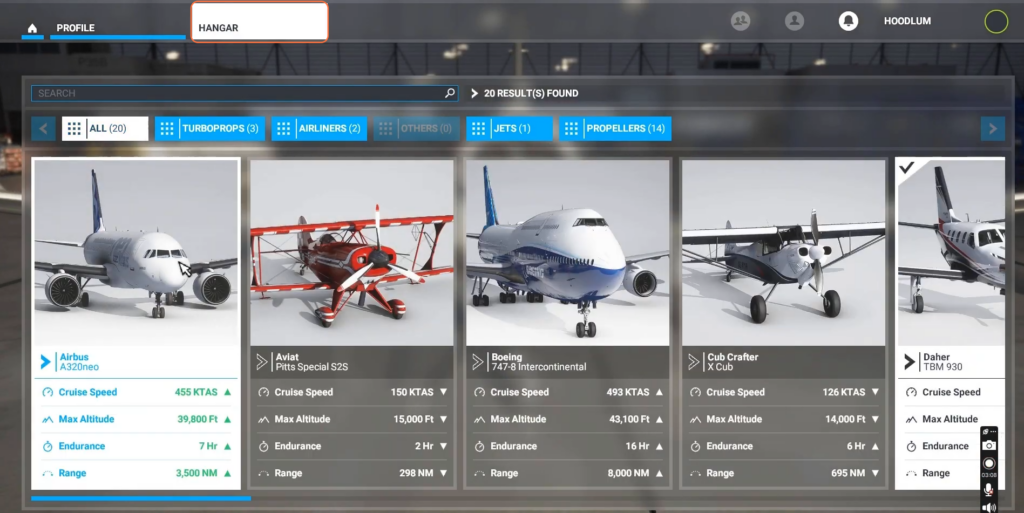
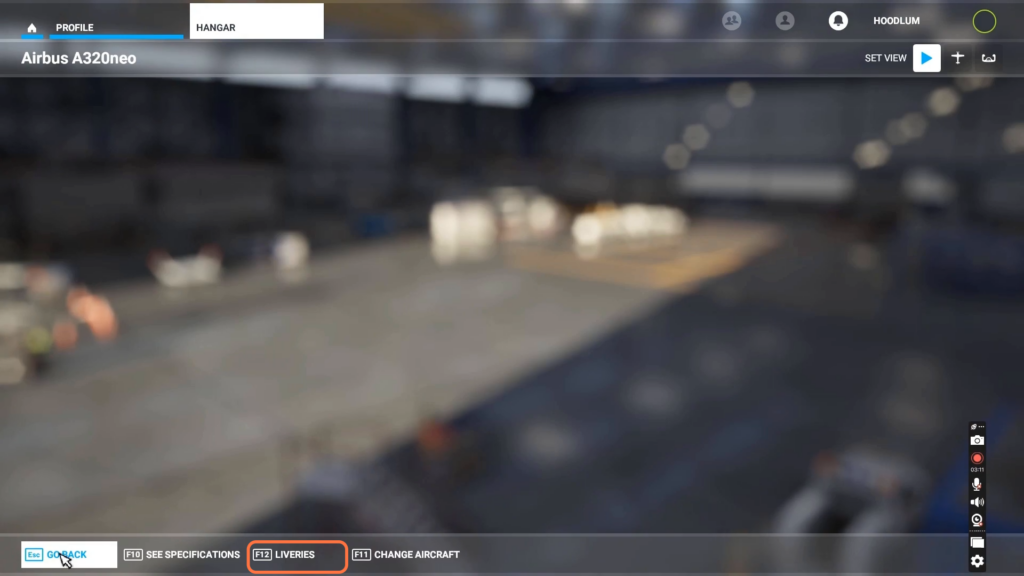
Step 8: View available liveries
Once the A320 aircraft is selected, click on the “Livery” option to see the available liveries for this aircraft.
Step 9: Check new livery visibility
Return to the main menu to verify if the newly added liveries are visible under the liveries menu, and properly integrated into the game.
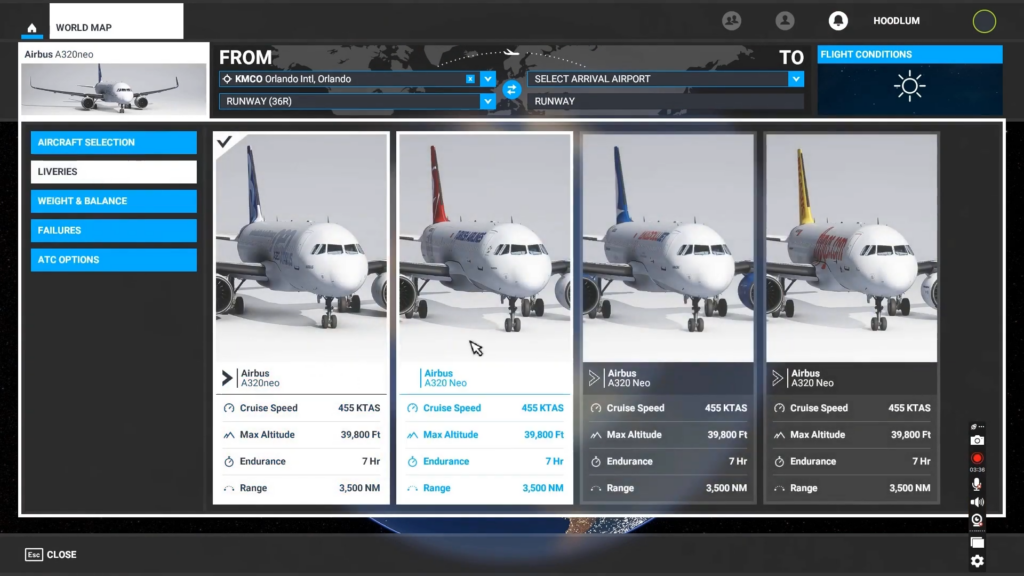
Step 10: Test the new liveries
Choose one of the newly added liveries and test it within the simulator to confirm that the mod is functioning correctly and that the liveries are applied without issues.

By Following these steps you can successfully install mods and enjoy the new liveries within Microsoft Flight Simulator 2020.